Diverse 4016 Classic ~ 6th Edition ~ 21st September ’01 ~ 4080
3
In this guide
At a glance 1
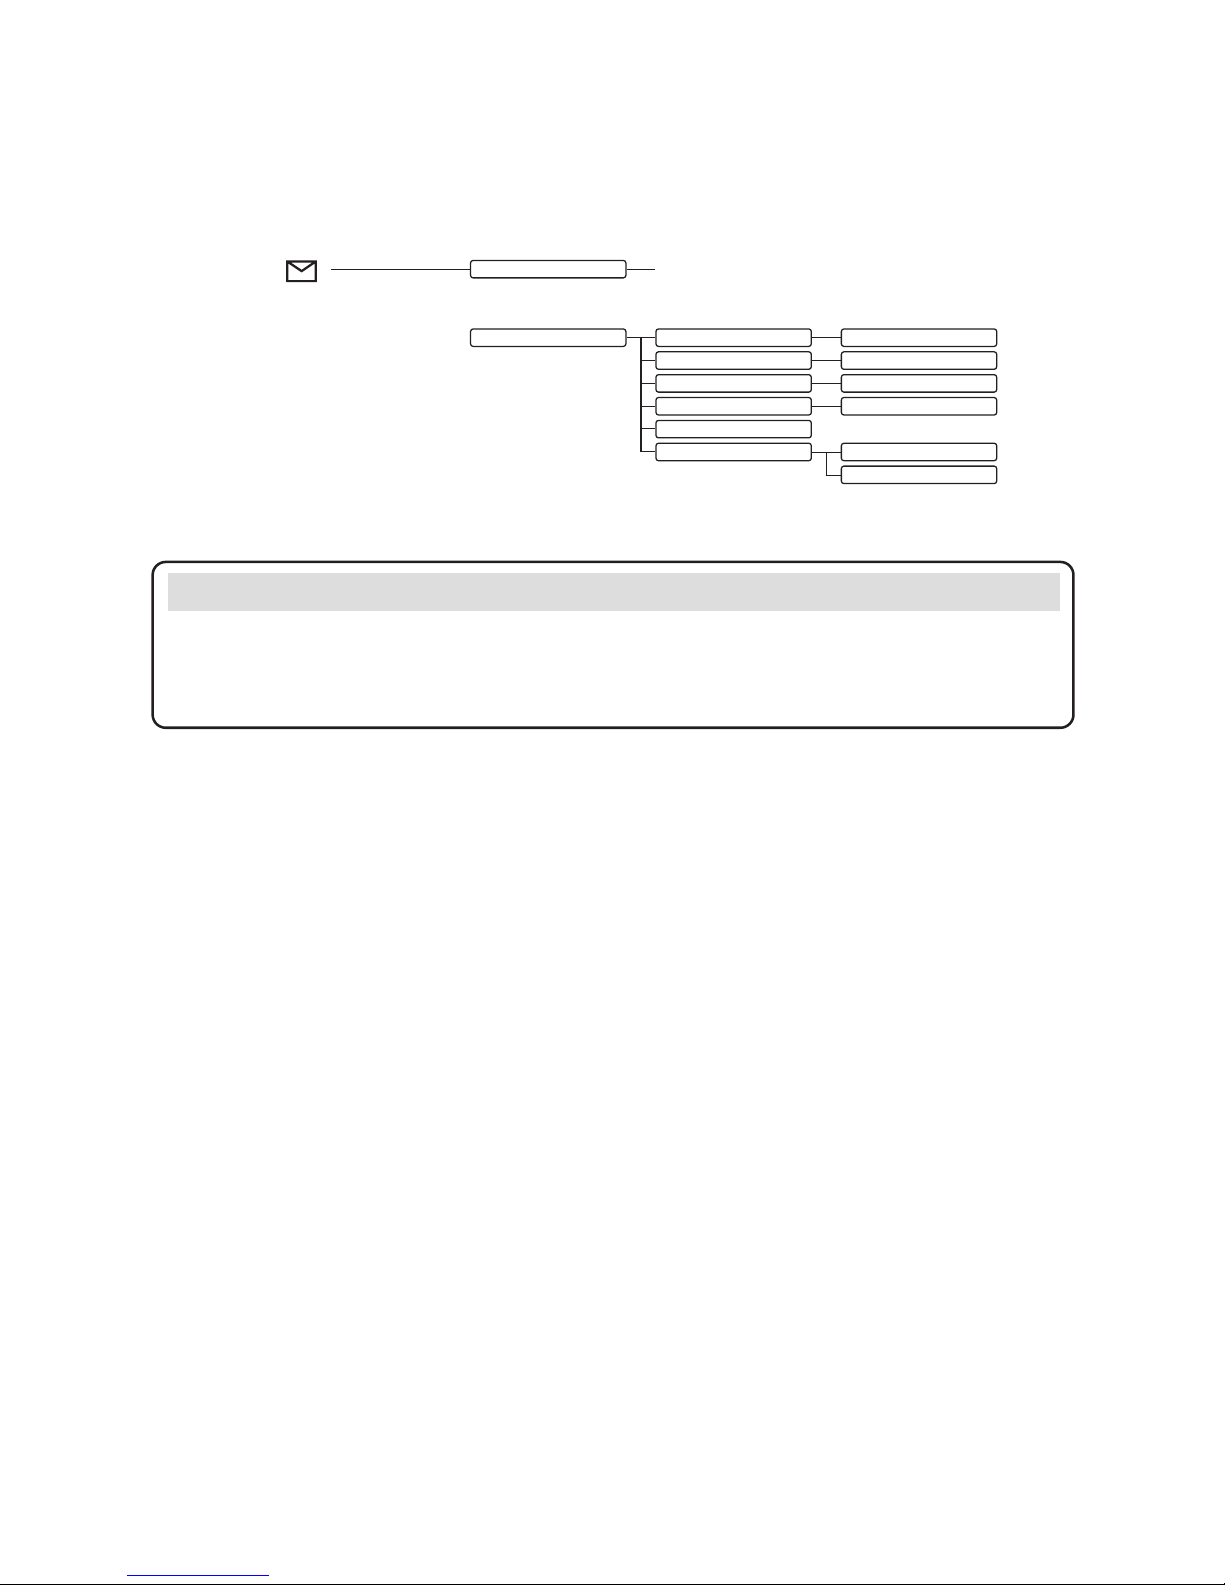
Menu structure 4
Quick guide – handset 7
Quick guide – answering
machine 8
Quick guide t handset
display ic ns 9
Intr ducti n 10
Unpacking your
Diverse 4016 Classic 10
For your records 10
Safety inf rmati n 11
Setting up 12
Registering and charging
the handset 13
Using the teleph ne 17
Making and ending calls 17
Call ti er 18
Na e and nu ber directory 18
Extra directory 20
Redial 21
Secrecy 22
Paging and internal calls 22
Alar clock 24
Caller Display and
ther Select Services 26
Caller Display 26
Calls list 26
Call Waiting 29
Call Divert 30
Withhold nu ber 30
Ring Back 31
Handset settings 32
Keyguard 34
Base stati n settings 35
Base Station PIN (Personal
Identification Nu ber) 35
Using the answering
machine 37
Play outgoing essage 38
Call screening 39
New essage indicator 40
Playing essages 40
Additional answering
achine settings 41
Re ote access 43
Using additi nal handsets
and bases 44
Registering additional handsets 44
Help 47
General inf rmati n 49
Guarantee 49
Technical infor ation 50
Switchboard co patibility 50
Setting pauses 52
Index 53
Hints and tips boxes
In this user guide, we’ve included
helpful tips and important notes.
They are shown in boxes like this.