GB......1217/1219 Instructions
FR......Instructions 1217/1219
DE......1217/1219 - Anleitung
IT......1217/1219 - Istruzioni
NL......1217/1219 - Gebruiksaanwijzing
NO......1217/1219 - Bruksanvisning
SE......1217/1219 - Instruktioner
ES......1217/1219 - Instrucciones
1219-8L-IS Size: 138 x 190mm Date: 14 June 2008
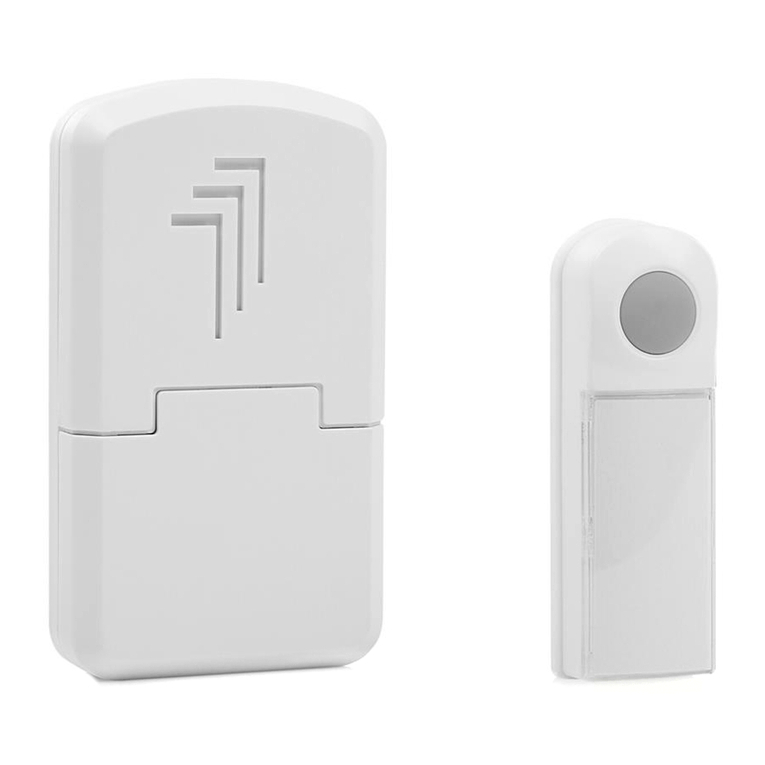
Insert 2 x size “D” batteries (not included). Please ensure they are inserted in the
correct position. (shown fig.2)
Twin bell wire from the bell push should be wired to terminals 1 & 2. (shown fig.3)
For good terminal connection bend the wire to follow the clockwise turn of the screw.
Channel the twin bell wire through the cut-out and fix the bell push to the wall using
either the keyhole hanging slot, or the wall mounting fixing holes. (shown fig.1)
To adjust the sound of the ring, Slightly loosen the screw which holds the bell in
place. Slowly turn the the bell dome, until you have your desired sound. Now tighten
the screw to secure the bell dome in place. Please note that tightening the screw too
tight will change your sound.
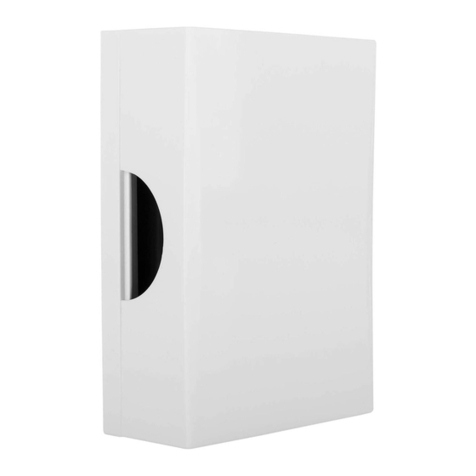
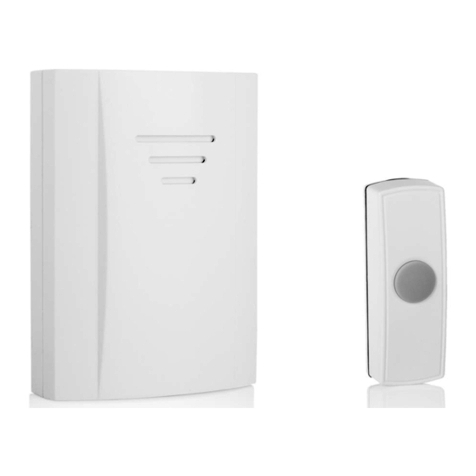
Wall mounted battery bell
Sonnette à pile à montage mural
Insérer 2 piles modèle “D” (non fournies). Vérifier qu’elles sont montées dans le
sens correcte. (voir fig.2)
Le fil à deux conducteurs du bouton de sonnette doit être raccordé aux bornes 1 et 2
(voir fig.3). Pour obtenir use bonne connexion de la borne, plier le fil dans le sens
horaire de la vis.
Faire passer le fil à deux conducteurs dans la découpe et fixer le bouton de sonnette
au mur en utilisant, soit l’encoche piriforme de suspension, soit les trous de fixation
murale (voir fig.1).
Pour régler la sonorité de la sonnette, desserrer légèrement la vis de fixation de la
sonnette. Tourner lentement le timbre jusqu’à obtention de la sonorité désirée.
Resserrer ensuite la vis de fixation du timbre. La sonorité sera modifiée si la vis est
trop serrée.
Väggmonterad ringklocka med batteri
Sätt in 2 st “D” batterier (ingår ej). Se till att de sitter rätt. (Se fig.2)
Dubbel ringledningstråd från tryckknappen ska kopplas till uttagen 1 och 2 (se fig.3).
För att få god anslutning till uttaget ska tråden böjas så att den följer skruvens
vridning medurs.
Led den dubbla ringledningstråden genom det utskurna hålet och fäst ringklockan på
väggen med hjälp av nyckelhålets upphängningsslits eller väggmonteringens fästhål.
(Se fig.1)
Om du vill justera ringsignalens ljud lossar skruven som håller tryckknappen på plats
något. Vrid lätt på kupan tills du får önskat ljud. Drag sedan åt skruven för att hålla
kupolen på plats. Om skruven dras åt för hårt blir ljudet annorlunda.
Timbre de pila para montaje en pared
Introduzca 2 pilas tamaño “D” (no incluidas). Compruebe que están instaladas en la
posición correcta (según la Fig.2).
El hilo metálico doble para llamador que sale del pulsador debe conectarse a las
bornas 1 y 2 (véase la Fig.3). Para una buena conexión, envuelva el hilo alrededor del
tornillo en el sentido de las agujas del reloj.
Pase el hilo metálico doble para llamador por la abertura y fije el pulsador a la pared,
mediante la ranura de colgar en forma de ojo de cerradura o bien mediante los
agujeros de fijación en la pared (según la Fig.1).
Para ajustar el sonido del llamador, afloje ligeramente el tornillo que sujeta el timbre.
Gire un poco el resonador hasta que consiga el sonido deseado, luego apriete el
tornillo para sujetarlo. Un ajuste demasiado apretado afectará la calidad del sonido.
UM-1
“D”
R20
UM-1
“D”
R20
Fig-2
Fig-3
Fig-1
Front Side Back Side
Wandmontierte Batterieklingel
2 Batterien der Größe “D” (nicht enthalten) den Markierung im Gehäuse
entsprechend eingelegen (siehe Abb.2).
Den doppelten Klingeldraht vom Klingelknopf an die Klemmen 1 & 2 anschließen
(siehe Abb.3). Der beste Kontakt wird erzielt, wen der Klingeldraht im Uhrzeigersinn
um die Klemmschraube gewickelt wird.
Den doppelten Klingeldraht durch die Aussparung führen und die Klingel an der
Wand befestigen. Sie kann entweder am Schlüsselloch-Hängeschlitz aufgehängt oder
durch die Wandbefestigungslöcher an der Wand befestigt werden (siehe Abb.1).
Zur Einstellen des Klingeltons die Schraube in der Mitte der Klingel etwas lockern
und das Klingelrundteil langsam bis zum Erreichen des gewünschten Klanges
verdrehen. Dann die Schraube wieder anziehen, um das Klingelrundteil in dieser
Position zu halten. Bitte beachten Sie, dass zu strammes Anziehen der Schraube den
Klang verändert.
Campanello a batteria montato a muro
Inserire 2 batterie “D” (non incluse). Accertarsi che siano inserite nella corretta
posizione. (vedi fig.2)
Collegare il doppio filo del campanello dal pulsante del campanello ai terminali 1 e 2
(vedi fig.3). Per eseguire un buon collegamento ai terminali seguire con il filo la
rotazione in senso orario della vite.
Inserire il doppio filo del campanello nell’apertura e fissare il campanello alla parete
usando la fessura a forma di serratura o i fori di fissaggio per il montaggio a parete.
(vedi fig.1)
Per regolare il suono del campanello, allentare leggermente la vite che tiene fermo il
campanello Girare lentamente la cupola del campanello fino ad ottenere il suono
desiderato. Serrare quindi la vite per fissare il campanello in posizione. Ricordare
che, se la vite viene serrata eccessivamente, il suono si modifica.
Sätt inn 2 x str. “D” batterier (ikke inkludert). Pass på at de settes inn riktig vei
(se fig.2).
Ledningtråden til dobbeltklokken fra ringeknappen skal koples til tilkoplingspunkt 1
og 2 (se fig.3). For å få god tilkopling ved tilkoplingspunktet, bøy ledningtråden slik
at den følger med skruen når den skrus i retning med urviserne.
Før ledningtråden til dobbeltklokken gjennom åpningen og fest ringeknappen på
veggen enten ved å henge den etter “nøkkelhullet” eller bruke festehullene til å
montere den til veggen (se fig.1).
For å justere ringelyden, kan du løsne litt på skruen som holder klokken på plass.
Drei klokkekuppelen sakte, til du får lyden du ønsker. Trekk til skruen for å feste
klokkekuppelen på plass. Vær obs på at hvis du trekker til skruen for hardt, vil lyden
endre seg.
Veggmontert batteridrevet klokke
Wandbel met batterij
2 x “D” type batterijen installeren (niet inbegrepen). Erop letten dat ze op de juiste
manier geïnstalleerd worden. (zie afb.2)
Dubbele beldraad van de beldrukker dient op aansluitingspunten 1 & 2 aangesloten te
worden. (zie afb.3) Voor de juiste verbinding met het aansluitingspunt, de draad
rechtsom in de richting van de schroef buigen.
Dubbele beldraad door de opening leiden en beldrukker aan de wand bevestigen
m.b.v. de gleuf of bevestigingsgaten voor de wandmontage gebruiken. (zie afb.1)
Voor het bijstellen van het geluid, de schroef die de bel op zijn plaats houdt, iets
losdraaien. Belschaal langzaam draaien totdat u het gewenste geluid hoort. Schroef
weer vastdraaien om de belschaal op zijn plaats te bevestigen. Let erop dat als u de
schroef te vast aandraait, dit het geluid zal veranderen.
CH Byron Electrical Ltd
Byron House
Sherwood Rd, Astonfield
Bromsgrove, B60 3DR
UK
433MHz
R&TTE
APPROVED
CH Byron Electrical United Kingdom. www.chbyron.com
