R&TTE
approved
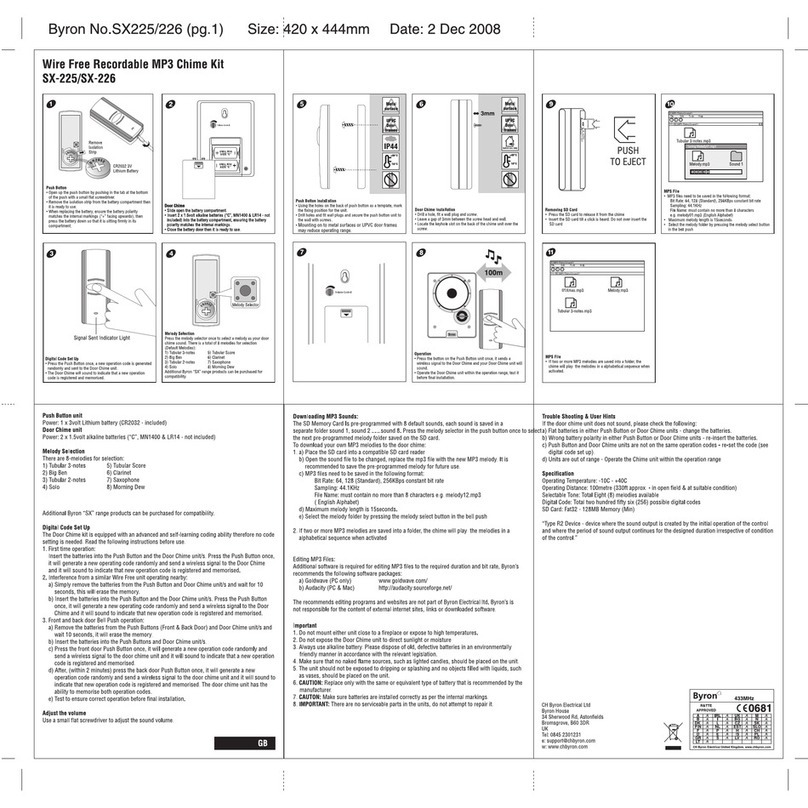
Type R2 Device - device where the sound output is
created by the initial operation of the control and
where the period of sound output continues for
designed duration irrespective of condition of the
control.
USING THE DIFFERENT FUNCTIONS
Countdown Timer
Alarm
Function Time 12/24hr
Month & Date
Day
Surrounding
temperature
• Press the “ALARM” button to set the alarm.
(This will have “ALARM” heading at the top of the screen.)
• Now Make sure the “ALARM” icon is showing at the top of the screen.
• Press “SET”, the hour will now flash. Use the “Up” & “Down” buttons to choose the correct hour.
Then press the “SET” button.
• The minutes will now flash. Use the “Up” & “Down” buttons to choose the correct minute. Then
press the “SET” button.
• A number 1-9 will now flash. This is your alarm sound. Use the “Up” & “Down” buttons to choose
your sound. Then press the “SET” button.
• To turn off the alarm function, press the “ALARM” button. Then press the “SET” button a few
times until no digit is showing. The alarm function is now switched off. Use the “MODE” button to
return to your normal display.
Alarm (setting)
Personal Reminder (setting)
• Press the “ALARM” button, then the “MODE” button once to enter the Personal Reminder
function. (This will have NO heading at the top of the screen.)
• Press the “SET” button.
• The hour will now flash. Use the “Up” & “Down” buttons to choose the correct hour.
Then press the “SET” button.
• The minutes will now flash. Use the “Up” & “Down” buttons to choose the correct minute.
Then press the “SET” button.
• The year will now flash. Use the “Up”& “Down” buttons to choose the correct year.
Then press the “SET” button.
• The month will now flash. Use the “Up”& “Down” buttons to choose the correct month.
Then press the “SET” button.
• The date will now flash. Use the “Up”& “Down” buttons to choose the correct date.
Then press the “SET” button.
• Press the “MODE” button 2 times to return to the “TIME” display.
• The unit will play a song for 5 minutes then stop automatically.
• To turn off the function, simply enter to the Personal Reminder mode, press the “SET” button a
few times until no digit is showing.
To set the time ensure the “TIME” icon is showing in the top left hand corner of the screen, by
pressing the “MODE” button a several times.
• Press the “MODE” button so that 12hrs / 24hrs, flashes on screen.
• Press the “Up” & “Down” buttons to choose 12hrs / 24hrs. Then press the “SET” button.
• The hour will now flash. Use the “Up” & “Down” buttons to choose the correct hour.
Then press the “SET” button.
• The minutes will now flash. Use the “Up” & “Down” buttons to choose the correct minute.
Then press the “SET” button.
• The year will now flash. Use the “Up” & “Down” buttons to choose the correct year.
Then press the “SET” button.
• The month will now flash. Use the “Up” & “Down” buttons to choose the correct month.
Then press the “SET” button.
• The date will now flash. Use the “Up” & “Down” buttons to choose the correct date.
Then press the “SET” button.
The correct day is displayed automatically, when 12hrs / 24hrs flashes on screen, press the
“MODE” button 4 times to show your “TIME” display.
• When setting the time, the second will set to zero automatically.
• When setting the date, the day of week will change automatically.
• When is Set mode, if the setting is inactive for 1 minute, it will change back to normal working
mode automatically.
TIME (setting)
• The unit will show the indoor temperature automatically.
• Use the Set button to change the reading to Celsius or Fahrenheit display.
Thermometer
• Press the ALARM button, then the MODE button twice to enter the Timer function.
(This will have TIMER heading at the top of the screen.)
• Press the SET button. The hour will now flash. Use the “Up” & “Down” bttons to choose the
correct hour. Then press the “SET” button.
• The minutes will now flash. Use the “Up” & “Down” buttons to choose the correct minute.
• Press the “SET” button again to commence the countdown.
• The unit will sound and the display will flash for 1 minute when countdown time reads 0:00.
• Press the “SET” button to turn off the sound.
Timer (setting)
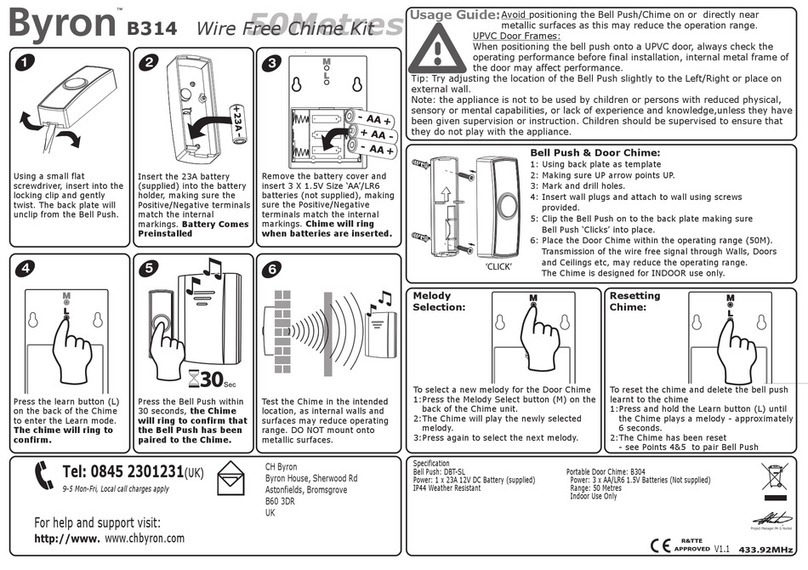
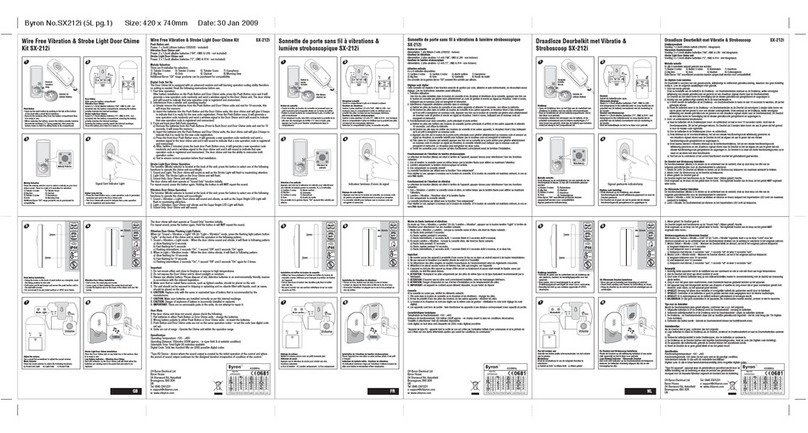
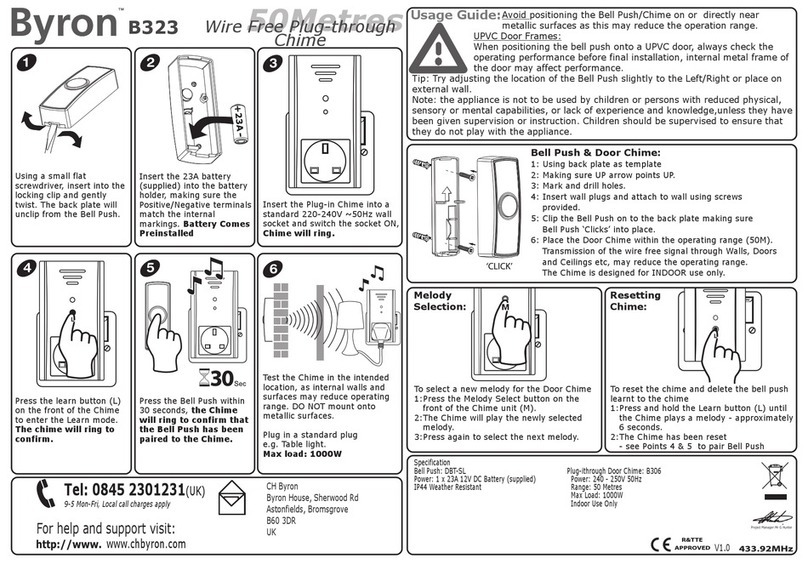
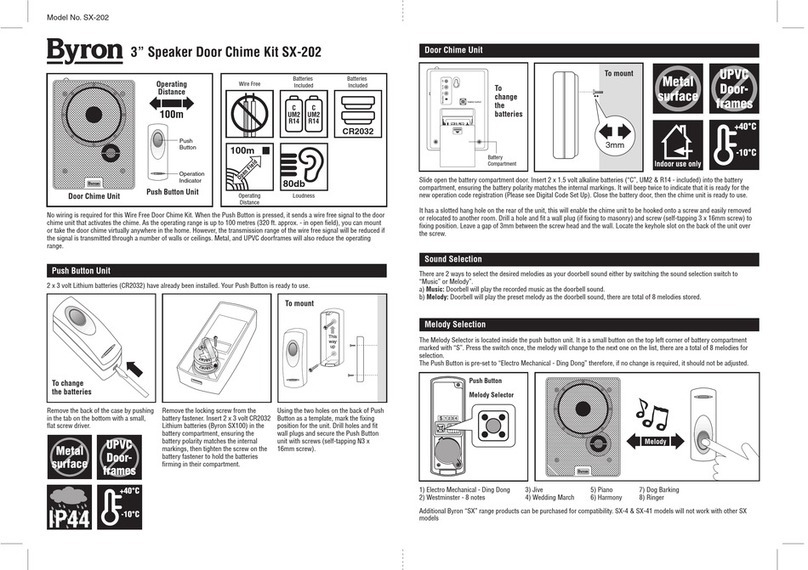
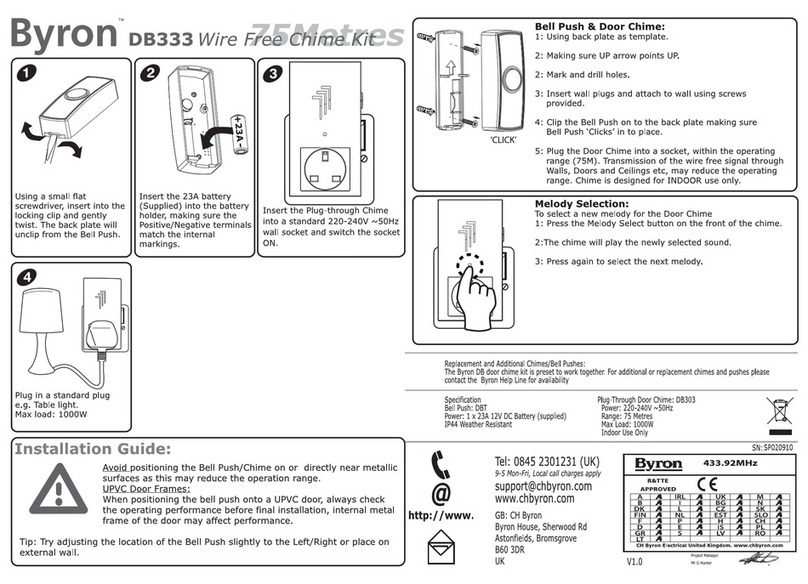
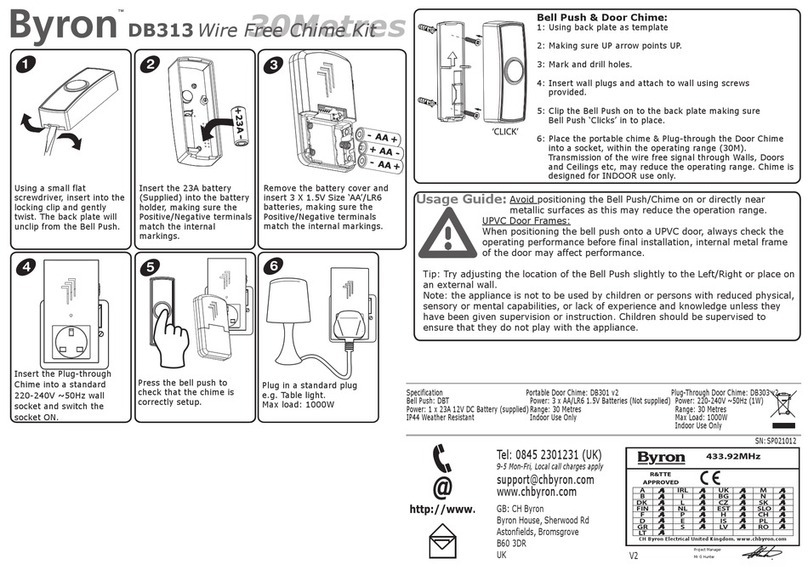
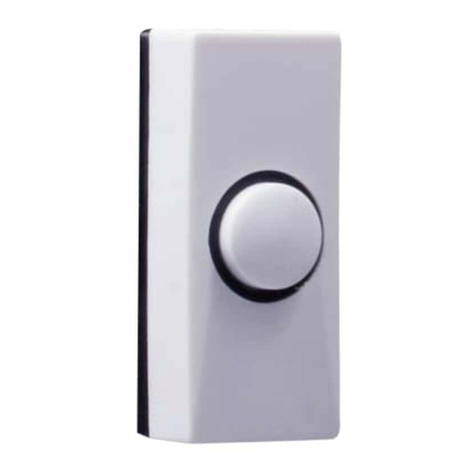
1. Do not mount the Push Button onto any metal surfaces or UPVC doorframe, as this
will reduce the operation range seriously.
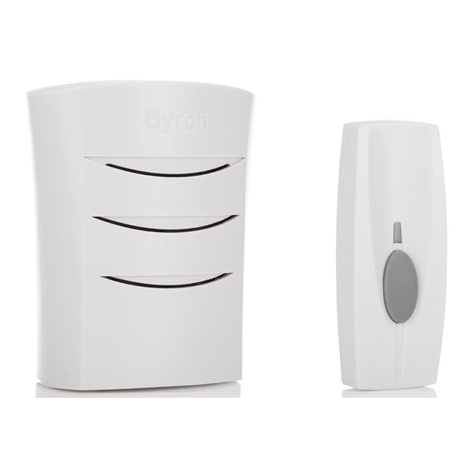
2. Do not expose either unit directly to rain or immerse in water.
3. Do not mount either unit close to fireplace or expose to high teperature.
4. Do not drop either unit or subject to excessive blows.
5. Do not use different type of batteries, or mix up old and new batteries.
6. Always use alkaline batteries as these give longer service and are less likely to leak.
7. If leaving the doorbell for long period of time, remove the battery from compartment to
prevent leakage.
8. Door Chime unit is designed for indoor use only.
9. Please dispose of old, defective batteries in an environmentally friendly manner in
accordance with the relevant legislation.
10. Marke sure that no naked flame sources, such as lighted candles, should be placed
on the unit.
11. The unit should not be exposed to dripping or splashing and that no objects filled
with liquids, such as vases, shall be placed on the unit.
12. CAUTION: Replace only with the same or equivalent type of battery that is
recommended by the manufacturer.
13. CAUTION: Danger of explosion if battery is incorrectly installed or replaced.
Important
Problem
Chime does not
sound but LED lights
on Push Button
Chime does not
sound plus no lights
on Push Button LED
Chime sounds
without Push Button
being pressed
Possible Causes
1. Units are out of range
(max. range 50M)
2. Push Button and Chime units are
not on same digital code
1. Flat Push Button battery
2. Wrong polarity of battery in Push
Button
A similar Wire Free Door Chime
product is operating nearby on the
same frequency digital code
Suggested Remedy
1. Operate the Chime unit within
the operation range (50M)
2. Re-set the frequency digital code
(see Digital Code Set Up)
1. Change the battery
2. Re-insert battery as internal
marking in right polarity
Change the digital code
(see Digital Code Set Up)
Important: There are no serviceable parts in the unit, do not attempt to repair it.
Trouble Shooting & User Hints
A. Push Button unit
Power
Consumption : 2 x 3 volt Lithium batteries (CR2032 - included)
: 7.0mA - ON
0.003mA - OFF
B. Door Chime unit
Power
Consumption : 2 x 1.5 volt alkaline batteries (“AA”, UM3 & LR6 - not included)
: 100mA - ON
0.3mA - Stand By
Specification
C. Time Station
Power
Consumption
Model No. SX-204
