manuals.online logo
Brands
  1. Home
  2. •
  3. Brands
  4. •
  5. CAME
  6. •
  7. Keypad
  8. •
  9. CAME TOP 864NA User manual

CAME TOP 864NA User manual

This manual suits for next models

2

Other CAME Keypad manuals

CAME PXWKTN01 User manual

CAME

CAME PXWKTN01 User manual

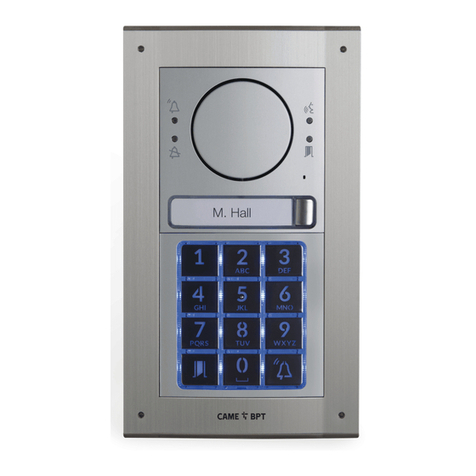
CAME BPT MTM Assembly instructions

CAME

CAME BPT MTM Assembly instructions

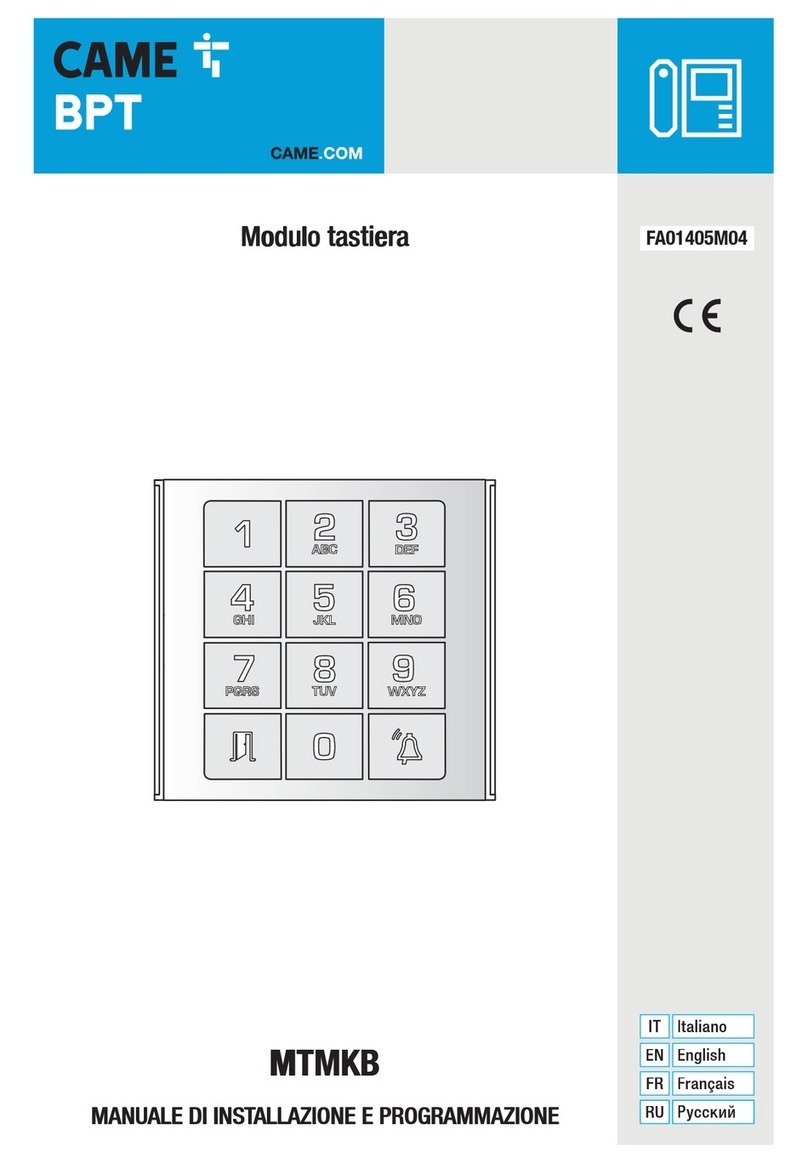
CAME BPT MTMKB Assembly instructions

CAME

CAME BPT MTMKB Assembly instructions

CAME PTDC70 User manual

CAME

CAME PTDC70 User manual

CAME STDCSNWL User manual

CAME

CAME STDCSNWL User manual

CAME S6000 User manual

CAME

CAME S6000 User manual

CAME PXKTN01 User manual

CAME

CAME PXKTN01 User manual

CAME S9000 User manual

CAME

CAME S9000 User manual

CAME SELT1W4G User manual

CAME

CAME SELT1W4G User manual

CAME MTMNA Owner's manual

CAME

CAME MTMNA Owner's manual

Popular Keypad manuals by other brands

AAA 6150RFAAA Installation and setup guide

AAA

AAA 6150RFAAA Installation and setup guide

Fermax MDS Installation and programming manual

Fermax

Fermax MDS Installation and programming manual

ACT ACT PRO 1030 manual

ACT

ACT ACT PRO 1030 manual

Cardin SSB Series manual

Cardin

Cardin SSB Series manual

Harman Kardon KP 1 Specifications

Harman Kardon

Harman Kardon KP 1 Specifications

CYP CR-KP1 Operation manual

CYP

CYP CR-KP1 Operation manual

Aeware k-35 Series Quick reference card

Aeware

Aeware k-35 Series Quick reference card

Aritech CS-175 Series user guide

Aritech

Aritech CS-175 Series user guide

Lenze AC Tech MC SERIES installation instructions

Lenze AC Tech

Lenze AC Tech MC SERIES installation instructions

Burg Wächter secuENTRY 7711 operating instructions

Burg Wächter

Burg Wächter secuENTRY 7711 operating instructions

Aeware in.k450 Tech book

Aeware

Aeware in.k450 Tech book

Lenze EPM-H410 operating instructions

Lenze

Lenze EPM-H410 operating instructions

Toshiba RKP007Z user manual

Toshiba

Toshiba RKP007Z user manual

Elmes Electronic KB1 quick start guide

Elmes Electronic

Elmes Electronic KB1 quick start guide

Clare Controls ClareOne CLR-C1-PNC Installation sheet

Clare Controls

Clare Controls ClareOne CLR-C1-PNC Installation sheet

FM Electronics 4180 quick start guide

FM Electronics

FM Electronics 4180 quick start guide

AMX MIO-PRESTIGE-S Dimensional drawing

AMX

AMX MIO-PRESTIGE-S Dimensional drawing

why pro WHY-KP user manual

why pro

why pro WHY-KP user manual

manuals.online logo
manuals.online logoBrands
  • About & Mission
  • Contact us
  • Privacy Policy
  • Terms and Conditions

Copyright 2025 Manuals.Online. All Rights Reserved.

TOP
TOP
864NA
864NA
serieTOP
serieTOP
868.35
868.35
MHz
MHz
2
3
1
-> ACTIVEREN
(kopiëren)
1 - druk de eerste 2 toetsen
samen in totdat de led sneller
knippert;
2 - druk nu op de gewenste
toets (de led gaat branden);
3 - binnen 10” houdt u tegen
de achterkant de reeds ge-
programmeerde zender
󱤨
en
drukt u enkele ogenblikken
de toets in die u wenst te
kopiëren.
Als de toets opgeslagen is,
knippert de led 3 keer.
NL
NL
-> Cómo ACTIVARLO
(duplicación)
1 - apretar al mismo tiempo
las 2 teclas hasta que el
Led parpadee más rápida-
mente;
2 - apretar la tecla para ac-
tivar (el Led se enciende);
3 - en 10”, apoyar a su
parte posterior el emisor
activado
󱤨
y apretar algu-
nos instantes la tecla para
duplicar.
Concluida la memorización,
el LED parpadeará 3 veces.
ES
ES
-> Jak AK
TYWOWAĆ
pilota (duplikacja)
1 - nacisnąć jednocześnie 2
przyciski, aż do chwili, gdy
diody Led zaczną migać ze
zwiększoną częstotliwością;
2 - teraz należy nacisnąć przy-
cisk w celu aktywacji pilota
(zapala się dioda Led);
3 - oprzeć pilot
󱤨
włączony
i zwrócony tylną częścią do
podłoża, po czym nacisnąć
na moment przycisk, który za-
mierza się zduplikować.
Zakończeniu kodowania jest
potwierdzane trzykrotnym mi-
gnięciem diody LED.
PL
PL
-> INBETRIEBNAHME
(Duplizieren)
1 - die beiden Taster zusam-
men so lange drücken, bis die
LED schneller blinkt;
2 - nun den zu aktivierenden
Taster drücken (die LED geht
an);
3 - den aktivierten Handsen-
der
󱤨
innerhalb von 10” an
seine Rückseite halten und
kurz den zu kopierenden Ta-
ster drücken.
Nach erfolgtem Einspeichern,
blinkt die LED dreimal.
DE
DE
-> Como ACTIVÁ-LO
(duplicação)
1 - prema ao mesmo tempo as
2 teclas até que o Led lampeje
mais rapidamente;
2 - prema então a tecla a ser
activada (o Led se acende);
3 - dentro de 10”, apoie na sua
parte traseira o transmissor
activo
󱤨
e prema por alguns
segundos a tecla a ser dupli-
cada.
Ao término da memorização, o
LED lampejará 3 vezes.
PT
PT
-> Comment L’ACTIVER
(duplication)
1 - appuyer en même temps sur
les 2 touches jusqu’à ce que le
Led clignote plus rapidement ;
2 - appuyer maintenant sur la
touche à activer (le LED s’al-
lume) ;
3 - dans les 10”, appuyer l’émet-
teur actif
󱤨
sur la partie arrière
et appuyer pendant un instant
sur la touche à dupliquer.
Lorsque la mémorisation a été
effectuée, le LED clignote 3
fois.
FR
FR
-> How to Activate it
(duplication)
1 - press the 2 buttons to-
gether until the LED flashes
quicker;
2 - now press the button you
wish to activate (the LED
lights up);
3 - within 10” rest the active
transmitter
󱤨
to its backside
and press for a few instants
the button you wish to du-
plicate.
Once memorised, the LED
will flash 3 times.
EN
EN
-> Come ATTIVARLO
(duplicazione)
1 - premere assieme i 2 tasti
fino a quando il Led lampeg-
gia più velocemente;
2 - premere ora il tasto da at-
tivare (il Led si accende);
3 - entro 10”, appoggiare alla
sua parte posteriore il tra-
smettitore attivo
󱤨
e premere
per qualche istante il tasto da
duplicare.
A memorizzazione avvenu-
ta, il LED lampeggerà per 3
volte.
IT
IT
-> АКТИВАЦИЯ дополни-
тельного брелока
серии TOP
1 - На новом брелоке нажмите и
удерживайте обе кнопки одновре-
менно, пока индикатор не начнет
мигать быстрее, затем отпустите.
2 - Нажмите ту кнопку, которую
необходимо запрограммировать
(индикатор загорится ровным
светом).
3 - В течение 10 секунд поднесите
работающий брелок 󱤨снизу и
сзади к новому и нажмите рабо-
чую кнопку.
При успешном программировании
индикатор нового брелока вспых-
нет три раза.
RU
RU
Y

001TOP-864NA 1
*001TOP-864NA* *1*
n° 2 CR2016
3 V DC Lithium
#
#
❶TOP-862NA
❷
max 12 mA
Doc. Tec. 119RU73 ver. 1.0 - 02/2011
❸
23 g
40 x 85
x 12 mm
CAME
50÷150 m
Ogni tasto è già codificato
singolarmente - Compatibile
con i trasmettitori CAME:
❶
-
Assorbimento in trasmissione:
❷
- Usare un cacciavite per
aprire
❸
.
Smaltire le batterie esau-
ste in conformità alle norme
vigenti.
Each button is already cod-
ed singularly - Compatible with
CAME transmitters:
❶
- Power
draw when transmitting:
❷
- Use
a screwdriver to open
❸
.
Dispose of exhausted bat-
teries in compliance with cur-
rent laws.
Chaque touche est déjà
codifiée individuellement -
Compatible avec les émetteurs
CAME :
❶
- Absorption pendant
la transmission :
❷
- Utiliser un
tournevis pour ouvrir
❸
.
Éliminer les batteries épui-
sées en respectant les normes
en vigueur.
Jeder Taster ist schon
einzeln kodiert - Kompatibel mit
den Handsendern von CAME:
❶
- Stromaufnahmewährend des
Sendens:
❷
- Miteinem Schrau-
benzieher önen
❸
.
Verbrauchte Batterien ge-
mäß den geltenden Vorschriften
entsorgen.
Cada tecla está ya codi-
ficada individualmente - Com-
patible con los emisores CAME:
❶
- Absorción en transmisión:
❷
- Usar un destornillador para
abrir
❸
.
Eliminar las baterías gas-
tadas de acuerdo a las normas
vigentes.
Elke toets heeft al een
afzonderlijke code - Compatibel
met de zenders van CAME:
❶
-
Stroomopname tijdens zenden:
❷
- Openen met een schroe-
vendraaier
❸
.
Werp gebruikte batterijen
weg volgens de geldende voor-
schriften.
Cada tecla é já codificada
separadamente - Compatível
com os transmissores CAME:
❶
- Absorção em transmissão:
❷
- Use uma chave de fendas
para abrir
❸
.
Elimine as baterias gastas
de acordo com as normas vi-
gentes.
Każdy przycisk jest już
pojedynczo zakodowany - Kom-
patybilny z pilotami CAME:
❶
-
Pobór prądu podczas transmisji:
❷
- Dla otworzenia posłużyć się
śrubokrętem
❸
.
Zużyte baterie należy utyli-
zować zgodnie z odpowiednimi
przepisami.
Каждая кнопка уже
закодирова на - Полностью
совместим с брелоками-
передатчиками CAME:
❶
-
Макс. потребляемый ток при
передаче:
❷
- Используйте
отвертку для открытия кор-
пуса
❸
.
ИСПОЛЬЗОВАННЫЕ эле-
менты питания должны быть
утилизированы в соответ-
ствии с действующим законо-
дательством.