6
About This Guide
Conventions Used in this Guide
zUse the "Easy Photo Pack" which is an ink and paper integrated cartridge in the SELPHY ES
series. This is referred to as "Easy Photo Pack" or "cartridge" in this guide.
zThis printer can be used with various types of media, such as, SD*memory cards or
MultiMediaCards (p. 29).
These types of media are referred to as "memory cards" in this guide.
* SD is an acronym for Secure Digital.
zGeneral "camera" descriptions in this guide refer to digital cameras or digital camcorders
compatible with the SELPHY ES30. The explanations in this guide use Canon digital cameras.
zIn this guide, the screen shots from the LCD monitor show a "P" for the Postcard-size ink and
paper integrated cartridge.
zIllustrations and screen examples shown in this guide may differ slightly from the actual printer.
Before using your printer for the first time, please read through the Safety Precautions
(p. 84) and the Handling Precautions (p. 86).
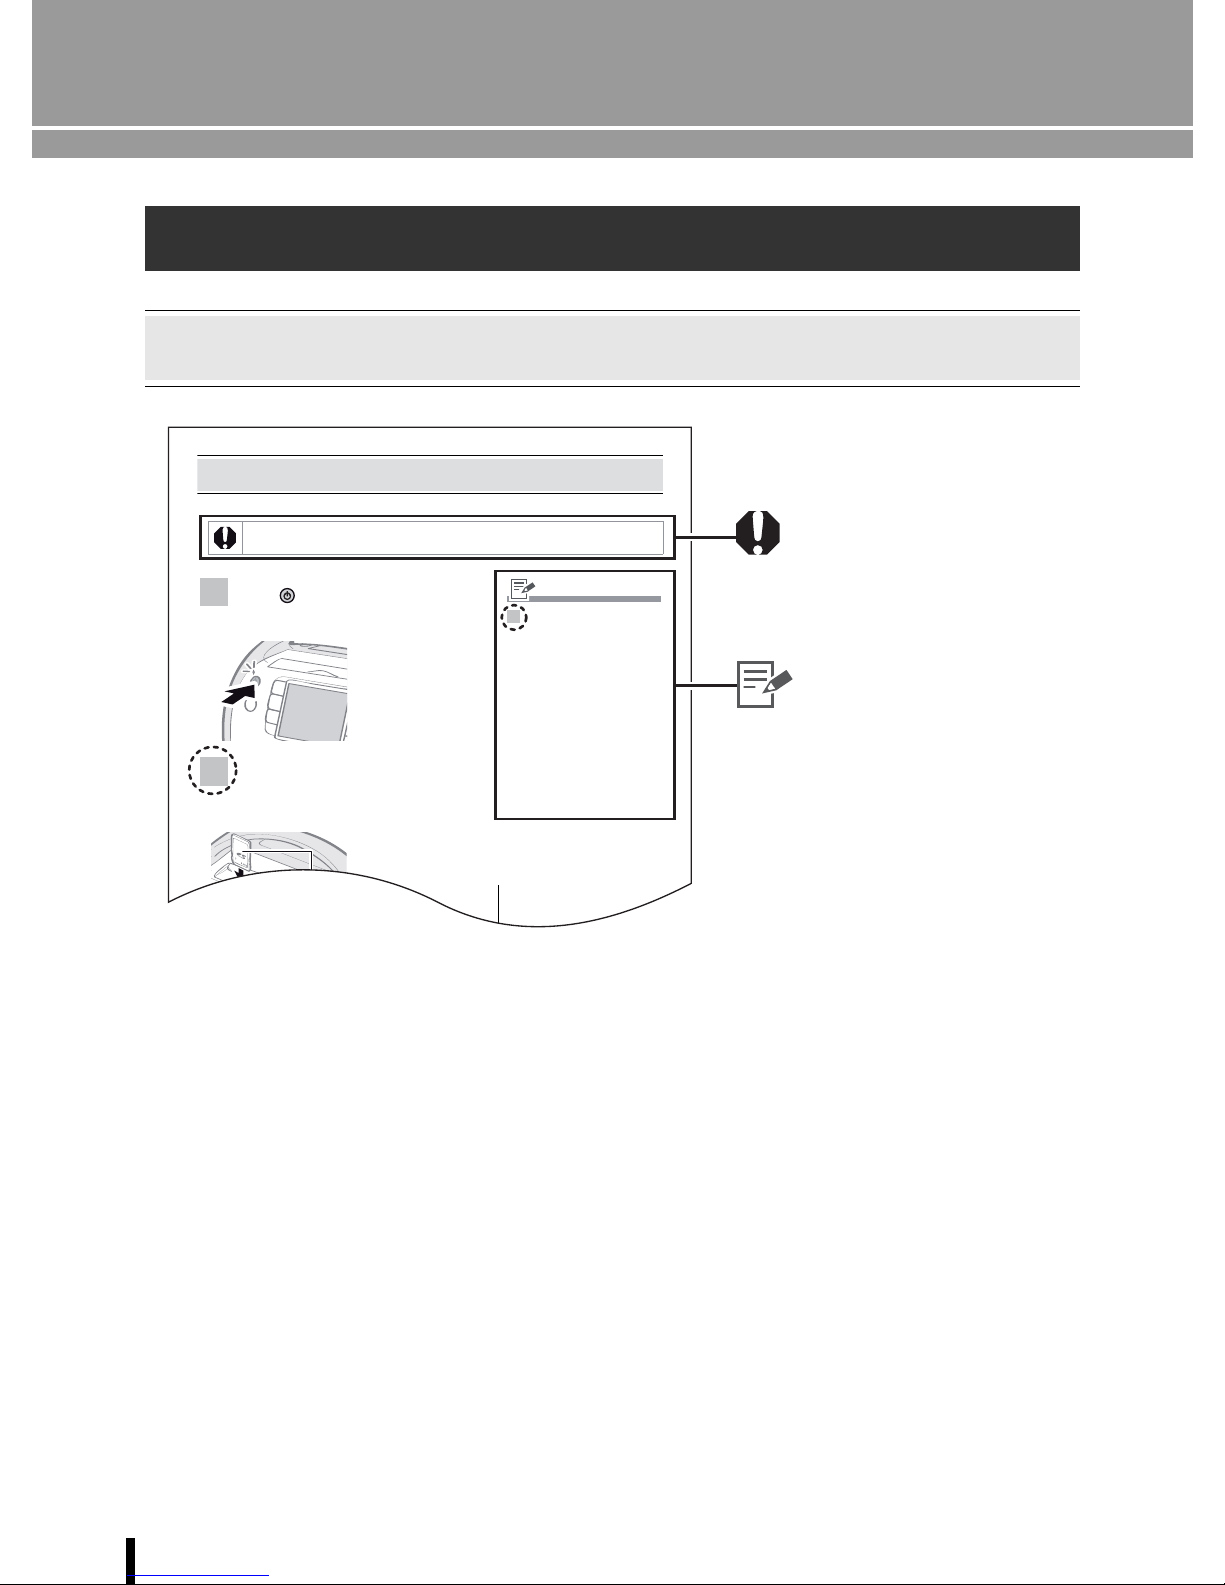
Insert a Memory Card
Insert a single memory card into the printer.
Please refer to the user guide included with your memory card for handling instructions.
1Press until the power lamp lights
green to turn the power on.
2Insert a single memory card into the
appropriate card slot of the printer.
• The startup screen
appears on the LCD
monitor.
• An image is displayed
on the LCD monitor.
2• Slide the card slot cover to
switch from SD/MMC+/miniSD
slot to microSD slot.
• Insert a memory card all the
way in (for microSD cards,
microSDHC cards, push the
card in until you hear a click).
• When you remove a memory
card from a card slot, grasp the
portion of the card protruding
from the card slot, and pull it out
(for microSD cards, microSDHC
cards, push the memory card in
until you hear a click, and after it
silently pops out, grasp it and
pull it out).
This mark denotes issues that
may affect the printer's operation.
This mark denotes additional
topics that complement the basic
operating procedures. The
number refers to the
corresponding step.