manuals.online logo
Brands
  1. Home
  2. •
  3. Brands
  4. •
  5. Carrier
  6. •
  7. Air Cleaner
  8. •
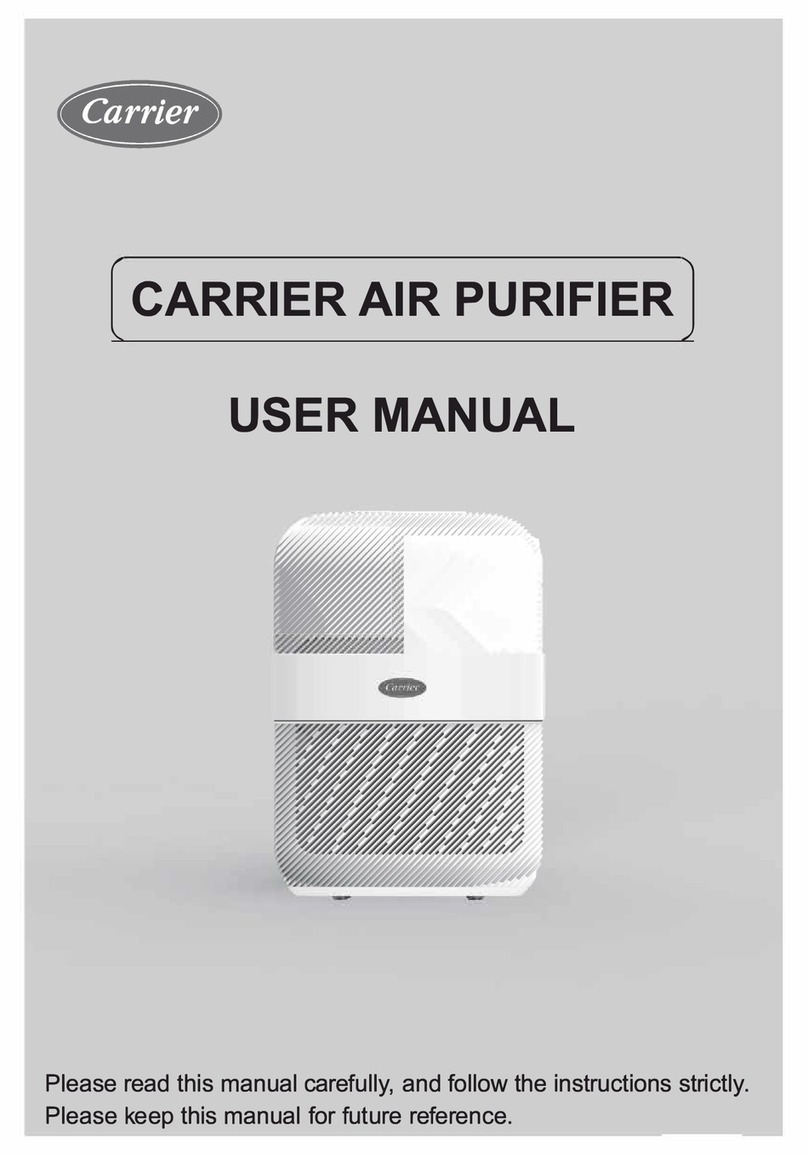
  9. Carrier DGAPA 1625 Series User manual

Carrier DGAPA 1625 Series User manual

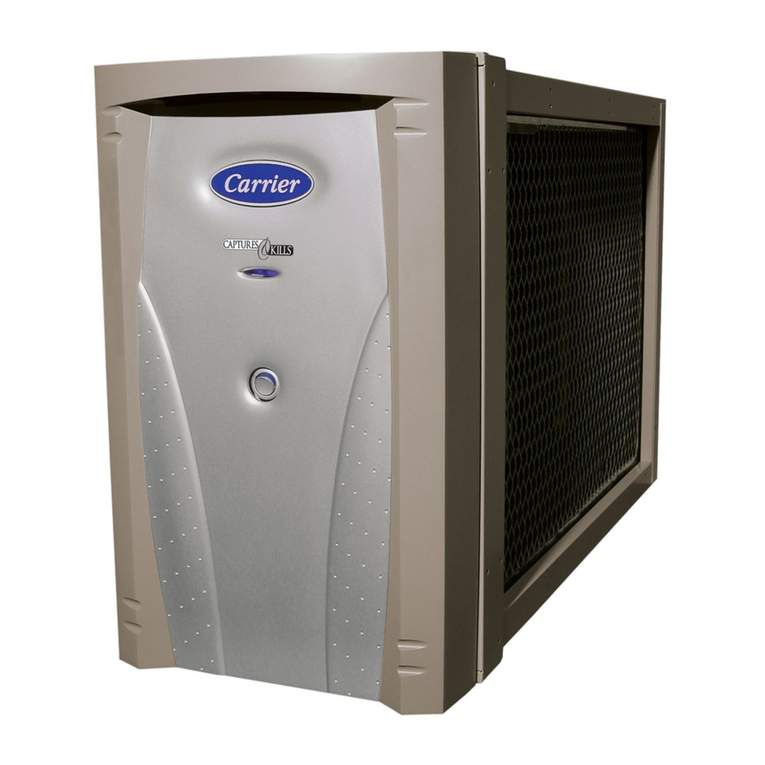
Air Purier
Quick Start and Installation Guide
RECOMMENDED INSTALLATION PAIRINGS
NOTE: A qualied installer or agency is required for proper installation. This guide is
for reference only and it is not intended to replace the product Installation Instructions.
The rst two models noted below
are designed to be installed
with furnaces, while the last
three models are designed to be
installed with fan coils.
Note: Air Flow Sensor Accessory
Kits are available if your
installation does not match
these recommendations
– see KIT160000,
or KIT161000.
Models DGAPAXX1625, DGAPAXX2025, DGAPAXX1620, DGAPAXX2020, DGAPAXX2420
There are three main mounting
options for the air purier product
– top mount, bottom mount, or
side mount. The location of the
Air Purier should be readily
accessible. Enough room
should be provided for periodic
replacement of the Air Purier
cartridges.
1
MOUNTING OPTIONS FOR AIR PURIFIERS
2
DGAPAXX1625 DGAPAXX2025 DGAPAXX1620 DGAPAXX2020 DGAPAXX2420
Furnace X X
Fan Coil X X X
Return Duct
Top Mount Bottom Mount
Return Duct
Side Mount
Airow
Airow
Airow
WIRING CONNECTIONS FOR FURNACES
3
WIRING CONNECTIONS FOR FAN COILS
4
A. Route the power conduit from the purier to a knockout on the fan coil air
handler that provides access to the incoming power wiring compartment.
Afx the end of the conduit to the fan coil air handler using the included
conduit tting.
B. Remove the yellow and black primary wires from the fan coil air handler
transformer terminals and connect the quick connect “piggyback” terminals
of the quick connect kit leads exiting the air purier power conduit assembly
to the transformer terminals. Reconnect the yellow and black primary wires to
their respective transformer terminals on the “piggyback” terminals. Attach the
ground ring terminal on the third wire to the fan coil air handler chassis ground.
Note: Power connections are to be made inside the fan coil wiring compartment
per local electrical codes, and the two in-line fuses that are provided with
the air purier must be installed in the fan coil wiring compartment.
For Fan Coil Puriers: Black Lead − connect to L1; White Lead − connect
to L2; Green Lead − connect to Appliance Ground (Chassis).
A. Route the power conduit from the purier to a
knockout on the furnace that provides access
to the EAC terminals on the furnace control
board. Afx the end of the conduit to the
furnace using the included conduit tting.
B. Attach the quick connect terminals on the
wires exiting the power conduit assembly
to the furnace EAC−1 and EAC−2 spade
connections. Attach the ground ring terminal
on the third wire to furnace chassis ground.
Note: The Air Purier should only be
powered when airow is present.
The furnace control EAC spade
connections, shown in image at left,
provide power only when the furnace
blower is operating.
Sample Furnace Circuit Board
LHT
OFF
DLY
ON
OFF
W2
BL W
Y1 DHUM GCOM
24V WW1 Y/Y2 R
TEST/TWIN
HUM
1 2 3
PLT
ACRDJ
0.5-AMP024 VAC
FUSE 3-AMP
SEC-1 SEC-2
PL1
NEUTRAL-L2
1
EA C-2
BHT/CLRBHI/LOR
PL3 1
BL WR
COOL
SP ARE-1SP ARE-2
1-AMP@115 VAC
EA C-1 PR-1
IDR
HSIR
IDM
IHI/LOR
PL2
1
HSI HI LO
S
T
A
T
U
S
C
O
D
E
L
E
D
HI HEA TLO HEAT
L1
Use terminals to connect the
power cord wires to the furnace
EAC-1 & 2, & ground terminals
CO
NDUIT CONNECTOR
T
O SECURE POWER CORD
T
O FURNACE CABINET
FURNACE CABINET
TO EAC-1
TO EAC-2
TO CHASSIS
GROUND
Best Practice Tip: Avoid running high voltage along side 24v wiring.
ERROR AND STATUS CODES
6
5
For the following three tables, the indicator light mentioned in the rst
column is the green LED on the front cover, under the power switch.
Indicator Light Code Explanation Possible Cause Recommended Action
OFF
No incoming
AC power to air
purier control
electronics
Normal operation when airow is
not present for models without ow
sensor due to AC power to purier
being off at furnace control board
(EAC terminals)
ON/OFF power switch
turned to OFF
Turn purier power switch
to ON position
Power to entire system is off
(furnace and air purier)
Check that the HVAC system
is switched on
Blown fuse or tripped circuit
breaker for HVAC system
Replace fuse or reset circuit
breaker, call for service if
problem reoccurs
Misaligned or damaged
purier door
Insure that door is undamaged
and properly installed on
purier cabinet
Damaged or disconnected
incoming power wiring Call for service
ON (continuously) Air purier on Normal operation when
airow is present
Flashing
(one ash every
four seconds)
Standby mode
Normal operation when airow
is not present for models with
ow sensor
Ions detected in airow
due to missing replaceable
lter element
Place lter in air purier
Debris is covering airow sensor
(for models including an
airow sensor)
Make sure ow sensor is
clean and unobstructed
Flow sensor is damaged
(for models including an
airow sensor)
Replace ow sensor,
available as replacement kit
(KIT160000)
Flow sensor bypass assembly is
damaged (for models without an
airow sensor)
Replace ow sensor bypass
assembly, available as
replacement kit (KIT161000)
One or more of the three airow
sensor contact springs on purier
cabinet downstream rail are bent
of damaged
Replace ow sensor contact
spring assembly, included as part
of the ow sensor kits
(KIT160000) and ow sensor
bypass kit (KIT161000)
Table 1: Operating Status Codes
When the rapid ashing code occurs on the green light, the controls for the high voltage need to be reset.
To reset the controls, the power switch needs to be turned on and off for three cycles.
1. Turn off power by depressing the power switch.
2. Wait approximately two seconds before turning
the power back on.
3. Wait approximately two seconds before turning
the power off.
4. Repeat Steps 2 and 3 for two more on/off cycles.
5. After the three on/off cycles are completed, turn
on power by depressing the power switch on. The
rapid ashing code on the green light should no
longer be displayed. If the rapid ashing code on
the green light is still displayed, repeat Steps 1
through 5.
Note: By resetting the air purier controls the issue
with air purier will need to be addressed by
cleaning or servicing the air purier.
Reset Procedure
Table 2: Start-Up Error Codes
Table 3: Operating Error Codes
Edition Date: 7/2020
Catalog No.: QSG-DGAPA-01
Replaces: New
© 2020 Carrier. All rights reserved.
Manufacturer reserves the right to change, at any time, specifications and designs without obligations.
Third-party trademarks are the property of their respective owners.
ERROR AND STATUS CODES
6
Indicator Light
Code Explanation Possible Cause Recommended Action
Two ashes Filter ground circuit fault
No lter installed Place lter in air purier
Filter installed
incorrectly
Install lter in correct orientation as
indicated by airow direction arrows on
cabinet and lter
Wrong type of
lter installed
Install a genuine air purier
replacement lter
Wet lter
Call service to locate and eliminate the
source of water on the lter and replace
the lter with a new lter
Damaged lter
contact spring on
door assembly
Verify that lter contact springs mounted on
door are properly contacting the aluminum
contact pads on the lter and not contacting
the cabinet or door back; if springs are
broken or damaged replace the
door assembly
Rapid ashing
(ve ashes per
second)
LED ashes for 10 seconds
when AC power is turned on
indicating a previously stored
error code; code will be
displayed after 10 seconds;
purier will not operate until
cause of error condition is
rectied and purier is reset
An error code was
registered in the
purier controls prior
to the purier being
turned off
The purier controls may be reset during
the 10 seconds in which the LED is
ashing rapidly; see the Reset Procedure
on previous page; if the problem persists,
follow the actions recommended in Table 3
for the stored error code or call service
Indicator Light
Code Explanation Possible Cause Recommended Action
Four ashes Ionizer/lter
current imbalance
Dirty Filter Enhancement Module
(FEM) Clean/service air purier unit
Damaged FEM Replace the lter enhancement modules
Five ashes Over-current fault
Excessively dirty damaged FEM
and/or lter Clean/service air purier unit
Wet damaged FEM and/or lter
Call service to locate and eliminate the
source of water in the air purier, Verify
that the purier FEM and cabinet are clean
and replace lter with a new lter
Damaged lter Replace the lter element
Damaged FEM Replace the lter enhancement module
Foreign object inside air purier Remove foreign object from air purier and
ensure purier is clean and undamaged
Six ashes Arc detected
Damaged lter Replace the lter element
Damaged FEM Replace the lter enhancement module
Foreign object inside air purier Remove foreign object from air purier and
ensure purier is clean and undamaged
This manual suits for next models

4

Other Carrier Air Cleaner manuals

Carrier INFINITY 1620 User manual

Carrier

Carrier INFINITY 1620 User manual

Carrier UVLCC1LP User manual

Carrier

Carrier UVLCC1LP User manual

Carrier ERVXXSHA1130 Use and care manual

Carrier

Carrier ERVXXSHA1130 Use and care manual

Carrier PGAPAXX1625 User manual

Carrier

Carrier PGAPAXX1625 User manual

Carrier DGAPAXX 1620 User manual

Carrier

Carrier DGAPAXX 1620 User manual

Carrier RMAP-ST User manual

Carrier

Carrier RMAP-ST User manual

Carrier OptiClean FN1AAF User manual

Carrier

Carrier OptiClean FN1AAF User manual

Carrier RGAP Series Guide

Carrier

Carrier RGAP Series Guide

Carrier UVCAPXXC2015 User manual

Carrier

Carrier UVCAPXXC2015 User manual

Carrier 31MM Dimensions and installation guide

Carrier

Carrier 31MM Dimensions and installation guide

Carrier RMAP-ST User manual

Carrier

Carrier RMAP-ST User manual

Carrier EACAAXCC0014 User manual

Carrier

Carrier EACAAXCC0014 User manual

Carrier EZFLEX MERV 10 User manual

Carrier

Carrier EZFLEX MERV 10 User manual

Carrier RMAP-ST User manual

Carrier

Carrier RMAP-ST User manual

Carrier ERVXXLHB1210 Series Use and care manual

Carrier

Carrier ERVXXLHB1210 Series Use and care manual

Carrier Infinity GAPAB User manual

Carrier

Carrier Infinity GAPAB User manual

Carrier RMAP-ST User manual

Carrier

Carrier RMAP-ST User manual

Carrier 31KAX Dimensions and installation guide

Carrier

Carrier 31KAX Dimensions and installation guide

Carrier GAPAA User manual

Carrier

Carrier GAPAA User manual

Carrier Room Air Purifier User manual

Carrier

Carrier Room Air Purifier User manual

Carrier EACA User manual

Carrier

Carrier EACA User manual

Carrier EACB0020 User manual

Carrier

Carrier EACB0020 User manual

Carrier 40RM Dimensions and installation guide

Carrier

Carrier 40RM Dimensions and installation guide

Carrier OptiClean 39UV Manual

Carrier

Carrier OptiClean 39UV Manual

Popular Air Cleaner manuals by other brands

Sunbeam HEALTH AT HOME 2589 user manual

Sunbeam

Sunbeam HEALTH AT HOME 2589 user manual

AllerAir UV-2 Sterilizer Specification sheet

AllerAir

AllerAir UV-2 Sterilizer Specification sheet

IDEAL AP60 PRO operating instructions

IDEAL

IDEAL AP60 PRO operating instructions

Coway Airmega 160 manual

Coway

Coway Airmega 160 manual

Hanseatic HAP35060WKC user manual

Hanseatic

Hanseatic HAP35060WKC user manual

HoMedics AR-29 instruction manual

HoMedics

HoMedics AR-29 instruction manual

ElectrIQ EAP600HCUV-WIFI user manual

ElectrIQ

ElectrIQ EAP600HCUV-WIFI user manual

Climate RENTAL SOLUTIONS CA600 instruction manual

Climate RENTAL SOLUTIONS

Climate RENTAL SOLUTIONS CA600 instruction manual

Medisana Happy Life 30310 instruction manual

Medisana

Medisana Happy Life 30310 instruction manual

UVDI V-PAC SC Owner's operation & maintenance manual

UVDI

UVDI V-PAC SC Owner's operation & maintenance manual

Omega Altise OPAL MINI instruction manual

Omega Altise

Omega Altise OPAL MINI instruction manual

Hilltop Solar Sooriyan manual

Hilltop Solar

Hilltop Solar Sooriyan manual

Rabbit Air MinusA2 SPA-780N quick start guide

Rabbit Air

Rabbit Air MinusA2 SPA-780N quick start guide

Philips AC5665 user manual

Philips

Philips AC5665 user manual

Comedes Lavaero 100 manual

Comedes

Comedes Lavaero 100 manual

Fellowes AeraMax 290 Operator's manual

Fellowes

Fellowes AeraMax 290 Operator's manual

Hunter 30763 owner's guide

Hunter

Hunter 30763 owner's guide

Amaircare 7500 owner's manual

Amaircare

Amaircare 7500 owner's manual

manuals.online logo
manuals.online logoBrands
  • About & Mission
  • Contact us
  • Privacy Policy
  • Terms and Conditions

Copyright 2025 Manuals.Online. All Rights Reserved.