manuals.online logo
Brands
  1. Home
  2. •
  3. Brands
  4. •
  5. Carson
  6. •
  7. Microscope
  8. •
  9. Carson MS-040 User manual

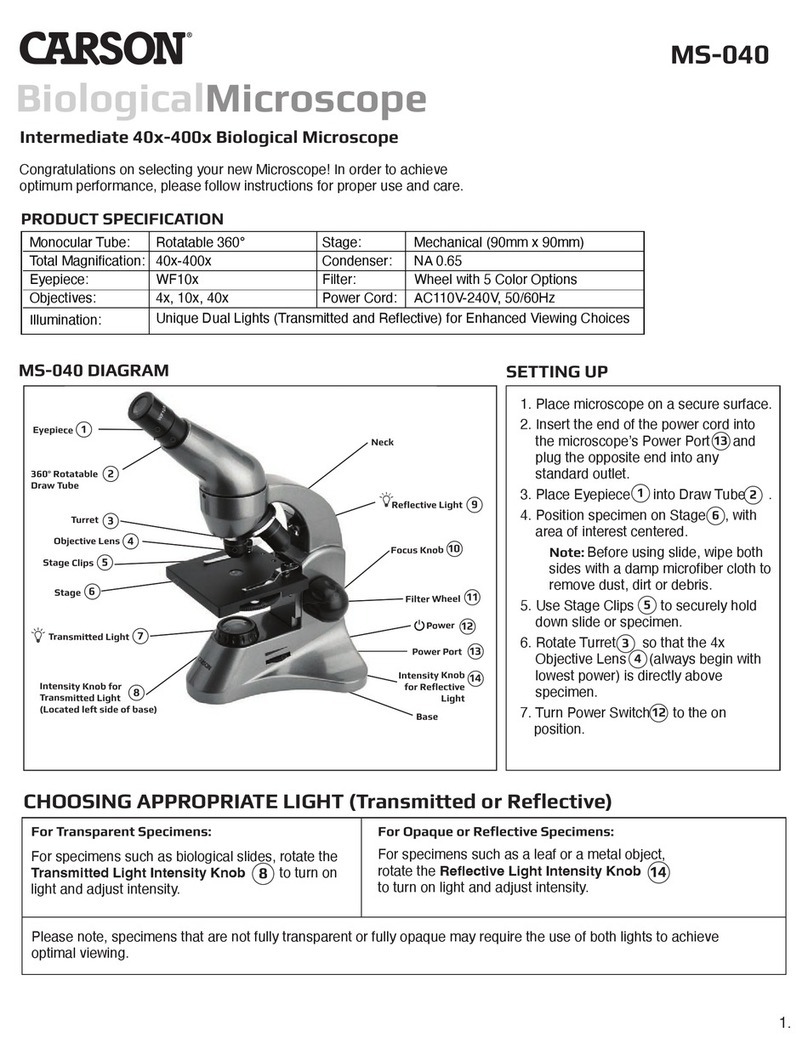
Carson MS-040 User manual

Other Carson Microscope manuals

Carson MS-160 User manual

Carson

Carson MS-160 User manual

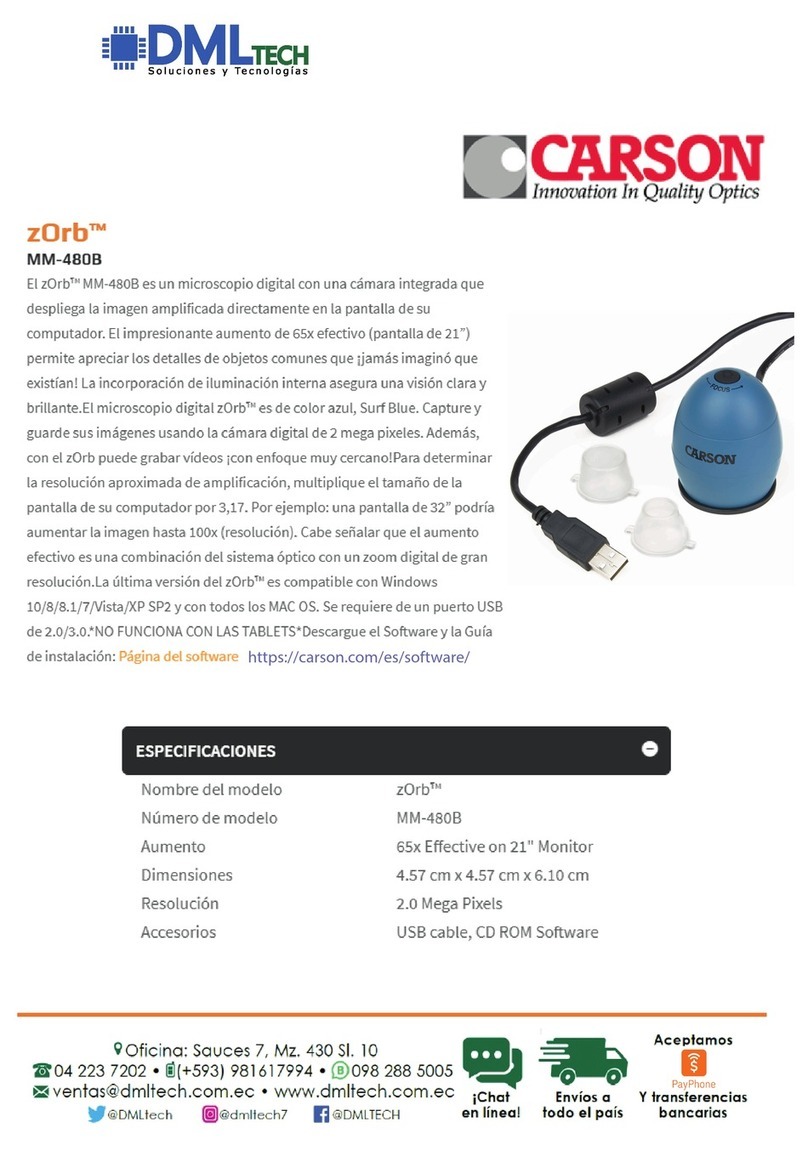
Carson MM-480 User manual

Carson

Carson MM-480 User manual

Carson MS-040 User manual

Carson

Carson MS-040 User manual

Carson zPix 300 User manual

Carson

Carson zPix 300 User manual

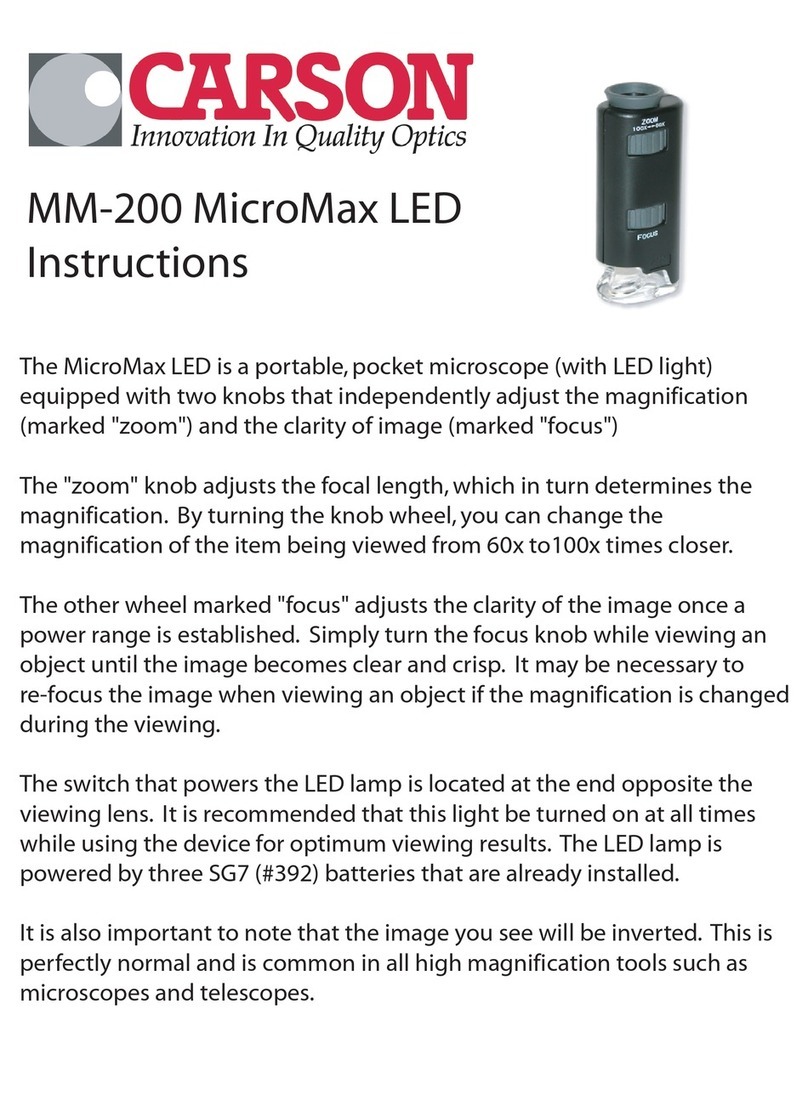
Carson MM-200 MicroMax LED User manual

Carson

Carson MM-200 MicroMax LED User manual

Carson zOrb User manual

Carson

Carson zOrb User manual

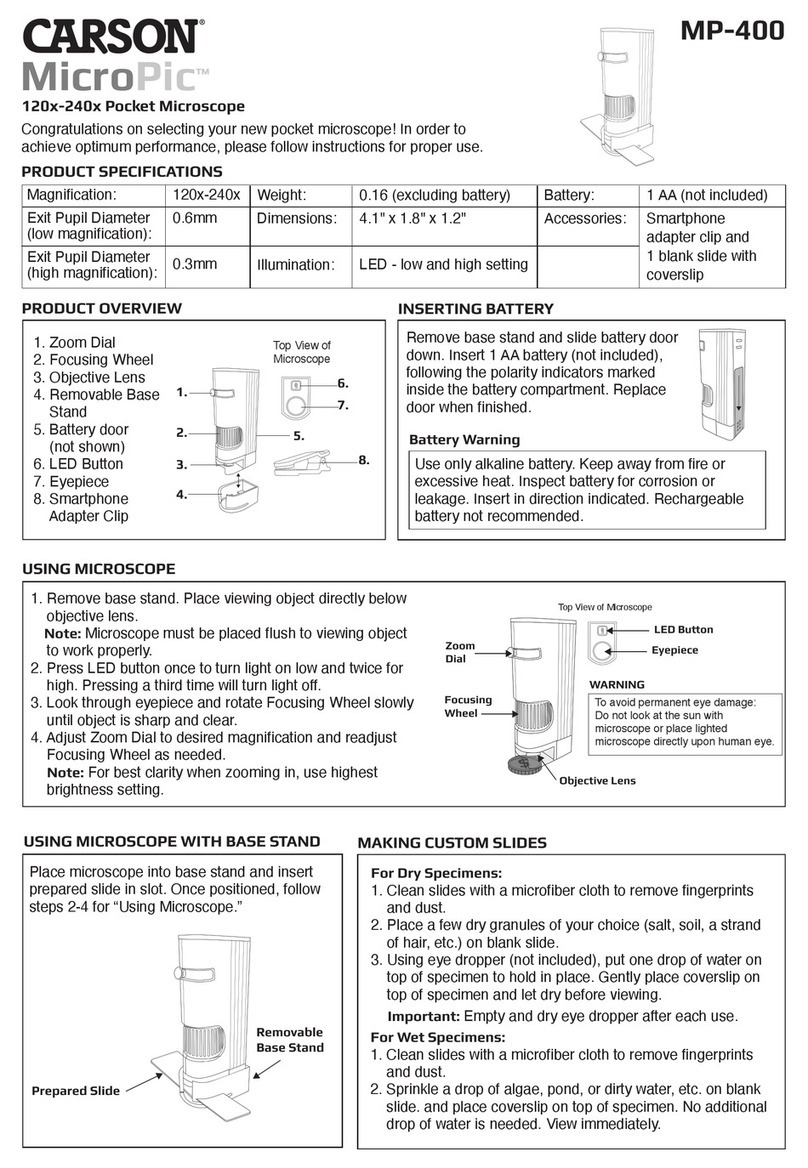
Carson MicroPic MP-400 User manual

Carson

Carson MicroPic MP-400 User manual

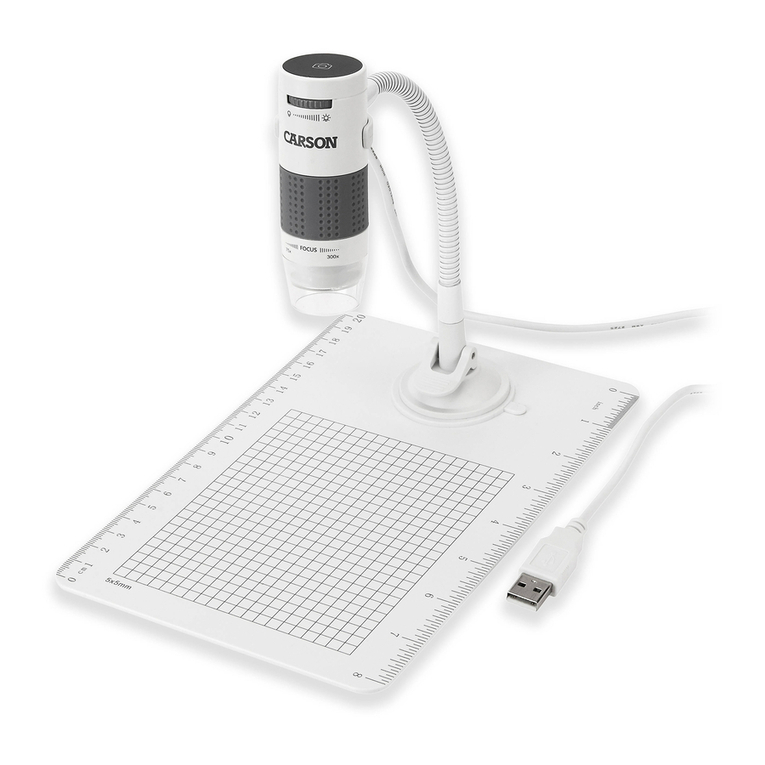
Carson eFLEX MM-840 User manual

Carson

Carson eFLEX MM-840 User manual

Carson MM-380 User manual

Carson

Carson MM-380 User manual

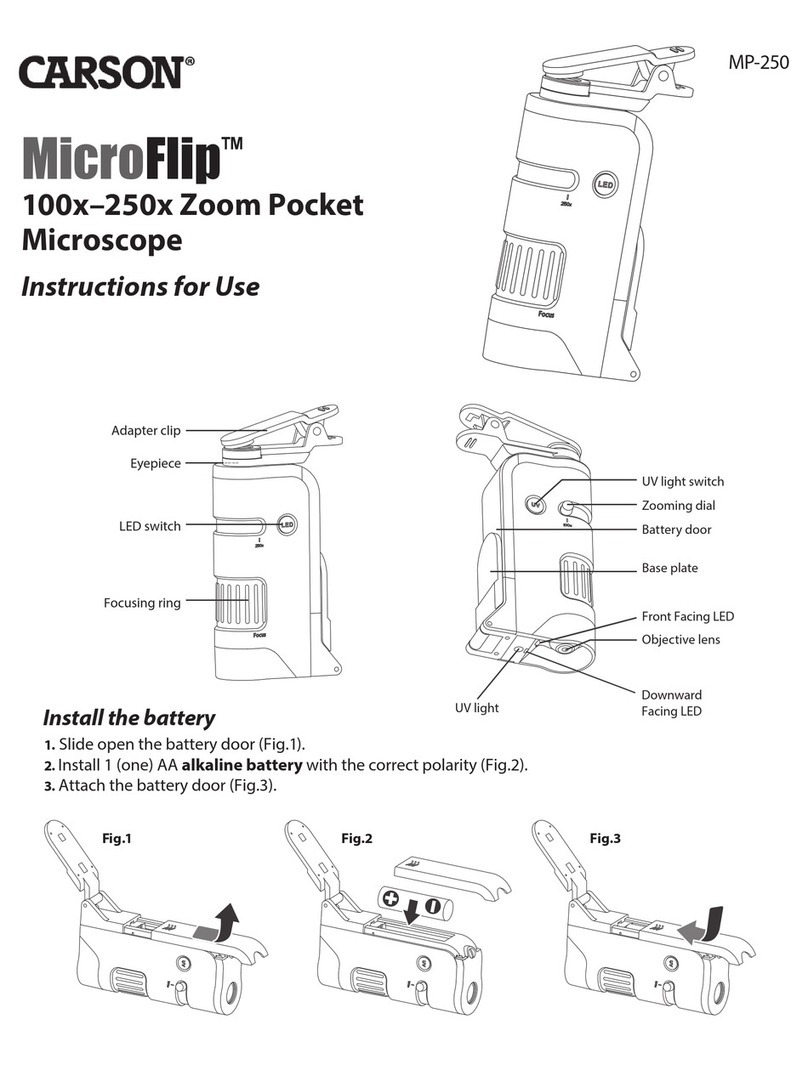
Carson MicroFlip MP-250 User manual

Carson

Carson MicroFlip MP-250 User manual

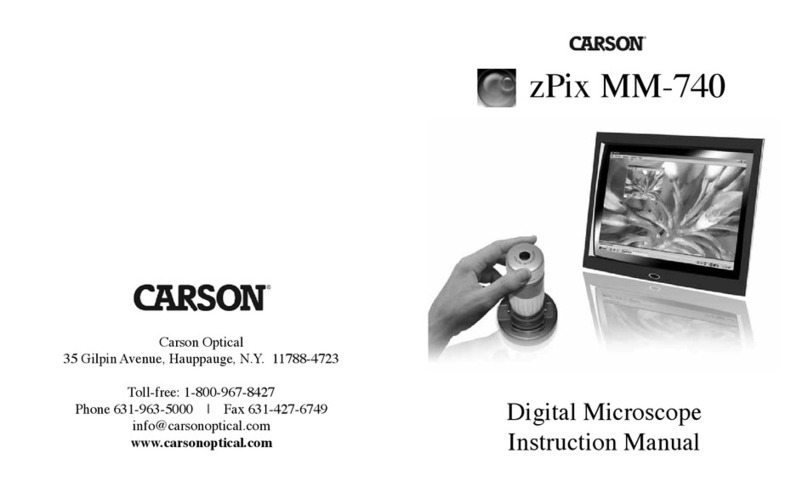
Carson zPix MM-740 User manual

Carson

Carson zPix MM-740 User manual

Carson MicroFlip MP-250 User manual

Carson

Carson MicroFlip MP-250 User manual

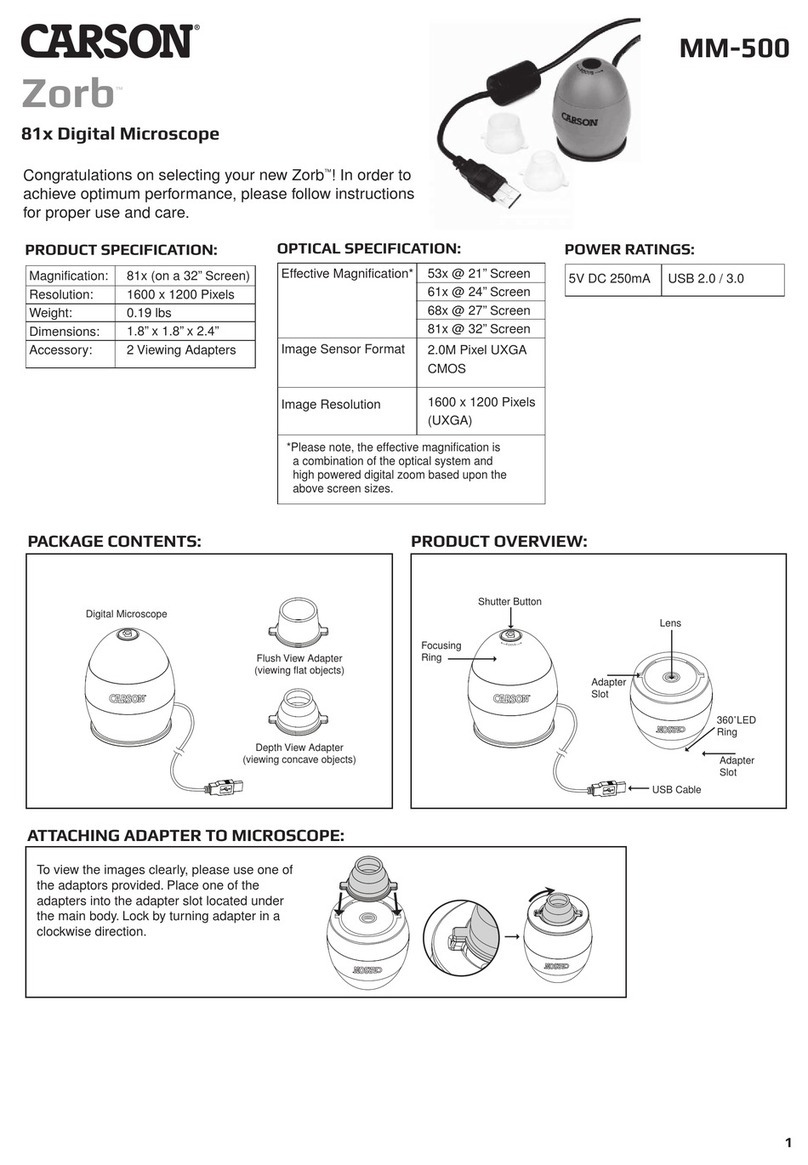
Carson Zorb MM-500 User manual

Carson

Carson Zorb MM-500 User manual

Carson MM-300MU User manual

Carson

Carson MM-300MU User manual

Carson MS-170 User manual

Carson

Carson MS-170 User manual

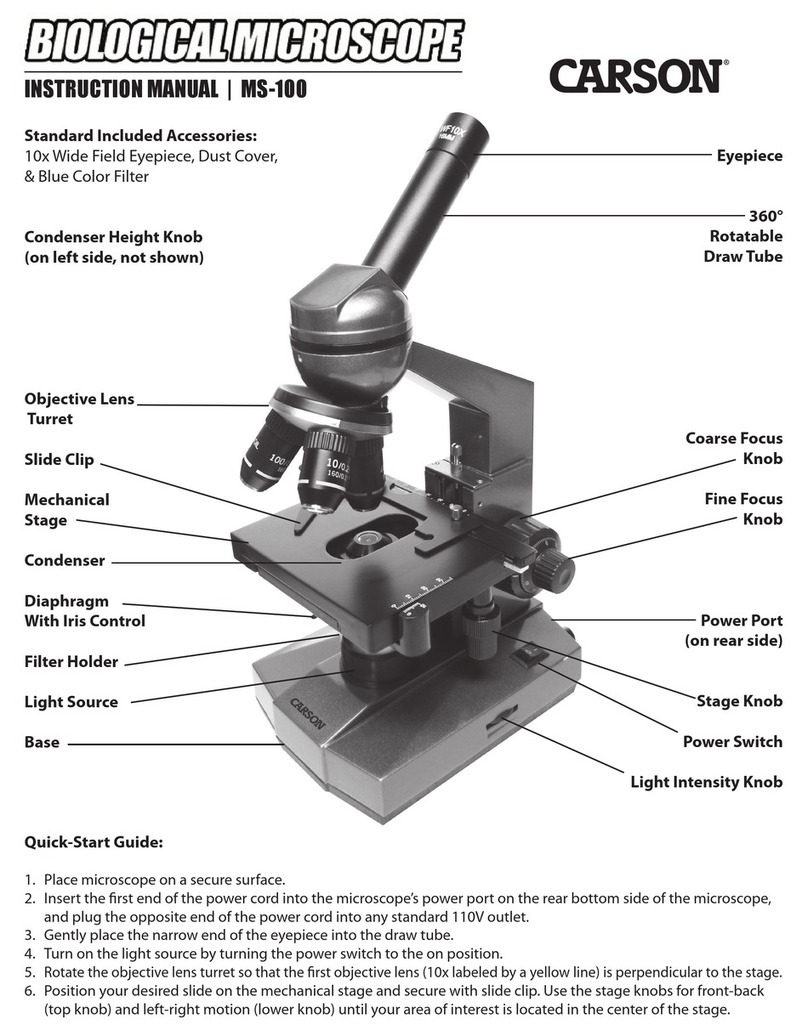
Carson MS-100 User manual

Carson

Carson MS-100 User manual

Carson MicroBrite Plus User manual

Carson

Carson MicroBrite Plus User manual

Carson MicroFlip MP-250 User manual

Carson

Carson MicroFlip MP-250 User manual

Carson zPix 300 User manual

Carson

Carson zPix 300 User manual

Carson MICROBRITE PLUS MM-300 User manual

Carson

Carson MICROBRITE PLUS MM-300 User manual

Carson MagniScope MA-60 User manual

Carson

Carson MagniScope MA-60 User manual

Carson MicroMini MM-280B User manual

Carson

Carson MicroMini MM-280B User manual

Carson MicroFlip MP-250 User manual

Carson

Carson MicroFlip MP-250 User manual

Carson MicroFlip MP-250 User manual

Carson

Carson MicroFlip MP-250 User manual

Popular Microscope manuals by other brands

Brütsch Rüegger FUTURO instruction manual

Brütsch Rüegger

Brütsch Rüegger FUTURO instruction manual

Elenco Electronics EDU-41003 instructions

Elenco Electronics

Elenco Electronics EDU-41003 instructions

Nikon SMZ25 instruction manual

Nikon

Nikon SMZ25 instruction manual

National DC3-163 instructions

National

National DC3-163 instructions

KERN Optics OPE-1 User instructions

KERN Optics

KERN Optics OPE-1 User instructions

OPTIKA MICROSCOPES B-150D Operation manual

OPTIKA MICROSCOPES

OPTIKA MICROSCOPES B-150D Operation manual

Prior Lux POL operating instructions

Prior

Prior Lux POL operating instructions

Olympus SZ61 instructions

Olympus

Olympus SZ61 instructions

Opitec Smartscoop 115615 instructions

Opitec

Opitec Smartscoop 115615 instructions

KERN OPO-1 operating instructions

KERN

KERN OPO-1 operating instructions

Topcon SP-1P user manual

Topcon

Topcon SP-1P user manual

AO Cycloptic Reference manual

AO

AO Cycloptic Reference manual

Leica DVM5000 Setup manual

Leica

Leica DVM5000 Setup manual

MshOt MZ62 user manual

MshOt

MshOt MZ62 user manual

Celestron 44345 instruction manual

Celestron

Celestron 44345 instruction manual

KERN Optics OZR-5 User instructions

KERN Optics

KERN Optics OZR-5 User instructions

VWR VisiScope 384 Series instruction manual

VWR

VWR VisiScope 384 Series instruction manual

Leica DI C800 User's manual & installation instructions

Leica

Leica DI C800 User's manual & installation instructions

manuals.online logo
manuals.online logoBrands
  • About & Mission
  • Contact us
  • Privacy Policy
  • Terms and Conditions

Copyright 2025 Manuals.Online. All Rights Reserved.

7. Die geeignete(n) Lichtquelle(n) einschalten.
i. Bei durchscheinenden Präparaten wie biologischen Schnitten die Leuchtkrafteinstellung für die Durchlich-
tquelle drehen. Sie schaltet die Lichtquelle ein und regelt die Lichtstärke.
ii. Bei lichtundurchlässigen oder spiegelnden Präparaten die Leuchtkrafteinstellung für die Auichtquelle drehen.
Sie schaltet die Lichtquelle ein und regelt die Lichtstärke.
iii. Bei gemischt lichtdurchlässigen und undurchlässigen Präparaten können die Durchlicht- und Auichquelle
Okularleich eingeschaltet werden.
8. Fokussierung:
i. Ins Okular schauen. Es sollte ein weißes Bildfeld zu sehen sein.
ii. Den Fokussierknopf langsam drehen, bis das Bild vom Präparat scharf und kontrastreich dargestellt wird.
iii. Die Leuchtkraft der Lichtquelle einstellen, bis das Bild bestmöglich dargestellt wird.
ACHTUNG: Beim Fokussieren immer darauf achten, dass das Objektiv nicht bis auf das Präparat herunterstößt,
da dabei sowohl das Präparat als auch das Objektiv beschädigt werden können.
9. Vergrößerung:
i. Zur Änderung der Vergrößerung den Objektivrevolver so drehen, dass das gewünschte Objektiv senkrecht zum
Objekttisch steht. Fokussierung je nach Bedarf nachführen.
10. Farblter eignen sich zur Kontrasterhöhung, besonders bei Farbpräparaten. Zur Verwendung von Farbltern das
Filterrad drehen, bis der gewünschte Farblter hörbar einrastet.
Pege & Wartung:
• MitdemMikroskopsollteimmervorsichtigumgegangenwerden.BerührungmitSchmutz,körnigenFragmenten,
Staub oder Feuchtigkeit ist zu vermeiden.
• Reinigung:
—Mikroskopkorpus:GerätvomNetztrennenundSchmutzbzw.Staubmiteinemweichen,leichtfeuchten
Lappen abwischen.
— Linsenoberächen (Okular oder Objektiv): Staub und körnige Fragmente vorsichtig mit einem leicht
feuchtenMikrofasertuchoderCarsonsLensCleanerentfernen.
• BeiNichtgebrauchdasMikroskopambestenimOriginalbehältnisaufbewahren.
• BeimVersetzendasMikroskopamMetallhalsoderFußdesGrätekorpus’anfassen.DasGerätnichtanOkular,
Okularrohr oder Objektivrevolver anheben.
Technische Daten Carson Mikroskop MS-040:
• Einzelokular,Rohrneigung45°,360°drehbar
• Gesamtvergrößerung:40fach-400fach
• Okulare:WF10X
• Objektive:4X,10X,40X
• Objekttisch:90mmx90mm
• KondensorNA0.65,Scheibenblende
• Beleuchtung:Auf-undDurchlicht,elektrischeLED-Beleuchtung
Okular Objektiv Gesamt-vergrößerung
10x 4x 40x
10x 10x 100x
10x 40x 400x
360°
Rotatable
Draw Tube
Reective Light Source
Focus Knob
Filter Wheel
Power
Intensity Knob
for Reective
Light Source
Base
Standard Included Accessories: 10xWideFieldEyepiece
Eyepiece
Objective Lens Turret
Stage Clips
Stage
Transmitted
Light Source
Intensity Knob for
Transmitted Light Source
(on opposite side)
Quick-Start Guide:
1. Placemicroscopeonasecuresurface.Youmayrotatethedrawtubetothefrontfacingpositionoranypreferred
360°position.
2. Inserttheroundendofthepowercordintothemicroscope’spowerportontherearbottomsideofthemicro-
scope,andplugtheoppositeendofthepowercordintoanystandard110Voutlet.
3. Gentlyplacethenarrowendoftheeyepieceintothedrawtube.
4.
Rotatetheobjectivelensturretsothattherstobjectivelens(4xlabeledbyaredline)isperpendiculartothestage.
5. Positionyourdesiredspecimenonthestage,withyourareaofinterestlocatedinthecenterofthestage.
6. Usethestageclipstosecurelyholddownyourslideorspecimen.
INSTRUCTION MANUAL | MS-040
8Downloaded from www.Manualslib.com manuals search engine
Quick-Start Guide:
1. Placemicroscopeonasecuresurface.Youmayrotatethedrawtubetothefrontfacingpositionoranypreferred
360°position.
2. Inserttheroundendofthepowercordintothemicroscope’spowerportontherearbottomsideofthemicroscope,
andplugtheoppositeendofthepowercordintoanystandard110Voutlet.
3. Gentlyplacethenarrowendoftheeyepieceintothedrawtube.
4.
Rotatetheobjectivelensturretsothattherstobjectivelens(4xlabeledbyaredline)isperpendiculartothestage.
5. Positionyourdesiredspecimenonthestage,withyourareaofinterestlocatedinthecenterofthestage.
6. Usethestageclipstosecurelyholddownyourslideorspecimen.
7. Turn on appropriate light source(s).
i. Fortransparentspecimenssuchasbiologicalslides,rotatetheintensityknobforthetransmittedlightsourceto
turnonthelightandtochangelightintensity.
ii. Foropaqueorreflective specimens,rotate the intensityknob for thereflectivelightsourcetoturnonthelight
andtochangelightintensity.
iii. Formixedtransparentandopaquespecimens,youmayturnonboththereectiveandtransmittedlight
sources.
8. Focusing:
i. Lookint
o 
theeyepiece andyoushouldsee awhitefieldimage.

ii. Gentlyadjustthefocusknobuntiltheimageofthespecimencomesintoacrispfocus.
iii. Adjustlightintensityonlightsourcestoachievebestimage.
CAUTION: Alwaystakecarewhenfocusing,sothattheobjectivelensdoesnotcollidedownonthespecimen,as
youmaycausedamagetoobjectivelensand/orspecimen.
9. Magnication:
i. To change magnication, rotate the objective lens turret so that the desired objective lens is perpendicular to
thestage.Refocusasneeded.
10. Colorltersmaybeusedtoenhancecontrast,especiallyifusingstainedslides.Tousecolorlters,rotatelterwheel
until the wheel clicks into the desired color lter.
Care & Maintenance:
• Pleasetakecarewhenusingourmicroscope.Trytoavoidbringingyourmicroscopeintocontactwithanydirt,
debris, dust or moisture.
• Cleaning:
—Formicroscopebody,unplugpoweranduseasoftslightlydampclothtocleandustordirt.
—Foropticalsurfaces,suchastheeyepiecelensorobjectivelens,useaslightlydampmicroberclothor
Carson’sLensCleanerstogentlyremovedustordebris.
• Whennotinuse,itisbesttostoreyourmicroscopeinoriginalcontainer.
• Whenmovingthemicroscope,holdbythemetalneckorbaseofthemicroscopebody.
Donotholdbytheeyepiecelens,drawtube,orobjectiveturret.
Lens Magnication

10x 4x 40x
10x 10x 100x
400x
2
360°
Drehbares
Okularrohr
Auicht-quelle
Fokussier-knopf
Filterrad
Ein / Aus
Leuchtkraft-einstellung für
Auicht-quelle
Fuß
Standardlieferunfang: 10fach-Weitfeldokular
Okular
Objektiv-revolver
Klemm-halter für
Objekt-träger
Objekttisch
Durchlicht-quelle
Leuchtkraft-einstellung für
Durch-lichtquelle
(gegenüber)
Schnellstart-Anleitung:
1. MikroskopaufsicheremUntergrundaufstellen.DasOkularrohrkanninFrontalstellungoderjedebeliebige360°-Po-
sition gedreht werden.
2. DasrundeEndedesNetzkabelsindieNetzbuchsehintenunteninsMikroskopeinstecken,dasandereEndedes
Netzkabelsineinenormale110V-Netzsteckdosestecken.
3. DasrundeEndedesOkularsvorsichtiginsOkularrohreinführen.
4. DenObjektivrevolversodrehen,dassdasersteObjektiv(4x,mitroterLiniegekennzeichnet)senkrechtzumObjek-
tivtisch steht.
5. DasgewünschtePräparataufdemObjekttischpositionieren.DerzubetrachtendeBereichkommtindieMittedes
Objekttisches.
6. DenSchnittoderdieProbemitdenKlemmhalternfürdenObjektträgersicherfestklemmen.
BedIeNUNgSANLeITUNg | MS-040
7
Eyepiece Objective
10x 40x
Total