CATLER RECOMMENDS SAFETY FIRST
WeatCatler are very safety conscious. Wedesignand manufacture consumer products with
thesafety of you, our valued customer foremost in mind. In addition weask thatyou exercise
a degree of care when using any electrical appliance and adhere to thefollowing precautions:
Important safeguards for your JE 4010 Juice Extractor
• This appliance is not intended for use by
persons (including children) with reduced
physical, sensory or mental capabilities,
or lack of experience and knowledge,
unless they havebeen given supervision
or instruction concerning use of the
appliance by a person responsiblefor their
safety.
• Children should besupervised to ensure
thatthey will not play with theappliance.
• Carefully read all instructions before
operation and savefor future reference.
• Removeany packaging material and
promotional stickers and labelsbefore
using theIkon JE 4010 Juice Extractor for
therst time.
• Donot place theJE 4010 Juice Extractor
neartheedgeof a bench or tableduring
operation. Ensure thatthesurface is level,
cleanand free of water, our, etc. Vibration
during operation may cause theappliance
to move.
• Any signicant spillageonto thesurface
under or around theappliance, or onto
theappliance itself, should becleaned
and dried before continuing to use the
appliance.
• Donot place theJE 4010 Juice Extractor
on or neara hot gasor electric burner, or
where it could touch a heated oven.
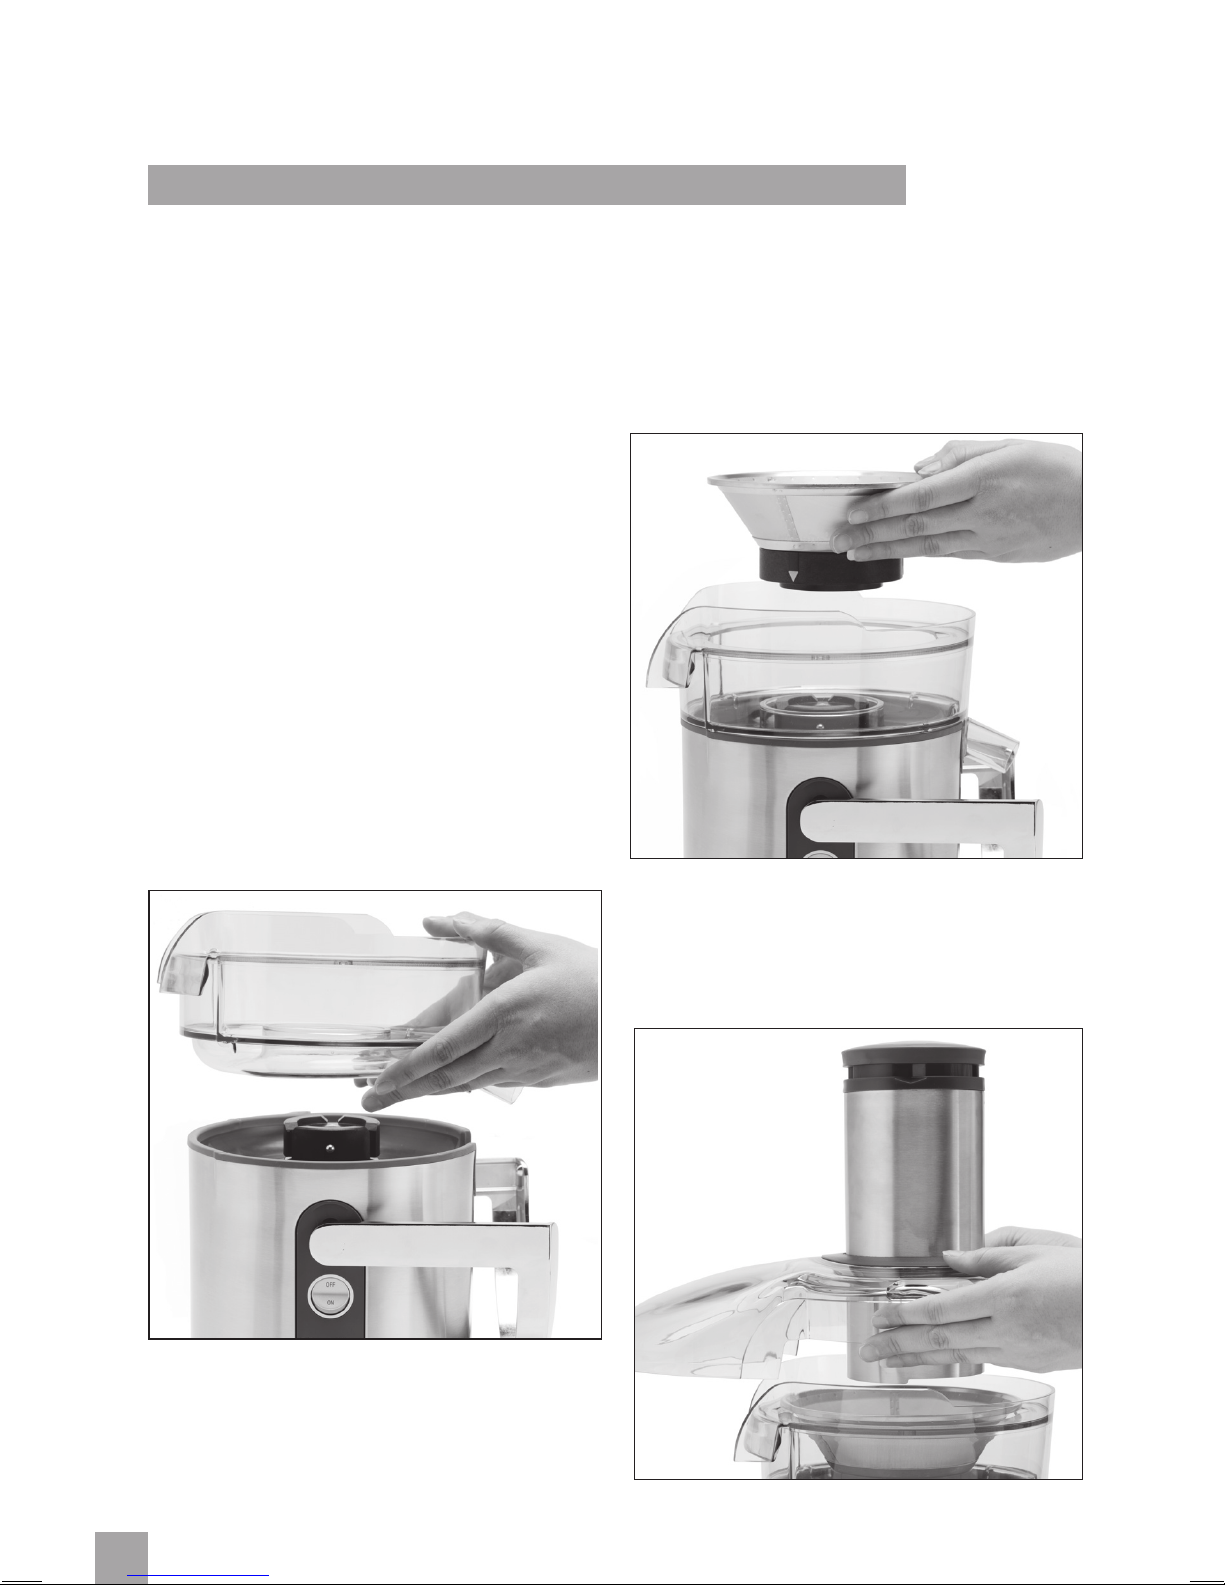
• Alwaysensure theJE 4010 Juice Extractor
is properly assembled before use. The
appliance will not operate unless properly
assembled. Refer to assembly and
operation (page6-10).
• Donot leavetheJE 4010 Juice Extractor
unattended when in use.
• Alwaysensure theJE 4010 Juice Extractor
is turned oby pressing the‘O/On’ switch
on thecontrol panel to ‘O’. T h en switch
theappliance oatthepower outlet and
unplug thecord. Makesure thestainless
steel lter basket hasstopped rotating and
themotor hascompletely stopped before
releasing thesafety locking arm and/or
attempting to movetheappliance, when
theJE 4010 Juice Extractor is not in use,
and before disassembling, cleaning and
storing.
• Donot operate theappliance
continuously with heavy loadsfor more
than10 seconds. Allow themotor to rest
for 1 minute between each use. Recipes in
this instruction book are not considered
a heavy load. However, hard fruits and
vegetables will put excess strain onto the
motor if a low speed is selected. Please
refer to thejuicing guideon Page9 to
determine thecorrect speed for thefruits
and vegetables selected for juicing.
• Keep hands, ngers, hair, clothing, aswell
asspatulasand other utensilsaway from
theappliance during operation.
• Donot push food into thefeed chute with
your ngers or other utensils. Alwaysuse
thefood pusher provided. Donot place
hand or ngers into food chute when it is
attached to theappliance.
• Becareful when handling thestainless
steel lter basket asthesmall cutting
blades atthebase of thelter basket are
very sharp. Mishandling may cause injury.
• Donot use theJE 4010 Juice Extractor for
anything other thanfood and/or beverage
preparation.
• Keep theappliance clean. Refer to care
and cleaning (page12).
3
CATLER RECOMMENDS SAFETY FIRST