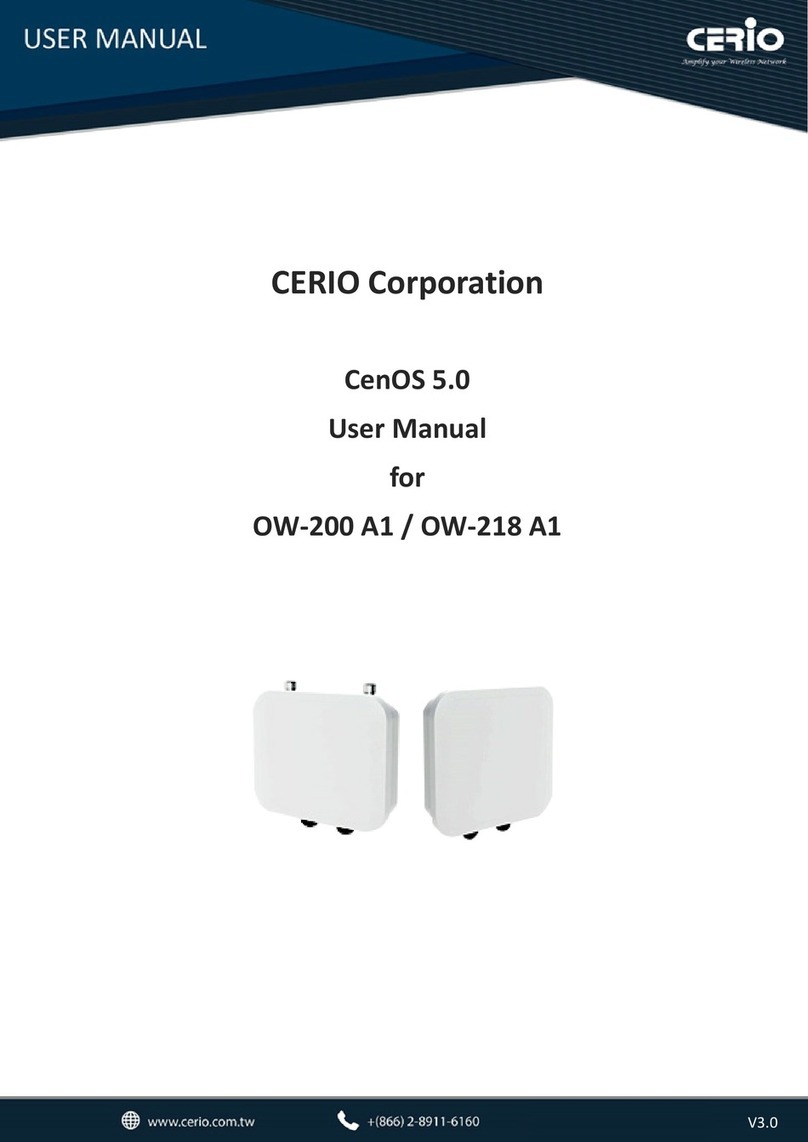
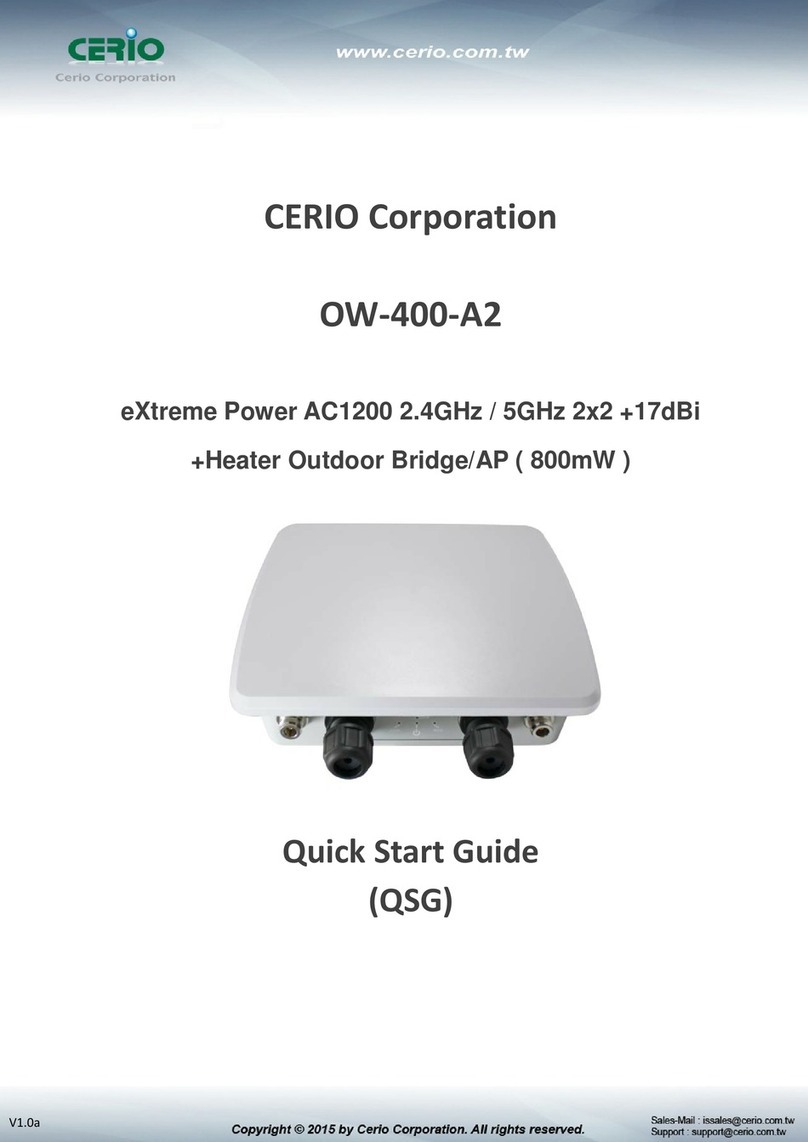
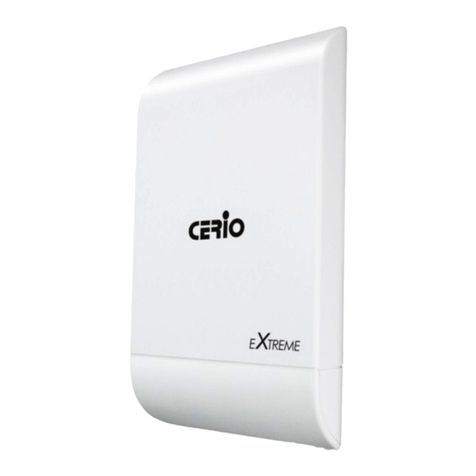
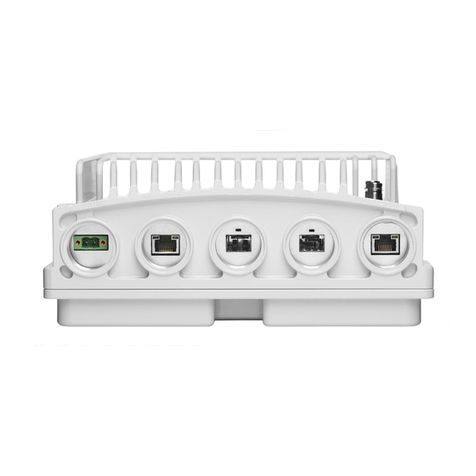
Cerio OW-400-A2 User manual

CERIO Corporation
OW-400-A2
eXtreme Power AC1200 2.4GHz / 5GHz 2x2 Ceiling / Wall
PoE Access Point ( 800mW )
CenOS5.0 User Manual

1. Introduction......................................................................................................................................5
1.1 Overview ...........................................................................................................................5
1.2 Software Configuration.................................................................................................7
1.3 Login OW-400-A2 Web Page......................................................................................11
2. Software Setting ...........................................................................................................................12
2.1 Operating Mode Introduction ....................................................................................12
3. Access Point mode ......................................................................................................................16
3.1 Select AP Mode .............................................................................................................16
3.2 VLAN Setup....................................................................................................................16
3.2.1 Network Button .....................................................................................................17
3.2.2 Network Pull-down menu ...................................................................................18
# DHCP Server .......................................................................................................................19
# Radio 0/1 Access Point....................................................................................................20
# MAC Filter.............................................................................................................................23
# 802.11r/802.11k Fast Roaming .........................................................................................23
3.3 Authentication ...............................................................................................................25
# Authentication Button:.........................................................................................................26
# Authentication Dropdown Button ......................................................................................27
3.3.1 Guest........................................................................................................................27
3.3.2 Local User...............................................................................................................28
3.3.3 OAuth2.0 .................................................................................................................29
※
Sample for Google OAuth2.0 setup..................................................................29
※
Sample for Facebook OAuth2.0 setup.............................................................32
3.3.4 Customize Page ....................................................................................................36
3.3.5 Language ................................................................................................................38
3.3.6 Walled Garden .......................................................................................................38
3.3.7 Privilege Address .................................................................................................39
3.3.8 Profile.......................................................................................................................39
3.4 RADIUS Server ..............................................................................................................40
3.5 Radius Account Setup ................................................................................................40
3.6 Wireless Basic Setup...................................................................................................41
3.6.1 Radio 0 Basic Setup (2.4G) ................................................................................41
3.6.2 Radio 1 Basic Setup (5G) ...................................................................................44
3.6.3 Advanced Setup....................................................................................................47
3.6.4 WMM Setup ............................................................................................................49
3.6.5 WDS Setup .............................................................................................................52

4. CAP Mode .......................................................................................................................................55
4.1 System VLAN Setup.....................................................................................................55
4.2 AP Control ......................................................................................................................57
# Centralized Management APs operating Instructions: ..................................................57
4.2.1 Scan Device ...........................................................................................................58
4.2.2 Batch Setup............................................................................................................59
4.2.3 AP Setup .................................................................................................................62
4.2.4 Group Setup...........................................................................................................62
4.2.5 Map Setup...............................................................................................................63
4.2.6 Authentication Profile .........................................................................................65
5. Client Bridge Mode.......................................................................................................................66
5.1 Configure LAN Setup...................................................................................................67
5.2 Configure DHCP Setup ...............................................................................................69
5.3 Wireless General Setup ..............................................................................................71
5.3.1 Radio 0(2.4G) Basic Setup .................................................................................71
5.3.2 Radio 1(5G) Basic Setup.....................................................................................73
5.3.3 Advanced Setup....................................................................................................74
5.3.4 WMM Setup ............................................................................................................77
5.3.5 Station Setup .........................................................................................................79
5.3.6 Repeater AP Setup ...............................................................................................80
5.3.7MAC Filter...............................................................................................................82
5.3.8 802.11r/802.11k Fast Roaming ..........................................................................83
6. WISP Mode .....................................................................................................................................86
6.1 Configure WAN Setup .................................................................................................86
6.2 Configure LAN Setup...................................................................................................90
6.3 Configure DHCP Server ..............................................................................................90
6.4 Wireless General Setup ..............................................................................................92
6.4.1 Radio 0(2.4G) Basic Setup .................................................................................93
6.4.2 Radio 1(5G) Basic Setup.....................................................................................94
6.4.3 Advanced Setup....................................................................................................96
6.4.4 WMM Setup ............................................................................................................99
6.4.5 Station Setup .......................................................................................................101
6.4.6 Repeater AP Setup .............................................................................................102
6.4.7 MAC Filter.............................................................................................................104
6.4.8 802.11r/802.11k Fast Roaming ........................................................................105
7. Router Mode.................................................................................................................................107
7.1 Configure WAN Setup ...............................................................................................107
7.2 Configure LAN Setup.................................................................................................111

7.2.1 Network Button ...................................................................................................112
7.2.2 Network Pull-down menu .................................................................................113
# DHCP Server .....................................................................................................................113
# Radio 0/1 Access Point..................................................................................................114
# MAC Filter...........................................................................................................................117
# 802.11r/802.11k Fast Roaming .......................................................................................118
7.3 Wireless Basic Setup.................................................................................................120
7.3.1 Radio 0 Basic Setup (2.4G) ..............................................................................120
7.3.2 Radio 1 Basic Setup (5G) .................................................................................123
7.3.3 Advanced Setup..................................................................................................126
7.3.4 WMM Setup ..........................................................................................................128
8. Advanced Setup By WISP & Router Mode...................................................................131
8.1 DMZ ................................................................................................................................131
8.2 IP Filter ..........................................................................................................................131
8.3 MAC Filter.....................................................................................................................134
8.4 Virtual Server ...............................................................................................................134
8.5 Access Control............................................................................................................136
8.6 Time Policy...................................................................................................................137
9. System Management .................................................................................................................138
9.1 Configure system management .............................................................................138
9.2 Configure Time Server ..............................................................................................140
9.3 Control PoE Bridge ....................................................................................................142
9.4 Configure SNMP Setup .............................................................................................142
10. Utilities...................................................................................................................................143
10.1 Profile Setting..............................................................................................................143
10.2 System Upgrade .........................................................................................................145
10.3 Network Utility.............................................................................................................146
10.4 Reboot ...........................................................................................................................146
11. Status.....................................................................................................................................147
11.1 Overview .......................................................................................................................147
11.2 Wireless Client ............................................................................................................147
11.3 Online Users by Captive Portal...............................................................................148
11.4 Authentication Log by Captive Portal...................................................................149
11.5 System Log ..................................................................................................................149
Appendix A. WEB GUI Valid Characters...........................................................................................150

1. Introduction
1.1 Overview
CERIO’s OW-400-A2 eXtreme Power AC1200 2.4GHz/5GHz 2x2 +17dBi +Heater Outdoor
Bridge/AP (800mW) is a dual band outdoor AP that combined superior functionality with an elegant
and highly durable housing design. This 11ac outdoor concurrent dual band access point supports a
maximum throughput of 1200Mbps, up to 300Mbps on the 2.4GHz frequency band and 867Mbps on
the 5GHz frequency band. OW-400-A2 utilizes 2 spatial streams, each of which can operate on the
2.4GHz or 5GHz frequency band. OW-400-A2’s high performance and IP67 weather-proof durable
design makes it perfect for deployment in enterprise, government, public environments, and WISP
application.
OW-400-A2 utilizes an 800mW high power design with abuilt-in 17dBi 5GHz directional panel
antenna and four external N-Type antenna connectors. Two of the N-Type connectors are
assigned to the 2.4GHz band and two are assigned to the 5GHz band. OW-400-A2 supports both a
built-in directional panel antenna or 2 N-Type external antenna connectors in the 5GHz band,
however only supports N-Type connectors in the 2.4GHz band (users must enter the software UI to
select either built-in antennas or external N-Type antennas for the 5GHz band, they cannot be used
simultaneously). OW-400-A2’s quality hardware design incorporates a built-in heater with a smart
temperature sensor. This heater automatically turns on when the PCB temperature falls below 0°C,
making OW-400-A2 perfect for low temperature deployment environments. This device is powered
through 802.3af/at Power over Ethernet, allowing both power and data to be provided through CAT5
cabling. OW-400-A2’s supports fast wireless roaming 802.11r/k protocol for seamless roaming and
smart client handoff.
CenOS 5.0 Description
CenOS 5.0 combines aspects of CenOS 3.0 and CenOS 4.0 cores. Supported operation modes
include Access Point Mode (including Authentication AP [AAP] Mode, Pure AP Mode, and AP with
WDS Mode), Control Access Point [CAP] (Centralized AP Controller), Router AP Mode, Client
Bridge + Repeater Mode, and finally WISP / CPE Repeater + AP Mode.
CenOS 5.0’s AAP mode includes new features such as built-in 802.1x RADIUS authentication
support. Through AAP and CAP Mode, wireless clients can be securely authenticated through a
customized login page that supports OAuth2.0 credentials (Facebook Login, Google Login, etc).
This opens up network access conveniently to users, while simultaneously maintaining network
security and network management.

Administrators can use CenOS 5.0 CAP Mode to centrally manage AAP devices within the same
network. Using CAP Mode’s Batch Setup, administrators can make setting changes such as:
Wireless Settings, Security Settings / User Authentication / Firmware Upgrade / System Time /
Traffic Monitoring / Status Overview and more. CAP Mode also allows users to limit client access
and bandwidth to effectively load balance the network.
Cerio’s innovative AAP design allows users to create customized login pages (Captive Portal) for
user authentication. This not only provides a platform for marketing, but also provides a security
barrier by allowing clients to use third-party credentials such as Facebook and Google to login into
the network. Using only the customized login page for authentication deviates from traditional
security encryptions, which actually slow bandwidth speeds by up to 20%.

1.2 Software Configuration
OW-400-A2 supports web-based configuration. Upon the completion of hardware installation,
OW-400-A2 can be configured through a PC/NB by using a web browser such as Internet Explorer
6.0 or later.
Default IP Address: 192.168.2.254
Default Subnet Mask: 255.255.255.0
Default Username and Password
MODE AP , CAP Mode, Client Bridge , WISP Mode, Router Mode
Management Account Root Account
Username
root
Password default
IP Segment Set-up for Administrator's PC/NB
Set the IP segment of the administrator's computer to be in the same range as OW-400-A2 for
accessing the system. Do not duplicate the IP Address used here with IP Address of OW-400-A2 or
any other device within the network.
Example of Segment: (Windows XP)
Click Start -> Settings -> Control Panel, and then “Control Panel” window appears.
Click on “Network Connections”, and then “Network Connections” window appears.
Click right on “Local Area Connection”, and select Properties.
PC link to device setup by OS Windows7
Please PC link to Device used cat5/6 Ethernet cable.

Step 1 :
Please click on the computer icon in the bottom right window, and click “Open Network
and Sharing Center”
Step 2 :
In the Network and Sharing Center page, Please click on the left side of “Change adapter
setting” button
1
2

Step 3 :
In “Change adapter setting” Page. Please find Local LAN and Click the right button on
the mouse and Click “Properties”
Step 4 :
In “Properties” page, please Click “Properties” button to TCP/IP setting

Step 5 :
In Properties page to setting IP address, please find “Internet Protocol Version 4
(TCP/IPv4)” and double click or click “Install” button.
Step 6 :
Select “Use the following IP address”, and fix in IP Address : 192.168.2.#
ex. The # is any number by 1 to 253
Subnet mask : 255.255.255.0
And Click "OK" to complete the fixed computer IP setting
Double click

Please Open Web Browser
Without a valid certificate, users may encounter the following problem in IE7 when they try
to access system's WMI (https://192.168.2.254). There will be a “Certificate Error”, because
the browser treats system as an illegal website.
1.3 Login OW-400-A2 Web Page
Launch Web Browser
Launch as web browser to access the web management interface of system by entering the default
IP Address, http://192.168.2.254, in the URL field, and then press Enter.
System Login
Please use default Users name: “root” and default password “default” to login.

2. Software Setting
2.1 Operating Mode Introduction
CERIO OW-400-A2 eXtreme Power 11n Dual Band 2x2 Ceiling / Wall PoE Access Point
with CenOS5.0 software supports five operational modes: Access Point Mode, Router
Access Point Mode, Control Access Point Mode, Client Bridge Mode, and WISP Mode.
It utilizes built-in remote management features that simplify deployment and reduce costs of
continued maintenance of the access point
Because of OW-400-A2’s Dual Band capabilities, this device possesses more reliable connectivity
and allows for higher capacity and performance speeds. OW-400-A2 can operate concurrently on
two radio frequencies, simultaneously enabling more flexible deployment without sacrificing
bandwidth or risking device overloading. These high performance and high loadbearing capabilities
makes OW-400-A2 the perfect device to be deployed in Offices, Hotels, Universities, Hospitals,
Airports, Luxury Houses, etc.
CAP mode (Centralizes Access Point)
Control Management of CenOS5.0 APs (x128 APs)
AP Management support 802.1Q VLAN infrastructure
Centralized setting Access Point function and firmware upgrade.
APs Group management for concept.

Access Point Mode (Supports AP+WDS Mode)
It can be deployed as a traditional fixed wireless Access Point
It allow wireless clients or Stations ( STA ) to access
Supports DHCP Service, allowing for automated assigning of IP addresses to clients connecting
to the network
WDS Setup includes AES (Advanced Encryption Standard) Authentication
This enables the wireless interconnection of Access Point in a IEEE802.11 network and accepts
wireless
Support Captive Portal authentication.

Client Bridge + Repeater Mode
It can be used as a Client Bridge + Repeater AP to receive wireless signals over last mile
applications, helping WISPs deliver wireless broadband Internet service to new residential and
business customers
In this mode, OW-400-A2 is enabled with DHCP Server functions. The wired clients of
OW-400-A2 are in the same subnet from Main Base Station and it accepts wireless
connections from client devices. You can disabled the repeater extending AP function, which
will enable the “AP Client ” function
If client bridge used 5Ghz band the Repeater AP only used 2.4Ghz band.

WISP + Repeater AP Mode
It can be used as an WISP/Outdoor Customer Premises Equipment (CPE) to receive wireless
signals over last mile application, helping WISPs deliver wireless broadband Internet service to
residents and business customers
In the WISP (CPE) mode, OW-400-A2 is a gateway enabled with NAT and DHCP Server
functions. The wired clients connected to DT-300N are in different subnet from those
connected to Main Base Station, and, in WISP (CPE) mode, it does not accept wireless
association from wireless clients.
Route AP Mode
Router AP without WDS , It can be deployed as a gateway with wireless Access Point
Router AP with WDS, It can be deployed as a gateway with wireless Access Point and
provide WDS link for network extension

3. Access Point mode
When AP mode is chosen, the system can be configured as an Access Point. This section provides
detailed explanation for users to configure in the AP mode with help of illustrations. In the AP mode,
functions listed in the table below are also available from the Web-based GUI interface.
3.1 Select AP Mode
The system administrator can set the desired mode via this page, and then configure the system
according to their deployment needs.
When select Authentication AP mode, administrator can use Hotspot Portal function.
Please click on System -> Mode Setup and follow the below setting.
3.2 VLAN Setup
Here are the instructions to setup the local IP Address / Netmask / Gateway / DNS and management
Access Point 2.4G or 5G Radio on/off. Administrators can change settings such as LAN Spanning
Tree and Tag VLAN functions.

VLAN Mode
:
Display on/off for the VLAN network.
Flag
:
Display master VLAN and VLAN Tag No. information.
IP Address
:
Display IP Address for VLAN Network.
NetMask
:
Display IP netmask.
Radio 0
:
Display radio 2.4G SSID name.
Radio 1
:
Display radio 5G SSID name.
Action
:
The button can set VLAN network functionsand radio functions.
3.2.1 Network Button
Administrator can click button to set VLAN network functions.
VLAN Mode
:
Administrator can select Enable or disable for the VLAN Network.
The VLAN list at least one must is enable.

IP Mode
:
Administrator can select enable or disable function for VLAN IP.
IP Address/ NetMask
:
Administrator can set IP address and netmask for the VLAN.
Management
Access Point 0
:
Administrator can Enable or Disable 2.4G Radio.
Access Point 0
:
Administrator can Enable or Disable 2.4G Radio.
802.1d Spanning Tree : The spanning tree network protocol provides a loop free topology
for a bridged LAN between LAN interface and 8 WDS interfaces from wds0 to wds7. The
Spanning Tree Protocol, which is also referred to as STP, is defined in the IEEE Standard
802.1d
Control Port
:
Administrator can select one of the VLAN as managed AP.
IAPP
:
Administrator can select radio 2.4G or 5G for IAPP roaming.(the IAPP condition must
use WPA2-PSK Wi-Fi security and AES algorithm)
3.2.2 Network Pull-down menu
Administrator can set DHCP Server and 2.4/5G security for the access point and set 802.11r fast
roaming.
Please click pull-down button.

# DHCP Server
Administrator can select enable / disable the function
Start IP : Set Start IP for DHCP Service.
End IP : Set End IP for DHCP Service.
Netmask: Set IP Netmask, the default is 255.255.255.0
Gateway: Set Gateway IP for DHCP Service.
DNS(1-2) IP : Set DNS IP for DHCP Service.
WINS IP : Enter IP address of the Windows Internet Name Service (WINS) server; this is
optional.
Domain : Enter the domain name for this network.
Lease Time : The IP addresses given out by the DHCP server will only be valid for the
duration specified by the lease time. Increasing the time ensure client operation without
interruptions, but could introduce potential conflicts. Lowering the lease time will avoid
potential address conflicts, but might cause more interruptions to the client while it will acquire
new IP addresses from the DHCP server. Default is 86400 seconds
DHCP Client List
Administrator can view IP address used status of client users on each DHCP Server.

Static Lease IP Setup
Administrator can set be delivered fixed IP address to the users.
Comment : Enter rule description.
IP Address : Enter access point IP.
MAC Address : Enter Client MAC Address of PC network.
# Radio 0/1 Access Point
Administrator can Enable or Disable radio 0/1 (2.4/5G) Wi-Fi, if enable radio 0/1 (2.4/5G)
administrator can set SSID and security for the 2.4/5G access point.
Access Point: Administrator can Enable or Disable the radio 0 (2.4G).
ESSID: Administrator can set Wi-Fi SSID name for the 2.4G.
Other manuals for OW-400-A2
2
Table of contents
Other Cerio Wireless Access Point manuals
Cerio
Cerio WM-200N User manual
Cerio
Cerio CW-400NAC User manual
Cerio
Cerio IW-100 A1 User manual
Cerio
Cerio eXtreme OW-408 A1 User manual
Cerio
Cerio CW-300N User manual
Cerio
Cerio 100GX-N User manual
Cerio
Cerio ow-310n2 Operator's manual
Cerio
Cerio SEFA OW-500 A1 User manual
Cerio
Cerio eXtreme OW-408 A1-MESH User manual
Cerio
Cerio eXtreme CW-400 A1 User manual
