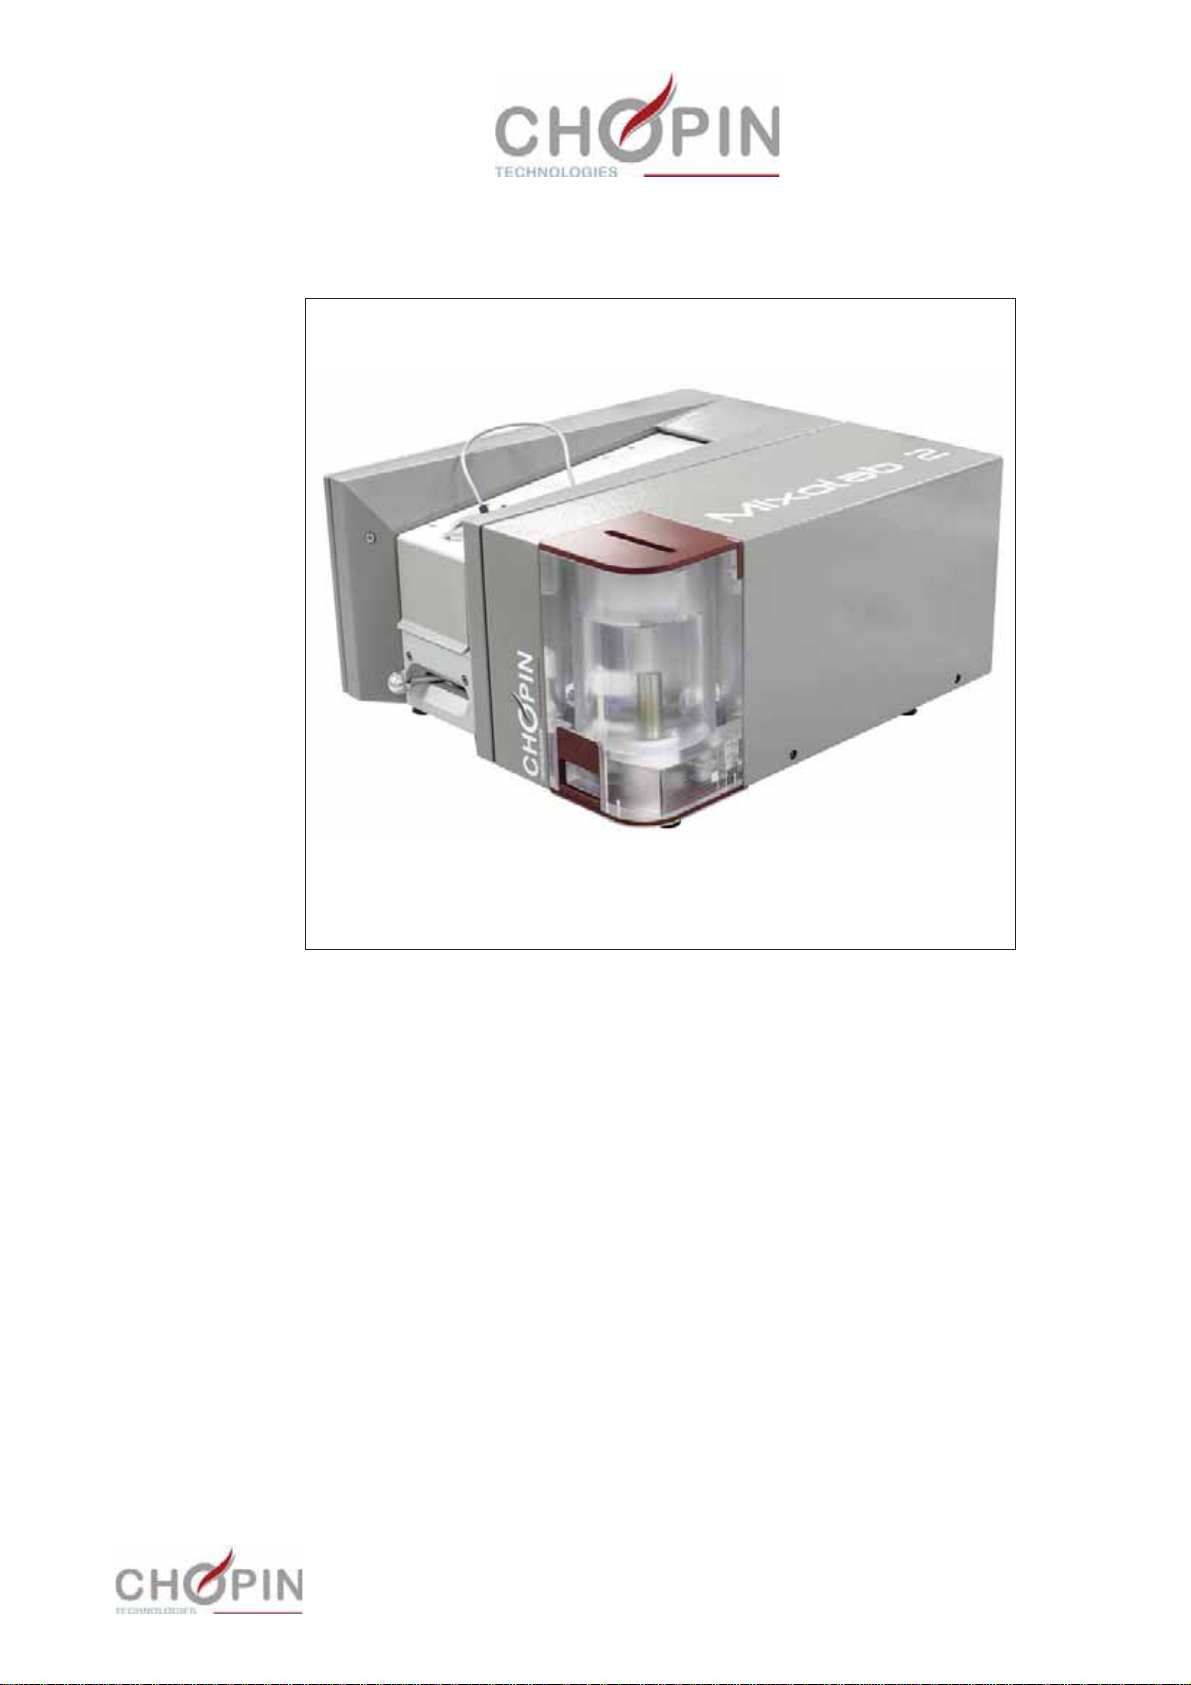
Chopin Mixolab 2 User manual

20, avenue Marcellin Berthelot - Z.I. du Val de Seine
92396 Villeneuve La Garenne cedex - France
Tél. : 33 (0)1 41 47 50 88 - Fax. : 33 (0)1 47 92 28 27 ww.chopin.fr
Mixolab 2
Maintenance manual
09/2016


Mixolab 2
3
Maintenance manual
09/2016
Note to the reader
The technical elements in this manual (texts and illustrations) are not contractually binding;
their sole purpose is to provide assistance in troubleshooting and repairing Mixolab 2
instruments.
Copies of any parts of this manual, for any purpose unrelated to operation of this instrument,
are strictly prohibited without the written express consent of CHOPIN Technologies.
Photos and illustrations shown in this manual are not contractual.


Mixolab 2
5
Maintenance manual
09/2016
Table of content
Chapter 1 Use and maintenance:
reminders and further information . . . . . . . . . . . . . 7
1. Operating conditions . . . . . . . . . . . . . . . . . . . . . . . . . . . . . . . . . . . . . 9
2. Precautions relating to tests . . . . . . . . . . . . . . . . . . . . . . . . . . . . . . 10
3. Inspection and maintenance . . . . . . . . . . . . . . . . . . . . . . . . . . . . . . 11
Chapter 2 Trouble-shooting . . . . . . . . . . . . . . . . . . . . . . . . . . 15
1. Method . . . . . . . . . . . . . . . . . . . . . . . . . . . . . . . . . . . . . . . . . . . . . . 17
2. Handling faults . . . . . . . . . . . . . . . . . . . . . . . . . . . . . . . . . . . . . . . . 18
3. Interconnection diagrams . . . . . . . . . . . . . . . . . . . . . . . . . . . . . . . . 28
Chapter 3 Repairs . . . . . . . . . . . . . . . . . . . . . . . . . . . . . . . . . . . 31
1. Introduction . . . . . . . . . . . . . . . . . . . . . . . . . . . . . . . . . . . . . . . . . . . 33
2. Instructions . . . . . . . . . . . . . . . . . . . . . . . . . . . . . . . . . . . . . . . . . . . 39
Chapter 4 Spare parts . . . . . . . . . . . . . . . . . . . . . . . . . . . . . . 113
1. Warnings . . . . . . . . . . . . . . . . . . . . . . . . . . . . . . . . . . . . . . . . . . . . 115
2. Notes . . . . . . . . . . . . . . . . . . . . . . . . . . . . . . . . . . . . . . . . . . . . . . . 115
3. List of Spare Parts . . . . . . . . . . . . . . . . . . . . . . . . . . . . . . . . . . . . . 117

Mixolab 2
6 Maintenance manual
09/2016

7
Maintenance manual
09/2016
Mixolab 2
Chapter 1 USE AND MAINTENANCE:
REMINDERS AND FURTHER
INFORMATION

8Maintenance manual
09/2016
Mixolab 2

9
Maintenance manual
09/2016
Mixolab 2
Chapter 1 Use and maintenance: re-
minders and further information
Chapter 1. Use and maintenance: reminders and
further information
This chapter summarizes the most important instructions concerning the use and maintenance of the Mixolab
2.
For more detailed information, please refer to the corresponding user instructions.
This part also includes additional information intended exclusively for persons authorized to carry out
maintenance operations on the instruments.
1. Operating conditions ■ Installation
The instrument must be installed on a flat, clean and unobstructed
work surface. It should be levelled using its adjustable legs.
Avoid placing the Mixolab 2 near a window, especially if it is
exposed to sunlight for several hours.
The Mixolab 2 should not be placed up against a wall. Leave a
sufficient gap behind it to ensure proper ventilation.
There must be enough to allow for other handling operations.
The cooling circuit must be installed very carefully:
❏ hard wall hoses must be used,
❏ these must be fixed with hose clips,
❏ drain hose fixed.
■ Electrical connections
The electrical connection of each instrument must be compliant with
IEC standard 1010 - installation category: II.
❏ Characteristics of the power source:
• 230V~ - 50/60 Hz t2 kVA
• Power sockets 2P + E/16 A
• The electricity network must include a DDR with a sensitivity
d30 mA class AC upstream of the instruments.
❏ A 2-phase + ground plug can only be connected to a power
socket having a protective grounding conductor.
This is a safety measure: if the connection is impossible, under no
circumstances should you attempt to force it; have a suitable socket
installed by a specialist.

10 Maintenance manual
09/2016
Mixolab 2
Chapter 1 Use and maintenance: re-
minders and further information
■ Environment
❏ Operating temperature:
Laboratory temperature: + 10°C to d+30°C
❏ Humidity:
Usage: RH d85%
❏ Pollution:
The Mixolab is designed to be used in pollution-free conditions, only
dry and non-conductive pollution.
❏ Cooling circuit water
The temperature of the cooling circuit water must be between 15
and 20°C.
2. Precautions relating
to tests
■ Tests with the Mixolab must always be conducted with great care.
The relevant instructions (test conditions, handling, cleaning) are
given in the instrument's user instructions and must be followed
carefully, at the risk of:
❏ Obtaining incorrect results,
❏ Irreparably damaging the equipment.
■ When handling, be careful not to damage the mixing blades, the
body of the bowl or the flanges.
■ Always check that the location of the dough temperature sensor
on the rear flange of the bowl is not blocked up.

11
Maintenance manual
09/2016
Mixolab 2
Chapter 1 Use and maintenance: re-
minders and further information
3. Inspection and
maintenance
■ Status of the LED indicator on the front panel
When an error occurs, the LED stops flashing when the error is
acknowledged on the PC. And it changes to the colour reflecting the
status of the instrument.
■ General recommendations
For more efficient maintenance work on the instrument, it is advisa-
ble to date, record and update all information concerning the life of
the instrument.
■ Reminders of useful menus
❏ Maintenance screen
A screen showing a block diagram of the Mixolab lets you check
operation of the instrument's main modules.
To access this block diagram, click "Configuration" then "Mainte-
nance".
Colour/LED status Status Note
Off Mixolab powered down
Green Mixolab ready
Flashing green Electronics initialization (memory) or 230V
problem on the board See Chapter 2
Orange Motor running (MIXOLAB in cycle)
Flashing orange ERR 4, 41, 42, 5, 51, 52, 53 (motor or torque
error) See Chapter 2
Red Bowl hot (T° of dough thermocouple or bowl
heating block > 50°C)
Flashing red ERR 11, 12, 13, 14, 15, 16, 21, 22 (temperature
error) See Chapter 2
Flashing Green/Orange/Red Mixolab self-tests
Constantly flashing Green/Orange/
Red (for more than 2 minutes) Tank empty on powering up
=> Fill the tank

12 Maintenance manual
09/2016
Mixolab 2
Chapter 1 Use and maintenance: re-
minders and further information
Note: For passwords, see the procedures in this manual.
❏ History
The "Mixolab Chopin" software includes a history of settings and
errors that can be used for maintenance of the Mixolab.
To access it, click "History" then "History".
❏ Software updates
An "Update" menu transfers a new version of the embedded
software. This function is reserved for duly authorized persons - see
Operation 12-1 "Updating the Mixolab software" page 89.
Dough
temperature
sensor
Mixing motor
speed setpoint
Actual mixing
motor speed
Access to settings
(password-
protected)
Cooling solenoid
valve
Torque sensorCover lock
Mixing bowl
temperature
setpoint
Actual
temperature of
mixing bowl
Mixing bowl lock
Water tank
temperature
setpoint
Actual
temperature of the
water tank
Water dosing syringeQuantity of water in ml
Deactivation of the
temperature adjustment
factor (maintenance mode)
Close
Activation of
integral calibration
for tests

13
Maintenance manual
09/2016
Mixolab 2
Chapter 1 Use and maintenance: re-
minders and further information
■ Periodic actions
USER Users are strongly recommended to monitor the performance of
their instrument using a control chart. Such a chart can be created
directly with the CHOPIN Mixolab software.
(see user instructions)
Regular monitoring of test results on samples of known flours (or
CHOPIN references) can detect any deviations relating to potential
faults (part wear, environment, handling).
ACCREDITED REPAIRMAN Users are also advised to have a full servicing operation carried out
on their equipment by an authorized CHOPIN engineer or repair-
man.
Recommended frequency: 1 year, possibly 2 years if it is not used
intensively.

14 Maintenance manual
09/2016
Mixolab 2
Chapter 1 Use and maintenance: re-
minders and further information

15
Maintenance manual
09/2016
Mixolab 2
Chapter 2 TROUBLE-SHOOTING

16 Maintenance manual
09/2016
Mixolab 2

17
Maintenance manual
09/2016
Mixolab 2
Chapter 2 Trouble-shooting
Chapter 2. Trouble-shooting
This chapter helps you determine the cause of a given fault and possibly quarantine the faulty component or
subassembly; in which case the requisite actions are specified.
When contacting Chopin Technologies After-Sales, always state the serial number of the instrument.
1. Method ■ Known faults are classified as:
- A. Error messages
- B. Other faults.
❏ Other abnormal events can occur and it is up to the repairman to
resolve the problem through analysis and comparisons. Simplified
interconnection diagrams are provided in § 3. of this chapter, which
may help the trouble-shooting process.
Naturally, in case of difficulty or if in doubt, Chopin's technical ser-
vices are at your disposal to try and resolve the problem, by tele-
phone, fax or e-mail.
Failing which, the instrument will have to be returned to CHOPIN
Technologies for fixing and repairs.
■ Before starting to trouble-shoot, be sure to record all relevant
information.
❏ In the event of an abnormal result, checking the control chart (if it
exists) could provide an immediate explanation (the case of a per-
manent deviation for instance).
❏ We recommend you consult the history of settings and errors:
"History" menu.
❏ Irrespective of the fault, we recommend carefully noting down the
conditions in which it occurred.
If a fault occurs during a test, it is advisable whenever possible to
keep a record of the curve charts and test results.

18 Maintenance manual
09/2016
Mixolab 2
Chapter 2 Trouble-shooting
2. Handling faults Before removing the hood from any instrument, shut off the power
and unplug the power cord.
If power is required when manipulating objects with the instrument's
hood open, take the customary precautions.
A Error messages
ERR no. Display/Description Action See
Chap.3 §
ERR 11 "Bowl unit temperature too high!"
Bowl unit T° > 110% of the setpoint in
stable phase
■ Confirm on the maintenance screen.
Problem on the cooling circuit
- The feed water is too hot: correct
- No outflow:
check the water connection, check that the
solenoid valve is working (on the
maintenance screen), adjust the flow rate.
If the circuit is blocked up, locate the
blockage by dismantling parts one by one.
■ Incorrect temperature reading:
- Recalibrate bowl temperature
measurement.
- Replace the sensor if the problem persists
op. 12-7
op. 12-2
op. 2-2
ERR 12 "Bowl unit temperature too low!"
Bowl unit T° < 90% of the setpoint in
stable phase
■ Confirm on the maintenance screen.
■ Incorrect temperature reading:
- Recalibrate bowl temperature
measurement.
- Check and replace the sensor if the
problem persists.
■ Cooling too intense:
- Test the solenoid valve on the maintenance
screen and observe its draining efficiency; if
the solenoid valve is jammed, replace it
- Check water flow and if necessary adjust
the flow rate adjuster.
■ Insufficient heating:
- Check the heating circuit
- If necessary, replace the faulty resistor(s).
op. 12-2
op. 2-2
op. 12-7
op. 12-13
op. 2-1

19
Maintenance manual
09/2016
Mixolab 2
Chapter 2 Trouble-shooting
ERR 14 "Bowl unit temperature rise problem!"
After 5 minutes' calibration, bowl unit
T° < 90% of the setpoint)
■ Confirm on the maintenance screen.
■ Cooling too intense:
- Test the solenoid valve on the maintenance
screen and observe its draining efficiency; if
the solenoid valve is jammed, replace it
- Check water flow and if necessary adjust
the flow rate.
■ Insufficient heating:
- Check the heating circuit
- If necessary, replace the faulty resistor(s).
op. 12-7
op. 12-13
op. 2-1
ERR 13 "Bowl unit still hot!"
10 minutes after the end of the test
Bowl unit T° > setpoint T° or 30°C
if setpoint T° > 50°C
■ Confirm on the maintenance screen.
Problem on the cooling circuit
- The feed water is too hot: correct
- No outflow:
check the water connection, check that the
solenoid valve is working (on the
maintenance screen), adjust the flow rate.
If the circuit is blocked up, locate the
blockage by dismantling parts one by one.
■ Incorrect temperature reading:
- Recalibrate bowl unit temperature
measurement.
- Replace the sensor if the problem persists
op. 12-2
op. 2-2
ERR 15 "Bowl still hot!"
10 minutes after the end of the test,
bowl thermocouple T° still > 50°C (his
may be a thermocouple problem)
■ Confirm on the maintenance screen.
Problem on the cooling circuit
- The feed water is too hot: correct
- No outflow:
check the water connection, check that the
solenoid valve is working (on the
maintenance screen), adjust the flow rate.
If the circuit is blocked up, locate the
blockage by dismantling parts one by one.
■ Incorrect temperature reading:
- Recalibrate bowl temperature
measurement.
- Replace the bowl thermocouple if the
problem persists
op. 12-7
op. 12-2
op. 2-3
ERR no. Display/Description Action See
Chap.3 §

20 Maintenance manual
09/2016
Mixolab 2
Chapter 2 Trouble-shooting
ERR 16 "Electronic problem on bowl unit
heater!"
Permanent bowl unit heating
commanddetectedbytheheat safety
device
■ Power off then power on the Mixolab.
■ CPU board problem
- Check all electrical connections on the Mix-
olab's CPU board.
- Replace the CPU board if the problem per-
sists. op. 9-1
ERR 21 "Tank temperature too high! "
Cooling timeout (after 15 minutes' of
no heat, tank T° > 110% of the
setpoint)
■ Confirm on the maintenance screen.
■ The lab temperature is too high (it should
be under the [setpoint T° - 5°C]) -> correct
and wait for the temperature to fall or replace
the water with colder water.
■ Incorrect temperature reading:
- Recalibrate tank temperature
measurement.
- Check and replace the sensor if the
problem persists.
op. 12-3
op. 4-1
ERR 22 "Tank temperature too low!”
Heating timeout (after 15 minutes' of
heat-up, tank T° < 90% of the
setpoint)
■ Confirm on the maintenance screen.
■ Incorrect temperature reading:
- Recalibrate tank temperature
measurement.
- Check and replace the sensor if the
problem persists.
■ Insufficient heating:
- Check the heating circuit
- If necessary, replace the faulty resistors.
op. 12-3
op. 4-1
op. 12-13
op. 2-1
ERR 23 "Tank empty!"
Pictogram at the bottom of the screen
= red
Fill the Mixolab's tank. If there is enough
water:
■ Incorrect reading of water level:
- Sensor floater jammed: dismantle, inspect
and replace if necessary.
- Replace the CPU board if the problem
persists
op. 4-1
op. 9-1
ERR 3 No communication with the Mixolab
when accessing a menu requiring
dialogue
No initialization of the proportioning
pump
■ Check that the Mixolab is connected and
powered up.
■ Check the USB connection between the
PC and the Mixolab (or RS 232 depending
on which one is used), including the internal
wiring.
■ Replace the CPU board if the problem
persists
op. 9-1
ERR no. Display/Description Action See
Chap.3 §
Other manuals for Mixolab 2
1
Table of contents
Other Chopin Laboratory Equipment manuals

Chopin
Chopin Alveo PC graph Instruction sheet

Chopin
Chopin AlveoLabgraph Instruction sheet

Chopin
Chopin LabMill Instruction sheet

Chopin
Chopin Mixolab User manual

Chopin
Chopin Mixolab 2 Instruction sheet

Chopin
Chopin RHEO F4 Instruction sheet

Chopin
Chopin SDmatic Instruction sheet

Chopin
Chopin Infraneo Instruction sheet
Popular Laboratory Equipment manuals by other brands

Conceptronic
Conceptronic CIRO Multi Language Quick Guide

PRO Scientific
PRO Scientific P Series Operator's manual

Eurofins
Eurofins RapidScan ST5-W quick guide

Zebex
Zebex Z-6172 Programming guide

Grant-bio
Grant-bio Platform Rocker PMR-100 operating instructions

Argos Technologies
Argos Technologies Flexifuge C1000 Operator's manual