User manual
Page 7clearaudio electronic GmbH 2011
tighten the screw. Please recheck the tracking force after making any adjustments to the
arm height.
5.) Azimuth
Next, use the cueing mechanism to lower the cartridge and check that the upper edge of the
cartridge is parallel to the record surface as viewed from the front. This adjustment has been
pre-set at the Clearaudio factory. Although it is rarely necessary, you can adjust the
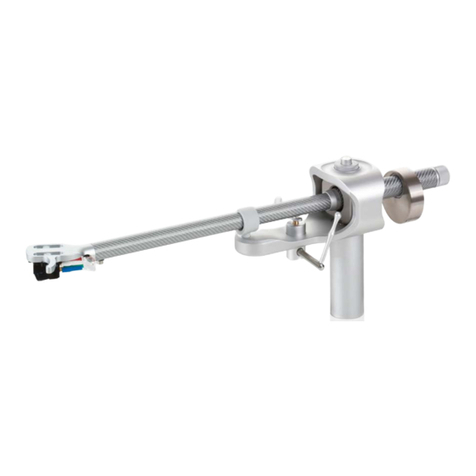
cartridge azimuth. Carefully loosen the small screw on the bottom side of the tonearm tube
near the headshell (Caution: don’t unscrew the screw completely!). Now you can twist the
headshell to adjust the azimuth of the cartridge. When you find the right position, carefully
lock the small screw while holding the headshell steady.
Don’t adjust the headshell when the cartridge is lowered onto the surface of the record.
It is necessary to lift the cartridge from the record before you can make adjustments.
6.) Overhang & Offset
For the final set-up of the tonearm, you need a cartridge
alignment gauge. Place the gauge over the spindle of the
turntable platter and
turn the platter into the position as shown in picture 10.
Lower the cartridge and place the stylus tip of the cartridge on
the reference point on the alignment gauge. Make sure that the
cartridge cantilever is absolutely parallel to the marking lines
printed on the cartridge alignment gauge.
To adjust the position of the cartridge, loosen the screw on the top of
the headshell and move the cartridge into the correct position
(picture 11) by sliding forward or back and rotating. Make sure the
stylus tip of the cartridge is on the reference point on the alignment
gauge, the cartridge cantilever is absolutely parallel to the short
marking lines printed on the cartridge alignment gauge and that the
front edge of the cartridge is parallel to the long marker lines on the
cartridge alignment gauge. Hold the cartridge in the proper position
and tighten the screw on the top of the headshell. While making the
final adjustments to the tonearm and cartridge, always look down at
the alignment gauge from directly above Picture 11: Fine alignment
to avoid any optical parallax errors.
If the installation has been done correctly, the diamond tip
should be on the reference point, the cantilever should be
parallel to the short marking lines on the gauge, and the front
edge of the cartridge should be parallel to the long lines on the
gauge (as in picture 12). Re-check your tracking force as this
may have changed during alignment.
7.) Anti-skating
The
Concept
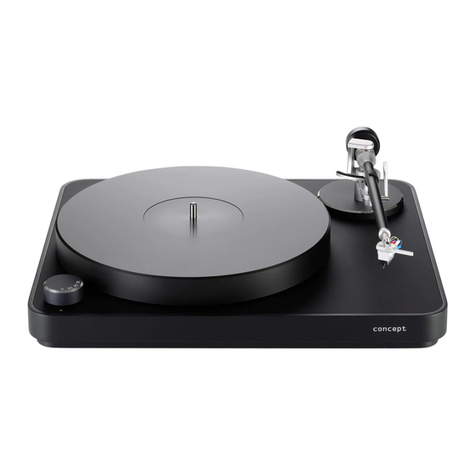
tonearm comes factory pre-adjusted for medium anti-skate. Underneath the
turntable, at the base of the tonearm, is a knob for further adjustment if needed. Observe
the calibration marking as a reference point. From underneath the turntable, turn the knob
