manuals.online logo
Brands
  1. Home
  2. •
  3. Brands
  4. •
  5. Cleveland Controls
  6. •
  7. Switch
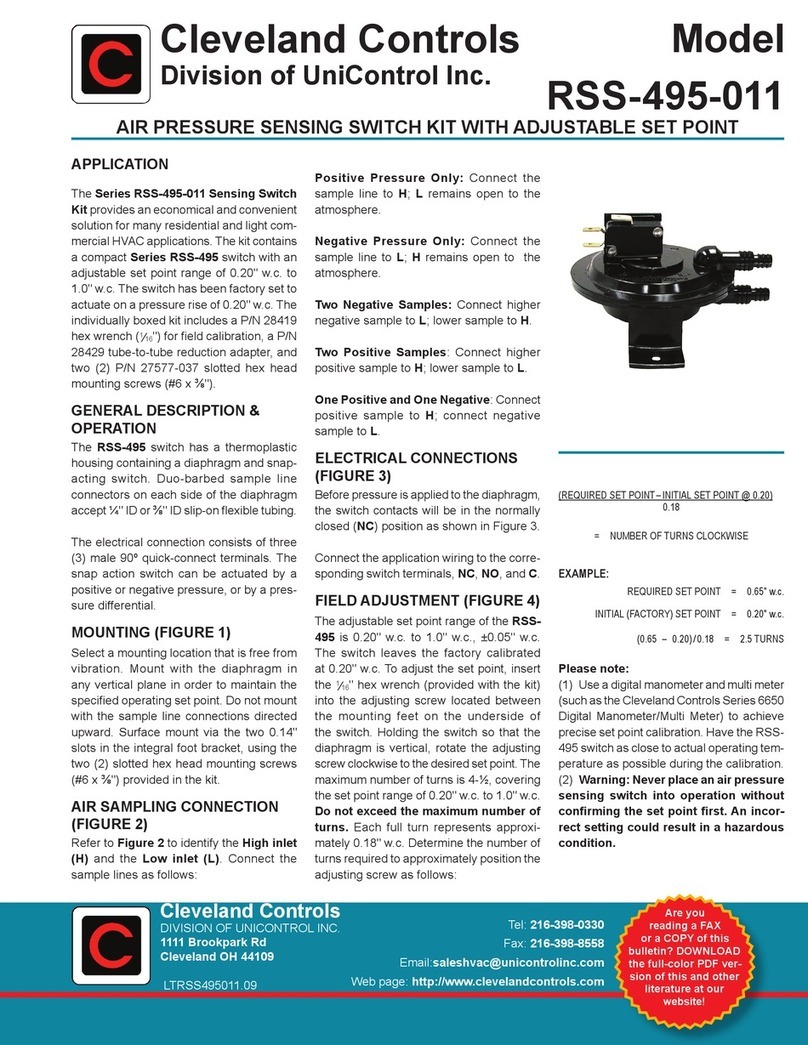
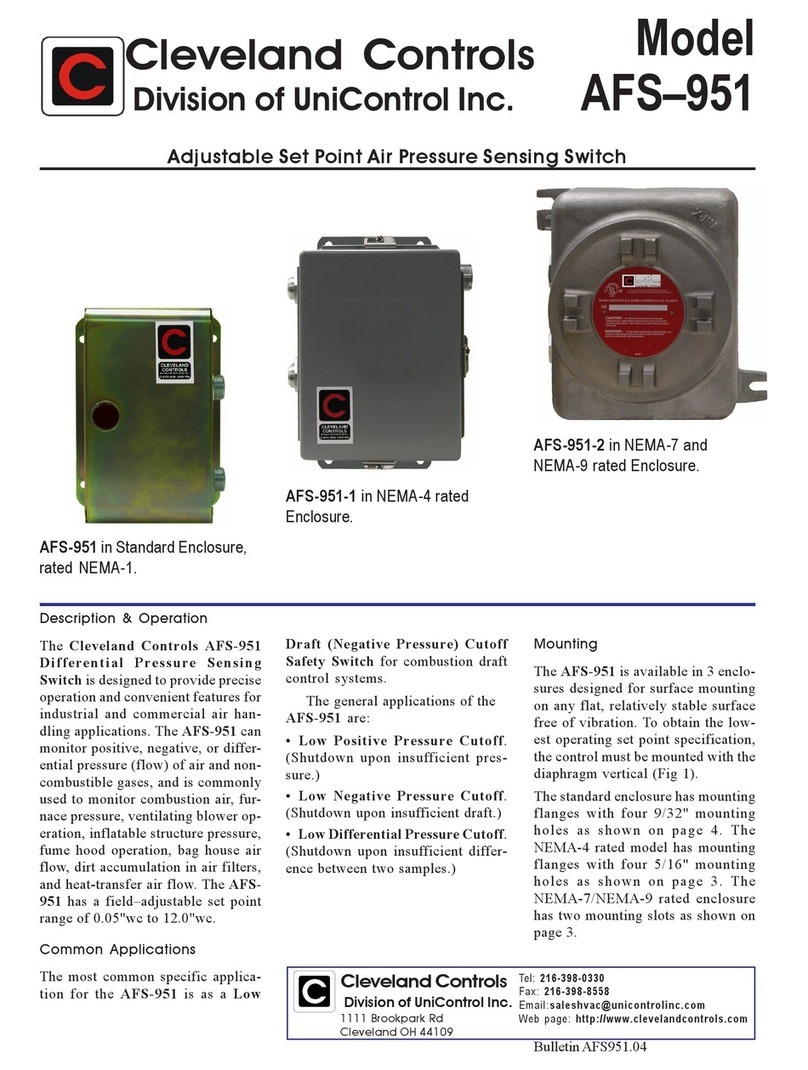
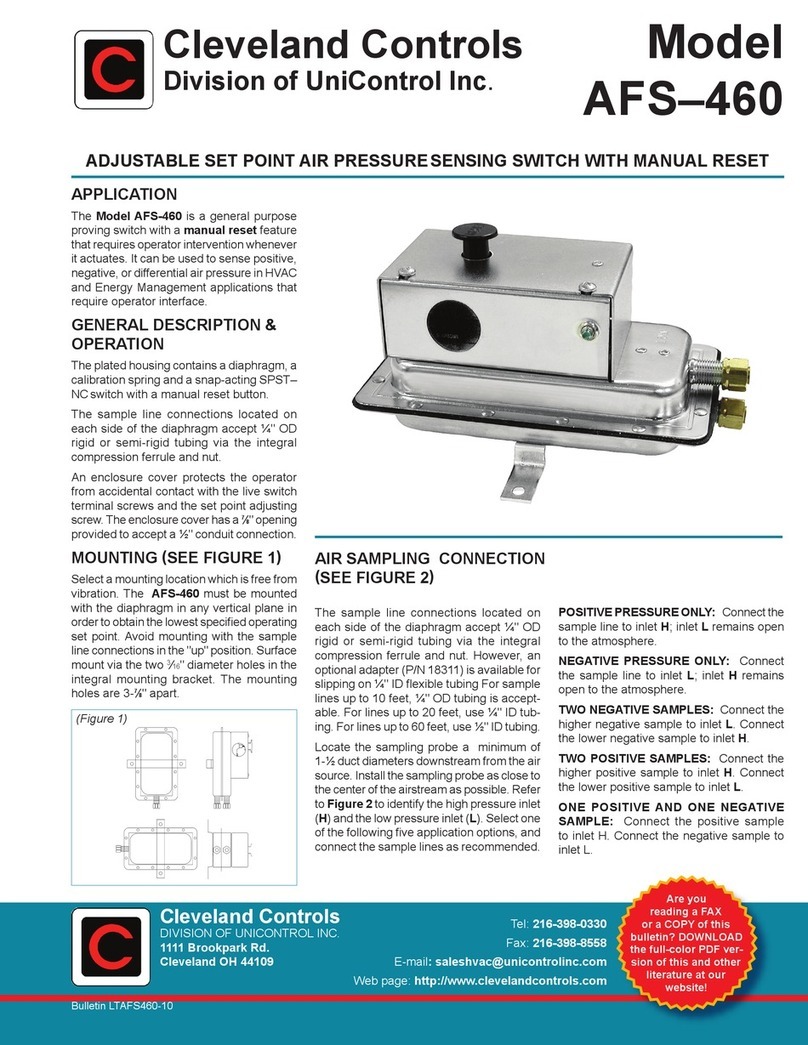
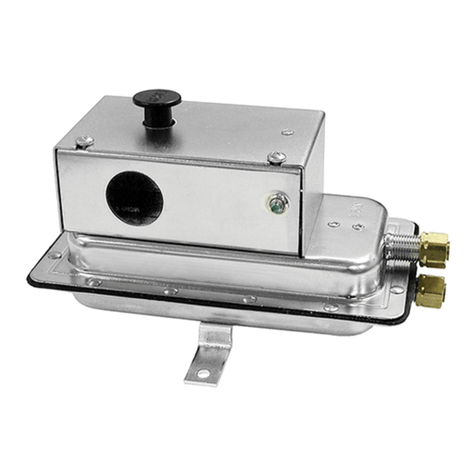
  8. •
  9. Cleveland Controls AFS-961 Operating and installation instructions

Cleveland Controls AFS-961 Operating and installation instructions

Cleveland Controls
Division of UniControl Inc.
Model
AFS–961
DESCRIPTION & OPERATION
The Cleveland Controls AFS-961 Dif-
ferential Pressure Sensing Switch is
designed to provide precise operation
and convenient features for industrial and
commercial air handling applications. The
AFS-961 can monitor positive, negative, or
differential pressure (ow) of air and non-
combustible gases. It is commonly used to
monitor combustion air, furnace pressure,
ventilating blower operation, inflatable
structure pressure, fume hood operation,
bag house air ow, dirt accumulation in air
lters, and heat-transfer air ow. The AFS-
961 has a eld-adjustable set point range of
0.03"wc to 2.0"wc.
COMMON APPLICATIONS
The most common specic application for
the AFS-961 is Low Draft (Negative Pres-
sure) Cutoff Safety Switch for combustion
draft control systems.
The general applications of the AFS-961 are:
• Low Positive Pressure Cutoff. (Shut-
down upon insufcient pressure.)
• Low Negative Pressure Cutoff. (Shut-
down upon insufcient draft.)
• Low Differential Pressure Cutoff. (Shut-
down upon insufcient difference between
two samples.)
MOUNTING
The AFS-961 is available in 3 enclosures
designed for surface-mounting on any at,
relatively stable surface free of vibration. To
obtain the lowest operating set point speci-
cation, the control must be mounted with the
diaphragm in a vertical plane(Fig 1).
The standard NEMA-1 rated enclosure has
mounting anges with four 9/32" mounting
holes as shown on page 4. The NEMA-4
rated model has mounting anges with four
5/16" mounting holes as shown on page 3.
The NEMA-7/NEMA-9 rated enclosure has
two mounting slots as shown on page 3.
AFS-961-1 in NEMA-4 rated Enclosure.
AFS-961 in Standard Enclosure, rated
NEMA-1.
AFS-961-2 in NEMA-7 and NEMA-9 rated
Enclosure.
Adjustable Set Point Air PressureSensing Switch
PIPING
The eld sample line connectors, two ¼"
- 18 NPT female ttings, labeled H (high)
and L (low), are located on the side of the
enclosure as shown in Figure 1.
For sample lines up to 10 ft., use ¼" OD
tubing or ⅛" pipe.
For sample lines up to 20 ft., use ¼" ID tub-
ing or ¼" pipe.
For sample lines up to 60 ft., use ½" ID
tubing or ½" pipe.
For sample lines up to 90 ft., use 3¾" ID
tubing or ¾" pipe.
For sample lines up to 120 ft., use 1" ID tub-
ing or 1" pipe. For each right angle bend, add
four feet to the computed line length in order
to determine correct pipe or tubing size.
If either sample line connector is vented to
the atmosphere, attach an elbow to it so
that the open end of the connector points
downward. This will help protect the switch
from contamination.
SAMPLE LINE
CONNECTIONS
Positive Pressure only:
Connect sample line to H;
Lremains open to the atmosphere.
Negative Pressure only:
Connect sample line to L:
Hremains open to the atmosphere.
Two Negative Samples:
Connect higher negative sample to L:
Connect lower negative sample to H.
Two Positive Samples:
Connect higher positive sample to H:
Connect lower positive sample to L.
One Negative and One Positive Sample:
Connect positive sample line to H:
Connect negative sample line to L.
ELECTRICAL CONNECTIONS
Three (3) terminals are provided for eld
wiring. Before pressure is applied to the
diaphragm, the switch contacts will be in
the normally closed position as shown in
Figure 2.
To Prove Excessive Air Flow or Pressure:
Connect Terminal 1 to a hot line, Terminal 2
to an alarm circuit (if desired), and Terminal
3to the control circuit.
To Prove Insufcient Air Flow or Pressure:
Connect Terminal 1 to a hot line, Terminal
2to the control circuit, and Terminal 3 to an
alarm circuit (if desired).
NOTE: When the switch is wired in this
manner, an alarm circuit will be energized
at start up, and will stay energized until
the set point of the air switch is satised.
To avoid nuisance alarm, a time delay, equal
to the amount of time required for pressure
to activate the air switch, should be wired
in series between Terminal 3 and the alarm
device.
FIELD ADJUSTMENTS
Field adjustments to the operating set point
are made by removing the protective plug
button on the side of the standard, NEMA1
rated enclosure and inserting a blade-type
screwdriver, at least 3 inches long to rotate
the set point adjustment screw.
The adjustment range is 0.03 ± .02" w.c.
to 2.0" w.c. To adjust the set point, turn
the adjusting screw counterclockwise until
motion has stopped. Next, turn the adjust-
ing screw 4 complete turns in a clockwise
direction to engage the spring.
From this point, the next 10 turns the
next ten turns will be used for the actual
calibration. Each full turn represents ap-
proximately 0.2" w.c. As the operating set
point increases, the switching differential
also increases from 0.02 ± 0.01" w.c. at
minimum set point, to approximately 0.1"
w.c. at maximum set point. Please note: To
properly calibrate an air pressure sensing
switch, a digital manometer or other mea-
suring device should be used to conrm the
actual set point.
SPECIFICATIONS
Models AFS-961,
AFS-961-1 & AFS-961-2
Air Pressure Sensing Switches
ELECTRICAL RATING:
300 VA pilot duty at 277 VAC
260 VA pilot duty at 240 VAC
130 VA pilot duty at 120 VAC
15 amp noninductive to 277 VAC.
CONDUIT OPENING:
⅞" diameter opening accepts ½" conduit tting.
ELECTRICAL SWITCH:
Contact Arrangement: SPDT NC. snap-action
switch. Contacts in a normally closed posi-
tion before pressure is applied.
CONTROL SET POINT / ADJUSTABLE
OPERATING RANGE:
Field-adjustable, 0.03 ±0.02 to 2.0" w.c.; (0.8 ±
0.5 to 51 mm w.c.; 0 to 0.07 psi)
SWITCH DIFFERENTIAL:
Progressive, increasing from 0.02 ± 0.01" w.c.
at minimum set point, to approximately 0.1"
w.c. at maximum set point (0.5 ±.25 mm to
approximately 20.3 mm).
MAXIMUM PRESSURE:
½ PSI (0.03 bar)
ELECTRICAL CONNECTIONS:
Numbered terminal panel
RECOMMENDED OPERATING POSITION:
Mount with the diaphragm in any vertical plane to
obtain the lowest operating set point.
OPERATING TEMPERATURE RANGE:
-40 TO 180 ºF (- 40 to 82 ºC)
SAMPLE LINE CONNECTORS:
Two ¼"-18 NPT female ttings.
APPROVALS:
UL listed, CE and CSA approved.
Pressure Conversion Table
1"wc = 0.0361psi or 0.0736"Hg
1"Hg = 0.491psi or 13.6" wc
1psi = 27.7"wc or 2.036"Hg
FIGURE 2: ELECTRICAL CONNECTIONS
FIGURE 1
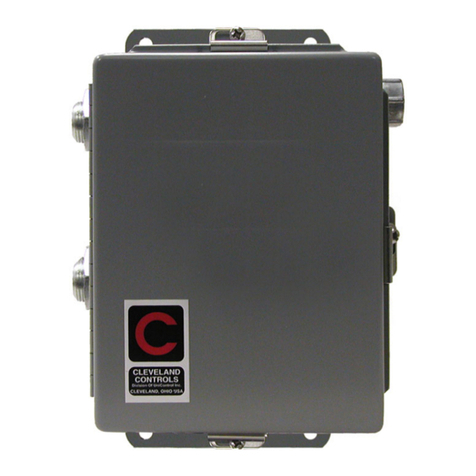
Model AFS-961-1:
14-gauge grey hammertone enameled steel with neoprene gasketed clamped cover hinged on the left side. NEMA 4 rated: provides
protection from dust, dirt, oil, and water.
Shipping Weight: 8 lbs.
Model AFS-961-2:
Cast aluminum alloy, nonmagnetic, non-sparking, and non-rusting. NEMA 7 and NEMA 9 rated. UL approved for Class 1, Group D;
Class II, Groups E, F, G.
Piping: Either pressure inlet, if not connected to a pressure sample, must be piped and vented to a nonhazardous area.
Shipping Weight: 18 lbs.
ENCLOSURE SPECIFICATIONS & DIMENSIONS
Model AFS-961 in Standard NEMA-1 rated housing:
• Coated steel nish.
• Shipping Weight: 5 lbs.
DISTRIBUTED BY:

This manual suits for next models

2

Other Cleveland Controls Switch manuals

Cleveland Controls RSS-495-011 Series User manual

Cleveland Controls

Cleveland Controls RSS-495-011 Series User manual

Cleveland Controls AFS–442 User manual

Cleveland Controls

Cleveland Controls AFS–442 User manual

Cleveland Controls AFS-460-137 User manual

Cleveland Controls

Cleveland Controls AFS-460-137 User manual

Cleveland Controls FS-751-112 User manual

Cleveland Controls

Cleveland Controls FS-751-112 User manual

Cleveland Controls AFS-951 User manual

Cleveland Controls

Cleveland Controls AFS-951 User manual

Cleveland Controls AFS-951-1 User manual

Cleveland Controls

Cleveland Controls AFS-951-1 User manual

Cleveland Controls AFS-460-136 User manual

Cleveland Controls

Cleveland Controls AFS-460-136 User manual

Cleveland Controls AFS–460 User manual

Cleveland Controls

Cleveland Controls AFS–460 User manual

Popular Switch manuals by other brands

INTERTECHNO CMR-2000 operating instructions

INTERTECHNO

INTERTECHNO CMR-2000 operating instructions

NETGEAR FS726T - ProSafe Smart Switch user manual

NETGEAR

NETGEAR FS726T - ProSafe Smart Switch user manual

NETGEAR ProSAFE GS108Ev3 Installation

NETGEAR

NETGEAR ProSAFE GS108Ev3 Installation

Pulsar S54-B17 manual

Pulsar

Pulsar S54-B17 manual

TRENDnet TK-423K - USB/PS/2 KVM Switch Quick installation guide

TRENDnet

TRENDnet TK-423K - USB/PS/2 KVM Switch Quick installation guide

Gefen EXT-DPKVM-841 user manual

Gefen

Gefen EXT-DPKVM-841 user manual

Avaya C460 SMON reference guide

Avaya

Avaya C460 SMON reference guide

Sonoff 4CH user manual

Sonoff

Sonoff 4CH user manual

Weidmüller Premium Line IE-SW-PL10M Series Hardware installation guide

Weidmüller

Weidmüller Premium Line IE-SW-PL10M Series Hardware installation guide

3Com 3CR13500 Software install guide

3Com

3Com 3CR13500 Software install guide

Shinybow USA SB-5440RCA instruction manual

Shinybow USA

Shinybow USA SB-5440RCA instruction manual

Linksys SRW224 - 10/100 - Gigabit Switch user guide

Linksys

Linksys SRW224 - 10/100 - Gigabit Switch user guide

Avocent 120 Quick installation guide

Avocent

Avocent 120 Quick installation guide

Redback A 4469 operating manual

Redback

Redback A 4469 operating manual

LEGRAND DMX installation manual

LEGRAND

LEGRAND DMX installation manual

Econ 79651 Installation & operation manual

Econ

Econ 79651 Installation & operation manual

Lindy KVM Switch Classic user manual

Lindy

Lindy KVM Switch Classic user manual

Pulsar RSUPS54 manual

Pulsar

Pulsar RSUPS54 manual

manuals.online logo
manuals.online logoBrands
  • About & Mission
  • Contact us
  • Privacy Policy
  • Terms and Conditions

Copyright 2025 Manuals.Online. All Rights Reserved.