8. Once the spacers have been installed on the right side coil-over (if applicable) and the mounting kit has been
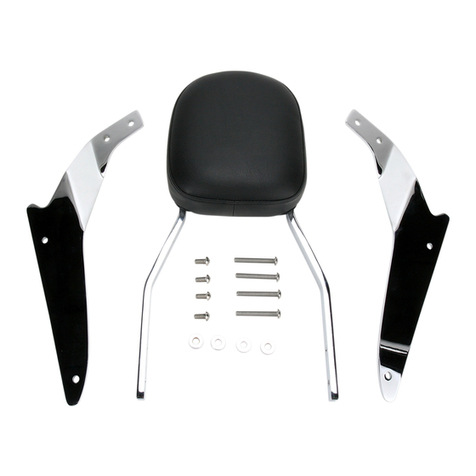
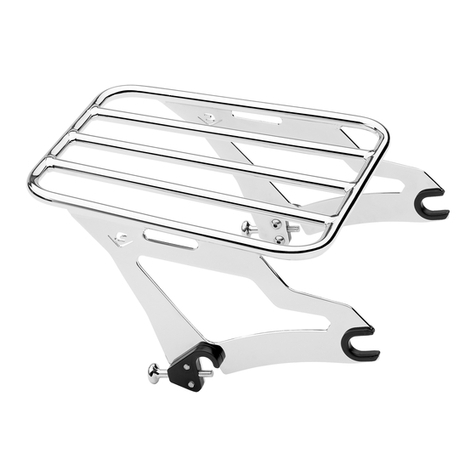
installed you can install the backrest by inserting the front portions of the backrest brackets over the mounting
bosses of the rear shocks. See FIGURE 2. Make sure to insert the backrest all the way onto the bosses.
9. Then slowly rotate the backrest downward so the rear portion of the backrest brackets slips over the mounting kit
bushings. See FIGURE 2.
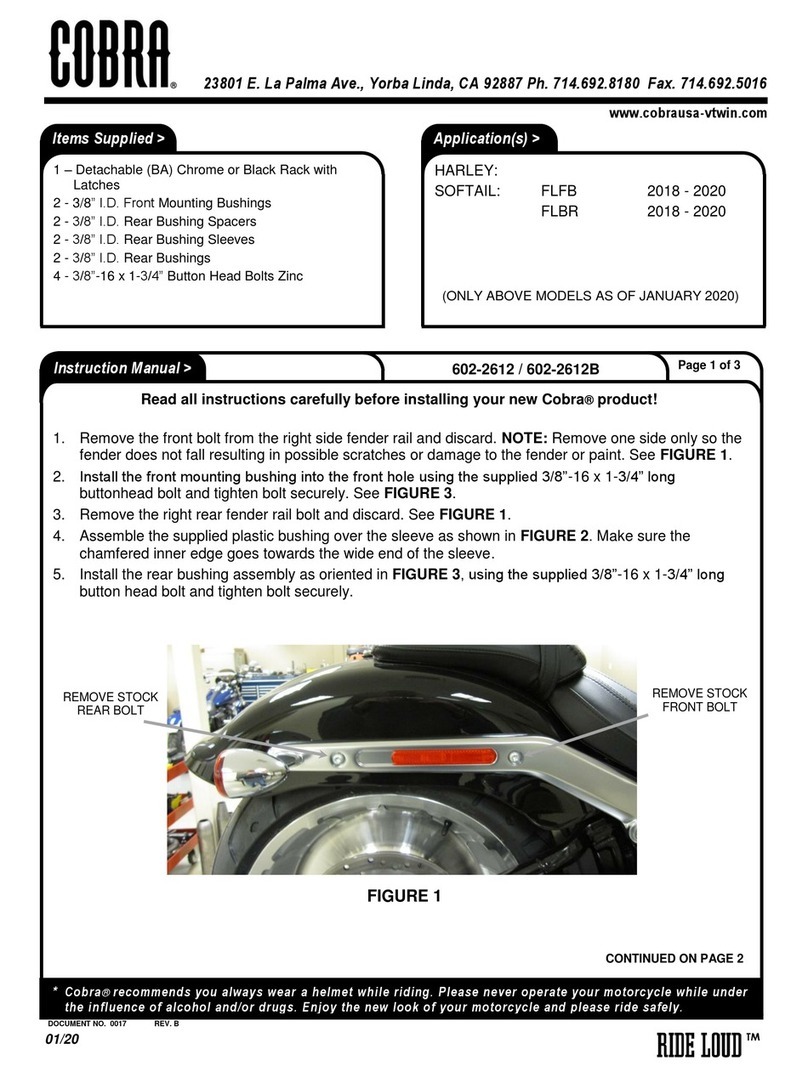
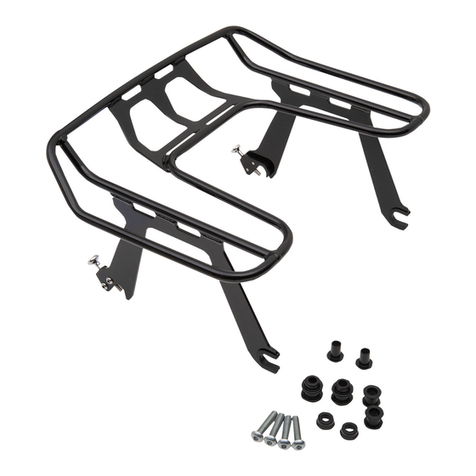
10. If you are using a Harley Mounting Kit you may need to adjust the width of the mounting kit bushings to align
them with the width of the backrest brackets. The Harley Mounting Kits come with spacers that may need to be
added or removed to align the width of the mounting kit bushings with the width of the backrest. Please see the
instructions that come with the mounting kit for more details.
11. Also, some Harley Mounting Kits come with oval shaped mounting bushings. These mounting bushings may
need to be rotated around the center axis of the bushing to allow for a secure fit of the detachable latch pin.
Please see the instructions of the mounting kit for more details.
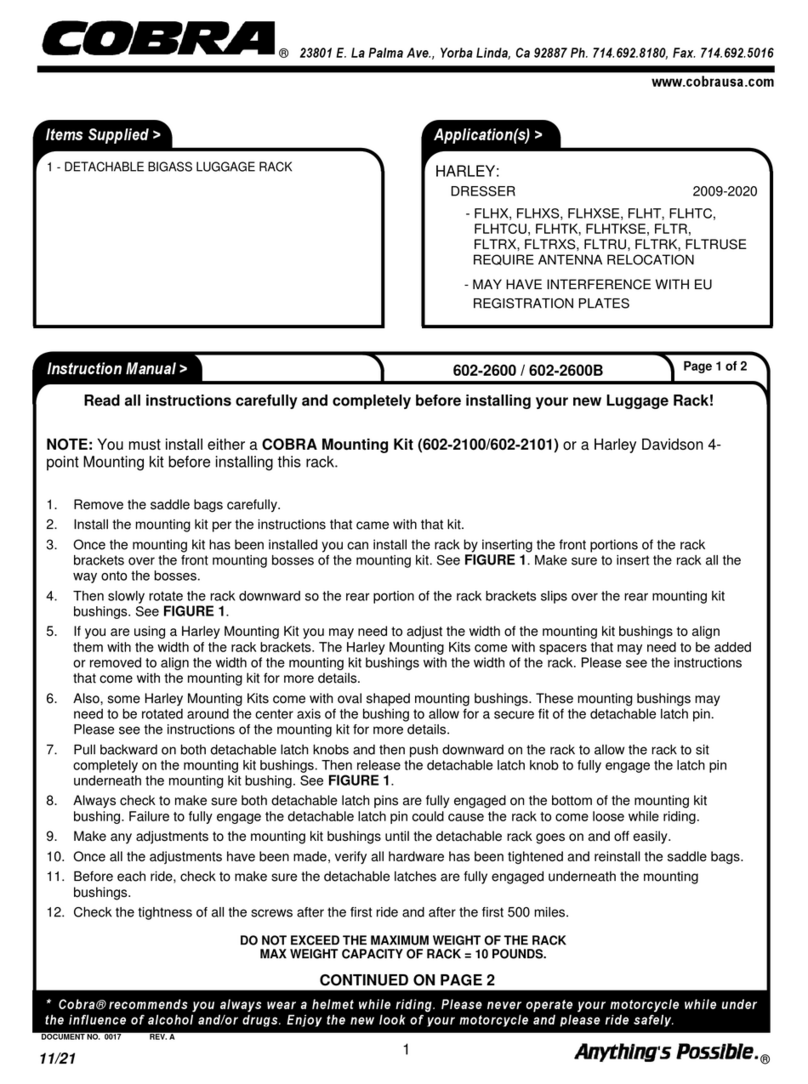
12. Pull backward on both detachable latch knobs and then push downward on the backrest to allow the backrest to
sit completely on the mounting kit bushings. Then release the detachable latch knob to fully engage the latch pin
underneath the mounting kit bushing. See FIGURE 3.
13. Always check to make sure both detachable latch pins are fully engaged on the bottom of the mounting kit
bushing. Failure to fully engage the detachable latch pin could cause the backrest to come loose while riding.
14. Make any adjustments to the mounting kit bushings until the detachable backrest goes on and off easily.
15. Once all the adjustments have been made reinstall the saddle bags.
16. Before each ride, check to make sure the detachable latches are fully engaged underneath the mounting
bushings.
17. Check the tightness of all the screws after the first ride and after the first 500 miles.
