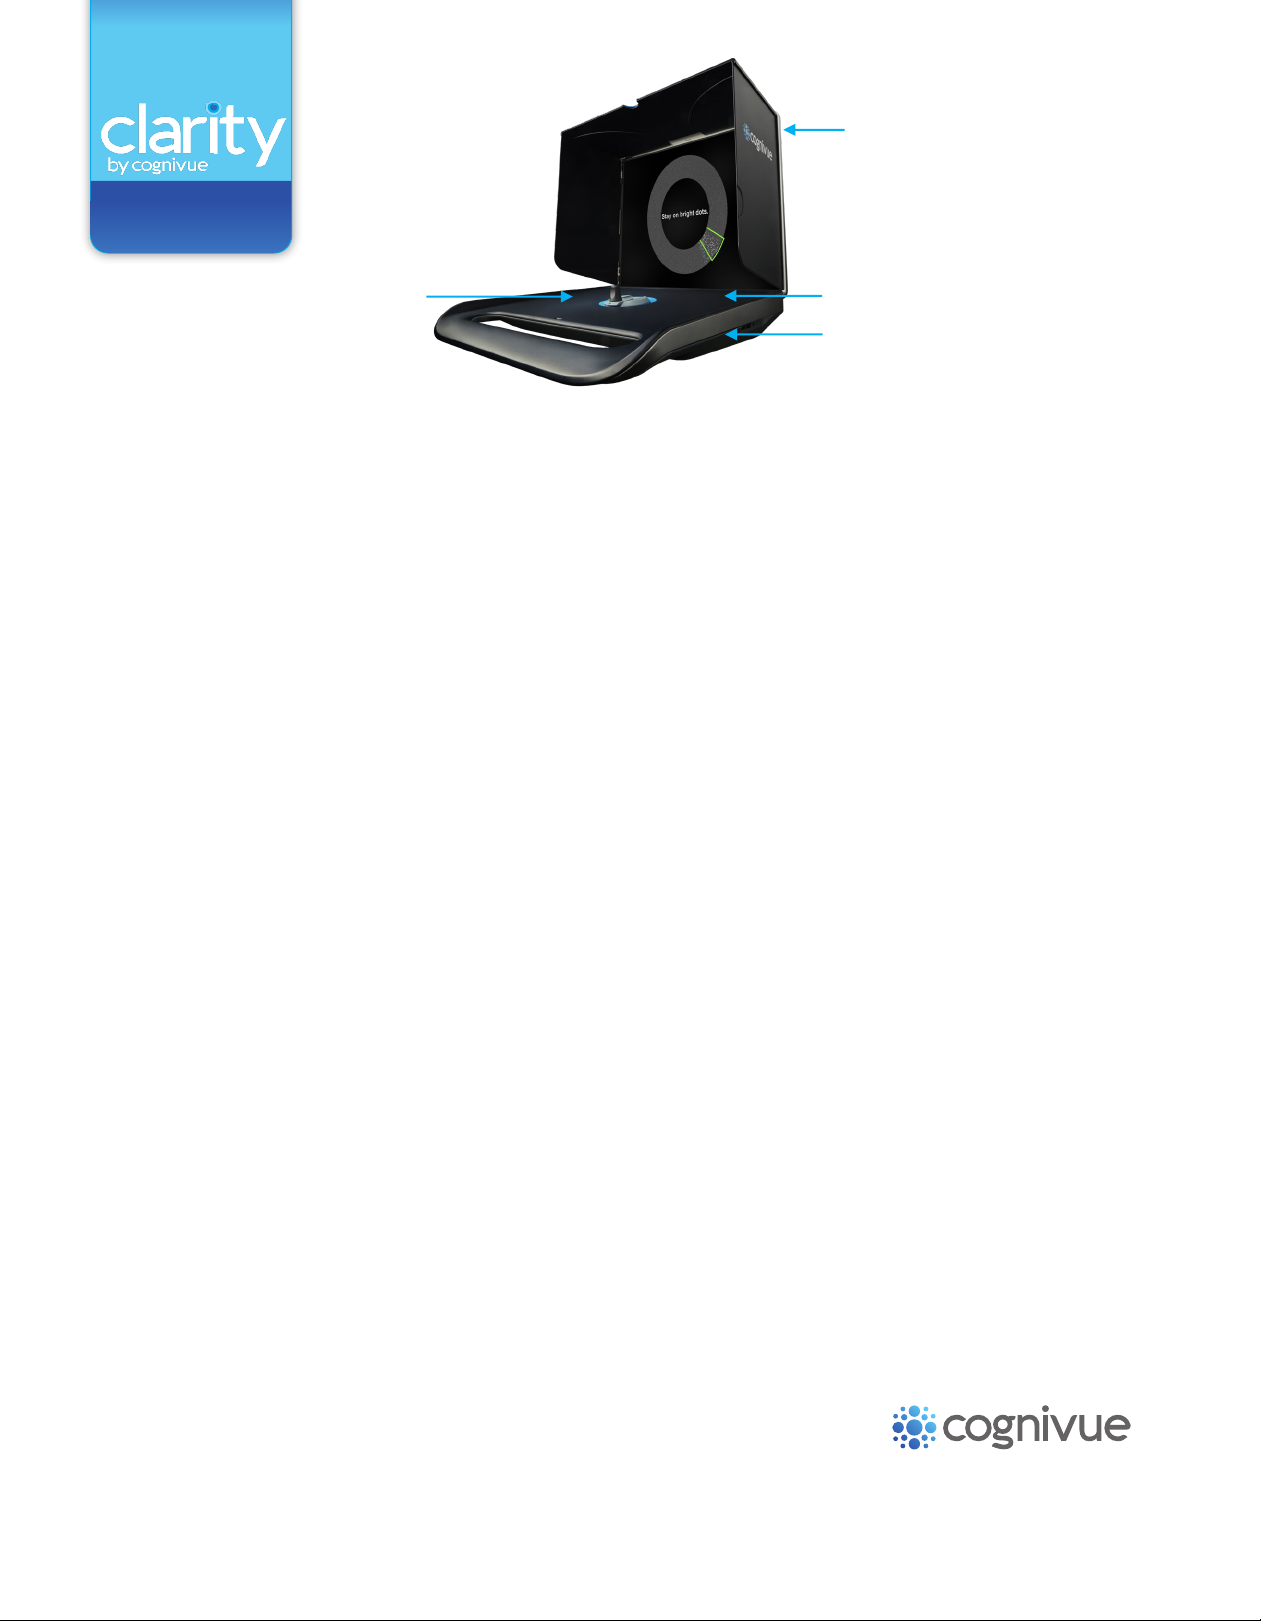
Cognivue Clarity User manual

7911 Rae Blvd. | Victor, NY 14564
585 / 203 1969 | cognivue.com
7911 Rae Blvd. | Victor, NY 14564
585 / 203 1969 | cognivue.com
[email protected] | 585.433.2992
cognivue.com/support
Installaon Guide
CONGRATULATIONS on taking the rst step towards promong
cognive health in your health care seng.
This guide contains informaon that describes the installaon and setup of the
Cognivue ClarityTM device. Also included; frequently asked quesons.
Let’s Get Started!
Cognivue support personnel can be reached 9am-5pm EST at 585-433-2992 or [email protected].
Additional information can be found at www.cognivue.com.

Set up the keyboard
Slide the power switch on the back side of the keyboard to the
green 'on' posion. The keyboard automacally connects to
the Cognivue Clarity device via USB. You will use the keyboard
and the built-in touch pad during the installaon process.
Plug in the Cognivue Clarity device
Plug the adapter cord into the power outlet located in the back
of the Cognivue Clarity device, then plug the AC power cord
for the adapter into a standard 120v outlet.
Open the lid of the Cognivue Clarity device
Slide the latch lock on the lid to the right and open the lid.
7911 Rae Blvd. | Victor, NY 14564
585 / 203 1969 | cognivue.com
7911 Rae Blvd. | Victor, NY 14564
585 / 203 1969 | cognivue.com
[email protected] | 585.433.2992
cognivue.com/support
INSTALLATION
GUIDE
Complete the following steps
before the installaon of your
Cognivue ClarityTM device.
Power
Outlet
USB Port
On/O
Buon
Page 2 of 9
RECOMMENDED: Contact your internal network support team for a stac IP address,
subnet mask and default gateway.
If you do not have this informaon, no problem! Your network will automacally assign an IP address
to the Cognivue Clarity device. Keep in mind, your internal network may be set up to periodically
reassign IP addresses. If the IP address is reassigned, you will need to repeat the steps to map your
Cognivue Clarity device to your PC or MacOS.

INSTALLATION
GUIDE
Setup the CogniCover
®
1. Pull up the top panel of the CogniCover.
2. Swing open the le and right panel.
Set up the CogniWheel
®
To set up the CogniWheel, using the tab, ip open the knob of the CogniWheel.
Turn on the Cognivue Clarity
TM
device
The power buon is a small round black buon, located at the top right corner on the main surface.
Press the power buon and the screen will light up within a few seconds.
CogniCover®
Headphone
Jack
CogniWheel®
Overnight - Leave Cognivue Clarity plugged in, turned on, and secure
The Cognivue Clarity device needs to be le on, plugged into an AC outlet, and connected to
the internet overnight to ensure it is available to receive soware updates. A wire cord and
lock can be used around the handle to secure the device when not in use. You can close the
lid; the Cognivue Clarity screen will go to sleep and it will stay powered on.
Built-in rechargeable baery
Cognivue Clarity can also be operated using the built-in rechargeable baery, which requires
approximately 4 hours to fully charge. The baery will last up to 4 hours of connuous usage
or up to 8 hours of intermient usage.
Screen sleep mode
The screen on the Cognivue Clarity device goes into sleep mode aer 5 minutes of inacvity.
To wake up the screen, simply press or swipe the touchpad on the keyboard. Make sure the
keyboard is turned on.
Powering o
There are 2 ways to power o the Cognivue Clarity device. The recommended method is to
choose 'Shutdown' from the Login Screen (to get to the Login Screen, click 'Exit' from the
Main Screen). The alternave method is to press and hold down the power buon for 5-10
seconds, unl the screen turns o.
Power Buon
Page 3 of 9
You are ready to install the Cognivue Clarity device!
[email protected] | 585.433.2992
cognivue.com/support

Page 4 of 9
INSTALLATION
GUIDE
Follow the on-screen Configuration
Wizard to complete the installation
process.
If the Configuration Wizard does not start automatically when the device is
call 585-433-2992 between 9am and 5pm ET, Monday through Friday.
For additional resources that can assist you with the setup process, refer to
the User Manual.
The on-screen instructions will guide you through the following steps:
Throughout the wizard, when
it is enabled, click the Next
button to go on.
Connect to the Network
STEP 1
Helpful Hint:
In the top left corner of the device
screen, you will see one or the
other of the following icons:
Indicates your device is
connected to a WiFi network.
Indicates your device is NOT
connected to a network. Click
it to view available networks.

www.cognivue.com/support
Page 5 of 9
INSTALLATION
GUIDE
Step 2 will begin automatically once you click the
Next button on the Network Configuration screen.
A. Wait for the device to activate and register.
B. As each item completes, a green check mark will be displayed to its left.
Activate and Register
Your Device
STEP 2
There is no user input needed during this step.

www.cognivue.com/support
Page 6 of 9
INSTALLATION
GUIDE
C. Your device has been pre-configured with your customer
account information. You will be prompted to verify the account. To
continue, press "Yes" if the presented account is correct.
D.The Next button at the bottom right of the screen will now be
enabled. Click it to go on to the next step.

INSTALLATION
FAQ’S
7911 Rae Blvd. | Victor, NY 14564
585 / 203 1969 | cognivue.com
7911 Rae Blvd. | Victor, NY 14564
585 / 203 1969 | cognivue.com
How do I print reports?
For both Windows 10 and Mac OS, you must map your
device and access the network share via your Windows or
Mac machine. To print directly from the device, please refer
to section 12.0 of the Cognivue Clarity User Manual.
How do I map the Cognivue ClarityTM device in
Windows 10?
To begin, retrieve the device's IP address and follow
these steps:
1. Login
2. Click on “Device administraon”
3. Click on “Sengs”
4. Click on the "Network" tab
5. See the IP address eld
*if the IP address is not listed, click “congure” to select
your wireless network
*For instrucons on how to map to Mac OS, please contact
Once you have the IP address, follow these steps on your
Windows 10 computer:
*Please note that you will need the IP address to complete step 5
1. Open le "Explorer" by clicking the folder in the lower
le corner of the screen
2. Right click on “This PC”
3. Le click on “Map network drive”
4. There is no need to rename the drive leer
5. For Folder, type in the following using the device’s IP address:
\\ IPaddress\Reports
* for example, if the IP address is 192.168.1.225:
\\192.168.1.225\Reports
6. Check “Re-connect at sign-in”
7. Check “Connect using dierent credenals”
8. Click nish
9. Click on “More choices” at the lower le of the window then
click “Use a dierent account” and connue
Opon 2: If “More Choices” is not seen, connue
10. For “Email Address” type in cogaccess
11. For “Password” type in cogaccess
12. Check “Remember the credenals”
13. Click “OK”
A window will pop up showing the share.
Please note a network share is now seen in File Manager.
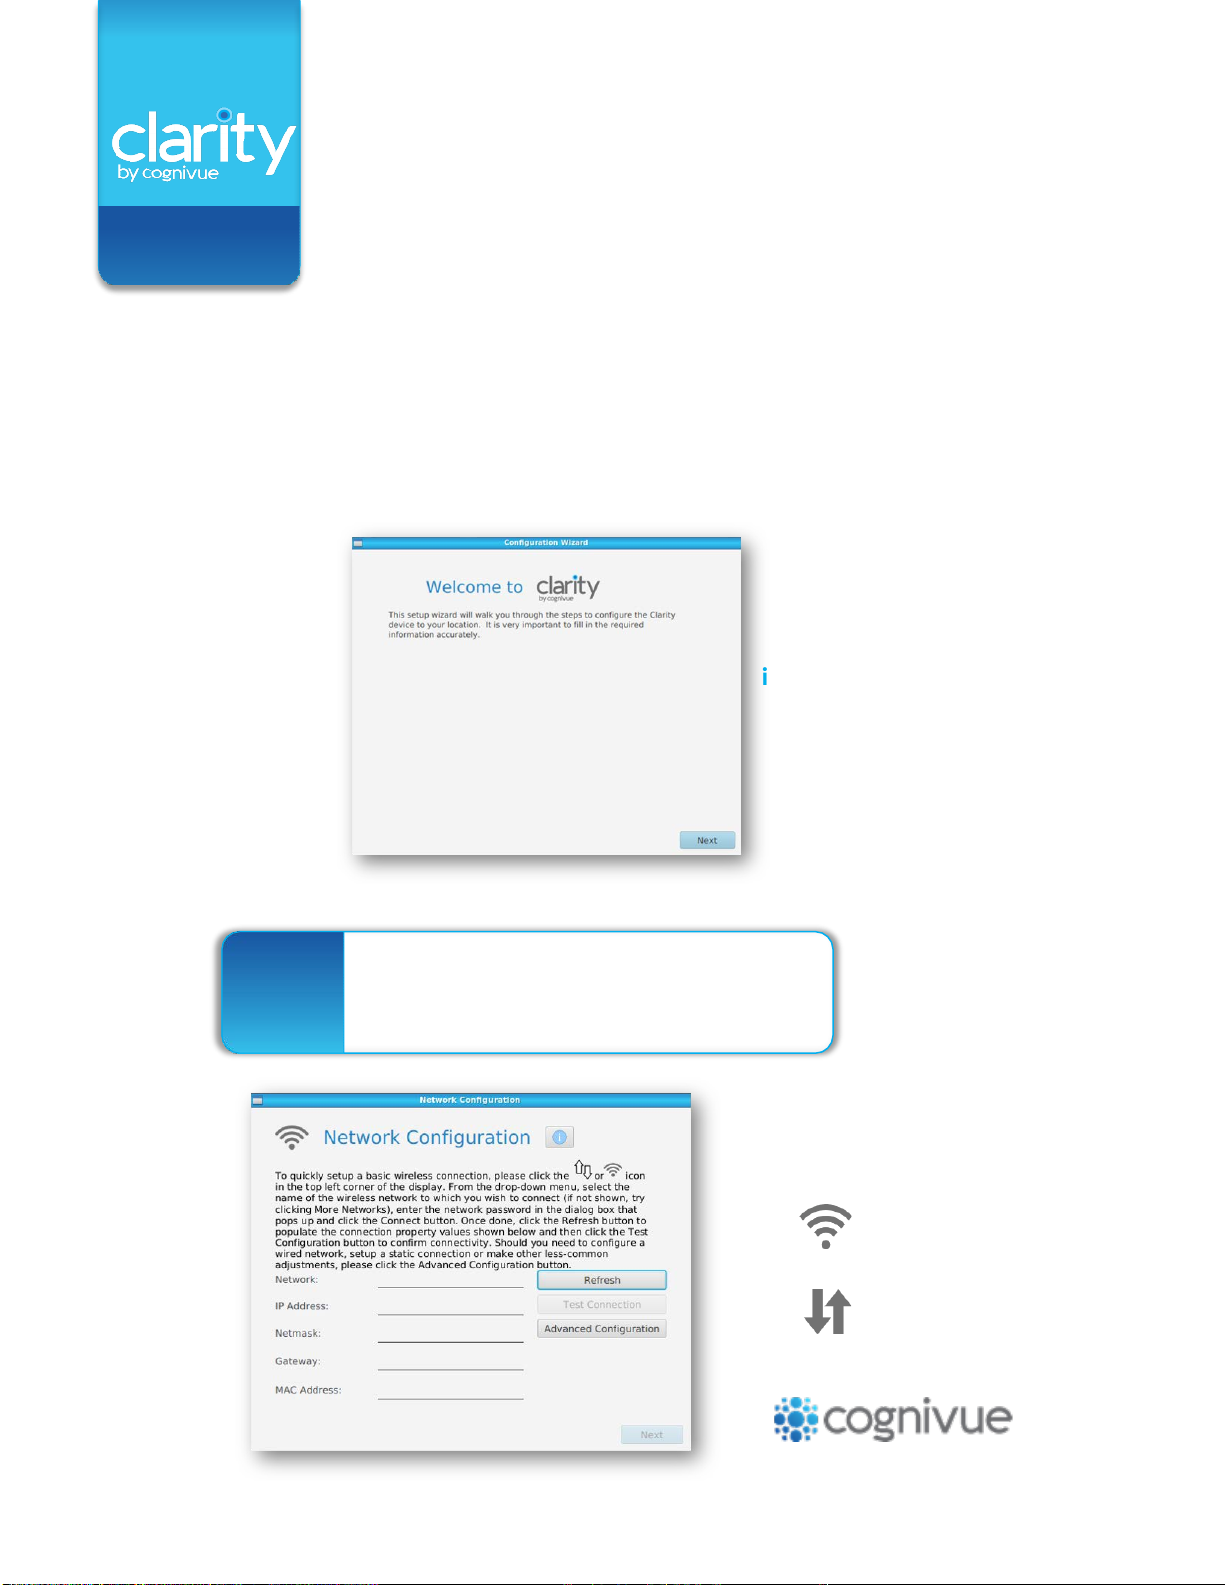
How do I connect Cognivue Clarity to WiFi at a
different location?
Click on the WiFi icon located in the top left corner of the screen,
then click on the WiFi network to which you want to connect, and
enter the password, if required.
The keyboard doesn't seem to be working, how do
I fix it?
The baeries may need to be replaced. Also, be sure the power
switch, located on the top right side of the keyboard, is in the green
'on' position. If they keyboard still isn't working, contact support@
cognivue.com.
Should I leave the device on at night?
Yes, you should leave the device plugged in, turned on and
connected to the internet every night to ensure it is available to
receive software updates. If you close the lid, the Cognivue Clarity
screen will go to sleep and the device will stay powered-on.
If the device is not connected online for 30 days, it will not receive
updates and will have to be re-activated by Cognivue support.
Can reports generate without connecting to the WiFi?
Yes, reports will generate without connecting to the WiFi, but your
device will not be able to receive updates and you will not be able to
print the reports.
How do I change the volume?
The keyboard controls the volume of the device. We recommend using
noise-canceling headphones that plug into the headphone jack located
on the right side of the device. On the top row of the keyboard, you will
find the volume control buttons indicated by the following icons:
Frequently asked quesons when
installing a Cognivue ClarityTM device.
For addional quesons, contact Cognivue support at [email protected]
or call 585-203-1969 between 9am-5pm EST, Monday through Friday.
support@cognivue.com | 585.433.2992
cognivue.com/support
Page 9 of 9
Increase the volume of the device
Decrease the volume of the device
Set the volume to 0%
Please note that there is no volume indicator on the screen. Cognivue
recommends keeping the volume at a low setting, then slowly increasing the
sound until it can be heard comfortably without distortion, or discomfort.
Other manuals for Clarity
3
Table of contents
Other Cognivue Diagnostic Equipment manuals