2
2
OM.MC.20160506
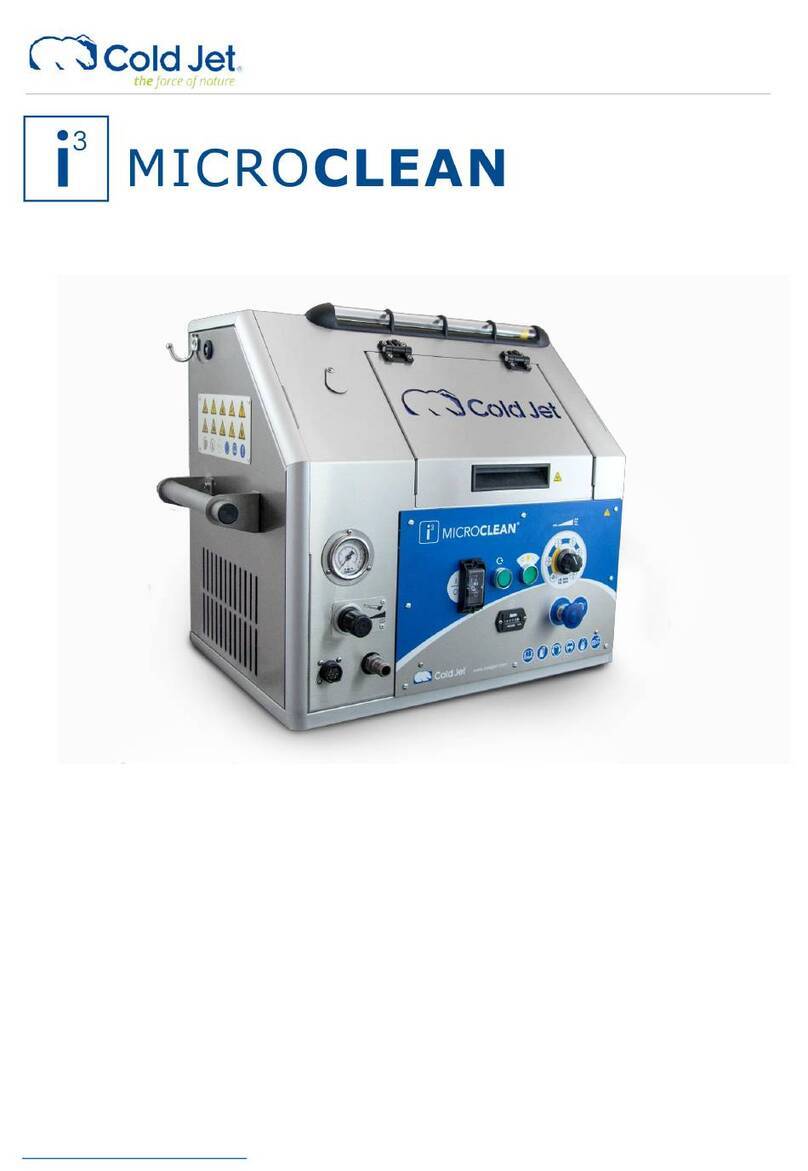
The i3MicroClean is safe and easy to operate; however, certain precautions must
be followed during its use. To understand all the necessary precautions, you
must read the entire i3MicroClean manual before operating the unit.
The i3MicroClean should only be operated by authorized and trained personnel.
IN THIS SECTION
General Safety Requirements. . . . . . . 2
Electrostatic Discharge. . . . . . . . . . . 3
CO2Safety. . . . . . . . . . . . . . . . . . . 3
GENERAL SAFETY REQUIREMENTS
• Always follow the guidelines of the governing codes of your local/national
body as a minimum standard for ensuring safety
• Always wear thermal gloves, eye and ear protection (safety glasses and ear plugs)
• Never expose bare skin to CO2ice
• Never point the nozzle at self or anyone else and always exercise extreme
caution when people are in the blast area
• Never use a wire tie to hold the applicator trigger in the on position. This will
cause damage that will void the warranty
• Never use the blasting unit or hoses for anything other than the intended use
• Never operate in a confined space without an approved ventilation system
• Never operate the unit with guards removed
• Never mask the machine’s ventilation holes
• Never operate a damaged blasting unit
• Never exceed recommended hose or blasting unit pressure levels
• Do not kink the blast hose before, during or after operation
• Never disconnect the air supply hose without first shutting off the source air
and removing the line pressure
• Only Cold Jet trained service technicians are certified to work on electrical components
• Do not operate equipment with electrical parts exposed, jumpered or
rendered inoperable
• Only use dry ice as the cleaning media
• Always turn the application safety on before laying it down or passing it to someone
• Always turn the main power off and remove the applicator control cable before
removing the blast hose
• Always ensure that hoses are securely attached
• Keep hoses and power cord out of forklift traffic areas
• Check hoses and cables for nicks and gouge
SAFETY GUIDELINES
