Converters.TV 722 User manual
Other Converters.TV Transmitter manuals
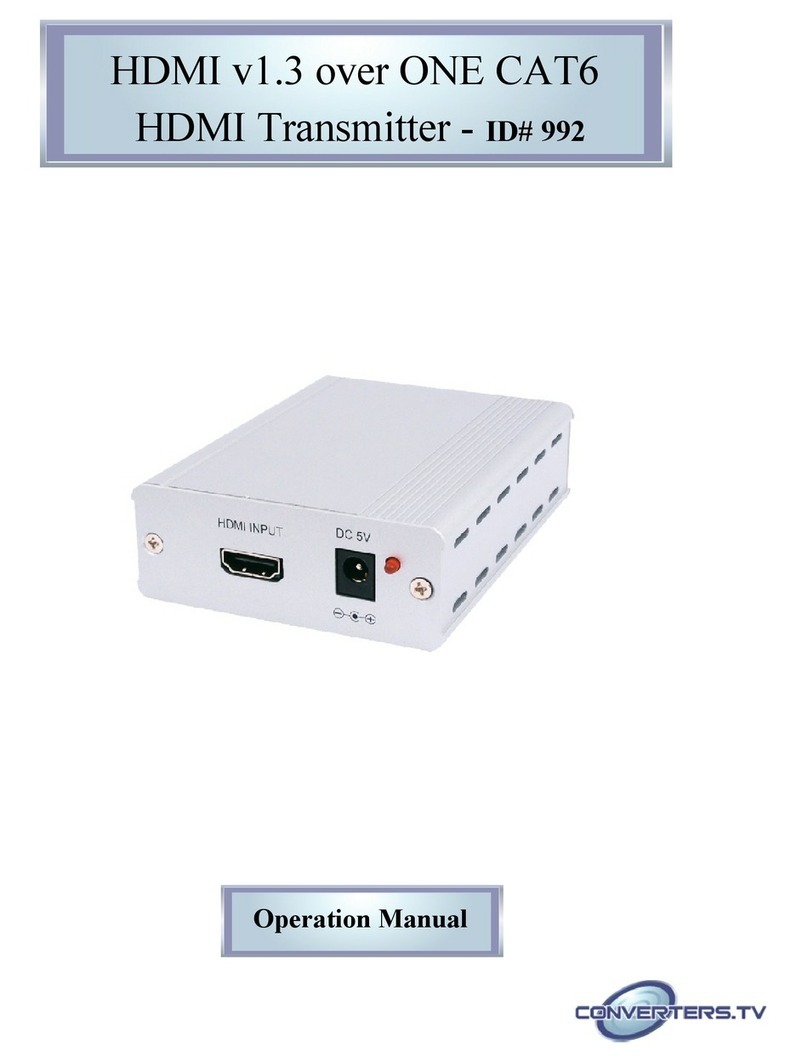
Converters.TV
Converters.TV CH-1107TX User manual
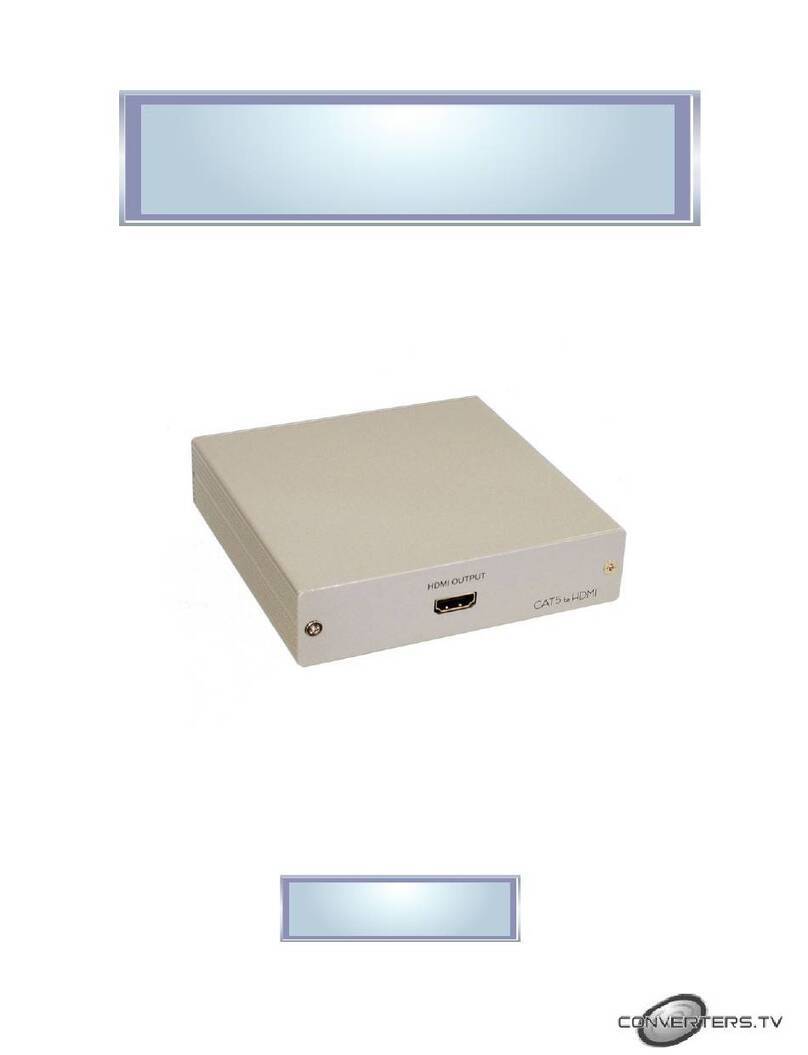
Converters.TV
Converters.TV 542 User manual
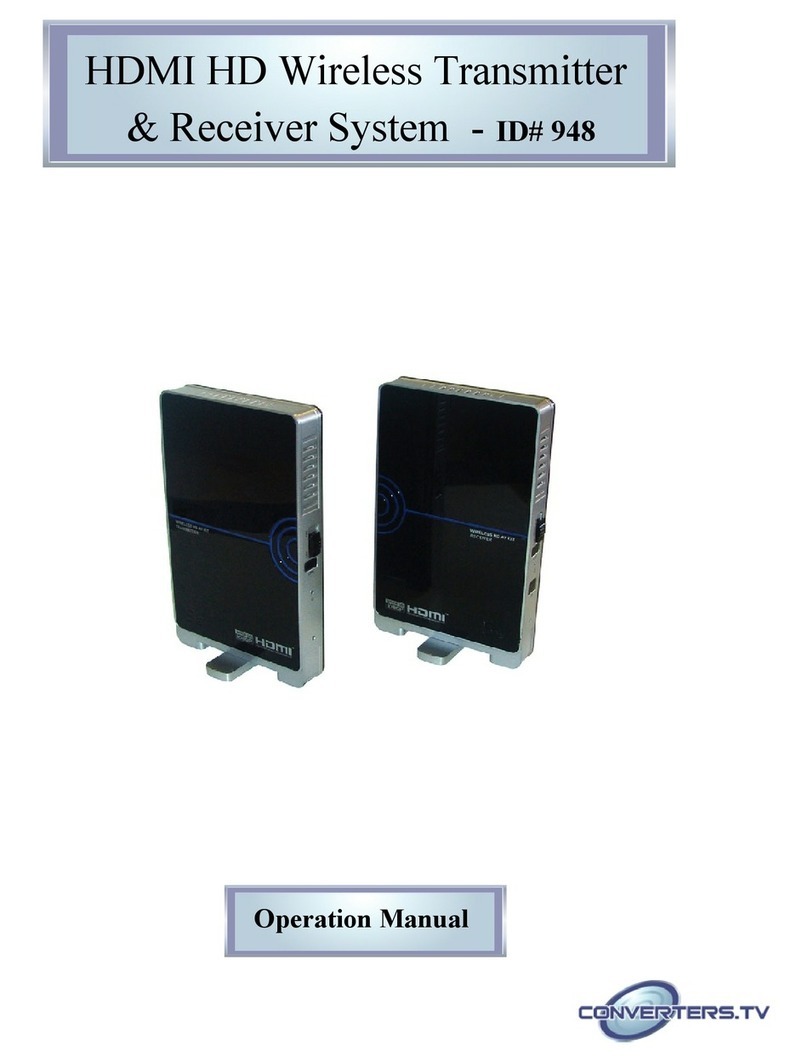
Converters.TV
Converters.TV 948 User manual
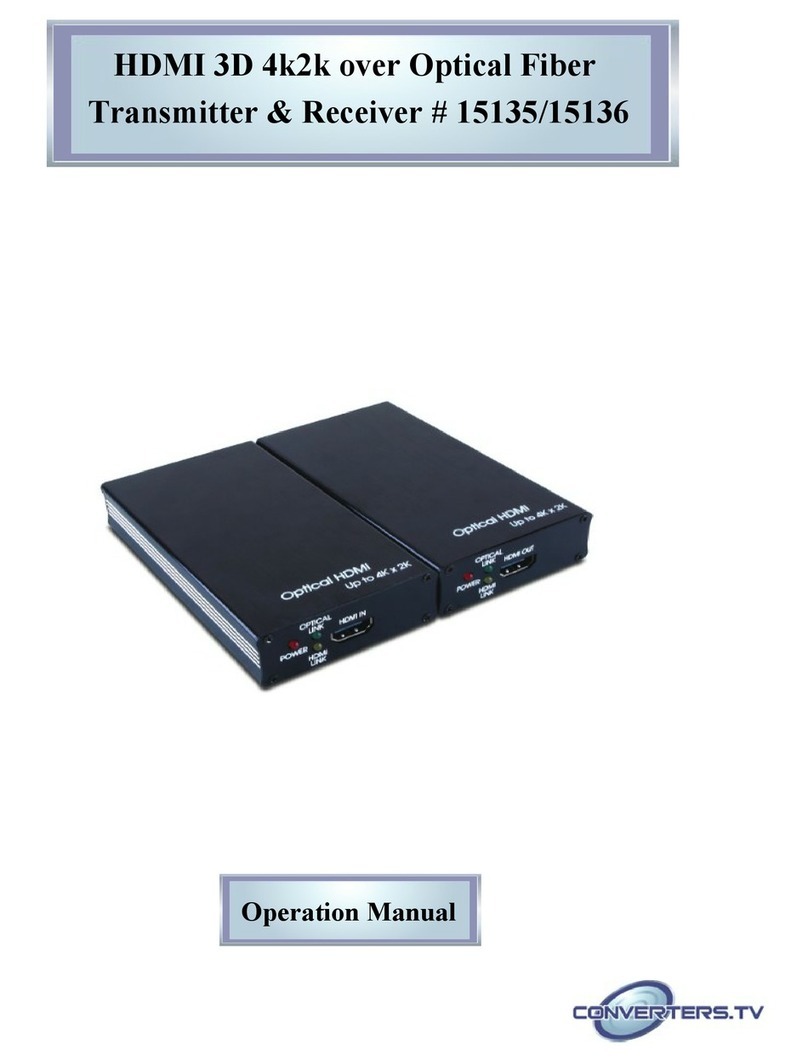
Converters.TV
Converters.TV 15135 User manual
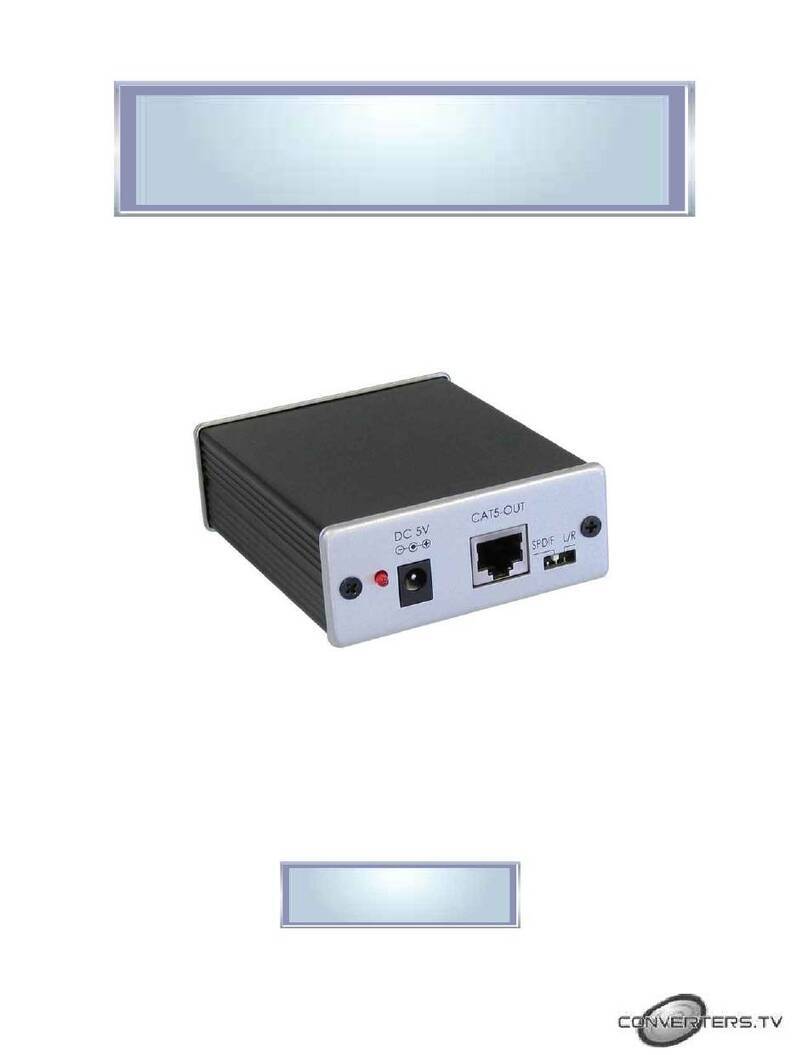
Converters.TV
Converters.TV 549 User manual

Converters.TV
Converters.TV 15125 User manual

Converters.TV
Converters.TV 15496/7 User manual

Converters.TV
Converters.TV 15222 User manual
Popular Transmitter manuals by other brands

Geo
Geo Web Pack quick start guide

Inovonics
Inovonics EchoStream EN1210W installation instructions

IKONNIK
IKONNIK KA-6 quick start guide

Rohde & Schwarz
Rohde & Schwarz SR8000 Series System manual

Audio Technica
Audio Technica UniPak ATW-T93 Installation and operation

NIVELCO
NIVELCO EasyTREK SCA-300 Series Programming manual


