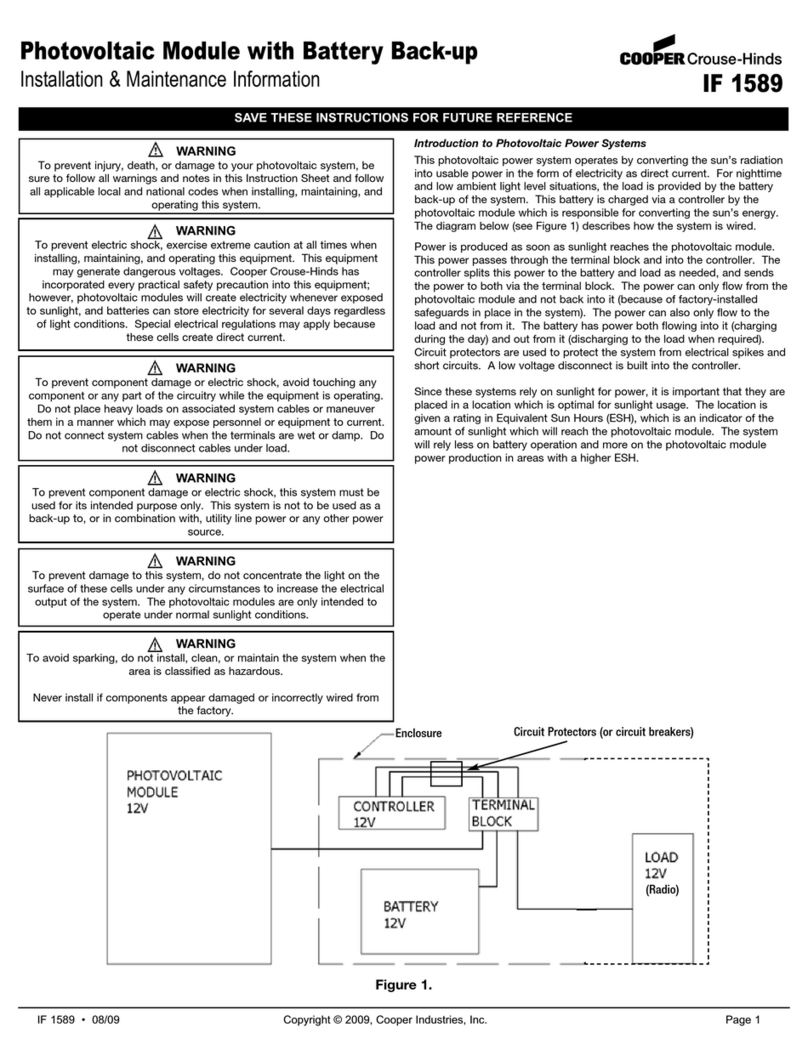
Cooper Scantronic 770r User manual

770r
Wireless Accessory
Module

2
Introduction .........................................................4
Operating Modes ........................................................... 4
Technical Description .........................................5
Specification .................................................................. 5
Compatible Equipment .................................................. 5
Physical Layout ............................................................. 6
PCB ............................................................................... 7
Controls and Indicators ................................................. 8
Switches ...........................................................................................8
Dipswitches .....................................................................................8
Output Jumpers ................................................................................8
Displays ...........................................................................................9
Internal Sounder ..............................................................................9
Installation ...........................................................9
General .......................................................................... 9
Siting the Unit ............................................................... 9
Static Precaution .......................................................... 10
Fitting the Case ............................................................ 10
Unit Connection .......................................................... 11
Inputs .............................................................................................11
Outputs ..........................................................................................12
Programming .....................................................13
Overview ..................................................................... 13
Initial Power Up .......................................................... 13
Entering/Leaving Programming .................................. 13
Selecting Menus .......................................................... 14
Menu Command Reference ......................................... 15
Learn Transmitters (Menu 1) .........................................................15
Deleting Transmitters (Menu 2) ....................................................16
Selecting Channel Modes (Menu 3) ..............................................16
Signal Strength Test (Menu 4) .......................................................18
Output Relay Polarity (Menu 5) ....................................................19
Selecting An Operating Mode (Menu 7) .......................................20
Installer Defaults (Menu 8) ............................................................21
Commissioning The 770r ..................................22
Teaching the Module Identity to a 7500r .................... 22
Mode 1 - Repeater ....................................................... 23
Introduction ...................................................................................23
Commissioning ..............................................................................24
Contents
3
Mode 2 - Output Module ............................................. 25
Introduction ...................................................................................25
Operation .......................................................................................25
Commissioning ..............................................................................26
Mode 4 - Sounder Receiver ......................................... 27
Introduction ...................................................................................27
Operation .......................................................................................27
Commissioning ..............................................................................28
Mode 5 - Sounder Transmitter ..................................... 30
Introduction ...................................................................................30
Operation .......................................................................................30
Commissioning ..............................................................................31
Testing ...........................................................................................33
Mode 6 - Universal Receiver ....................................... 34
Introduction ...................................................................................34
Operation: ......................................................................................34
Commissioning ..............................................................................35
Input connections (optional) ..........................................................36
Testing ...........................................................................................36
© Cooper Security Limited 2005
Every effort has been made to ensure that the contents of this leaflet are correct . However,
neither the authors nor Cooper Security Limited accept any liability for loss or damage
caused or alleged to be caused directly or indirectly by this leaflet. The contents of this
leaflet are subject to change without notice.
Printed and published in the U.K.
Product Support (UK) Tel: +44 (0)870 757 5400
Available between:
08:15 and 17:00 Monday to Friday,
Product Support Fax: (01594) 545401
Part No.: 497262 Issue 1

4
INTRODUCTION
The 770r Wireless Accessory Module can be used with any
Cooper Security wire-free products that operate on 868MHz.
The Module allows you to:
• add radio outputs to existing 7500r control units
• add radio detectors to existing wired control units.
• extend the area covered by an existing wireless alarm sys-
tem.
• add a radio link between any existing wired control unit and
wired bell.
The Module is enclosed in a polycarbonate box, with LEDs shin-
ing through the lid to give status information. The module has an
internal back up battery (not supplied) and must be powered by
an external 12VDC source.
Note that when powered by its internal back up battery the 770r
may not be able to provide adequate power to any connected
external devices (for example sounders).
During installation the Module can learn the identities of trans-
mitters either by infra-red signals from the transmitters’ activity
LEDs, or by radio signals.
Operating Modes
The Module operates in one of five modes:
Mode 1 Repeater. The Module extends the range of a 7500r
control unit by repeating signals from distant detec-
tors.
Mode 2 Output Module. The Module acts on signals from
a 7500r control unit or other transmitters to control
external devices.
Mode 4 Sounder Receiver. The Module receives signals from
specific transmitters and in response operates a bell/
strobe unit.
Mode 5 Sounder Transmitter. The Module takes control signals
from a hardwired control unit and sends radio signals
to a Sounder Receiver.
Mode 6 Universal Receiver. The Module acts as a radio inter-
face for a wired alarm control unit.
Note that Mode 3 is reserved for future use.
See “Commissioning the 770r” (page 22) for a more detailed
description of each mode and for detailed instructions on how to
connect and program the Module.

5
TECHNICAL DESCRIPTION
Specification
Channels: 8 channels.
Display: 10 LEDs. Visible with case closed. Eight LEDs
for channels and programming, one for Trou-
ble and one for Power present.
Compliance: Product is tested to 1995/5/EC R&TTE Direc-
tive.
Radio Section: Operating frequency 868.6625MHz at 20kHz
bandwidth. I-ETS 300 220. CE tested to I-ETS
300 339 (draft standard).
12VIN power: Quiescent current 70mA
Max current all outputs active 90mA.
Max current standby batt recharge 25mA.
Operating voltage 10-14VDC (Cooper Security recommend a
12VDC 1A regulated power supply).
12VOUT power: Max current 500mA.
Battery standby: 12 hrs with 6V, 1.2Ah battery (not supplied)
Outputs: Four voltage free contacts, programmable
no/nc, 0.5A max at 24VDC. On-state resist-
ance 2R.
Dimensions: 208 x 122 x 42 (hx w x d mm)
Weight: 0.305kg (without battery).
Compatible Equipment
7500r Homelink75 Control Unit
701rEUR-50 Lanyard Pendant Transmitter
701rEUR-60 Pendant Transmitter
702rEUR-00 Watch Pendant Transmitter
714rEUR-00 PIR Transmitter (Small case)
715rEUR-02 PIR Transmitter
719rEUR-02 Smoke Detector Transmitter
720rEUR-00 Smoke Detector Transmitter
723rEUR-00 Telecommand
726rEUR-00 Short Range PA Transmitter
726rEUR-50 Long Range PA Transmitter
734rEUR-00 Door Contact Transmitter CC version
734rEUR-01 Door Contact Transmitter FSL version
739rEUR-00 PC Board for glass break detectors
762rEUR-00 Two Channel Receiver

6
Physical Layout
Open the case by removing the screw at the bottom edge of the
lid. Swing the lid upwards from the bottom and lift it away.
To remove the PCB gently ease the plastic catch at the top of
the PCB to release the circuit card and then lift it away from the
bottom catches.
Figure 1 at the right shows the main features of the case back.
1. Upper pcb catch.
2. Lower pcb catches.
3. Fixing hole.
4. Rear cable entry.
5. Cable strain relief bar.
6. Side cable entry (break out panel).
7. Corner cable entry.
8. Battery bracket.
9. Lower fixing hole.
10. Cable tie anchor. Figure 1.

7
PCB
Figure 2 at the right shows the main features of the PCB.
1. DIP switches.
2. Sounder.
3. IR Learn sensor.
4. Battery connector.
5. Kick Start pins.
6. DC in and input connectors.
7. DC out and output connectors.
8. Back tamper switch enable/disable.
9. Output configuration jumpers.
10. Tamper switch.
11. ESC/DEL button.
12. Set button.
13. SELECT button.
14. Transceiver module.
15. Display LEDs.
7
8
9
10
11
12
13
14
15
5
6
3
4
2
1
Figure 2.

8
Controls and Indicators
Switches
SELECT Used during programming to display another
option.
SET Used during programming to confirm a selection.
ESC/DEL Used during programming to cancel a selection
and/or leave programming.
SW4 Lid tamper. Used to signal lid of module open, and
also to enter programming mode.
Kick start Used to power up on battery only.
Dipswitches
1. OFF = IR Learning disabled.
Radio Learning enabled.
ON = IR Learning enabled.
Radio Learning disabled.
2. OFF = Module takes no action if jamming detected.
ON = Module signals trouble when jamming detected.
3. OFF = Module takes no action if detector missing.
ON = Module signals trouble if no transmission received
from detector for period set by Dipswitch 4.
4. OFF = Supervision period = 3 hours.
ON = Supervision period = 20 mins.
5. OFF = Input 1 and 2 wiring = End of Line resistor.
ON = Input 1 and 2 wiring = closed circuit.
6. OFF = Input 1 is Normally Closed.
ON = Input 1 is Normally Open.
7. OFF = Input 1 is Momentary.
ON = Input 1 is Latched.
8. OFF = See Modes 1, 2 and 4.
ON = See Modes 1, 2 and 4.
Output Jumpers
If required, you can connect the common output terminal of
each of the wired outputs to either the +ve or -ve supply. The
block of jumpers marked 9 in Figure 2 controls the polarity of the
common output terminals for each of the wired outputs 1 to 4.
For example, for output 1:
Common terminal is 12VDC.
Common terminal is 0VDC.
Output is voltage free.

9
Displays
The column of LEDs in the centre of the PCB acts as the main
programming display. In Mode 1 the LEDs can also display the
transmission of channel signals from the module.
1. Channel signals or programming information.
2. Trouble. Lit during tamper, or during trouble with
detectors.
3. Power. Lit steadily when external DC power
present. Flashes when running from backup battery.
Internal Sounder
The PCB carries a piezo electric sounder. During programming
the sounder gives confirmation or error tones.
INSTALLATION
General
Before installation you should carry out a survey of the site. You
need to know how many and what kind of transmitters and or
receivers will be operating through the unit. You also need to as-
sess where the unit must be placed in order to communicate with
the transmitters/receivers successfully. To do this you may need
to conduct signal strength tests using a Scantronic 790r hand
held signal strength meter.
You should also consider the power supply needed for the unit.
Note that the Module does not contain its own power supply.
Cooper Security recommend that you use the 1A power supply
TSPS1.
Siting the Unit
Do site the unit:
Within a protected zone, when used as part of an intruder
alarm.
As high as possible. However, do make sure that the unit is
on a similar level to the other transmitters or receivers.

10
Do NOT site the unit:
In the entry or exit zones, or outside the area covered by the
alarm system.
Close to or on large metal structures.
Closer than two metres to mains wiring and metal water or
gas pipes.
Lower than two metres from the floor (ideally).
Inside steel enclosures.
Next to electronic equipment, particularly computers,
photocopiers or other radio equipment, CAT 5 data lines or
industrial mains equipment.
Static Precaution
Like many other electronic products, the Module contains
components that are sensitive to static electricity. Try not handle
the PCB directly. If you must handle the PCB, take the standard
precautions against damage by static electricity.
Fitting the Case
1. Take the unit out of its packaging.
2. Undo the lid and open the case.
3. Hold the case against the wall and mark the position of the
top fixing hole (3 on Figure 1).
Note: Cover the case and PCB and put it to one side before start-
ing to drill.
4. Drill a hole at the marked position and insert a Rawl plug
and screw.
5. Hang the case by the top hole from the screw.
6. Mark the position of the other fixing holes onto the wall (9
on Figure 1).
7. Take the case down, drill holes for the fixing screws and
insert the Rawl plugs.
8. Mount the case on the wall and screw home the fixing
screws. Do not over-tighten the screws or you may crack
the case.

11
Unit Connection
Inputs
You may connect the unit to wired detectors as shown in Figure
3. Note that you can use the 12V/0V Out connections to pro-
vide DC power for wired detectors. Use Dipswitch 5 to select CC
or EOL wiring.
Use Dipswitch 6 and 7 to select NO/NC or Momentary/Latched
inputs.
Alarm contacts
Tamper contacts
2K2 EOL Alarm contacts
2K2 EOL Tamper contacts
CC Zone wiring
(Dipswitch 5 = ON)
EOL Zone wiring
(Dipswitch 5 = OFF)
Figure 3.

12
Outputs
The module provides four relay outputs. Each output has two
terminals: Output and Common. You can select either +12V
or 0V for the Common terminal by placing jumpers on the ap-
propriate pins of the output jumper block (see opposite). When
the output is active the Common terminal is connected to the
Output terminal within the module.
The diagram opposite gives examples of three different ways of
wiring the outputs:
1. Output is +12V when active. Fit jumper on upper two pins
of the corresponding jumper block. The LED should light
when the output is active.
2. Output is 0V when active. Fit jumper on lower two pins of
the corresponding jumper block. The LED should light when
output is active.
3. Common is floating. Do not fit any jumpers. LED lights
when output is active.
Caution: Do not exceed the rating of the output. See “Technical
Specifications”.
+12V
0V
Link
Link
OP
Common
1 2 3
Figure 4.

13
PROGRAMMING
Overview
To program the unit:
a) Connect power.
b) Enter programming.
c) Select the required operating mode.
d) Carry out any learning of detectors or teaching of receivers.
e) Program the detailed behaviour for an individual mode.
f) Leave programming mode.
Note that if you change operating modes then the unit loses all
memory of any transmitters that it has learned.
Initial Power Up
1. Fit a 6V 1.2Ah battery to the battery brackets, and connect
the battery lead to the battery connector (4 on Figure 2).
2. Connect a 12VDC supply to 12V/0V In terminals (6 on
Figure 2).
Caution: Ensure that you connect the power supply to the
power input connector using the correct polarity.
The Power LED glows green.
If you wish to run the unit from the battery only, connect the
battery and then briefly short the kick start pins (5 on Figure 2)
together. This temporarily defeats the battery saver circuit and
allows the module to power up from the battery. The Power LED
flashes while the unit is running on battery only.
Entering/Leaving Programming
To enter programming:
1. Make sure the tamper switch has opened.
The Red Trouble LED glows
2. Press SELECT.
The blue LED for menu 1 glows.
To leave programming:
1. Press ESC/DEL.
The blue LED switches off. The sounder gives a regular
beeping tone to remind you to replace the lid.
2. Replace the lid (or operate the tamper switch).
After a few seconds the red Trouble LED switches off and
the sounder gives a double beep confirmation tone.

14
Selecting Menus
The Module offers seven numbered programming menus that
allow you to change various aspects of the Module’s operation:
Menu Title
1. Learn Transmitters.
2. Delete transmitters.
3. Select channel mode.
4. Test signal strength.
5. Select output relay polarity (NC/NO).
6. Not used.
7. Select operating mode.
8. Restore defaults.
A single blue LED glows to show which menu is active. To move
between menus press SELECT (see Figure 5).
1234578
Select
Menu:
Figure 5.
Note that the display skips over menu 6, which is not used.
When you enter programming the Module starts at menu 1.

15
Menu Command Reference
Learn Transmitters (Menu 1)
Note: To make the Module learn the identity of a Homelink75
you must set Dipswitch 1 to ON.
1. Press SELECT until menu 1 appears
on the LEDs:
(When you enter programming the
LEDs show menu 1 first. You may
not need to press Select.)
2. Press SET.
The LEDs show the state of the
unit’s channels.
If a LED is flashing then the channel
has already learned a transmitter. If
a LED is off then the channel is free
for use.
Note: If using IR learn, make sure that the activity LED of the
transmitter points at the Learn LED of the Module. Hold the
transmitter no more than 25mm from the Learn LED.
3. Trigger the tamper on the detector.
The transmitter signals its identity
to the unit, and the unit allocates
free channels to the transmitter as
required. The sounder gives a dou-
ble beep and the LEDs for the newly
occupied channels begin to flash.
4. If necessary, repeat step 3 for any
other transmitters.
5. Press ESC/DEL. The LEDs show
menu 1.

16
Deleting Transmitters (Menu 2)
1. Press SELECT until menu 2 appears
on the LEDs:
4s
2. Press SET.
The LEDs show the state of the first
channel. If the LED is flashing then
the channel has already learned a
transmitter. If a LED is off then the
channel is free for use.
4s
3. Press and hold ESC/DEL for at least
four seconds.
The sounder gives a double beep to
confirm that the Module has deleted
the transmitter from that channel.
The LEDs show menu 2.
4s
4. If necessary, repeat step 2 and 3 for
other channels.
Selecting Channel Modes (Menu 3)
NOTE: This menu is intended for use with the 703r transmitter
only. Using this menu for other transmitters can prevent the
Module working correctly.
When learning a transmitter’s identity the Module normally as-
signs the correct operating mode (momentary or latched) to each
channel according to the transmitter’s type. However when using
a 703r transmitter with the Module, an installer can program any
of the 703r channels to be either momentary or latched.
When a transmitter signals using a latched channel, the transmit-
ter sends an “open” signal as the input contacts open, followed
by a “restore” signal when the input contacts close. When using
a momentary channel the transmitter only ever sends “open”
signals as the input contacts open; it does not send restore sig-
nals when the input contacts close.
Consequently, if a 703r channel is programmed as momentary,
and the corresponding channel on the Module is programmed
as latched, then the Module will never deactivate the output
corresponding that channel once it has received a signal from the
703r (since the 703r does not send a “restore”).
In order to work with a momentary transmitter channel the
Module can supply its own (internal) “restore” four seconds af-

17
ter receiving an “open” signal. For most transmitters the Module
programs itself to do this based on the transmitter type. For the
703r transmitter the Module cannot detect how the installer has
programmed the 703r channels. You must supply this informa-
tion using menu 3.
1. Press SELECT repeatedly until menu
3 appears on the LEDs:
xn
2. Press SET.
The sounder gives a double “beep”
and the LEDs show the first oc-
cupied channel.
xn
3. Press SELECT repeatedly until the
LEDs show the channel you wish to
change.
xn
4. Press SET.
The sounder gives a double beep
and the LEDs show the current
state of the selected channel:
Flashing = momentary
Continuous = latched.
xn
5. Press SELECT to change modes.
The LED indicates the new mode.
xn
6. Press Set to confirm the mode.
The sounder gives a double beep
and the LEDs show menu 3 again.
xn
7. If necessary, repeat step 3 to 6 for any other transmitters.

18
Signal Strength Test (Menu 4)
1. Press SELECT until menu 4 appears
on the LEDs:
x6
x6
2. Press SET.
The LEDs show the strength of the
last signal the Module received in
each channel as follows:
Starting with channel 1, the LED for
the channel first flashes six times,
then a number of blue LEDs light up
at the same time to indicate the sig-
nal strength. The more LEDs alight,
the stronger the signal.
The Module carries out this cycle
for all the channels occupied by
transmitters.
x6
x6
3. Press the lid tamper button to clear
the display.
x6
x6
4. Trigger a radio transmitter. (You can
trigger a transmitter at any time and
the display updates itself.)
x6
x6
The LEDs show the strength of the
latest transmission.
x6
x6
5. Press ESC/DEL to leave the signal
strength display and show menu 4.
x6
x6

19
Output Relay Polarity (Menu 5)
1. Press SELECT until menu 5 appears
on the LEDs:
xn
2. Press SET.
The bottom LED shows the state of
output relay one.
Flashing = normally closed.
Glowing steadily = normally open.
xn
3. Press SELECT repeatedly to select
one of the four relays.
xn
4. Press SET.
The sounder gives a double “beep”
and the LED for the selected output
glows:
Flashing = normally closed
Glowing steadily = normally open.
xn
5. Press SELECT to change the output
polarity.
The LED changes from flashing to
steady every time you press SELECT.
xn
6. Press Set to confirm the change.
The sounder gives a double “beep”
and and the display shows menu 5.
xn

20
Selecting An Operating Mode (Menu 7)
Note: Use Dipswitch 1 to select either IR Learn or Radio Learn
BEFORE you select a mode.
When delivered from the factory, the unit defaults to operating
mode 1. When you select a new mode the unit restores all fac-
tory defaults and deletes any learned detectors.
1. Press SELECT until menu 7 appears
on the LEDs:
xn
2. Press SET.
The LEDs show the current mode.
xn
3. Press SELECT repeatedly until the
display shows the mode you require:
xn
4. Press SET.
The sounder gives a double “beep”
and the LEDs show menu 7.
xn
See “Commissioning the 770r” for a full description of how to
use each mode.
Table of contents
Other Cooper Control Unit manuals

Cooper
Cooper Scantronic 9 5 Series User manual

Cooper
Cooper Scantronic 9 5 Series Operating instructions

Cooper
Cooper Scantronic 8844 User manual

Cooper
Cooper CEAG Webmodule ZB-S User manual

Cooper
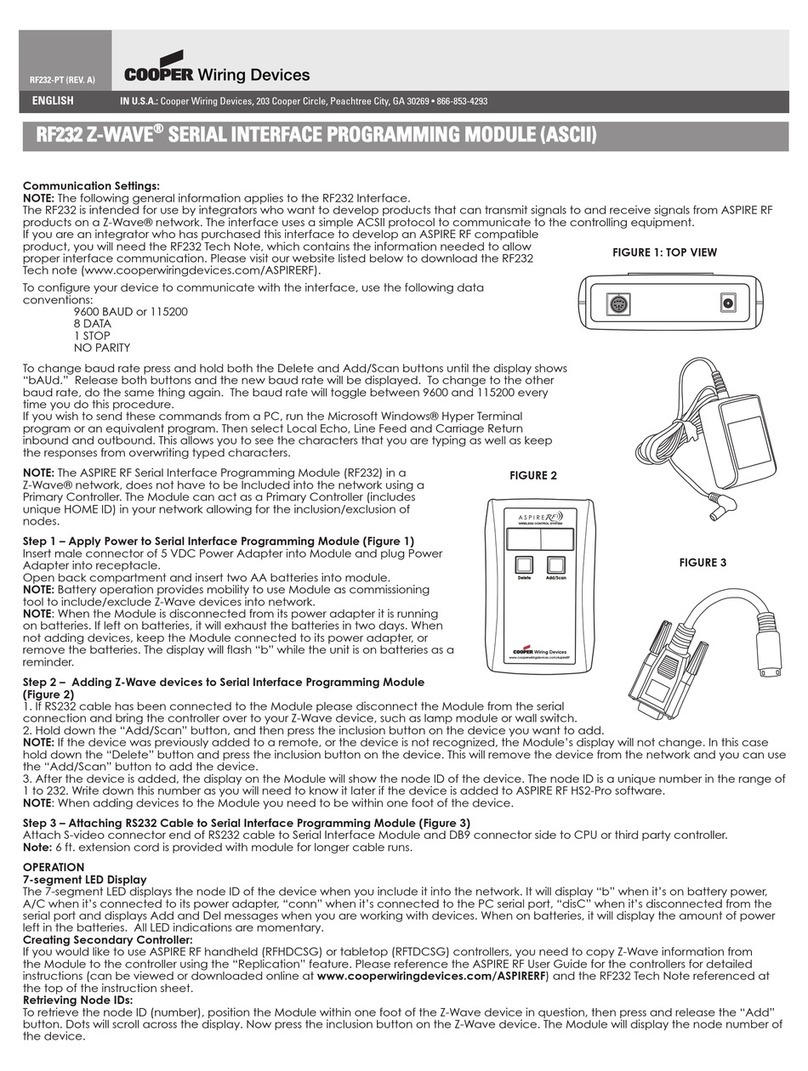
Cooper Z-WAVE RF232 User manual

Cooper
Cooper 9930 User manual

Cooper
Cooper Scantronic 95 User manual

Cooper
Cooper Scantronic 65 User manual

Cooper
Cooper Crouse-Hinds IF 1589 Setup guide

Cooper
Cooper LCMD-10 User manual