i-on40 web server
Page 2
Introduction
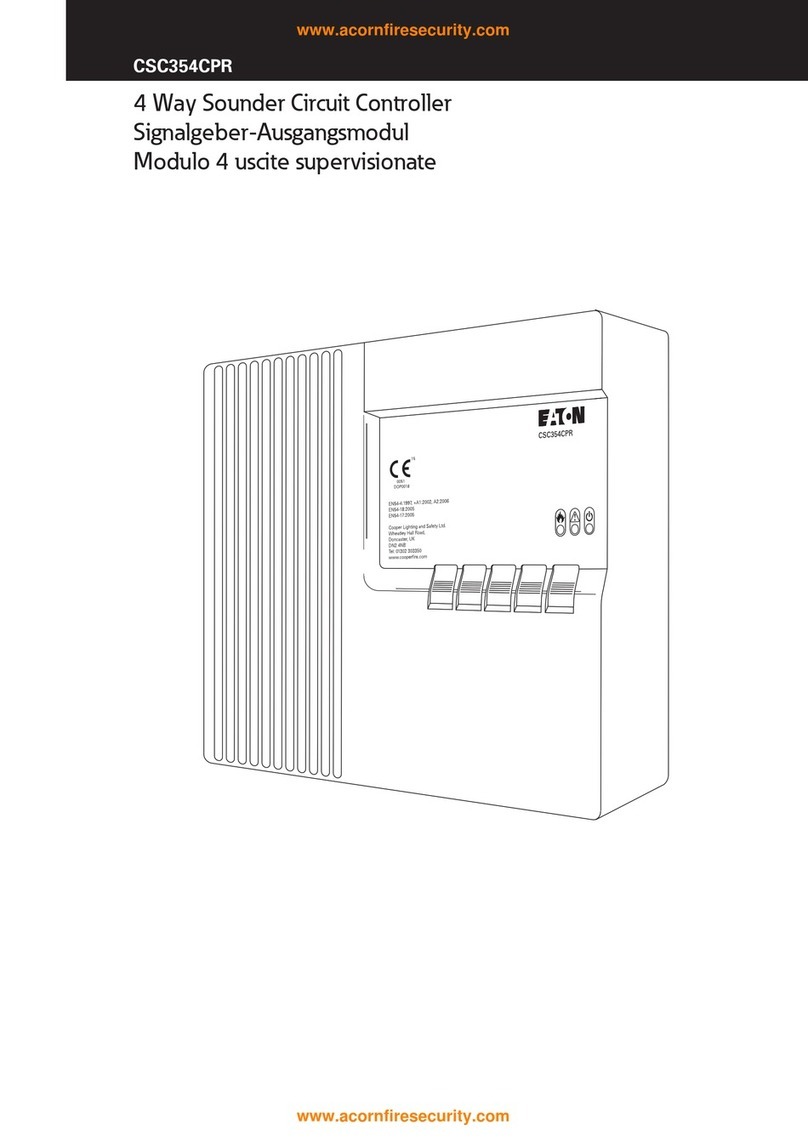
The i-on40 has an Ethernet connector on
the main printed circuit board (pcb) that
you can use to connect a PC or laptop
directly to the control unit.
When your PC or laptop is connected to the
i-on40, they communicate with each other
using TCP/IP, the same protocol used on
the Internet. The i-on40 contains a web
server. Once connected you can use the
web browser on the PC or laptop to see
pages provided by the web server, and use
those pages to configure the control unit.
To set up the connection you must:
1. Give the i-on40 control unit a fixed
IP (internet protocol) address.
2. On the PC or laptop, change the
settings for you local network connection to
provide a fixed IP address.
3. Adjust your browser so that it does
not attempt to use a proxy server.
The rest of this guide shows you how to
carry out those three steps.
Note: These instructions are for Windows
XP. If you are using another operating
system please consult the appropriate
manual.
Setting up the End
Station
1. Make sure the system is unset and
showing the standby screen (time and
date): i-on40
06:03 01/01/2009
2. Key in the Installer access code. When
delivered from the factory the default
Installer access code is “7890”.
You may also have to key in a valid
User Code (factory default “1234”).
When you key in the last digit of the
access code the display shows:
Installer Menu
Detectors/Devices >
3. Press nrepeatedly to display
“Communications” on the bottom line,
and then press Y.
4. Press nrepeatedly to display “IP
Network (Own)” on the bottom line and
press Y.
The display shows:
PANEL ETHERNET
Web Server >
5. Press Yagain.
The display shows:
WEB SERVER
Status >
6 Press Yagain.
The display shows the current status of
the web server: Enabled or Disabled.
7 Press nuntil the bottom line shows the
word “Enabled” and then press Y.
The display shows:
WEB SERVER
Status >
7 Press X.
The display shows:
PANEL ETHERNET
Web Server >
8 Press nonce so that the bottom line
shows “IP Address” then press Y.
The display shows:
PANEL IP ADDRESS
_
9 Key in the IP Address you want the
control unit to have.
(Press the * key for the dots between
the numbers.) For example:
PANEL IP ADDRESS
192.168.0.1
10.Press Y.
The display shows:
PANEL ETHERNET
IP Address >
11 Press nonce so that the bottom line
shows “Subnet Mask” then press Y.
The display shows:
PANEL SUBNET MASK
_
12 Key in the subnet mask (Press the * key
for the dots between the numbers), for
example: PANEL SUBNET MASK
255.255.255.0
13 Press Y.
The display shows:
IP NETWORK (OWN)
Subnet Mask
14 Press Xrepeatedly until the display
shows “Leave installer mode?”.
15 Press Y.
The control unit leaves Installer mode
and saves all the changes you have
made. The display shows the time and
date again:
i-on40
06:03 01/01/2009
