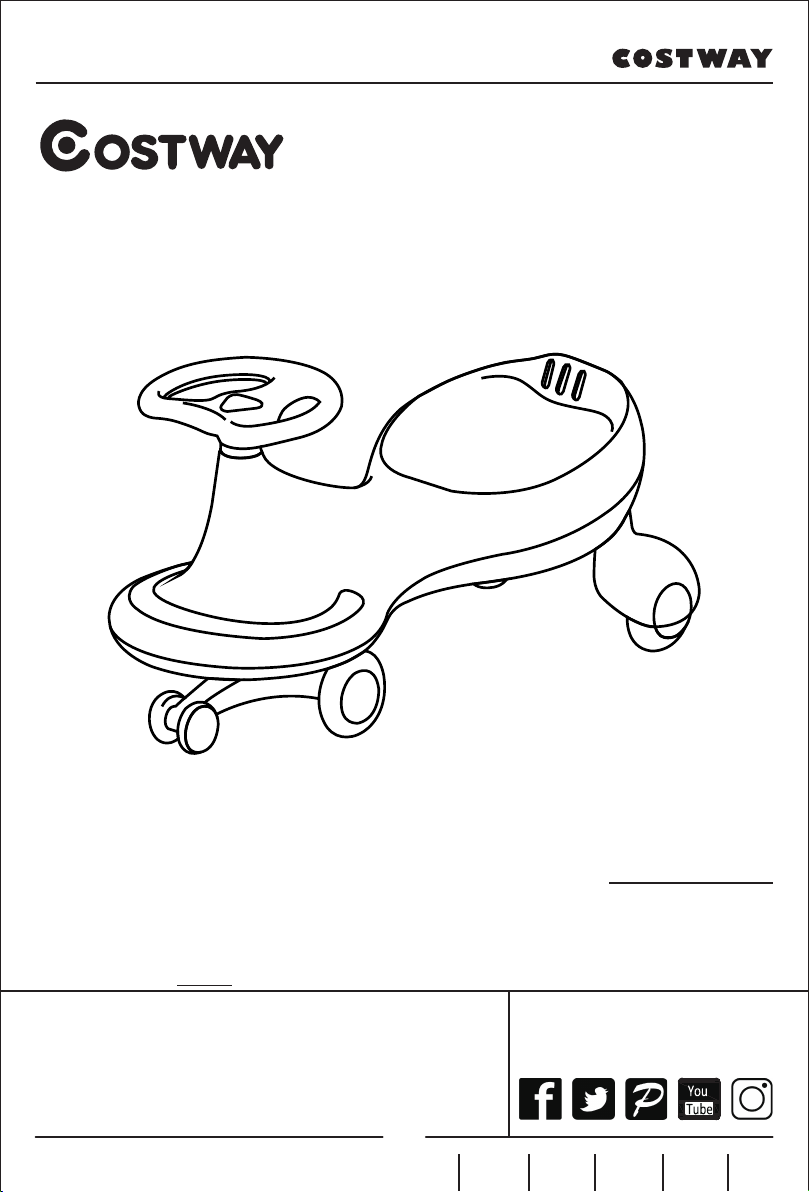
Costway TQ10001 User manual

EN DE FR ES IT PL
THIS INSTRUCTION BOOKLET CONTAINS IMPORTANT SAFETY INFORMATION. PLEASE READ AND KEEP FOR FUTURE REFERENCE.
Follow Costway
Please give us a chance to make it right and do better!
Contact our friendly customer service department for help first.
Replacements for missing or damaged parts will be shipped ASAP!
USER’S MANUAL
Ride on Wiggle Car
TQ10001

02
Please read all instructions carefully and keep it for future reference.
Warnings:
Attention! Use it with protective equipment.
Attention! Not use it in the traffic.
Attention! The product is not suitable for the children under 3 years.
General Warnings:
The product must be installed and used under the supervision of an adult.
Read through each step carefully and follow the proper order.
Remove all packaging, separate and count all parts and hardware.
Please ensure that all parts are correctly installed, incorrect installation can lead to a danger.
We recommend that, where possible, all items are assembled near to the area in which they
will be placed in use, to avoid moving the product unnecessarily once assembled.
Ensure a secure surface during construction, und place the product always on a flat, steady
and stable surface.
Please use the product carefully, as the product requires great skill, avoid accidents by the
user or others, by fall or collision.
Please wear suitable protective equipment during use, e.g. protective helmet, gloves, knee
pads, elbow pads etc.

A.Swing car body C.Front wheel mechanismB.Steering wheel
D.Rear wheels E.Steering wheel cover F.Installation tube
Warning
Adult installation is required.
This swing car contains small parts, it’s not suitable for
children who are under 2 years old .
Adult’s supervision is required during play, motor roads
or bad road condition are prohibited.
Please make sure to sit on the seat properly and avoid
leaning.
Installation photos
03

Steps of installation
1. As shown in picture,open the package, take out all parts
of the swing car in order,
please check if any parts
are missing.
2. As shown in picture, turn over swing car body, insert the
steel pipe into the hole
at the bottom of swing
car body.
3. As shown in picture, knock at the bottom of the front wheel
mechanism by a rubber hammer, and fully insert the bearing of the front
wheel mechanism into the
hole of the swing car body.
.
bearing
04

4. As shown in picture,check if the button of the wheel is
installed in right place, make
sure this button reaches
the bottom.
6. As shown in picture, knock at the bottom of the rear
wheel mechanism by a
rubber hammer,
make the bearing of the
rear wheel mechanism
insert into the hole of
the swing car body totally.
wrong gap
5. As shown in the picture, match the "L" or "R" of the rear
wheels with the letter of the car body and at the same time
insert the rear wheel into the hole.
05

7. Take out the steering wheel, check if the expansion screw
is loose, put PP
bearing into the holder
of the body.
8. As shown in picture, adjust the
steering wheel to make
the notched end of the steering
wheel face forward.
9.Take out the installation tube, pass the screwdriver through the two holes
of the installation tube, use proper force to
tighten the expansion screw and
fix the steering wheel, then
cap the hole to complete
the installation.
Pad
Screw cap
Expansion screw
Plastic pad
06

Using method
Playing place
Functions
Material structure
This swing car is made of high quality PP plastic and steel, bearings etc.
Maximum weight
Maximum load 50 KG on a flat place.
Maintenance
Strong impact is not allowed when using this swing car, please use it on a flat
surface to avoid the wheels getting worn out, please keep it indoors and
clean it after using.
Cautions
Skill is required to avoid falls or collisions causing injury to user or third
parties, protective equipment should be worn(helmet,gloves, knee guard,
elbow guard...).
This manual contains important information, please keep it for
future reference.
Hold the steering wheel with your hands after sitting on the swing car. Turn
left or right to move forward, and the body sways left and right with the
swing car. The maximum speed is 2.8 m/s.
This swing car can be played in the living room, park, residential area,
kindergarten or any flat ground.
The swing car works according to the principle of centrifugal force and
the principle of human inertia, and it can move without batteries, fuel or
moving devices.
07

Welcome to visit our website and purchase our quality products!
this product and giving us valuable feedbacks.
With your inspiring rating, COSTWAY will be more consistent to offer you
EASY SHOPPING EXPERIENCE, GOOD PRODUCTS and EFFICIENT SERVICE!
US office: Fontana, California
UK office: Ipswich
Reward Points
Exclusive Customer Service
Permanent Shopping Cart
Order History
08

Bitte geben Sie uns eine Chance,
es zu korrigieren und besser zu machen!
Wenden Sie sich zunächst an unseren freundlichen Kundendienst.
Ersatz für fehlende oder beschädigte Teile wird so schnell wie möglich versendet!
DAS HANDBUCH ENTHÄLT WICHTIGE SICHERHEITSHINWEISE. BITTE LESEN UND BEWAHREN SIE FÜR DIE ZUKÜNFTIGE VERWENDUNG AUF.
Folgen Costway
HANDBUCH
Kinderfahrzeug
TQ10001
EN DE FR ES IT PL
09

10
Bitte lesen Sie alle Anweisungen sorgfältig durch und Bewahren Sie die Anweisungen zur
zukünftigen Verwendung auf.
Warnung!
Achtung! Mit Schutzausrüstung zu benutzen.
Achtung! Nicht im Straßenverkehr zu verwenden.
Achtung! Das Produkt ist nicht geeignet für Kinder unter 3 Jahren.
Warnhinweise:
Das Produkt muss unter Aufsicht eines Erwachsenen installiert und verwendet werden.
Lesen Sie jeden Schritt sorgfältig durch und befolgen Sie die richtige Reihenfolge.
Entfernen Sie alle Verpackungen, separieren und zählen Sie alle Teile und Hardware vor der
Montage oder Verwendung.
Bitte beachten Sie darauf, alle Teile richtig anzubringen, eine falsche Montage kann zu einer
Gefährdung führen.
Achten Sie auf einen sicheren Untergrund während des Aufbaus stellen, und stellen Sie das
Produkt immer auf eine glatte, flache und stabile Oberfläche.
Bitte verwenden Sie das Produkt vorsichtig, da das Produkt große Geschicklichkeit verlangt,
Vermeiden Sie bitte Unfälle, durch den Benutzer oder Dritter, durch Sturz oder Zusammenstoß.
Bitte tragen Sie während der Verwendung geeignete Schutzausrüstung, z.B. Schutzhelm,
Handschuhe, Knieschützer, Ellbogenschützer usw.
Senden Sie diesen Artikel NICHT zurück.
Wenden Sie sich zunächst an unseren freundlichen Kundendienst.
Vor dem Beginnen

A. Körper des Kinderfahrzeugs B. Lenkrad C. Vorderradmechanismus
D. Hinterräder E. Lenkradabdeckung F. Installationsrohr
Warnung
Installationsdiagramm
• Die Installation für Erwachsene ist erforderlich.
•Dieses Schaukelauto enthält Kleinteile und ist nicht für
Kinder unter 2 Jahren geeignet.
•Die Aufsicht eines Erwachsenen ist während des Spiels
erforderlich. Autostraßen oder schlechte
Straßenverhältnisse sind verboten.
•Bitte achten Sie darauf, dass Sie richtig auf dem Sitz sitzen
und sich nicht lehnen.
11

Installationsschritte
.
Lager
1. Öffnen Sie wie in der Abbildung gezeigt die Verpackung, nehmen
Sie alle Teile des Schaukelwa-
gens in der richtigen Reihen-
folge heraus und prüfen Sie,
ob Teile fehlen.
2. Drehen Sie wie in der Abbildung gezeigt die Karosserie um und
führen Sie das Stahlrohr in das
Loch unten an der Körper des
Kinderfahrzeugs ein.
3. Wie in der Abbildung gezeigt, mit einem Gummihammer auf die
Unterseite des Vorderrad-
mechanismus klopfen und das
Lager des Vorderradmecha-
nismus vollständig in das Loch
des Körpers einsetzen.
12

falsche Lücke
5. Passen Sie wie in der Abbildung gezeigt das „L“ oder „R“ der
Hinterräder an den Buchstaben der Karosserie an und setzen
Sie gleichzeitig das Hinterrad in
das Loch ein.
6. Wie in der Abbildung gezeigt, klopfen Sie mit einem Gummi-
hammer an die Unterseite des Hinterradmechanismus. Lassen
Sie das Lager des Hinterrad-
mechanismus vollständig in das
Loch der Karosserie der
Schwinge einführen.
4. Überprüfen Sie, wie in der Abbildung gezeigt, ob der Knopf des
Rads an der richtigen Stelle
installiert ist, und stellen Sie
sicher, dass dieser Knopf den
Boden erreicht.
13

Dichtung
Mutter
Dehnschraube
Plastikunterlage
7. Nehmen Sie das Lenkrad heraus, prüfen Sie, ob die Expansions-
schraube locker ist, und
setzen Sie das PP-Lager in die
Halterung des Körpers ein.
9. Nehmen Sie das Installationsrohr heraus, führen Sie den Schrauben-
dreher durch die beiden Löcher des Installationsrohrs, ziehen Sie die
Schraube mit der richtigen
Kraft fest und befestigen Sie
das Lenkrad. Verschließen Sie
dann das Loch, um die Instal-
lation abzuschließen.
8. Stellen Sie das Lenkrad wie
in der Abbildung gezeigt so
ein, dass das gekerbte Ende
des Lenkrads nach vorne
zeigt.
14

Verwendungsmethode
Platz zum Spielen
Funktionen
Materialstruktur
Maximales Gewicht
Instandhaltung
Vorsichtsmaßnahmen
Halten Sie das Lenkrad mit den Händen, nachdem Sie auf dem
Kinderfahrzeug gesessen haben. Drehen Sie sich nach links oder rechts,
um sich vorwärts zu bewegen, und der Körper schwankt mit der Schaukel
nach links und rechts. Die Höchstgeschwindigkeit beträgt 2,8 m/s.
Dieses Kinderfahrzeug kann im Wohnzimmer, Park, Wohngebiet,
Kindergarten oder auf jedem ebenen Gelände gespielt werden.
Das Kinderfahrzeug arbeitet nach dem Prinzip der Zentrifugalkraft und dem
Prinzip der menschlichen Trägheit und kann sich ohne Batterien, Kraftstoff
oder bewegliche Geräte bewegen.
Dieses Kinderfahrzeug besteht aus hochwertigem PP-Kunststoff und Stahl,
Lagern etc
Maximale Belastung 50 kg an einem flachen Ort.
Dieses Handbuch enthält wichtige Informationen. Bitte bewahren Sie diese
zum späteren Nachschlagen auf.
Bei Verwendung dieses Kinderfahrzeugs ist kein starker Aufprall zulässig.
Bitte verwenden Sie es auf einer ebenen Fläche, um ein Abnutzen der
Räder zu vermeiden. Bewahren Sie es in Innenräumen auf und reinigen Sie
es nach dem Gebrauch.
Um Stürze oder Kollisionen zu vermeiden, die den Benutzer oder Dritte
verletzen, ist Geschicklichkeit erforderlich. Schutzausrüstung sollte
getragen werden (Helm, Handschuhe, Knieschutz, Ellbogenschutz ...).
15

VIELEN
DANK
Wir möchten uns bei allen Kunden herzlich bedanken,
dass sie sich die Zeit genommen haben, dieses Produkt
zusammenzubauen und uns wertvolle Bewertung
zukommen zu lassen.
Mit Ihrer inspirierenden Bewertung wird COSTWAY konsistenter sein, um Ihnen
EIN SCHÖNES EINKAUFSERLEBNIS, GUTE PRODUKTE und EFFIZIENTEN SERVICE zu bieten!
DE office:FDS GmbH,Neuer Höltigbaum 36,22143 Hamburg,Deutschland
Belohnungspunkte
Exklusiver Kundendienst
Personalisierte Empfehlungen
Permanenter Einkaufswagen
Bestellverlauf
5 Sterne Bewertung
16

CE MANUEL D’INSTRUCTIONS CONTIENT DES INFORMATIONS IMPORTANTES SUR LASÉCURITÉ. VEUILLEZ LIRE ET CONSERVER POUR LA RÉFÉRENCE FUTURE.
MANUEL DE L’UTILISATEUR
VEUILLEZ NOUS DONNER UNE
OCCASION DE L’AMELIORER ET FAIRE MIEUX!
Contactez d’abord notre service à la clientèle amical pour l’aide.
Les replacements pour les pièces manquantes ou endommagées
seront envoyés le plus vite possible!
Suivez Costway
Voiture pour Enfant
TQ10001
EN DE FR ES IT PL
17

18
Veuillez lire attentivement toutes les instructions et les conserver pour la référence ultérieure.
Avertissements :
Attention ! Utilisez ce produit avec un équipement de protection.
Attention ! Ne l’utilisez pas dans la circulation routière.
Attention ! Le produit ne convient pas aux enfants de moins de 3 ans.
Avertissements Généraux :
Le produit doit être installé et utilisé sous la surveillance d’un adulte.
Lisez attentivement chaque étape et suivez l’ordre correct.
Retirez tous les emballages, séparez et comptez toutes les pièces et le matériel.
Veuillez vous assurer que toutes les pièces sont correctement installées, une installation
incorrecte peut entraîner un danger.
Nous recommandons que, dans la mesure du possible, tous les articles soient assemblés à
proximité de la zone dans laquelle ils seront utilisés, afin d’éviter de déplacer inutilement le
produit une fois assemblé.
Assurez-vous que la surface est solide pendant l’assemblage et placez toujours le produit sur
une surface plane et stable.
Veuillez utiliser le produit avec précaution, car le produit nécessite une grande habileté,
évitez les accidents de l’utilisateur ou d’autres personnes, par chute ou collision.
Veuillez porter un équipement de protection approprié pendant l’utilisation, par exemple, le
casque de protection, les gants, les genouillères, les coudières, etc.

A. Carrosserie B. Volant C. Mécanisme de roue avant
D. Roues arrières E. Couvercle de volant F. Tube d'installation
Avertissement
Photos d’installation
● Une installation par un adulte est nécessaire.
● Ce produit contient de petites pièces, il n’est pas adapté aux
enfants de moins de 2 ans.
● La surveillance d’un adulte est nécessaire pendant
l’utilisation.
● Les enfants doivent asseoir correctement sur le siège.
19

Étapes d’assemblage
.
Palier
1. Comme indiqué sur la photo, ouvrez le paquet, sortez toutes les
pièces dans l'ordre, vérifiez s'il
manque des pièces.
2. Comme le montre la photo, retournez la carrosserie, insérez le
tube en acier dans le trou situé
au bas de la carrosserie.
3. Comme le montre la photo, on frappe au bas du mécanisme de
la roue avant à l’aide d'un
marteau en caoutchouc pour
insérer complètement le palier
du mécanisme de la roue
avant dans le trou de la
carrosserie.
20
Table of contents
Languages:
Other Costway Toy manuals

Costway
Costway HW67659 User manual

Costway
Costway TY327424 User manual

Costway
Costway TQ10150 User manual

Costway
Costway TQ10123 User manual

Costway
Costway TP10138 User manual

Costway
Costway TY325133 User manual

Costway
Costway HW67588 User manual

Costway
Costway NP10816 User manual

Costway
Costway TY326649 User manual

Costway
Costway TY510579 User manual

Costway
Costway TS10071 User manual

Costway
Costway OP70505 User manual

Costway
Costway BE10002 User manual

Costway
Costway UY10071 User manual

Costway
Costway TP10064 User manual

Costway
Costway TP10033 User manual

Costway
Costway honey joy TY327755 User manual

Costway
Costway TY578067 User manual

Costway
Costway HW56619 User manual

Costway
Costway TY578545 User manual