manuals.online logo
Brands
  1. Home
  2. •
  3. Brands
  4. •
  5. Cree
  6. •
  7. Outdoor Light
  8. •
  9. Cree Edge Series User manual

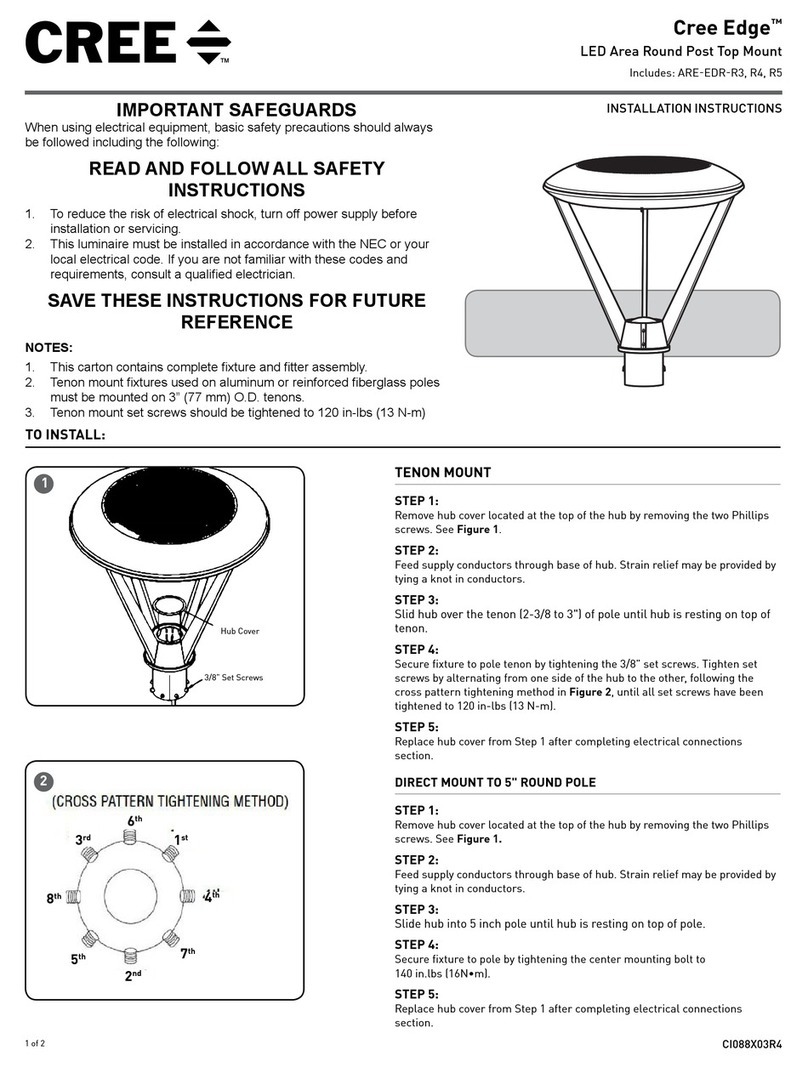
Cree Edge Series User manual

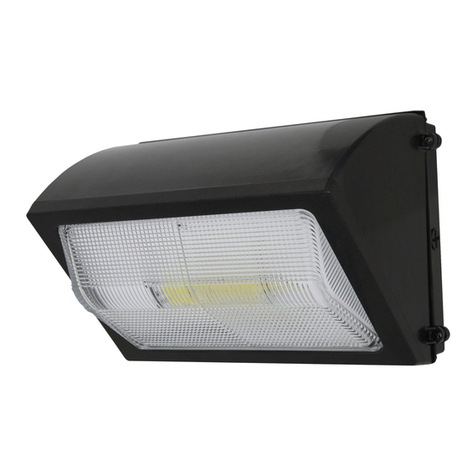
Cree Edge™
LED High-Output High Bay Luminaire
Transportation, Direct, Pendant, Hook and Cord Mounts
1 of 2 LPN00102X0001A0
INSTALLATION INSTRUCTIONS
IMPORTANT SAFEGUARDS
When using electrical equipment, basic safety precautions should always be
followed including the following:
READ AND FOLLOW ALL SAFETY INSTRUCTIONS
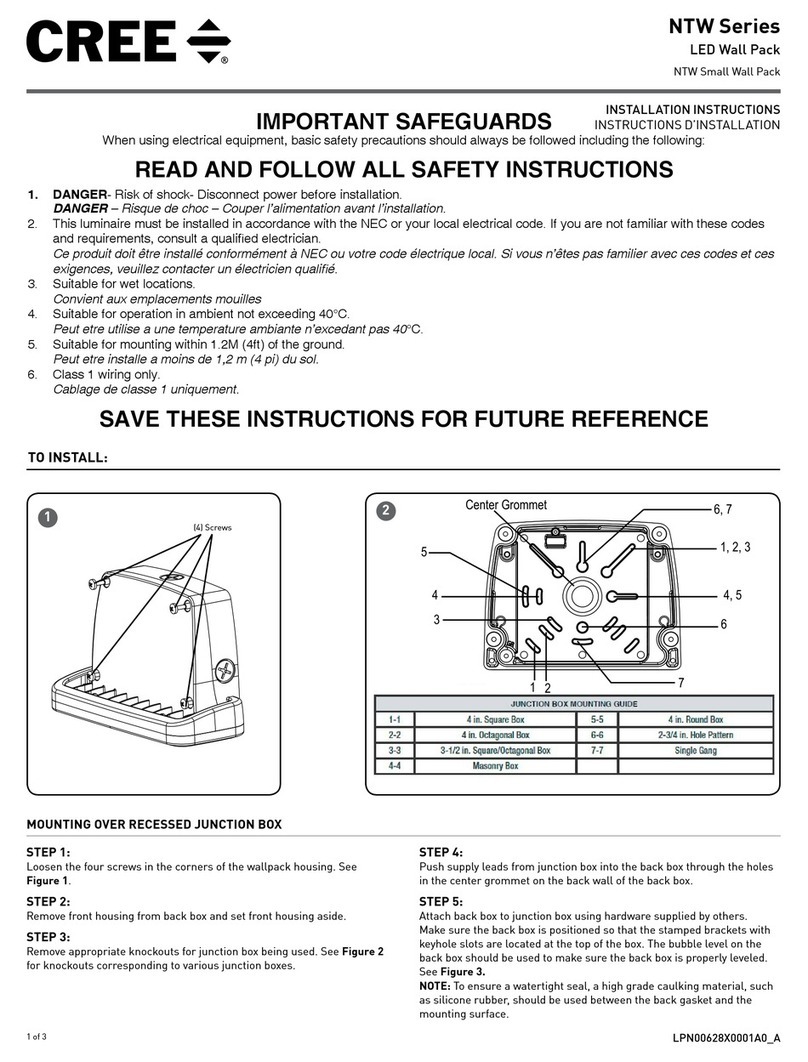
1. To avoid the possibility of electrical shock, turn off power supply before
installation or servicing.
2. Product must be installed in accordance with NEC or your local
electrical code. If you are not familiar with these codes and
requirements, consult a qualied electrician.
3. Ensure the mounting surface is capable of supporting the weight of the
luminaire after installation.
4. Due to the weight of the luminaire, 3 people may be necessary during
installation.
SAVE THESE INSTRUCTIONS FOR FUTURE REFERENCE
Note: Pendant and hooks are only supplied with luminaire when ordered as
“Pendant” or “Hook and Cord” mounting.
TO INSTALL:
MOUNTING - TRANSPORTATION/DIRECT MOUNT
STEP 1:
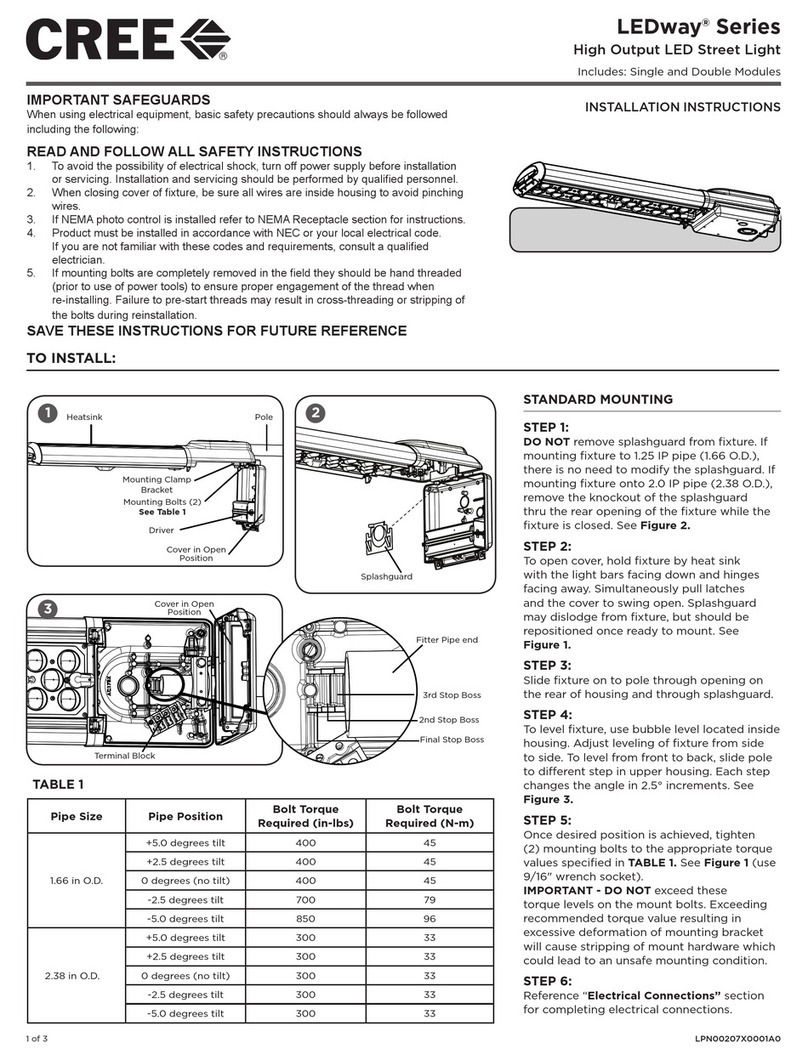
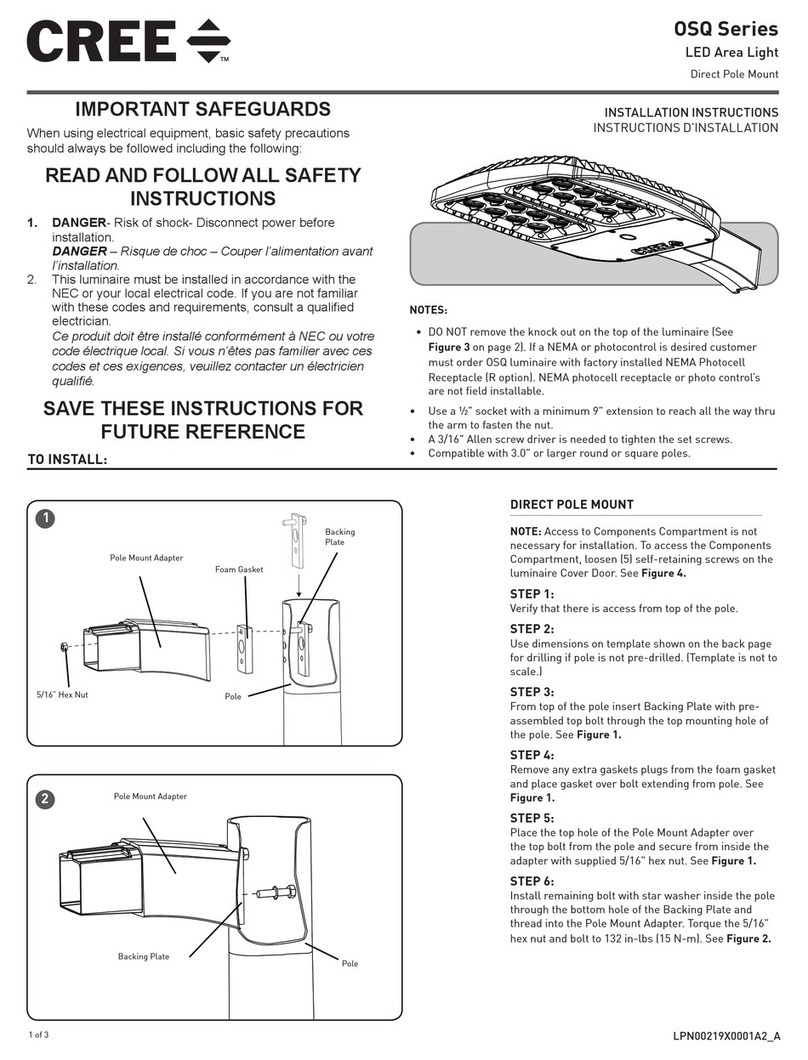
Remove the (4) nuts and washers securing the retained
Mounting Bracket Bolts to the top of the mounting bracket.
Remove the top piece of the mounting bracket assembly
from the luminaire. See Figure 1.
STEP 2:
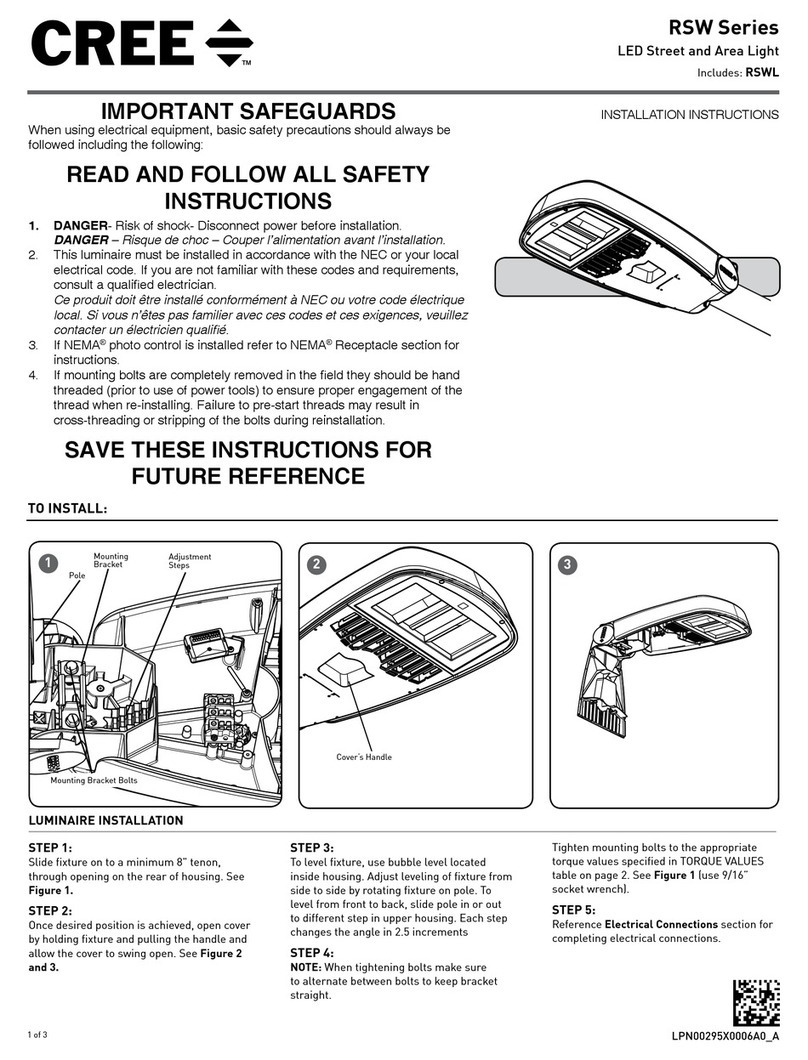
Align the mounting bracket removed in Step 1 on an
appropriate mounting surface. Using customer supplied 3/8”
minimum mounting bolts, secure the bracket to the mounting
surface. See Figure 2.
STEP 3:
Once the mounting bracket is secured to the mounting
surface, re-secure the luminaire using the nuts and washers
removed in Step 1.
STEP 4:
Install a suitable Listed cord strain relief brushing or
bushing in the customer supplied junction box, and feed the
luminaire’s cord through it.
STEP 5:
Connect the cord to the supply wiring per the Electrical
Connections section.
MOUNTING - PENDANT MOUNT
STEP 1:
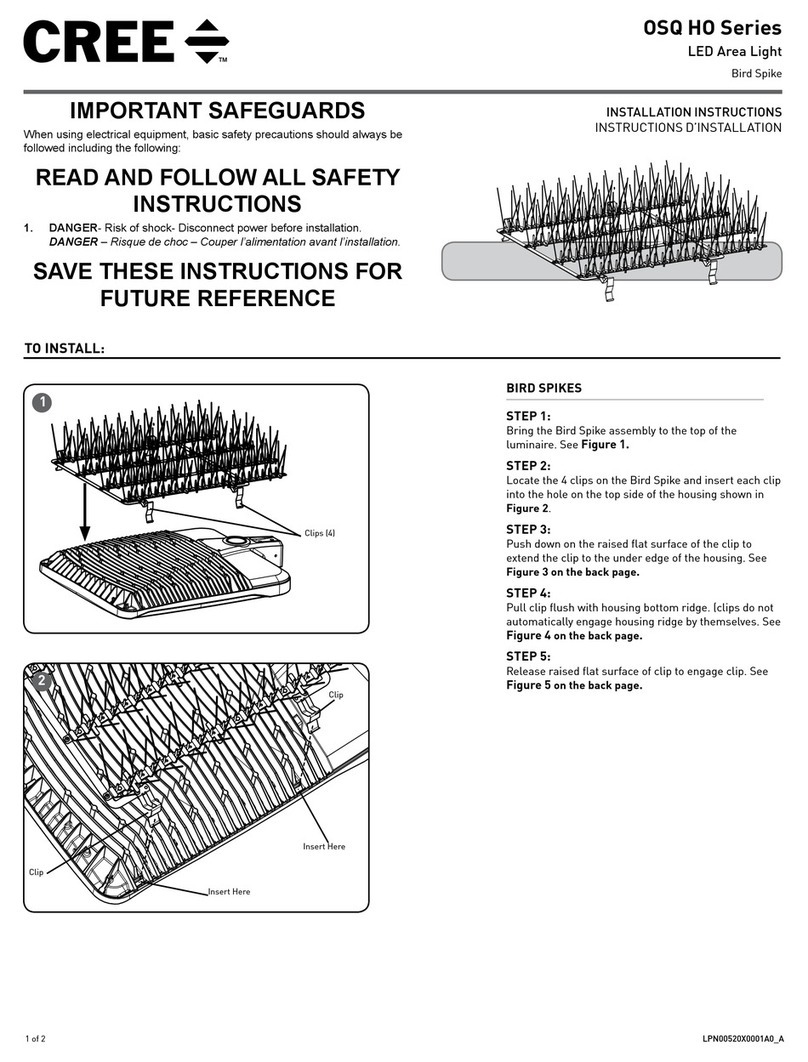
Install the pendant fitter using (4) supplied screws to the top
of the mounting bracket. See Figure 3.
STEP 2:
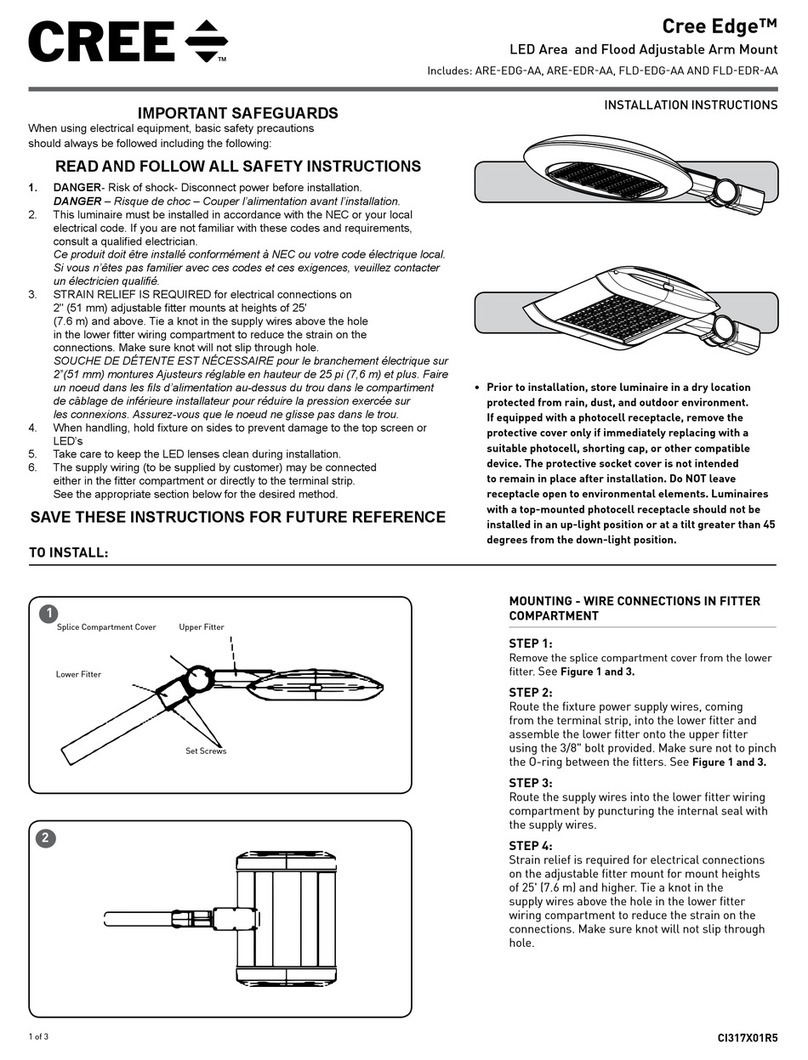
The pendant can be adjusted laterally by the pendant fitter to
the desired position and then tightening the (4) Adjustment
Screws. See Figure 3.
STEP 3:
Size the customer supplied pendant accordingly and
ensure that the pendant and mounting surface is capable of
supporting the weight of the luminaire.
STEP 4:
Attach the Mounting Bracket to the customer supplied
pendant and pendant coupling. Secure the pendant fitter to
the pendant coupling.
1 2
Mounting Bracket
Bolts (4) Mounting Holes For Customer
Supplied 3/8” Mounting Bolts
Adjustment
Screws (4)
Pendant Fitter
3
2 of 2 LPN00102X0001A0
www.cree.com/lighting
© 2013 Cree, Inc. All rights reserved. For informational purposes only. Content is subject to change.
See www.cree.com/lighting for warranty and specifications. Cree® and the Cree logo are registered
trademarks, and Cree Edge™ is a trademark of Cree, Inc.
ELECTRICAL CONNECTIONS
STEP 1:
Make the following Electrical Connections:
a. Connect the black fixture lead to the voltage
supply position or Hot 1 (for 208/240V wiring).
b. Connect the white fixture lead to the neutral supply
position or Hot 2 (for 208/240V wiring).
c. Connect the green or green/yellow ground lead to
the green wire position of the terminal block.
d. If Dimming is an option; connect the violet dimming
positive lead to the supply dimming positive lead.
e. If Dimming is an option; connect the grey dimming
negative lead to the supply dimming negative lead
LINE
OR HOT 1
GREEN
LINE-BLACK
GROUND-GREEN
NEUTRAL-WHITE
DIM (-) GREY
DIM (+) VIOLET
NEUTRAL
OR HOT 2
VIOLET
GREY
SUPPLY WIRING
(DIMMING OPTIONAL)
LUMINAIRE
STEP 5:
Install a suitable Listed cord strain relief brushing or
bushing in the customer supplied junction box, and feed the
luminaire’s cord through it.
STEP 6:
Connect the cord to the supply wiring per the Electrical
Connections section.
MOUNTING - HOOK AND CORD MOUNT
STEP 1:
Install hooks using supplied set screws to the mounting
bracket. See Figure 4.
NOTE: Do not fully tighten hook set screws until luminaire is
balanced. Slid the hooks until luminaire is properly balanced
and tighten set screws when finished.
STEP 2:
Push down on retainer spring until top of spring is free of
luminaire hook.
STEP 3:
Slide hook into securely mounted customer supplied eye
hanger and return retainer spring to original position.
STEP 4:
Install a suitable listed cord strain relief brushing or bushing
in the customer supplied junction box, and feed the
luminaire’s cord through it.
STEP 5:
Connect the cord to the supply wiring per the Electrical
Connections section.
Mount Hook
Power Cord
Hook Set Screw
Retainer Spring
4

Other Cree Outdoor Light manuals

Cree VG Series User manual

Cree

Cree VG Series User manual

Cree Edge ARE-EDG-AA User manual

Cree

Cree Edge ARE-EDG-AA User manual

Cree OSQ HO Series User manual

Cree

Cree OSQ HO Series User manual

Cree NTA Series User manual

Cree

Cree NTA Series User manual

Cree RSWL User manual

Cree

Cree RSWL User manual

Cree XSP Series User manual

Cree

Cree XSP Series User manual

Cree EDGE XPS Transportation Series User manual

Cree

Cree EDGE XPS Transportation Series User manual

Cree LEDway Series User manual

Cree

Cree LEDway Series User manual
Cree NTW Series User manual

Cree

Cree NTW Series User manual

Cree Edge ARE-EDR-R4 User manual

Cree

Cree Edge ARE-EDR-R4 User manual

Cree XSP Series User manual

Cree

Cree XSP Series User manual
Cree XSP Series User manual

Cree

Cree XSP Series User manual

Cree OSQ HO Series User manual

Cree

Cree OSQ HO Series User manual

Cree OSQ Series User manual

Cree

Cree OSQ Series User manual

Cree NTW Series User manual

Cree

Cree NTW Series User manual

Cree C-Lite C-WP-A-TR Series User manual

Cree

Cree C-Lite C-WP-A-TR Series User manual

Popular Outdoor Light manuals by other brands
Hyundai Lighting Garden Glow installation manual

Hyundai Lighting

Hyundai Lighting Garden Glow installation manual

HEPER LL2031.511-US Installation & maintenance instructions

HEPER

HEPER LL2031.511-US Installation & maintenance instructions

nordlux VEJERS 25091003 Mounting instruction

nordlux

nordlux VEJERS 25091003 Mounting instruction

LIGMAN MV-30002 instruction manual

LIGMAN

LIGMAN MV-30002 instruction manual

Addington Park 31796 quick start guide

Addington Park

Addington Park 31796 quick start guide

LightPro Juno 2 user manual

LightPro

LightPro Juno 2 user manual

Simx Lighting LHT0269 installation instructions

Simx Lighting

Simx Lighting LHT0269 installation instructions

Hess NOVARA SL Installation and operating instructions

Hess

Hess NOVARA SL Installation and operating instructions

Briloner MAL 2763 Mounting instructions

Briloner

Briloner MAL 2763 Mounting instructions

Santa & Cole Urbidermis SLOPE INDUSTRIAL FACILITY manual

Santa & Cole Urbidermis

Santa & Cole Urbidermis SLOPE INDUSTRIAL FACILITY manual

RAB Lighting WP4 Series installation instructions

RAB Lighting

RAB Lighting WP4 Series installation instructions

Faro Barcelona MAYA 1 instructions

Faro Barcelona

Faro Barcelona MAYA 1 instructions

StreamLight SIEGE X USB operating instructions

StreamLight

StreamLight SIEGE X USB operating instructions

Paradise Datacom GL28649 quick start guide

Paradise Datacom

Paradise Datacom GL28649 quick start guide

LED's light 1000434 instruction manual

LED's light

LED's light 1000434 instruction manual

IKEA NAVLINGE G1901 manual

IKEA

IKEA NAVLINGE G1901 manual

Faro Barcelona LE VITA 29691 instructions

Faro Barcelona

Faro Barcelona LE VITA 29691 instructions

Santa & Cole SYLVESTRINA manual

Santa & Cole

Santa & Cole SYLVESTRINA manual

manuals.online logo
manuals.online logoBrands
  • About & Mission
  • Contact us
  • Privacy Policy
  • Terms and Conditions

Copyright 2025 Manuals.Online. All Rights Reserved.