manuals.online logo
Brands
  1. Home
  2. •
  3. Brands
  4. •
  5. Crestron
  6. •
  7. Touch Panel
  8. •
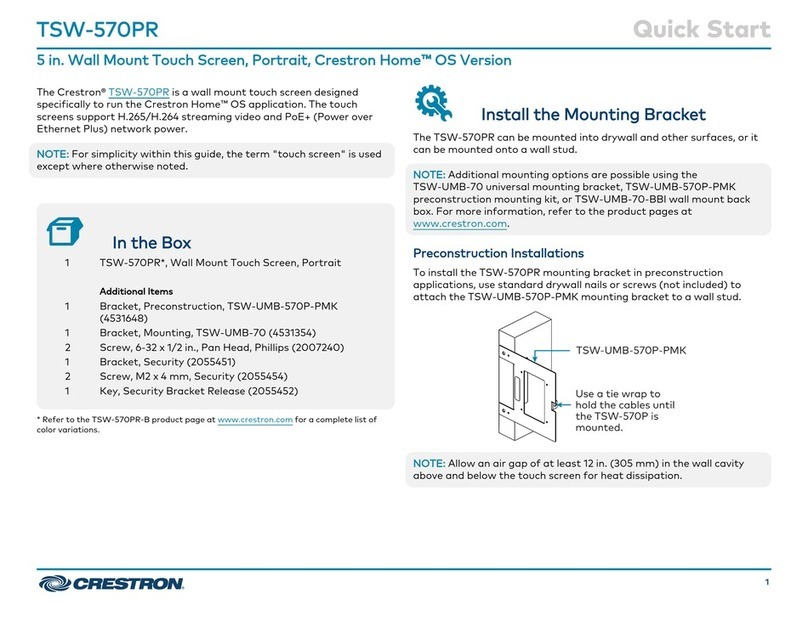
  9. Crestron TST-902 Dimensional drawing

Crestron TST-902 Dimensional drawing

DO GUIDE
TST-902
8.7" Wireless Touch Screen
DO Install the Battery Pack
NOTE: The Crestron® TST-902 wireless touch screen contains electrostatic discharge (ESD) sensitive
devices. To avoid damaging the unit, perform the following procedure while wearing a grounding strap
that is properly grounded or while working on a grounded workstation.
NOTE: To prevent damage to the multipin connector and wiring, use care when handling the battery
pack.
NOTE: The battery pack is enclosed in a black plastic overwrap that is meant to stay on the battery
permanently. It must not be removed.
Perform the following procedure to install the battery pack in a TST-902:
1. Insert the included pin tool into one of the two tab release holes on the back of the unit, and then
slide the bottom cover downward to release the tab on that side.
2. Insert the pin tool into the other tab release hole, and then slide the bottom cover downward to
release the tab on that side.
3. Slide the bottom cover downward about 3/4" (19 mm) to expose the cover markings, and then lift the
cover to remove it.
4. Orient the battery pack so the “Lift to Remove” tag is visible and the multipin connector is
positioned on the left.
5. Ensure that the pin side of the multipin connector on the unit is facing upward, and then connect it
to the battery pack.
3. When the screen displays an “Acquire OK” message, press ACQUIRE on the gateway to exit
Acquire mode. The LED turns off.
DO Set Up a Wi-Fi Connection
NOTE: In the absence of a Wi-Fi®network connection, the USB port behind the battery cover can
be used for project loads, conguration, and rmware updates. (To locate the USB port, refer to the
illustration in step 4 of “DO Install the Battery Pack.”)
Perform the following procedure to set up a Wi-Fi connection for the TST-902:
1. From the main screen, tap WiFi Setup to display the WiFi Setup screen.
2. If using a static IP address, tap Set Static IP Address Settings to display the WiFi Setup - Static
IPs screen. If using DHCP, skip to step 5 to connect to a Wi-Fi access point.
DO Check the Box
QUANTITY PRODUCT PART NUMBER
1Battery Pack, Rechargeable, TST-902-BTP 4513771
1Docking Station, TST-902-DS 4517187
1 Power Cord, 6' 7" (2 m) 2001134
1 Power Pack, 24 Vdc 0.75 A, 100-240 Vac 2048337
1Tool, T-Pin 2020478
6. Gently place the battery pack in the battery compartment of the touch screen.
7. Reattach the battery compartment cover to the device by placing it on the back of the touch screen
below the cover markings, and then slide it up into place.
To charge the battery pack, mount the touch screen on its included docking station, and then connect
the docking station to ac power.
NOTE: If the touch screen is in use while charging, the battery pack may take up to 6 hours to charge.
NOTE: Upon the initial installation of the battery, allow the touch screen to charge completely overnight
before removing it from the dock.
NOTE: The battery pack should be replaced every 18 to 24 months under normal use.
DO Access the Setup Screens
The setup screens enable basic conguration prior to regular operation of the TST-902. If no project is
loaded, tap the screen to access the setup screens. If a project is loaded, access the setup screens by
using the included pin tool to press the reset button four times within a 5-second period.
DO Set Up a Basic Wireless Connection
Before a TST-902 can be used with a Crestron control system, it must be acquired by a Crestron
extended range (ER) wireless gateway (sold separately). To acquire a TST-902, perform the following
procedure:
1. Use a stylus or other thin-tipped object to press ACQUIRE on the gateway to enter Acquire mode.
The accompanying LED illuminates, indicating the unit is ready to link with the touch screen.
2. Tap RF Setup on the TST-902 main Setup screen to display the RF Setup screen. Then, place the
TST-902 into Acquire mode by tapping Acquire on the RF Setup screen. The screen displays an
“Acquire in progress” message, and the TST-902 is automatically acquired by the gateway within 2
minutes.
Reset button
Tab release holes
Multipin connector
USB port
Cover markings
DO GUIDE DOC. 7749H (2043156) 09.17
Specications subject to change without notice.
3. Use the WiFi Setup - Static IPs screen to edit the Static IP address, Static Subnet Mask, Static Default Router, Preferred DNS, and Alternate
Preferred DNS elds. Tap each eld to display a keypad for entering each new setting.
4. Tap the arrow icon in the upper right corner of the screen to return to the WiFi Setup screen. Then, tap Apply Changes to apply the new settings. (Refer
to the image for step 2 on the previous page.)
5. Tap Select a WiFi Access Point on the WiFi Setup screen to display the Connect to a WiFi Access Point: 1-2-3 screen.
6. Choose from the list of available access points that are displayed on the left side of the screen. Once an access point is selected, the name and the
security type for that access point are displayed on the right side of the screen.
7. Tap the Password eld to display a keyboard, and then enter the password for the selected access point. Once the password is entered, tap Save.
8. Tap Step 3 - Make this my Access Point to conrm the access point for the Wi-Fi connection.
DO Congure the Device
Use the setup screens to congure various settings for the TST-902, including RF setup, audio setup, display setup, standby timeout, Wi-Fi setup, and
diagnostics. For more information on conguring the TST-902, refer to the TST-902 Supplemental Guide (Doc. 7750) at www.crestron.com/manuals.
DO Reset the Device
To reset the TST-902, use the included pin tool to press and hold the reset button for 5 seconds.
As of the date of manufacture, the product has been tested and found to comply with specications for CE marking.
Federal Communications Commission (FCC) Compliance Statement
This device complies with part 15 of the FCC Rules. Operation is subject to the following conditions:
(1) This device may not cause harmful interference and (2) this device must accept any interference received, including interference that may cause undesired operation.
CAUTION: Changes or modications not expressly approved by the manufacturer responsible for compliance could void the user’s authority to operate the equipment.
NOTE: This equipment has been tested and found to comply with the limits for a Class B digital device, pursuant to part 15 of the FCC Rules. These limits are designed to provide reasonable protection against harmful interference in a
residential installation. This equipment generates, uses and can radiate radio frequency energy and, if not installed and used in accordance with the instructions, may cause harmful interference to radio communications. However, there is no
guarantee that interference will not occur in a particular installation.
If this equipment does cause harmful interference to radio or television reception, which can be determined by turning the equipment off and on, the user is encouraged to try to correct the interference by one or more of the following measures:
• Reorient or relocate the receiving antenna.
• Increase the separation between the equipment and receiver.
• Connect the equipment into an outlet on a circuit different from that to which the receiver is connected.
• Consult the dealer or an experienced radio/TV technician for help.
Industry Canada (IC) Compliance Statement
CAN ICES-3 (B)/NMB-3(B)
Electrical Connection
“This product must be connected to an earthed mains socket-outlet.”
• Finland: “Laite on liitettävä suojamaadoituskoskettimilla varustettuun pistorasiaan.”
• Norway: “Apparatet må tilkoples jordet stikkontakt.”
• Sweden: “Apparaten skall anslutas till jordat uttag.”
RF Exposure (OET Bulletin 65):
To comply with FCC’s RF exposure limits for general population/uncontrolled exposure, this transmitter must be installed to provide a separation distance of at least 20 cm from all persons and must not be colocated or operating in conjunction
with any other antenna or transmitter.
Crestron product development software is licensed to Crestron dealers and Crestron Service Providers (CSPs) under a limited non-exclusive, non-transferable Software Development Tools License Agreement. Crestron product operating system software is licensed to Crestron dealers, CSPs, and
end-users under a separate End-User License Agreement. Both of these Agreements can be found on the Crestron website at www.crestron.com/legal/software_license_agreement.
The specic patents that cover Crestron products are listed at www.crestron.com/legal/patents. The product warranty can be found at www.crestron.com/warranty.
Certain Crestron products contain open source software. For specic information, please visit www.crestron.com/opensource.
Crestron and the Crestron logo are either trademarks or registered trademarks of Crestron Electronics, Inc. in the United States and/or other countries. Wi-Fi is either a trademark or a registered trademark of Wi-Fi Alliance in the United States and/or other countries. Other trademarks, registered
trademarks, and trade names may be used in this document to refer to either the entities claiming the marks and names or their products. Crestron disclaims any proprietary interest in the marks and names of others. Crestron is not responsible for errors in typography or photography.
This document was written by the Technical Publications department at Crestron.
©2017 Crestron Electronics, Inc..
DO Learn More
Visit the website for additional information and the latest rmware updates. To learn more about this product, use a QR reader application on
your mobile device to scan the QR image.
Crestron Electronics
15 Volvo Drive, Rockleigh, NJ 07647
888.CRESTRON | www.crestron.com

Other manuals for TST-902

2

Other Crestron Touch Panel manuals

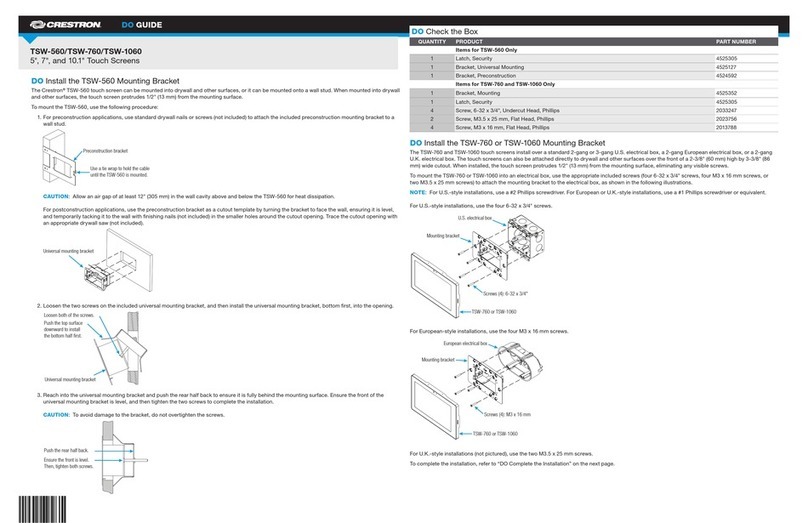
Crestron TSW-560 Dimensional drawing

Crestron

Crestron TSW-560 Dimensional drawing

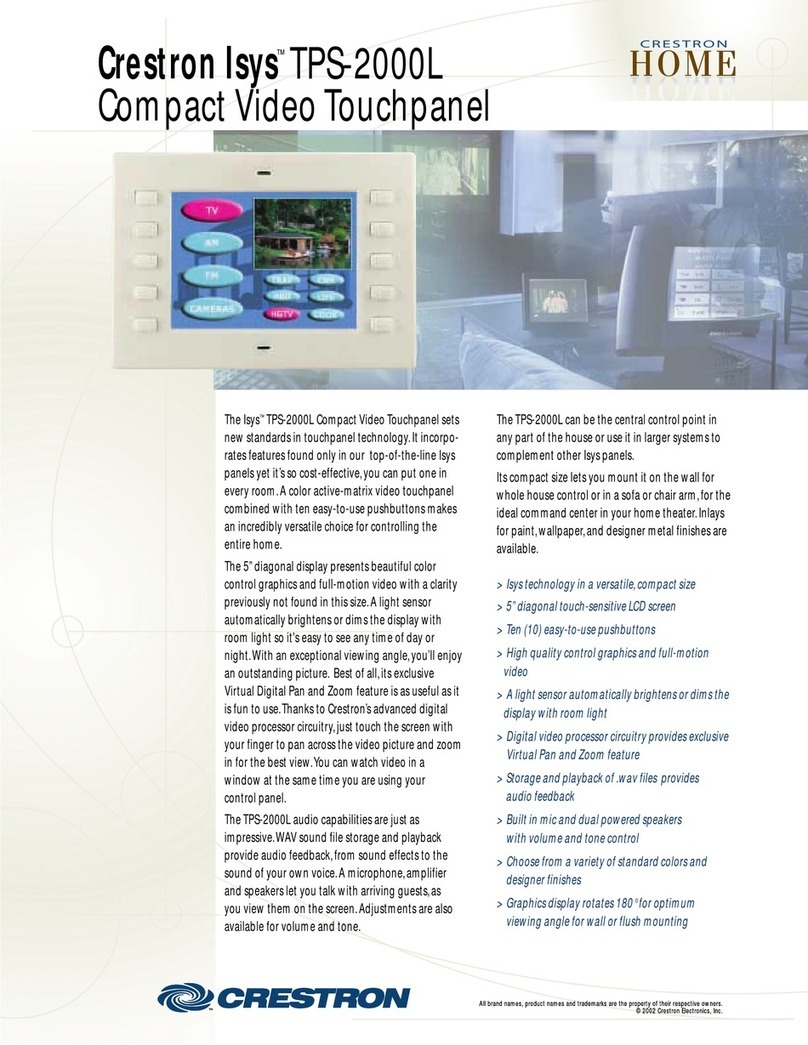
Crestron Lsys TPS 2000L User manual

Crestron

Crestron Lsys TPS 2000L User manual

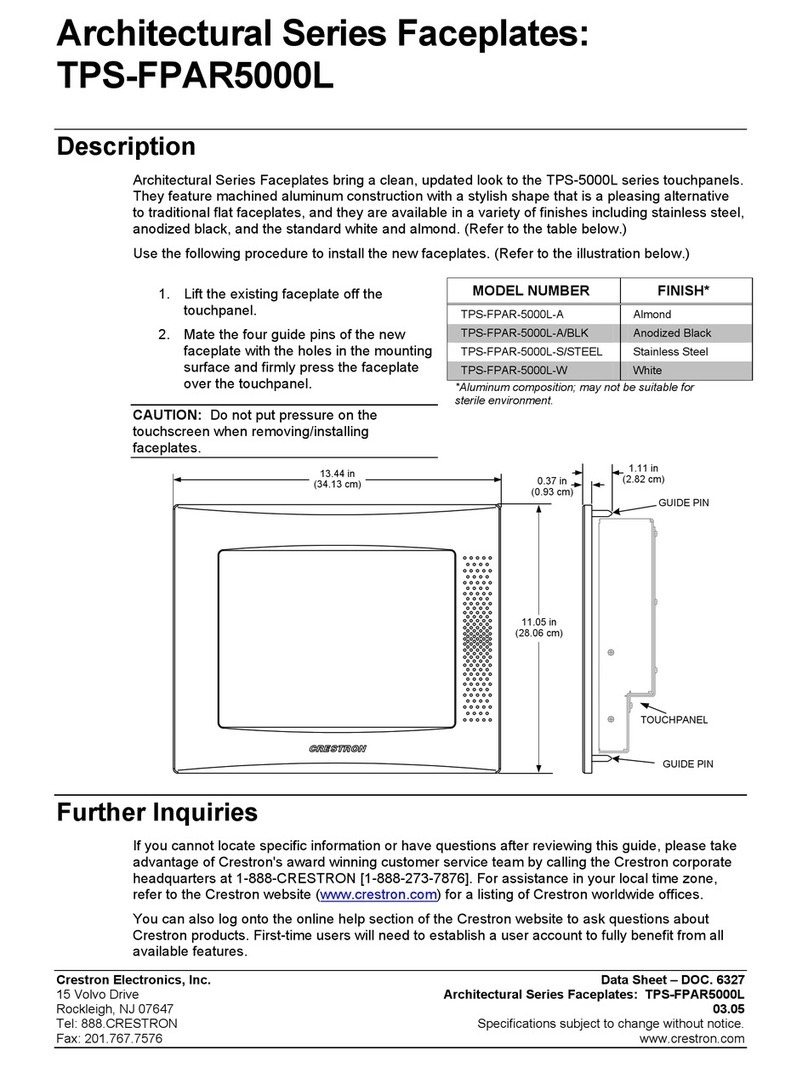
Crestron TPS-FPAR5000L User manual

Crestron

Crestron TPS-FPAR5000L User manual

Crestron Wallmount Touchpanel User manual

Crestron

Crestron Wallmount Touchpanel User manual

Crestron TSS-752 User manual

Crestron

Crestron TSS-752 User manual

Crestron TPMC-9 User manual

Crestron

Crestron TPMC-9 User manual

Crestron IM-WCCV How to use

Crestron

Crestron IM-WCCV How to use

Crestron STX-1700C User manual

Crestron

Crestron STX-1700C User manual

Crestron TSW-560 User manual

Crestron

Crestron TSW-560 User manual

Crestron V12 User manual

Crestron

Crestron V12 User manual

Crestron Isys TPMC-4SM How to use

Crestron

Crestron Isys TPMC-4SM How to use

Crestron TS-70 Series User manual

Crestron

Crestron TS-70 Series User manual

Crestron STX-1550C User manual

Crestron

Crestron STX-1550C User manual

Crestron CPC-2000A User manual

Crestron

Crestron CPC-2000A User manual

Crestron Isys TPMC-12L User manual

Crestron

Crestron Isys TPMC-12L User manual

Crestron ST-1550 User manual

Crestron

Crestron ST-1550 User manual

Crestron TPS-6X Series User manual

Crestron

Crestron TPS-6X Series User manual

Crestron TSW-560P Dimensional drawing

Crestron

Crestron TSW-560P Dimensional drawing

Crestron TSW-550-TTK Dimensional drawing

Crestron

Crestron TSW-550-TTK Dimensional drawing

Crestron Isys TPS-6000 User manual

Crestron

Crestron Isys TPS-6000 User manual

Crestron Isys i/O TPMC-15-CH-L User manual

Crestron

Crestron Isys i/O TPMC-15-CH-L User manual

Crestron TSW-70 Series User manual

Crestron

Crestron TSW-70 Series User manual

Crestron SmarTouch STX-1700CXP User manual

Crestron

Crestron SmarTouch STX-1700CXP User manual

Crestron TSS-470E User manual

Crestron

Crestron TSS-470E User manual

Popular Touch Panel manuals by other brands

Harman AMX VARIA-80 quick start guide

Harman

Harman AMX VARIA-80 quick start guide

Ltech D Series manual

Ltech

Ltech D Series manual

EV-PEAK AK840 instruction manual

EV-PEAK

EV-PEAK AK840 instruction manual

DOMIQ Display DSP10C installation manual

DOMIQ

DOMIQ Display DSP10C installation manual

Lang onyxTOUCH quick start guide

Lang

Lang onyxTOUCH quick start guide

WIKA A-IAI-1 operating instructions

WIKA

WIKA A-IAI-1 operating instructions

interactive scape Scape Tangible st65-004 operating manual

interactive scape

interactive scape Scape Tangible st65-004 operating manual

SunFounder TS7-Pro manual

SunFounder

SunFounder TS7-Pro manual

Extron electronics TouchLink TLP Pro 520M user guide

Extron electronics

Extron electronics TouchLink TLP Pro 520M user guide

AXIOMTEK PANEL5155-807 user manual

AXIOMTEK

AXIOMTEK PANEL5155-807 user manual

AMX Modero ViewPoint MVP-8400i datasheet

AMX

AMX Modero ViewPoint MVP-8400i datasheet

AMX AC-CP4A/WRB quick start guide

AMX

AMX AC-CP4A/WRB quick start guide

Winmate R17IK3S-65M1 quick start guide

Winmate

Winmate R17IK3S-65M1 quick start guide

Extron electronics TLP 700MV Setup guide

Extron electronics

Extron electronics TLP 700MV Setup guide

Winmate R19IHAT-66EX user manual

Winmate

Winmate R19IHAT-66EX user manual

Advantech UTC-318H user manual

Advantech

Advantech UTC-318H user manual

weintek cMT-iM21 series Installation instruction

weintek

weintek cMT-iM21 series Installation instruction

MEE TSD-FT1514-MNU user manual

MEE

MEE TSD-FT1514-MNU user manual

manuals.online logo
manuals.online logoBrands
  • About & Mission
  • Contact us
  • Privacy Policy
  • Terms and Conditions

Copyright 2025 Manuals.Online. All Rights Reserved.