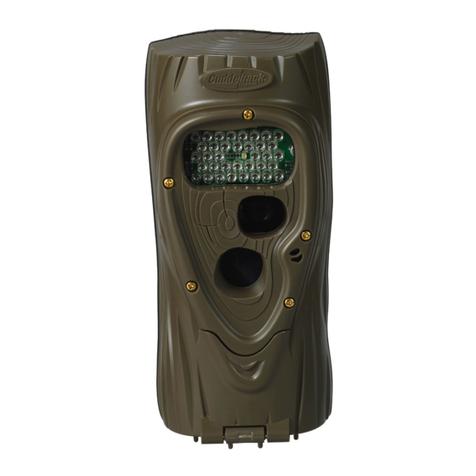
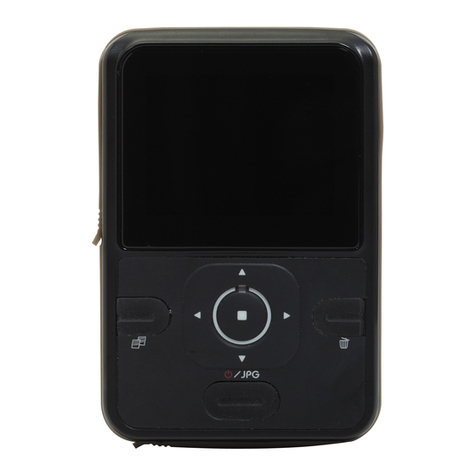
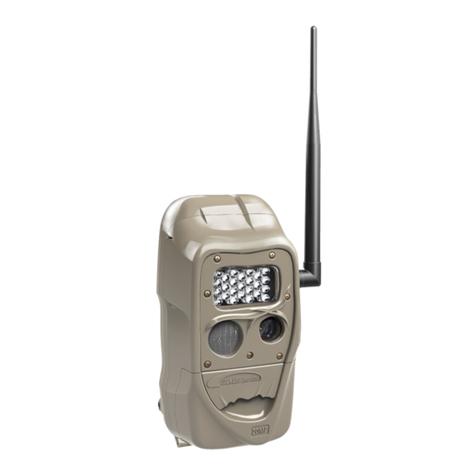
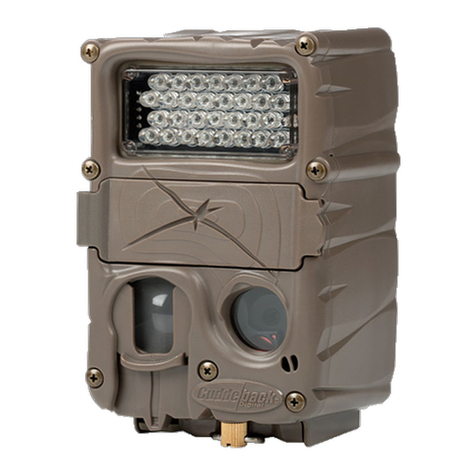
Cuddeback CuddeLink Home 1385 Specification sheet

Non-Cellular CuddeLink Home Quick Set-Up
A quick guide to seng up your Non-Cellular CuddeLink Home camera.
Certain menus may appear dierently; this guide references set up of
cameras on version 8.3 rmware. *Any CuddeLink camera can be setup as a Home in a CuddeLink network*
920-347-3810 www.cuddeback.com
cuddeback.support@cuddeback.com
Supplies Needed to Begin Set-Up
1. Required amount of baeries
2. Full-size SD card 2-32GB. We recommend the SanDisk brand
Geng Started
1. Set the Time - Press Mode key to Clock. This should show you the
clock. Use the Up/Down arrows to adjust hour seng. Press More
key to go to minute seng. Use the Up/Down arrows to change
the minute seng.
2. Set the Date - Press More key twice aer seng me to move to
the date. Press the Up arrow to get to the month. Use the Up/Down arrows to change the month. Press More key to
move to the day. Use the Up/Down arrows to change the day. Press More key to move to the year. Use the Up/Down
Arrows to change the year.
Quick Set-Up - Link Menu
Press Mode key to Commands. Press More key to Link Menu and press the Up Arrow
twice to get into the menu.
The screen should show Link Mode. Use your up arrow to change to Home.
Press More key to move to Link Loc. Use the Up Arrow to change to 001.
Press More key to Link chan. Press the Up Arrow to get to the rst set of digits. Use
the Up Arrow to choose a number 1-16. Press More key to get to the second set of
digits. Use the up arrow to choose a number 1-31. *This will be the same number for
all remotes connected to this home camera... Example 08-20*
Quick Set-Up - Sengs
Press Mode key to Sengs. The LCD Display will ash between Setup and the mode
the camera is in. The camera is default set to EZ Mode for quick Set-up. If you do not
see EZ Mode, use your Up Arrow to get to EZ Mode.
Press More key to Delay. The camera’s default Delay is set to 15 seconds and the rec-
ommended seng for quick set-up. The Delay dictates how fast the camera will re-
load to take an image aer it has already been triggered by heat/moon and taken an
image.
Quick Set-Up - ARM the camera
Press Mode key to ARM. The camera will begin countdown and ARM to take pictures.
CuddeLink Home
Model 1385

CuddeLink Remote Quick Set-Up
A quick guide to seng up your CuddeLink camera(s) as a Remote or Re-
peater. Certain menus may appear dierently; this guide references set
up of cameras on version 8.3 rmware. *User is not able to use a Cell camera as a Remote in the network*
920-347-3810 www.cuddeback.com
cuddeback.support@cuddeback.com
Supplies Needed to Begin Set-Up
1. Required amount of baeries
2. Full-size SD card 2-32GB. We recommend the SanDisk brand
Geng Started
1. Set the Time - Press Mode key to Clock. This should show you the clock. Use the Up/Down ar-
rows to adjust hour seng. Press More key to go to minute seng. Use the Up/Down arrows to
change the minute seng.
2. Set the Date - Press More key twice aer seng me to move to the date. Press the Up arrow
to get to the month. Use the Up/Down arrows to change the month. Press More key to move to
the day. Use the Up/Down arrows to change the day. Press More key to move to the year. Use
the Up/Down Arrows to change the year.
Quick Set-Up - Link Menu
Press Mode key to Commands. Press More key to Link Menu and press the Up Arrow twice to get into
the menu.
The screen should show Link Mode. Use your up arrow to change to Remote.
*You have the opon to select Home - point for SD card image collecon, Remote - camera
operates in eld, collects images, and send images to Home, or Repeater - camera operates in
eld as signal booster between other remotes; camera will not take images in this mode*
Press More key to move to Link Loc. Use the Up Arrow to change to 002. Each camera must have a
unique Link Loc. As you connue to add Remotes or Repeaters to your network, you will increase the
Link Loc.
Press More key to Link chan. Press the Up Arrow to get to the rst set of digits. Use the Up Arrow to
choose a number 1-16. Press More key to get to the second set of digits. Use the up arrow to choose a
number 1-31. *This NEEDS to be the same number for all cameras (Remote/Repeater) that are in the
same network... Example 08-20*
Press More key to Link Lvl. The LCD Display will ash between this and 4 dashes. Make sure you have your home camera
armed to verify the cameras are connecng to each other. If you are not geng a connecon, verify you have all cameras on
the same Link Chan and Firmware Version. *F/W Ver - Press Mode to Commands, More to F/W Ver. This should match on all
cameras in a network*
J Series CuddeLink
G Series
CuddeLink
CuddeLink Remote Quick Set-Up
A quick guide to seng up your CuddeLink camera(s) as a Remote or Re-
peater. Certain menus may appear dierently; this guide references set
up of cameras on version 8.3 rmware.
920-347-3810 www.cuddeback.com
cuddeback.support@cuddeback.com
Quick Set-Up - Sengs
Press Mode key to Sengs. The LCD Display will ash between Setup and the mode the camera is in. The camera is default
set to EZ Mode for quick Set-up. If you do not see EZ Mode, use your Up Arrow to get to EZ Mode.
Press More key to Delay. The camera’s default Delay is set to 15 seconds and the recommended seng for quick set-up. The
Delay dictates how fast the camera will reload to take an image aer it has already been triggered by heat/moon and taken
an image.
Quick Set-Up - ARM the camera
Press Mode key to ARM. The camera will begin countdown and ARM to take pictures.

CuddeLink Cell Home Quick Set-Up
A quick guide to seng up your CuddeLink Cell Home camera. Certain
menus may appear dierently; this guide references set up of cameras
on version 8.3 rmware.
920-347-3810 www.cuddeback.com
cuddeback.support@cuddeback.com
Supplies Needed to Begin Set-Up
1. Required amount of baeries
2. Full-size SD card 2-32GB. We recommend the SanDisk brand
Geng Started
1. Set the Time - Press Mode key to Clock. This should show you the clock. Use the Up/Down ar-
rows to adjust hour seng. Press More key to go to minute seng. Use the Up/Down arrows
to change the minute seng.
2. Set the Date - Press More key twice aer seng me to move to the date. Press the Up arrow
to get to the month. Use the Up/Down arrows to change the month. Press More key to move
to the day. Use the Up/Down arrows to change the day. Press More key to move to the year.
Use the Up/Down Arrows to change the year.
Quick Set-Up - Link Menu
Press Mode key to Commands. Press More key to Link Menu and press the Up Arrow twice to get
into the menu.
The screen should show Link Mode. Use your up arrow to change to Home.
Press More key to move to Link Loc. Use the Up Arrow to change to 001.
Press More key to Link chan. Press the Up Arrow to get to the rst set of digits. Use the Up Arrow to choose a number 1-16.
Press the More buon to get to the second set of digits. Use the up arrow to choose a number 1-31. *This NEEDS to be the
same number for all cameras (Remote/Repeater) that are in the same network... Example 08-20*
Quick Set-Up - Link Menu
Press Mode key to Commands. Press More key to Cell Menu and press the Up Arrow twice to get into the menu.
The screen should show Cell Mode. Use your up arrow to verify this is set to ON.
Press More key to move to Cell Rate. Cell Rate dictates how oen the cell camera will send images to you. 12 Hours is the
recommended default for quick set-up. Use the Up/Down Arrows to change to lower rate if desired.
Press More key to Cell Test. When you deploy the camera in the eld, you will want to run this test. Press the Up Arrow
twice to run the cell test.
**The following instrucons assume you have already created a Cell Management Account and regis-
tered your Cell Camera to your account**
G Series
Cellular

CuddeLink Cell Home Quick Set-Up
A quick guide to seng up your CuddeLink Cell Home camera. Certain
menus may appear dierently; this guide references set up of cameras
on version 8.3 rmware.
920-347-3810 www.cuddeback.com
cuddeback.support@cuddeback.com
Cell Home - Recommended Sengs
The following explains the recommended sengs for quick-set up of Cuddeback cameras.
There are a few opons under Commands that you can change, but we recommend leaving them set to default. Leaving them
on default is the recommended opon.
Press Mode key to Sengs, which should ash EZ Mode and is the recommended mode to use for quick set-up.
Press More key and you will see the camera Delay, which is set to 15 seconds and the recommended seng for quick set-up.
The Delay dictates how fast the camera will reload to take an image aer it has already been triggered by heat/moon and
taken an image.
Press More key and you will see the Video seng, which is default set to OFF. We recommend leaving it to o for quick set-
up.
Quick Set-Up - ARM the camera
Press Mode key to ARM. The camera will begin countdown and ARM to take pictures.
Table of contents
Other Cuddeback Scouting Camera manuals

Cuddeback
Cuddeback C User manual

Cuddeback
Cuddeback EXCITE User manual

Cuddeback
Cuddeback NoFlash User manual

Cuddeback
Cuddeback EXCITE User manual

Cuddeback
Cuddeback Ambush User manual

Cuddeback
Cuddeback CuddeView X2 User manual

Cuddeback
Cuddeback CuddeLink User manual

Cuddeback
Cuddeback Attack User manual

Cuddeback
Cuddeback Silver Series User manual

Cuddeback
Cuddeback Capture User manual