manuals.online logo
Brands
  1. Home
  2. •
  3. Brands
  4. •
  5. CURIOSIS
  6. •
  7. Laboratory Equipment
  8. •
  9. CURIOSIS Celloger Mini Installation guide

CURIOSIS Celloger Mini Installation guide

Automatic Live Cell Imaging System
Quick Manual
Device Layout
Basic operation
1) Installation
2) Set up
3) Starting
Description
1) Set up mode
2) Scan mode
3) Album mode
4) Analysis mode
Operation
1) Set up
2) Vessel Setting & Focusing
3) Image Scan & Time lapse image capture
4) Video recording
5) Confluency & Growth Curve
6) Additional setting
Table of contents
Device Layout
Front Layout
Bright field lamp
Temperature and humidity sensor
Objective Lens
Vessel holder
X-Y Stage
X-Axis Motor
Side Layout
Rear Layout
Bright field lamp
X-Y Stage Vessel holder
LAN & Power cable connector
X-Axis Motor X-Axis Motor
LAN & Power cable connector
Basic Operation
1. Installation
Step 1. Remove the product from the box.
Step 2. Plug the power cable into device
Step 3. Connect the device to PC using the connection cable.
Connect the device to PC
LAN & Power Cable
2. Set up
Step 1. Prepare a sample.
Step 2. Put the device inside incubator.
Step 3. Place the sample on the stage.
Note: Check the connection between the PC and the device.
üWhole procedure should be done in clean area to avoid to decrease accuracy of captured imaging due to dust.
üPlease spread the cells sufficiently before capturing the imaging.
(Pay attention to avoid bubbles and check if there are any cell clumps)
üCell culture flask should be wetted by the culture media before making a capturing.
Cell seeding
2
Click!
Step 1. Click a Celloger Mini App
Step 2. Select the file to save and Connect device
Step 3. Press Start streaming button to display the current plate.
Note: If the device icon does not appear, enter the IP address directly.
3. Starting
3
1
Description
Current temperature & humidity
Live cell monitoring
Current X-Y-Z position
Display
1. Set up mode
Connection with
Celloger Mini
X-Y-Z Control panel
•Speed
•Step[mm]
•Set position
Selectable resolution
•Normal
•High
Imaging exported formats
AF
•Depth
•Resolution
•ROI
Image information
Move to absolute X-Y-Z
position in mm unit
Scale bar
Vessel type
Light up
Vessel Type
Image saving formats
Autofocusing
1. Set up mode
Used to exchange
the plate
Auto ROI
: The clearest place among the 9
areas is selected automatically
Minimum / maximum range
for autofocusing
Device
Light up
Start & Stop & Pause
Refresh
Display
Current
location
Current
progress of the work
Image
information
Scale bar
Schedule
•Period
•Total time
•Total cycle
2. Scan mode
X-Y-Z position
Video recording
Captured image play
Stop
Refresh
Video speed control
3. Album mode
Captured image
history
X-Y position
Light
Cell detection
Measure cell length
Import file
Scale bar
Confluency
Import image
4. Analysis mode
Scale bar
Adjust Color settings
Display
Operation
1. Set up mode
Step 1. Press Start streaming button, then image is displayed.
Step 2. To adjust illumination, use the LED intensity, camera brightness, camera contrast on the
imaging tap.
Step 3. Choose Frame resolution of Normal or High
Autofocusing
Camera
contrast
Camera
brightness
LED
intensity
Imaging set
Normal High
Frame Resolution Result
Step 1.
Select the well plate of the Vessel type and the options such as image saving format.
Step 2.
Specify where to take the picture.
Step 3.
Adjust the focus using the autofocusing button or jog tap.
Step 4.
After specifying position for each well, press button.
Note: X-Y-Z position is displayed on the left.
2. Vessel Setting & Focusing
1
2
3
4
3
How to Set the all center positions
Right-click the well plate and apply the all center positions
of well.
▶Focus manually before using the autofocusing function.
Step 1. Press the scan mode.
Step 2. Select a file to save the captured image.
Step 3. Set up total time and period in the schedule, the total cycle is entered automatically.
Step 4. After selecting the schedule, select frame resolution.
Step 5. Press start button to begin capturing.
Note:
3. Image Scan & Time lapse image capture
4
2
5
3
1
Position Recommended period
6 - 12 10 min
Minimum12 - 48 30 min
96 1 hour
4. Video recording
Step 1. Press the album mode.
Step 2. Import the saved folder.
Step 3. Press button. The video can be exported.
Note : The button displays pictures continuously and button produces video.
üSelect the name of image in the data list. The preview window will show the image and movie you selected.
üWarm up Celloger Mini for 1 hour in incubator before making a movie. If not, it might be the cause of uncertain data or unclear videos.
üThe video is created in the video area, and FPS(Frame Per Second) is adjustable.
üCell culture flask should be wetted by the culture media before making a movie.
avi file
Saving the files
Video Area
32
1
4
• Click the right button of the mouse on display

Other manuals for Celloger Mini

2

Other CURIOSIS Laboratory Equipment manuals

CURIOSIS FACSCOPE B User manual

CURIOSIS

CURIOSIS FACSCOPE B User manual

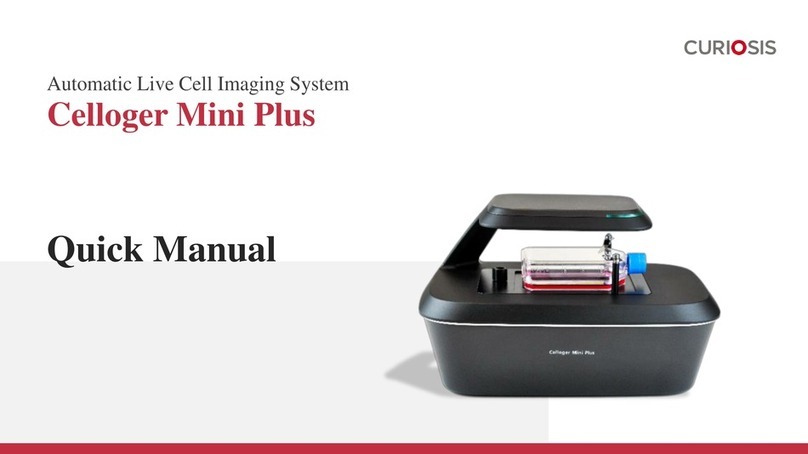
CURIOSIS Celloger Mini Plus User manual

CURIOSIS

CURIOSIS Celloger Mini Plus User manual

CURIOSIS FACSCOPE B Instruction manual

CURIOSIS

CURIOSIS FACSCOPE B Instruction manual

CURIOSIS FACSCOPE B User manual

CURIOSIS

CURIOSIS FACSCOPE B User manual

CURIOSIS Celloger Mini Plus Installation guide

CURIOSIS

CURIOSIS Celloger Mini Plus Installation guide

CURIOSIS Celloger Mini Installation guide
CURIOSIS

CURIOSIS Celloger Mini Installation guide

CURIOSIS Cellpuri Installation guide

CURIOSIS

CURIOSIS Cellpuri Installation guide

CURIOSIS Celloger Mini User manual

CURIOSIS

CURIOSIS Celloger Mini User manual

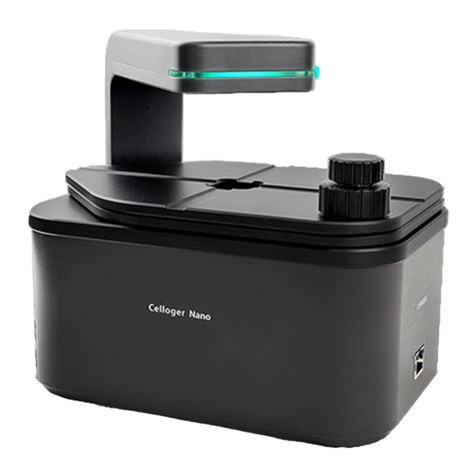
CURIOSIS Celloger Nano User manual

CURIOSIS

CURIOSIS Celloger Nano User manual

Popular Laboratory Equipment manuals by other brands

NEW BRUNSWICK SCIENTIFIC MP-1000 Pourmatic Guide to operations

NEW BRUNSWICK SCIENTIFIC

NEW BRUNSWICK SCIENTIFIC MP-1000 Pourmatic Guide to operations

GHM Martens STL50 operating manual

GHM

GHM Martens STL50 operating manual

Oxford Instruments Cypher SPM user guide

Oxford Instruments

Oxford Instruments Cypher SPM user guide

Hach LZV902 user manual

Hach

Hach LZV902 user manual

THORLABS PWA090 user guide

THORLABS

THORLABS PWA090 user guide

SII Vortex-ME4 user manual

SII

SII Vortex-ME4 user manual

PAXXO PACTOSAFE 4.0 Original instructions

PAXXO

PAXXO PACTOSAFE 4.0 Original instructions

Biotage Selekt user manual

Biotage

Biotage Selekt user manual

Thermo Scientific Labofuge 200 Operating lnstructions

Thermo Scientific

Thermo Scientific Labofuge 200 Operating lnstructions

REPLIGEN TangenX SC Series user guide

REPLIGEN

REPLIGEN TangenX SC Series user guide

Vircell VirClia Lotus user manual

Vircell

Vircell VirClia Lotus user manual

Wiggens WH220-HT operating manual

Wiggens

Wiggens WH220-HT operating manual

Appleton appMix instruction manual

Appleton

Appleton appMix instruction manual

Olympus VISERA CLV-S40 instructions

Olympus

Olympus VISERA CLV-S40 instructions

Biotage TurboVap Series Installation and safety

Biotage

Biotage TurboVap Series Installation and safety

Leica RM2245 instruction manual

Leica

Leica RM2245 instruction manual

Rodenstock Phoromat 2000 Operation manual

Rodenstock

Rodenstock Phoromat 2000 Operation manual

BNC 685 Series user manual

BNC

BNC 685 Series user manual

manuals.online logo
manuals.online logoBrands
  • About & Mission
  • Contact us
  • Privacy Policy
  • Terms and Conditions

Copyright 2025 Manuals.Online. All Rights Reserved.