manuals.online logo
Brands
  1. Home
  2. •
  3. Brands
  4. •
  5. Curt Group
  6. •
  7. Automobile Accessories
  8. •
  9. Curt Group Aries TrailCrusher 2156000 User manual

Curt Group Aries TrailCrusher 2156000 User manual

ARIESAUTOMOTIVE.COM •NEED ASSISTANCE? •877.287.8634 •2156000-INS-RC•PAGE 1
INSTALLATION MANUAL 2156000
Parts List
1TrailCrusher™ bumper
8Socket cap screw, M4
8Nylock nut, M4
8Flat washer, M12 x 24mm
8Lock washer, M12
8Hex nut, M12
8Backup washer
Torque Specifications
M4 bolt 16 ft-lbs.
M12 bolt 70 ft-lbs.
Use above torque setting unless otherwise noted
Tools Required
Torque wrench Socket extension
Box wrench set Socket set
Phillips screwdriver Allen wrench set
Level Flathead screwdriver
Level of Difficulty
Moderate
Notes and Maintenance
Before you begin installation, read all instructions thoroughly.
Proper tools will improve the quality of installation and reduce the time required.
To protect the product, wax after installing. Regular waxing is recommended
to add a protective layer over the finish. Do not use any type of polish or wax
that may contain abrasives that could damage the finish.
For polished, gloss and other smooth finishes,
polish may be used to clear small scratches and scuffs on the finish.
Mild automotive detergent may be used to clean the product. Do not use dish detergent, abrasive
cleaners, abrasive pads, wire brushes or other similar products that may damage the finish.
Refer to the table to the left when securing hardware during the
installation process to help prevent damage to the product or vehicle.
Product Photo
ARIESAUTOMOTIVE.COM •NEED ASSISTANCE? •877.287.8634 •2156000-INS-RC•PAGE 2
Step 1
Using a flathead screwdriver, pry and
remove four plastic push pins holding
the air dam in place. Remove the air
dam from underneath the vehicle.
Once removed, pry off the fasteners
holding the brackets to the frame.
Step 2
From behind the bumper, disconnect the wiring
harness attached to each fog light. Unclip the
wiring harness from the bumper cover.
Step 3
Locate two fasteners holding the frame
cover in place on top of the bumper.
Remove these with a Phillips screwdriver.
ARIESAUTOMOTIVE.COM •NEED ASSISTANCE? •877.287.8634 •2156000-INS-RC•PAGE 3
Step 4
When facing the Jeep head-on, slide the
cover to the left to expose the driver side
bolts holding the bumper in place.
Remove the four nuts holding the bolts onto
the bumper frame with an 18mm socket.
Repeat this step on the passenger side.
Step 5
When all the bolts have been removed
carefully lift the bumper from the frame
and set on a flat work surface.
Step 6
Remove the stock fog lights to be used
in the new ARIES TrailCrusher™ bumper.
ARIESAUTOMOTIVE.COM •NEED ASSISTANCE? •877.287.8634 •2156000-INS-RC•PAGE 4
Step 7
Set the fog lights into the new, ARIES bumper.
Each light will have four attachment points.
Install the fog lights using four M4 socket cap
screws and four M4 nylock nuts. Tighten with
a 7mm socket and included Allen wrench.
Repeat this step for the other light.
Step 8
The ARIES bumper is supplied with
pre-installed M12 bolts. With help,
lift the bumper into place over the
factory mounting locations.
Step 9
Attach the ARIES bumper using M12
flat washers, lock washers and hex nuts
on all eight mounting locations.
Step 10
Reattach the fog lights and
wire harness to the bumper.
ARIESAUTOMOTIVE.COM •NEED ASSISTANCE? •877.287.8634 •2156000-INS-RC•PAGE 5
Step 11
If a winch is being installed on the
ARIES bumper, use the supplied
backup washers in conjunction
with the mounting hardware
supplied with the winch.
1. Backup washer
2. Winch mounting hardware
(hardware not included)
Step 12
Check to make sure the bumper is level. Adjust
if necessary and fully tighten all hardware to
the recommended torque specifications listed
in the table on the first page.
With the bumper installed, periodic
inspections should be performed to ensure
all mounting hardware remains tight.
To protect your investment, see the
'Notes and Maintenance' section on
the first page of this instruction manual.
Congratulations on the installation of
your new ARIES TrailCrusher™bumper.
Note: Image shown with bumper
accessories installed (not included).
See ariesautomotive.com for all accessories.
1
2

Other Curt Group Automobile Accessories manuals
Curt Group 60638 User manual

Curt Group

Curt Group 60638 User manual

Curt Group 45143 User manual

Curt Group

Curt Group 45143 User manual

Curt Group ARIES S224046 User manual

Curt Group

Curt Group ARIES S224046 User manual

Curt Group Aries AL235045 User manual

Curt Group

Curt Group Aries AL235045 User manual

Curt Group Aries S225045-2 User manual

Curt Group

Curt Group Aries S225045-2 User manual

Curt Group 18151 User manual

Curt Group

Curt Group 18151 User manual

Curt Group Aries S224046-2 User manual

Curt Group

Curt Group Aries S224046-2 User manual

Curt Group ARIES 2051132 User manual

Curt Group

Curt Group ARIES 2051132 User manual

Curt Group 18113 User manual

Curt Group

Curt Group 18113 User manual

Curt Group Aries 2055115 User manual

Curt Group

Curt Group Aries 2055115 User manual

Curt Group 3025101 User manual

Curt Group

Curt Group 3025101 User manual

Curt Group Retrac 207800 User manual

Curt Group

Curt Group Retrac 207800 User manual

Curt Group 45144 User manual

Curt Group

Curt Group 45144 User manual

Curt Group 70105 User manual

Curt Group

Curt Group 70105 User manual

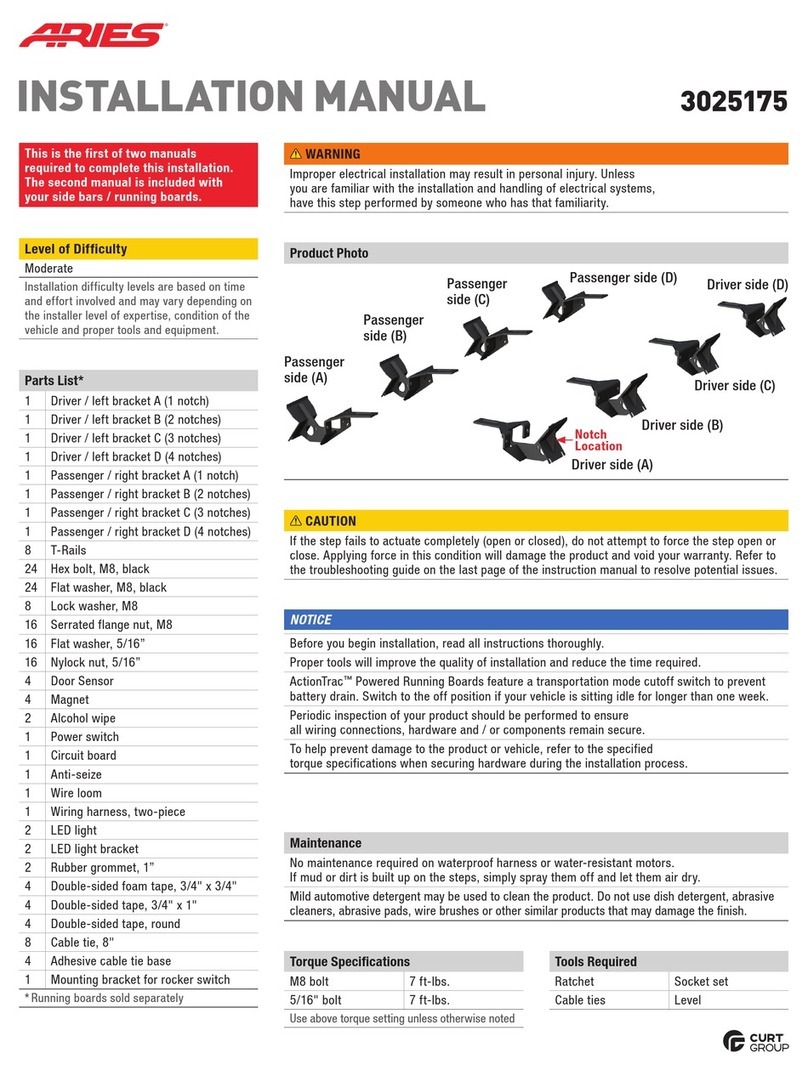
Curt Group Aries 3025175 User manual

Curt Group

Curt Group Aries 3025175 User manual

Curt Group 3025121 User manual

Curt Group

Curt Group 3025121 User manual
Curt Group Aries 4490 User manual

Curt Group

Curt Group Aries 4490 User manual

Curt Group TruTrack 17500 User manual

Curt Group

Curt Group TruTrack 17500 User manual

Curt Group Q16 User manual

Curt Group

Curt Group Q16 User manual

Curt Group 40247 User manual

Curt Group

Curt Group 40247 User manual

Curt Group 11392 User manual

Curt Group

Curt Group 11392 User manual
Curt Group RETRAC 207770 User manual

Curt Group

Curt Group RETRAC 207770 User manual

Curt Group ARIES AL234046 User manual

Curt Group

Curt Group ARIES AL234046 User manual

Curt Group 16190 User manual

Curt Group

Curt Group 16190 User manual

Popular Automobile Accessories manuals by other brands

Polaris Mazda BT50 RW-50/15 installation instructions

Polaris

Polaris Mazda BT50 RW-50/15 installation instructions

iDataLink maestro Rr install guide

iDataLink

iDataLink maestro Rr install guide

Wallbox EIFFEL installation guide

Wallbox

Wallbox EIFFEL installation guide

Southwing SF-505 user guide

Southwing

Southwing SF-505 user guide

Inglesina Cab instruction manual

Inglesina

Inglesina Cab instruction manual

Bestop 44943 installation instructions

Bestop

Bestop 44943 installation instructions

TPR TPR UniLock Owner & user manual

TPR

TPR TPR UniLock Owner & user manual

Brodit 852599 ProClip quick guide

Brodit

Brodit 852599 ProClip quick guide

AUTOTECH 10.698.400K installation instructions

AUTOTECH

AUTOTECH 10.698.400K installation instructions

Kurgo LOFT BENCH SEAT COVER Instructions and care

Kurgo

Kurgo LOFT BENCH SEAT COVER Instructions and care

ACME CH06 user manual

ACME

ACME CH06 user manual

Pittsburgh 93980 Assembly and operating instructions

Pittsburgh

Pittsburgh 93980 Assembly and operating instructions

Whispbar K885W Fitting Instructions for Basic Carrier

Whispbar

Whispbar K885W Fitting Instructions for Basic Carrier

Westin 23-3610 installation instructions

Westin

Westin 23-3610 installation instructions

Suzuki 99177-78R00 installation instructions

Suzuki

Suzuki 99177-78R00 installation instructions

Reese Explore 1041000 Instruction guide

Reese

Reese Explore 1041000 Instruction guide

NavLinkz RL2-MBN45 manual

NavLinkz

NavLinkz RL2-MBN45 manual

Grid PORSCHE 911 GT3 CUP instruction manual

Grid

Grid PORSCHE 911 GT3 CUP instruction manual

manuals.online logo
manuals.online logoBrands
  • About & Mission
  • Contact us
  • Privacy Policy
  • Terms and Conditions

Copyright 2025 Manuals.Online. All Rights Reserved.