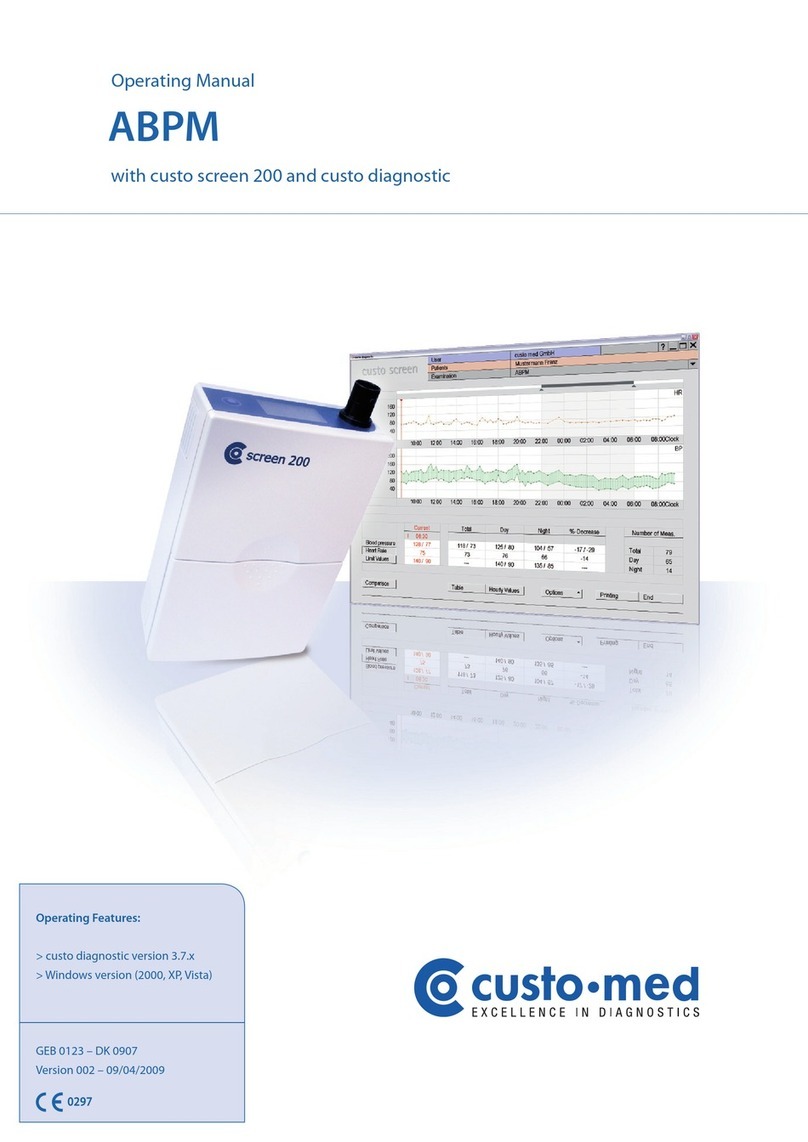
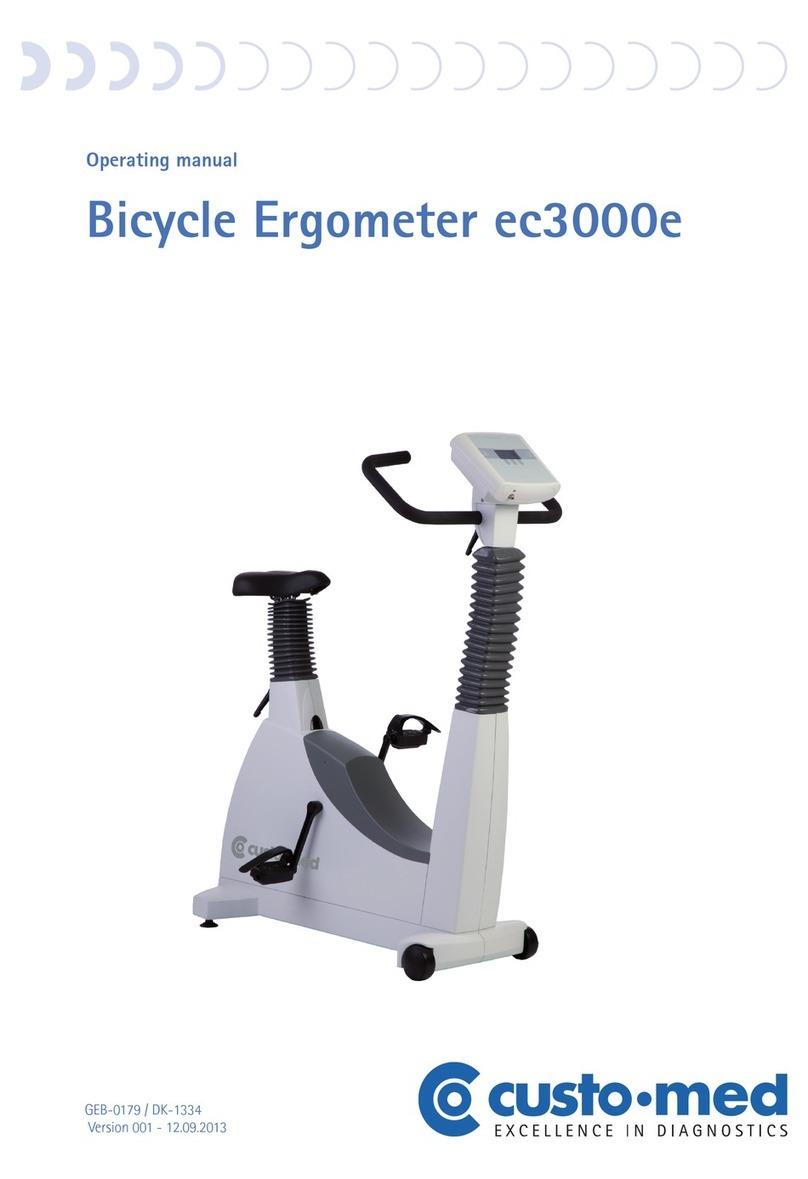
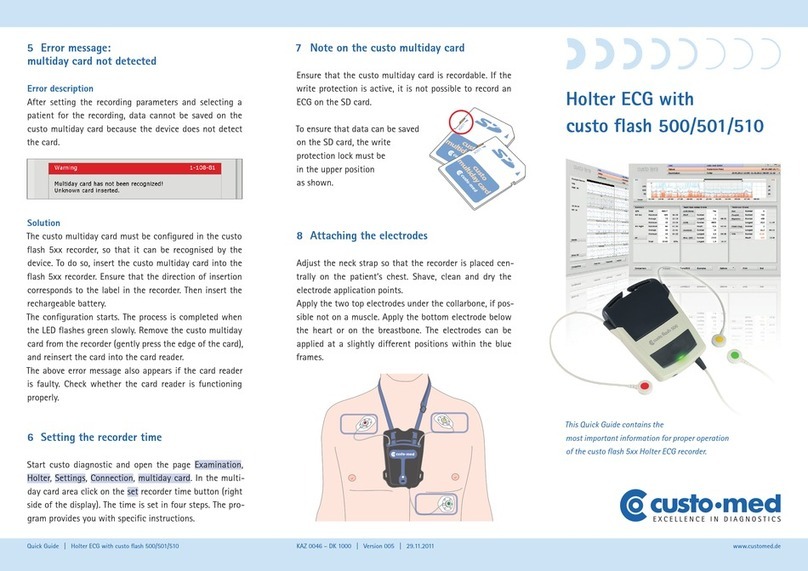
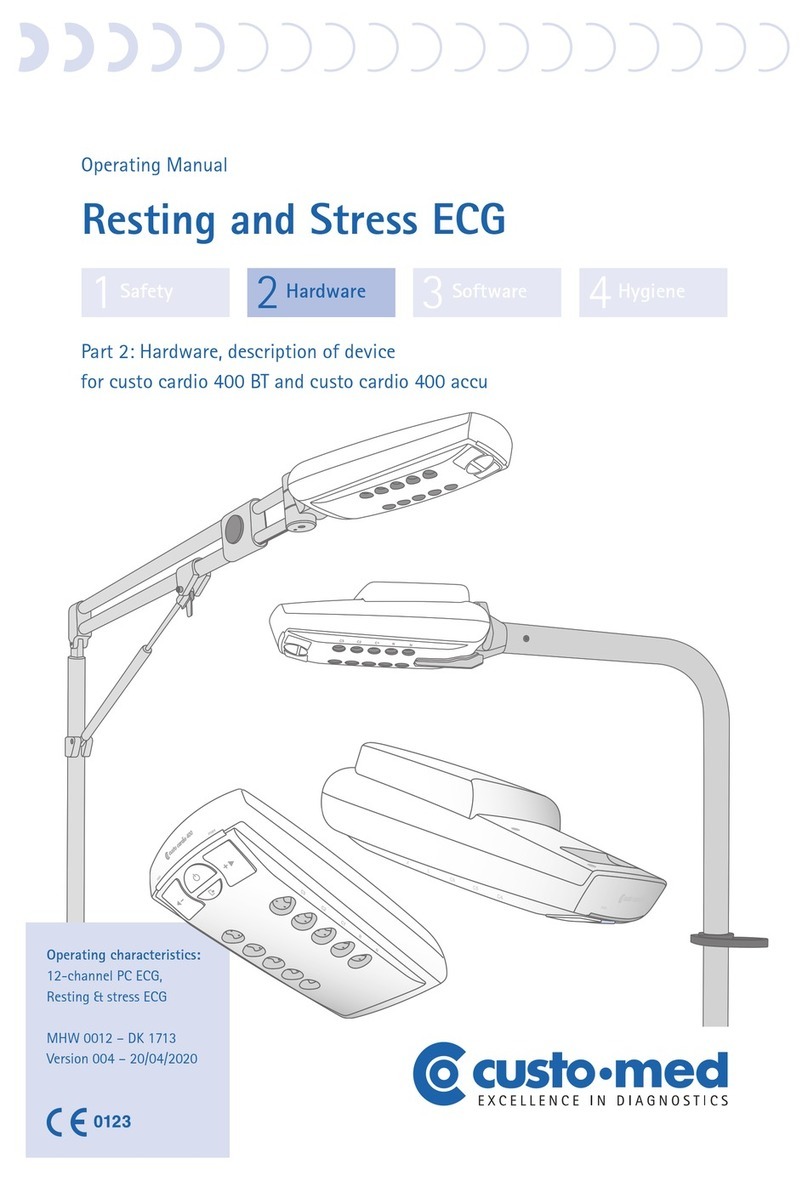
Custo Med Holter ABPM Custo Screen 400 User manual

Operating Manual
Holter ABPM
Part 2: Hardware, description of device for custo screen 400
1234
Safety Hardware Software Hygiene
Operating characteristics:
For Holter ABPM
MHW 0004 – DK 1663
Version 001 – 12/01/2018

MHW 0004 – DK 1663 | Version 001 – 12/01/2018 | custo med GmbH [2] Holter ABPM Hardware, custo screen 400 | page 2
© 2018 custo med GmbH
This Operating Manual may not be copied in its entirety or in part, duplicated in any
form or by any means or translated into another language without the prior written
consent of custo med GmbH.
The manufacturer reserves the right to change the information in this Operating
Manual without prior notice. The current version can be downloaded from our web-
site: www.customed.de.
CAUTION:
This Operating Manual is part of a modular system, consisting of four parts. All
four parts must be downloaded from the Internet or from a CD to ensure the
Operating Manual is complete.

MHW 0004 – DK 1663 | Version 001 – 12/01/2018 | custo med GmbH [2] Holter ABPM Hardware, custo screen 400 | page 3
Table of contents
2.1 Symbols on the devices. . . . . . . . . . . . . . . . . . . . . . . . . . . . . . . . . . . . . . . . . . . . . . . . . . . . . . . . . . . . . . . . . . . . . . . .4
2.2 Intended use . . . . . . . . . . . . . . . . . . . . . . . . . . . . . . . . . . . . . . . . . . . . . . . . . . . . . . . . . . . . . . . . . . . . . . . . . . . . . . . . . . . . . .5
2.3 Part names, components for the Holter ABPM recording . . . . . . . . . . . . . . . . . . . . . . . . . .6
2.4 Device operation
2.4.1 custo screen 400 Holter ABPMr ecorder. . . . . . . . . . . . . . . . . . . . . . . . . . . . . . . . . . . . . .8
2.4.2 Elements in the display. . . . . . . . . . . . . . . . . . . . . . . . . . . . . . . . . . . . . . . . . . . . . . . . . . . . . . . . . . . . .9
2.4.3 Error codes and their causes. . . . . . . . . . . . . . . . . . . . . . . . . . . . . . . . . . . . . . . . . . . . . . . . . . . . 10
2.4.4 Charging the custo guard ECG transmitter . . . . . . . . . . . . . . . . . . . . . . . . . . . . . . . .12
2.5 Attaching devices to the patient
2.5.1 custo screen 400 Holter ABPMrecorder. . . . . . . . . . . . . . . . . . . . . . . . . . . . . . . . . . . . .13
2.5.2 custo guard 3 ECG transmitter with a custo belt electrode belt . . .14
2.5.3 Adjusting the length of the custo belt electrode belt. . . . . . . . . . . . . . . . . .15
2.5.4 Fitting the ECG transmitter with the custo guard 3 ECG cable. . . . . 17
2.5.5 Safely using the custo screen 400 system . . . . . . . . . . . . . . . . . . . . . . . . . . . . . . . . .18
2.6 Patient instructions for the recording . . . . . . . . . . . . . . . . . . . . . . . . . . . . . . . . . . . . . . . . . . . . . . . . . . 19
2.7 Technical data and system requirements. . . . . . . . . . . . . . . . . . . . . . . . . . . . . . . . . . . . . . . . . . . . . . 21
2.8 Manufacturer's declaration regarding EMC. . . . . . . . . . . . . . . . . . . . . . . . . . . . . . . . . . . . . . . . . . .25
2.9 EC Declaration of Conformity . . . . . . . . . . . . . . . . . . . . . . . . . . . . . . . . . . . . . . . . . . . . . . . . . . . . . . . . . . . . .28
2.10 List of product components and accessories . . . . . . . . . . . . . . . . . . . . . . . . . . . . . . . . . . . . . . . . .30
1234
Safety Hardware Software Hygiene
Operating Manual
Holter ABPM
Part 2: Hardware, description of device for custo screen 400

2
Holter ABPM
Hardware, description of device for custo screen 400
MHW 0004 – DK 1663 | Version 001 – 12/01/2018 | custo med GmbH [2] Holter ABPM Hardware, custo screen 400 | page 4
2.1 Symbols on the devices
custo screen 400, custo com IR, custo guard, custo charger single
Manufacturer:
custo med GmbH, Maria-Merian-Str. 6, 85521 Ottobrunn, Germany
CE mark
Safety class classification of medical electrical
equipment according to DIN EN 60601-1 (Type BF)
The device is suitable for children aged ten and older
(not for newborns and small children).
Non-ionising electromagnetic radiation,
Device contains a RF transmitter
Symbol on the custo screen 400 recorder
for the insertion direction of the mini SD card (custo flash card mini)
The sticker specifies the date when the next metrological check is due.
Contact your authorised custo med dealer.
custo guard 3 ECG transmitter: Safety class of electrical equipment,
protection against the ingress of foreign matter and spray water.
Observe the Operating Manual
Separate collection of electrical and electronic equipment,
do not dispose with domestic waste
IP65
Ottobrunn
gültig bis:
MTK
7
6
5
4
3
2
1
14
15
16
17
18
19
12
11
10
9
8

2
Holter ABPM
Hardware, description of device for custo screen 400
MHW 0004 – DK 1663 | Version 001 – 12/01/2018 | custo med GmbH [2] Holter ABPM Hardware, custo screen 400 | page 5
2.2 Intended use
custo screen 400 is a Holter ABPM recorder with an internal power supply for
synchronous ABPM and Holter recording. The recording can last for up to 24 hours
and is used to evaluate blood pressure behaviour, in combination with the ECG
recorded for this purpose.
The 3-channel ECG signal is taken via the custo guard 3 ECG transmitter (includes
the custo belt 3 electrode belt) in accordance with the Holter standard. The ECG
transmitter has an internal power supply and transmits the data to the custo screen
400 recorder via radio. The 3-channel ECG is received in the recorder via a radio
interface.
custo screen 400 can also be used to carry out separate ABPM recordings (max.
72 hours) OR Holter recordings (max. 24 hours). The type of recording is defined
when the recorder is started in the medical operating system custo diagnostic.
custo screen 400 is perfectly safe for patients with a pacemaker. Pacemaker
recognition is not possible. Caution: The ECG recording may be affected by pace-
maker pulses.
The system is intended for use by trained specialist staff or physicians in clinics
and medical practices. Patients are only allowed to use the recording device after
receiving instruction by trained specialist staff. Patients who are not capable of
understanding and following the instructions given are not allowed to use the
device. This applies in particular to senile patients or patients suffering from
dementia.
The system is not suitable for unsupervised use with unconscious patients
(applies to recordings with ABPM measurement).
The system (custo guard 3) is not suitable for intracardiac use.
The system is not suitable for electrocardiographic monitoring of patients
in accordance with DIN EN 60601-2-27, e.g. use in intensive care.

2
Holter ABPM
Hardware, description of device for custo screen 400
MHW 0004 – DK 1663 | Version 001 – 12/01/2018 | custo med GmbH [2] Holter ABPM Hardware, custo screen 400 | page 6
2.3 Part names, components for the recording
custo screen 400 Holter ABPM recorder
Cuff with retainer standard
Additional cuff sizes:
Cuff with retainer x-large
Cuff with retainer xx-large
Bandage cuff small, child
Bandage cuff standard
Bandage cuff xx-large
Carrying case for the ABPM recorder
Carrying belt in different lengths:
127 cm, optionally 155 cm long
Batteries (set of 3) Mignon 1.5 Volt, type AA
Card reader incl. USB extension cable
custo com IR infrared interface
USB extension cable 2.0, type B mini, 2.0 m

2
Holter ABPM
Hardware, description of device for custo screen 400
MHW 0004 – DK 1663 | Version 001 – 12/01/2018 | custo med GmbH [2] Holter ABPM Hardware, custo screen 400 | page 7
custo guard 3 ECG transmitter
custo belt 3 electrode belt
custo belt extender
custo charger single
custo guard 3 ECG cable
Adjustable neck strap
Tip: custo screen protect hygiene set
Six washable fleece pads – for more hygiene
and comfort when wearing the blood pressure cuff.
Worn underneath the cuff with the soft side on the skin.

2
Holter ABPM
Hardware, description of device for custo screen 400
MHW 0004 – DK 1663 | Version 001 – 12/01/2018 | custo med GmbH [2] Holter ABPM Hardware, custo screen 400 | page 8
2.4 Device operation
2.4.1 custo screen 400 Holter ABPM recorder
Inserting the batteries or rechargeable batteries
Open the battery compartment as depicted and
insert three commercially available batteries. The
direction of insertion is shown on the illustrations in
the battery compartment.
Functional elements of the device
On/off switch:
for switching the recorder on and off
I = on
0 = off
Infrared interface for transmitting data between
custo screen 400 and PC
Blood pressure cuff port (BNC)
Card slot for mini SD card
Function key for starting and
stopping measurements
Display for displaying results and messages

2
Holter ABPM
Hardware, description of device for custo screen 400
MHW 0004 – DK 1663 | Version 001 – 12/01/2018 | custo med GmbH [2] Holter ABPM Hardware, custo screen 400 | page 9
2.4.2 Elements in the display
Sys: Systolic blood pressure
Dia: Diastolic blood pressure
P: Pulse
Battery: Lights up if the batteries are weak
If the blood pressure measurement
has been carried out successfully...
systole, diastole and plus will be displayed
three times in succession
During the data transmission between the recorder and the PC...
“PC” is shown on the display (the light-emitting diode
of the custo com IR infrared interface flashes)
In the event of erroneous measurements...
an error code is shown on the display, e.g. “E06”

2
Holter ABPM
Hardware, description of device for custo screen 400
MHW 0004 – DK 1663 | Version 001 – 12/01/2018 | custo med GmbH [2] Holter ABPM Hardware, custo screen 400 | page 10
Error when reading or writing the time
Internal electric double-layer capacitor (energy store for the time) discharged
Insert batteries, switch device on
Thresholds are fallen below or exceeded
Sys: <70mmHg >270mmHg, Dia: <40mmHg >155mmHg
Sys - Dia: <15mmHg
HR: <35/min >220/min
Measurement is repeated automatically
Pressure discharge rate outside the given limits
Valve is leaking or defective
Customer service
Disturbed measurement
Too many movement artefacts
Cuff slipped or not tight enough
Attach the cuff carefully and keep the arm steady during the measurement
Battery voltage too low
Insert new batteries or freshly charged rechargeable batteries
into the recorder
Pressure sensors transmit different values
Cuff tube kinked
BNC port at the recorder or cuff tube dirty
One of the pressure sensors is faulty
Remove cuff from device, connect it again and repeat procedure
If the error persists, call customer service
Pressure increase is too slow
Cuff is not connected or cuff/valve is leaking/defective
Connect cuff if necessary
Check cuff (sealing ring in connection present/OK?)
If the error persists, call customer service
2.4.3 Error codes and their causes

2
Holter ABPM
Hardware, description of device for custo screen 400
MHW 0004 – DK 1663 | Version 001 – 12/01/2018 | custo med GmbH [2] Holter ABPM Hardware, custo screen 400 | page 11
Pressure increase is too fast
Cuff tube is kinked, valve system is clogged
Align the cuff tube
If the error persists, call customer service
Discharge period is too long
Cuff tube is kinked, valve is defective
Customer service if multiple occurrences during a recording
Error when determining diastole
Cuff attached incorrectly, marking is not situated on the artery,
movement artefacts
Attach the cuff carefully and keep the arm steady during the measurement
Error when determining systole
Cuff attached incorrectly, marking is not situated on the artery,
movement artefacts
Attach the cuff carefully and keep the arm steady during the measurement
In the event of an erroneous measurement, the measurement is repeated after two
minutes. If errors occur that are not listed here, switch the device off and back on
again. Repeat the desired step. If the error persists, contact your authorised custo
med dealer.

2
Holter ABPM
Hardware, description of device for custo screen 400
MHW 0004 – DK 1663 | Version 001 – 12/01/2018 | custo med GmbH [2] Holter ABPM Hardware, custo screen 400 | page 12
2.4.4 Charging the custo guard ECG transmitter
IMPORTANT: Charge the custo guard ECG transmitter before using it for the
first time! Connect the charger to the mains with the plug-in power supply unit.
The charger is ready for operation when the LED on the charger lights up orange .
Only use the supplied power supply unit for the charger!
Place the custo guard ECG transmitter onto the charger . The direction of
insertion is based on the shape of the housing. The LED in the ECG transmitter
indicates the charging status. Take the ECG transmitter out of the charger when it
is fully charged.
RED: . . . . . . . . . . . . . . . . . . . . . . . . . . . . . . . . . . . . . . . . . . . . . . . . . . . . . . . . . . . . . . . . . . . ECG transmitter is charging
GREEN: . . . . . . . . . . . . . . . . . . . . . . . . . . . . . . . . . . . . . . . . . . . . . . . . . . . . . . . . . . . . . . . . . . . . . . . . . . . Charging complete
For technical reasons, it can occur that an ECG transmitter that is indicated to be
“completely charged” (green LED) shows the status “Charging” (red LED) again if it
is removed and then reinserted into the charger.
Charging time and runtime
When fully discharged, the maximum charging time is approx. 3 hours. At a
sampling rate of 1 kHz, the maximum runtime is approx. 3 days, in standby approx.
100 days. The rechargeable battery capacity or the maximum runtime decreases over
time (80 % of the initial capacity after 300 charging cycles)1).
Frequency of charging cycles
We recommend charging the devices after each recording.
Clean, disinfect and dry the devices before recharging.
CAUTION: Charging damp ECG transmitters (perspiration, disinfectants)
will lead to the oxidation of the electric contacts in the charger.
1) The battery runtime is
dependent among other things on
the mode of reception of the receiver,
the distance and obstacles between
the receiver and transmitter
(condition of the transmission path)
and the age and condition of the
battery. After 300 or more charging
cycles, the battery has a capacity of
80 % of the initial capacity.
Definition of charge cycle:
During a charge cycle the entire
battery power is used, however, this
does not have to occur in a single
charging operation. For example,
you can use a device for several
hours on a particular day, use
approximately half the capacity,
and then fully charge it again. If
the same procedure is repeated on
the following day, this is equal to
just one charging cycle and not two
charging cycles. It can therefore
take a few days for a charge cycle to
be fully completed.

2
Holter ABPM
Hardware, description of device for custo screen 400
MHW 0004 – DK 1663 | Version 001 – 12/01/2018 | custo med GmbH [2] Holter ABPM Hardware, custo screen 400 | page 13
2.5 Attaching devices to the patient
2.5.1 custo screen 400 Holter ABPM recorder
For a Holter ABPM recording, the patient must wear
the custo screen 400 recorder with a blood pressure
cuff and the custo guard ECG transmitter.
A blood pressure cuff is not needed for purely Holter
recordings.
Attaching the blood pressure cuff
Attach the cuff to the left upper arm, two to three
centimetres above the crook of the arm. Apply the
cuff in such a way that the marking is situated on the
brachial artery. The cuff must not be attached too
firmly. It should still be possible to fit approximately
two fingers between the arm and the cuff.
Make sure to select the correct cuff size for the
patient. Each cuff contains information for which arm
circumference it is suited, e.g. standard 24 – 32cm.
Lay the cuff tube from the left shoulder over the right
shoulder to the right hip. There the recorder will be
placed later.
Fixthe cuff and the tubeto the patient’s body.Thisserves
to avoid erroneous measurements due to incorrect
positioning of the cuff or tube. Use professional fixing
aids with a low level of adhesive residues.
Attaching the belt with the carrying case
Attach the carrying case to the carrying belt. Put
the carrying belt on the patient. The case should be
positioned on the patient’s right hip. Put the switched-
on recorder into the carrying case and close it with the
hook and loop fastener.
Connect the cuff tube to the recorder as illustrated.
Sample measurement
Press the function key in order to carry out a sample
measurement. Take care that the patient keeps still
during the measurement. In the event of an erroneous
measurement, improve the fitting of the cuff and the
tube. If the sample measurement is successful, the
patient and recorder are ready for recording.

2
Holter ABPM
Hardware, description of device for custo screen 400
MHW 0004 – DK 1663 | Version 001 – 12/01/2018 | custo med GmbH [2] Holter ABPM Hardware, custo screen 400 | page 14
2.5.2 custo guard 3 ECG transmitter with a custo belt electrode belt
The ECG transmitter is fitted to the upper part of the patient's body with the custo
belt electrode belt. The skin must be free from grease and personal care products.
The electrode belt must be set up so that it fits tightly and the contact surfaces
make good contact, but that the patient is not impaired or hindered in breathing.
The contact surfaces on the inside of the electrode belt must not be soiled. Soiling
will affect the ECG quality.
CAUTION: The electrode contact surfaces must always be in contact with the skin.
Ensure that there are no textiles between the electrode and the skin. Otherwise,
completing the ECG recording will not be possible.
Make sure that the custo guard ECG transmitter is attached properly to the snap
fastener contacts of the custo belt electrode belt:
custo guard “R” = custo belt red snap fastener
custo guard “3” = custo belt green snap fastener
custo guard “L” = custo belt yellow snap fastener
Colour coding of the custo belt
snap fastener contacts

2
Holter ABPM
Hardware, description of device for custo screen 400
MHW 0004 – DK 1663 | Version 001 – 12/01/2018 | custo med GmbH [2] Holter ABPM Hardware, custo screen 400 | page 15
2.5.3 Adjusting the length of the custo belt
Opening and closing the custo belt
To open the custo belt, pull the material loop off the black plastic hook. To close the
custo belt, pull the material loop back over the black plastic hook. Then adjust the
belt length with the length adjustment to the circumference of the patient's chest.
Initial minimum length position
The length adjustment slider is located directly next to the point where the material
becomes wider on the custo belt. The elastic excess length is completely pulled
through the slider so that the slider is directly next to the black plastic hook.
Adjustment from minimum length to medium length
Hold the slider with your right hand. The upper layer of material, next to the slider on
the left, is pulled through the slider until there is no more elastic excess length. The
black plastic hook is then pulled to the left.
Adjustment from medium length to maximum length
Hold the slider or the upper layer of material next to the slider on the left with your
left hand and pull the material next to the slider on the right to the right until the
slider is situated next to the black plastic hook.

2
Holter ABPM
Hardware, description of device for custo screen 400
MHW 0004 – DK 1663 | Version 001 – 12/01/2018 | custo med GmbH [2] Holter ABPM Hardware, custo screen 400 | page 16
Adjustment from maximum length to medium length
Hold the slider with your right hand, grasp the lower layer of material to the left of
the slider and pull it through the slider up to the wide point.
Adjustment from medium length to minimum length
Hold the slider with your left hand and pull the elastic excess length completely to
the right through the slider until the slider is back between the black plastic hook
and the wide material point.
Extension with the custo belt extender
If the maximum length is not sufficient, use a custo belt extender (extension piece).
The custo belt extender is adjusted to the minimum length when the slider is located
next to the material loop. The maximum length is reached when the slider is next
to the black plastic hook. There is no limit on the number of custo belt extenders
that can be used.
Movable back electrode
For petite patients the back electrode is fitted towards the front electrode (see Fig-
ure) so that the back electrode does not rest on the spine. Open the Velcro fastener
and turn the electrode module to the desired position. Close the Velcro fastener
again. The electrodes must always be in full contact with the patient's skin.

2
Holter ABPM
Hardware, description of device for custo screen 400
MHW 0004 – DK 1663 | Version 001 – 12/01/2018 | custo med GmbH [2] Holter ABPM Hardware, custo screen 400 | page 17
2.5.4 Fitting the ECG transmitter with custo guard 3 ECG cable
If it is not possible to use the electrode belt, the custo guard ECG transmitter can be
fitted with the custo guard 3 ECG cable :
Firmly press the custo guard ECG transmitter onto the four contact points
of the custo guard 3 ECG cable .
Attach the neck strap to the hooks on the custo guard 3 ECG cable.
Adjust the neck strap to the desired length.
Clean the electrode contact points,
the skin must be free from grease and personal care products.
Remove the protective films from the electrodes.
Stick the electrodes to the chest, see Figure .
To prepare the electrode contact points we recommend the use of custo prep
ECG preparation cream. Rub the skin areas to which the electrodes will be
attached lightly with custo prep. We also recommend custo sensive ECG electrodes
(latex-free, PVC-free, skin-friendly, permeable to air and moisture).
L
3
R

2
Holter ABPM
Hardware, description of device for custo screen 400
MHW 0004 – DK 1663 | Version 001 – 12/01/2018 | custo med GmbH [2] Holter ABPM Hardware, custo screen 400 | page 18
2.5.5 Safely using the custo screen 400 system
Use only the original memory card (custo flash card mini). Do not save any other
non-examination data on the custo flash card mini.
The parts of a custo screen 400 system (ECG transmitter, recorder, memory card)
must stay together for the whole of the examination and must not be swapped with
parts of other custo screen 400 systems. Make sure that the device and recording
data are always clearly allocated to the patient.
During the recording, the distance between the custo screen 400 recorder and the
patient must not be more than 3 metres. Therefore, the recorder should always be
carried on the body. If the recorder is taken off, this can cause gaps in the ECG
recording. Note that the ECG transmitter cannot save an ECG. The ECG is sent to the
recorder, which must be within radio range, and saved on the mini SD card there.

2
Holter ABPM
Hardware, description of device for custo screen 400
MHW 0004 – DK 1663 | Version 001 – 12/01/2018 | custo med GmbH [2] Holter ABPM Hardware, custo screen 400 | page 19
2.6 Patient instructions for the recording
Handling the devices
The day on which the recording is made should be planned as normally as possible
(no day off, no exceptional events).
The switched-on recorder, cuff and ECG transmitter must also be worn during the
night.
No x-rays must be taken on the day of recording. Other electrical appliances (e.g
mobile phones) may affect the quality of the recording.
Each measurement is announced with a beep (unless this function is deactivated
in custo diagnostic). Using default settings, the measurements are performed every
15 minutes during the day and every 30 minutes during the night.
The devices must be protected against extreme cold, heat, moisture, dirt and
mechanical impact. No showers, no visits to the swimming pool and sauna.
The patient is not allowed to remove the batteries or rechargeable batteries or
modify the device in any way. The custo flash card mini must not be removed from
the recorder during recording.
If the ECG transmitter is detached from the electrode belt during recording, it must
be ensured that the ECG transmitter is aligned correctly when it is when reattached:
custo guard “R” – custo belt red snap fastener, custo guard “3”– custo belt green
snap fastener, custo guard “L” – custo belt yellow snap fastener
A custo belt electrode belt stretches after prolonged wear, due to moisture (sweat).
The custo belt should be re-tensioned after some time so that it rests firmly against
the upper body again and to ensure the ECG is of adequate quality.
CAUTION:
Do not leave small children unattended with the device.
Risk of strangulation with the supplied cables and belts.
Risk of suffocation from small parts that could be swallowed.
In the case of known allergies, e.g. against substances in the adhesive electrodes
or custo belt, the further procedure must be agreed with the physician before
the commencement of recording.

2
Holter ABPM
Hardware, description of device for custo screen 400
MHW 0004 – DK 1663 | Version 001 – 12/01/2018 | custo med GmbH [2] Holter ABPM Hardware, custo screen 400 | page 20
Avoiding erroneous measurements
The patient must keep still during the measurement.
The cuff tube must not be kinked.
A repeat measurement is automatically performed two minutes after an erroneous
measurement. If several measurements are erroneous (especially E6, E21-24 and
E25-28), it should be checked if the cuff is still positioned correctly. The marker
should be located on the brachial artery and the cuff should be positioned on the
arm so that approximately two fingers fit between the cuff and the arm. For further
causes of erroneous measurements, see Chapter 2.4.3 Error codes and their causes.
Discomfort during the recording
If the patient experiences discomfort during a recording, e.g. caused by a too high
cuff pressure, the patient must contact his/her physician. The patient can stop the
measurements at any time by pressing the function key or by opening the cuff’s
hook and loop fastener. Pregnant women should consider their individual physical
endurance and contact their physician, if necessary.
Important information regarding the ECG recording
and the quality of the ECG signal
custo belt:
The electrode contact surfaces must always be in contact with the skin. Ensure that
there are no textiles between the electrode and the skin. Otherwise, completing the
ECG recording will not be possible.
custo guard 3 ECG cable:
If electrodes become detached during the recording, they must be attached again.
Otherwise, completing the ECG recording will not be possible. Patients should con-
tact their medical practice for assistance with reattaching the electrodes.
Table of contents
Other Custo Med Medical Equipment manuals

Custo Med
Custo Med custo screen 300 User manual

Custo Med
Custo Med custo cardio 400 BT User manual

Custo Med
Custo Med Holter User manual

Custo Med
Custo Med Bicycle Ergometer ec3000e User manual

Custo Med
Custo Med ABPM User manual

Custo Med
Custo Med Holter ECG with custo flash 500 User manual

Custo Med
Custo Med custo cardio 100 User manual

Custo Med
Custo Med custo cardio 200 User manual

Custo Med
Custo Med custo cardio 400 BT User manual

Custo Med
Custo Med custo cardio 200 User manual