manuals.online logo
Brands
  1. Home
  2. •
  3. Brands
  4. •
  5. CYBEX
  6. •
  7. Fitness Equipment
  8. •
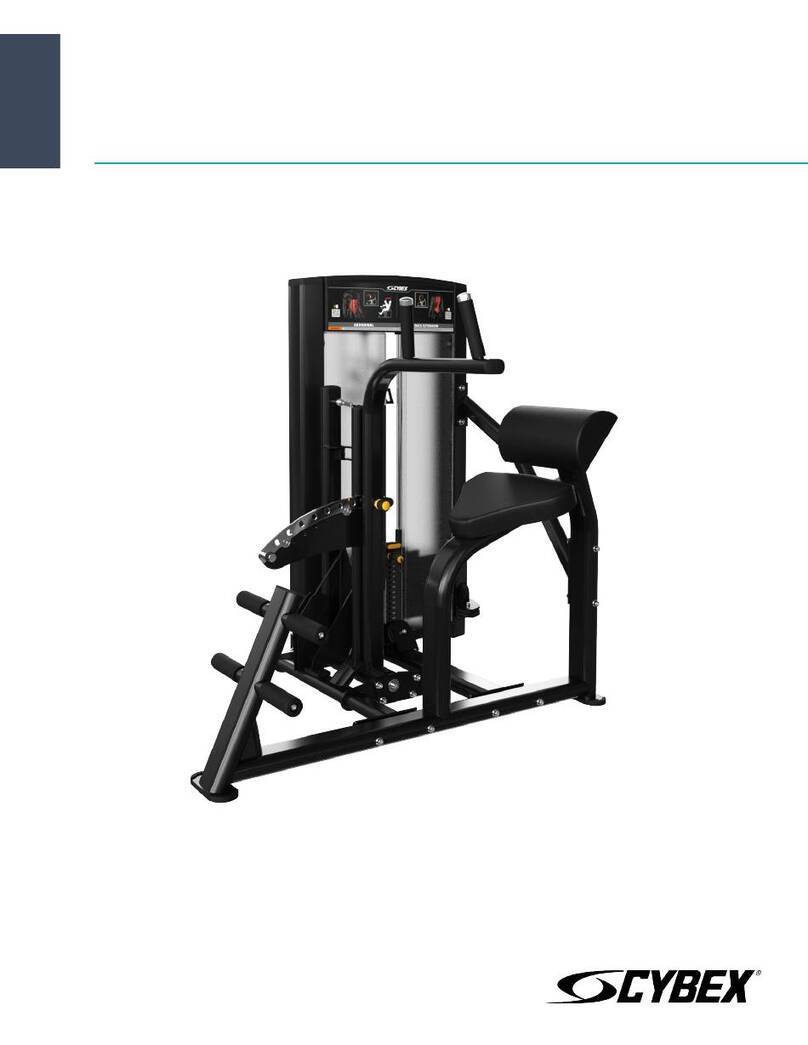
  9. CYBEX 13000K004 User manual

CYBEX 13000K004 User manual

This manual suits for next models

1

Other CYBEX Fitness Equipment manuals

CYBEX FT 360 Instruction Manual

CYBEX

CYBEX FT 360 Instruction Manual

CYBEX 12170 User manual

CYBEX

CYBEX 12170 User manual

CYBEX Ion Series User manual

CYBEX

CYBEX Ion Series User manual

CYBEX Big Iron 19021 Multi Rack User manual

CYBEX

CYBEX Big Iron 19021 Multi Rack User manual

CYBEX 8800 User manual

CYBEX

CYBEX 8800 User manual

CYBEX VR1 13075-999-4 AC User manual

CYBEX

CYBEX VR1 13075-999-4 AC User manual

CYBEX 12160-999-4 M User manual

CYBEX

CYBEX 12160-999-4 M User manual

CYBEX 13170 User manual

CYBEX

CYBEX 13170 User manual

CYBEX 800S User manual

CYBEX

CYBEX 800S User manual

CYBEX Bravo 18030-999-4 AC User manual

CYBEX

CYBEX Bravo 18030-999-4 AC User manual

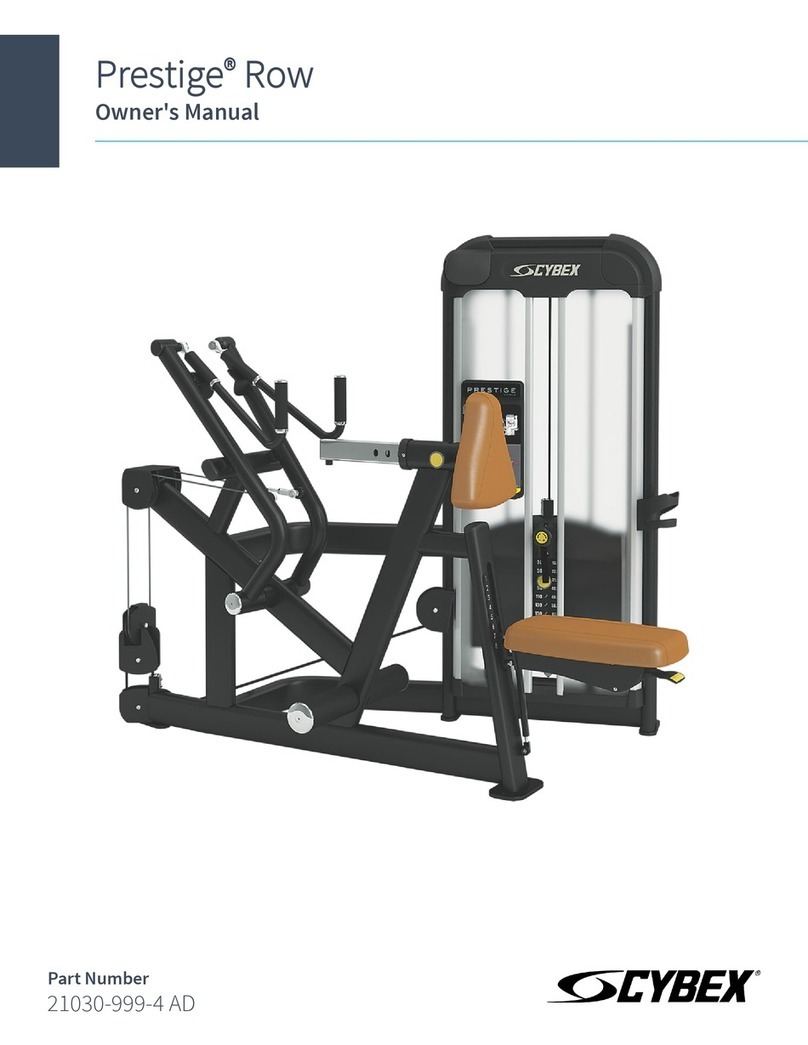
CYBEX Prestige Row User manual

CYBEX

CYBEX Prestige Row User manual

CYBEX VR3 User manual

CYBEX

CYBEX VR3 User manual

CYBEX 13260 User manual

CYBEX

CYBEX 13260 User manual

CYBEX Arc Trainer 600A Service manual

CYBEX

CYBEX Arc Trainer 600A Service manual

CYBEX 16120-999-4 Instruction Manual

CYBEX

CYBEX 16120-999-4 Instruction Manual

CYBEX 16040 Instruction Manual

CYBEX

CYBEX 16040 Instruction Manual

CYBEX 55620 G Instruction Manual

CYBEX

CYBEX 55620 G Instruction Manual

CYBEX 19060 User manual

CYBEX

CYBEX 19060 User manual

CYBEX 14051-999-4 H User manual

CYBEX

CYBEX 14051-999-4 H User manual
CYBEX MG 500 Instruction Manual

CYBEX

CYBEX MG 500 Instruction Manual

CYBEX 16250-999-4 AC User manual

CYBEX

CYBEX 16250-999-4 AC User manual

CYBEX VR1 13041-999-4 AC User manual

CYBEX

CYBEX VR1 13041-999-4 AC User manual

CYBEX VR User manual

CYBEX

CYBEX VR User manual

CYBEX 16212 User manual

CYBEX

CYBEX 16212 User manual

Popular Fitness Equipment manuals by other brands

Revitive Arthritis-Knee user manual

Revitive

Revitive Arthritis-Knee user manual

Domyos BM100 operating instructions

Domyos

Domyos BM100 operating instructions

Movement EDGE PUXADA ALTA Assembly manual

Movement

Movement EDGE PUXADA ALTA Assembly manual

Lifeline LLUWB-BLK owner's manual

Lifeline

Lifeline LLUWB-BLK owner's manual

Precor CW-816 Assembly guide

Precor

Precor CW-816 Assembly guide

Balanced Body Precision Rotator Discs manual

Balanced Body

Balanced Body Precision Rotator Discs manual

G-FITNESS AIR ROWER user manual

G-FITNESS

G-FITNESS AIR ROWER user manual

CAPITAL SPORTS Dominate Edition 10028796 manual

CAPITAL SPORTS

CAPITAL SPORTS Dominate Edition 10028796 manual

Martin System TT4FK user guide

Martin System

Martin System TT4FK user guide

CIRCLE FITNESS E7 owner's manual

CIRCLE FITNESS

CIRCLE FITNESS E7 owner's manual

G-FITNESS TZ-6017 user manual

G-FITNESS

G-FITNESS TZ-6017 user manual

Accelerated Care Plus OMNISTIM FX2 CYCLE/WALK user manual

Accelerated Care Plus

Accelerated Care Plus OMNISTIM FX2 CYCLE/WALK user manual

pedalo 20230165 manual

pedalo

pedalo 20230165 manual

Saebo SaeboStim Pro Instructions for use

Saebo

Saebo SaeboStim Pro Instructions for use

Performance HyperVibe User instructions

Performance

Performance HyperVibe User instructions

Scalamobil S27 Operator's manual

Scalamobil

Scalamobil S27 Operator's manual

Precor Experience Series Service manual

Precor

Precor Experience Series Service manual

FYTTER RedMIUM BENCH BE-T6R manual

FYTTER

FYTTER RedMIUM BENCH BE-T6R manual

manuals.online logo
manuals.online logoBrands
  • About & Mission
  • Contact us
  • Privacy Policy
  • Terms and Conditions

Copyright 2025 Manuals.Online. All Rights Reserved.

5 LB and 7.5 LB HALF WEIGHT
Kit No. 13000K004
Kit No. 13000K005
Installation Instructions
NOTE: This instruction sheet describes how to install
the 5 lb and 7.5 lb half weight options for the
VR1 series machines.
Tools Required
• 7/32” Allen wrench • Punch
• 9/16” Socket or wrench • Hammer
NOTE: Two people will be required to perform this
procedure.
1. Read and understand all instructions thoroughly
before installing this kit.
2. Verify kit contents. See Figure 1. NOTE:
Kit will contain either A or B.
A. 5 lb half weight assembly (1)
B. 7.5 lb half weight assembly (1)
C. Latch (1), 13000-208
D. BHSCS .375-16 x 1.75 (2), JC700424
E. Locknut .375-16 nylon, (2), HN704901
F. Roll pin 1.88 x 1.12 (1) HP286819
B. Carefully lift panel up and out of machine.
C. Slide spring loaded guide rod cap down
guide rod until cap is clear of frame. NOTE:
Guide rod cap is spring loaded. See Figure 3.
Figure 1
Figure 2
3. Remove panel.
A. Using a 7/32” Allen wrench, remove the
two Button Head Socket Cap Screws
(BHSCS) and top cap and set aside.
See Figure 2.
C
D
AB
Panel
BHSCS
Top Cap
Guide
Rod Cap
Guide
Rod Cap
Compression
Spring
Compression
Spring
Guide
Rods
Figure 3
D. Slowly release grasp of guide rod cap. See
Figure 3. NOTE: Guide rod cap contains
a compression spring that will fly if grasp is
not released slowly.
F. Remove guide rod caps and set aside.
4. Install latch.
A. Locate latch (C), two BHSCS (D) and two
locknuts (E) from kit.
B. Using a 7/32” Allen wrench and 9/16” wrench
or socket, install latch (C) as shown in
Figure 4.
E
Figure 4
C
D
E
F
10 Trotter Drive Medway, MA 02053 • 508-533-4300 • FAX 508-533-5183 • www.cybexinternational.com • [email protected]
[email protected] • Copyright © 2007, Cybex International, Inc. All rights reserved • 13000-375 • June 2007
4. Remove cable.
A. Using a punch carefully remove roll pin
from top weight connector. See Figure 5.
Roll Pin Top Weight
Connector
Figure 5
B. Carefully disconnect cable end from top weight
connector. See Figure 5.
5. Installing half weight.
A. Wipe guide rods clean over entire length. Lubricate
with light coating of medium weight automotive
engine oil.
B. Have an assistant hold guide rods vertically.
C. Carefully align half weight (A or B) over guide rods.
NOTE: Feed cable (disconnected in step 4B)
through opening in half weight. See Figure 6.
A or B
Top Weight Plate
Guide Rods
Figure 7
G. Pull cable tight and secure in place with roll
pin (F) included in kit. See Figure 8.
Figure 6
Cable
A or B
Top Weight
Connecter
Cable End
F
Figure 8
H. Without selecting resistance, lift top weight and
half weight up and down (simulating normal
operation).
I. Have an assistant verify the cable is moving
smoothly and is routed straight from the pully
bracket to the top of the weight plate connector.
6. Install front panel.
A. Carefully place panel in place.
B. Attach top cap removed in step 3A.
C. Secure top cap in place with the two BHSCS
removed in step 3A.
7. Check for proper operation.
Cable End
Guide Rods
D. Slowly lower half weight (A or B) down guide
rods and rest on weight plate. See Figure 7.
E. Place spring and guide rod caps on guide rods
(removed in step 3F).
F. Compress guide rod caps and align guide rod
caps with weight frame holes and secure in place.
NOTE: Guide rod caps must snap or lock into
weight frame holes.