D-Link Nuclias Connect Hub Plus DNH-200 User manual

NUCLIAS CONNECT HUB PLUS
DNH-200 User Manual
2021 | Business Class Networking
V 1.00

Nuclias Connect Hub Plus User Manual Introduction
2
Table of Contents
Introduction............................................................................................................................... 5
Hardware Installation ................................................................................................................ 6
System Requirements........................................................................................................ 6
Hardware Overview................................................................................................... 7
LED Indicators ............................................................................................................ 7
Interface Connectors ................................................................................................. 8
Configuration..................................................................................................................... 9
Ethernet Connection ................................................................................................. 9
Console Connection................................................................................................. 11
Installation....................................................................................................................... 12
Mounting to a Solid Wall or Ceiling ......................................................................... 12
Basic Configuration.................................................................................................................. 13
Launch Nuclias Connect................................................................................................... 13
Home ....................................................................................................................................... 16
System Settings........................................................................................................................ 17
Dashboard ....................................................................................................................... 17
Settings ............................................................................................................................ 19
General .................................................................................................................... 19
Date and Time ......................................................................................................... 20
Network Settings ..................................................................................................... 21
Mail Server Settings................................................................................................. 23
Firmware Update..................................................................................................... 24
System Operation .................................................................................................... 25
Single Sign-On.......................................................................................................... 27
Log Backup............................................................................................................... 30
Backup & Restore .................................................................................................... 31
Syslog Settings ......................................................................................................... 32
Event Settings .......................................................................................................... 33
User Management........................................................................................................... 35
Log ................................................................................................................................... 38
System Log............................................................................................................... 38
Audit Log.................................................................................................................. 39
Alerts ....................................................................................................................... 40
AP Network.............................................................................................................................. 41
Wizard.............................................................................................................................. 41
Dashboard ....................................................................................................................... 44

Nuclias Connect Hub Plus User Manual Introduction
3
Monitor............................................................................................................................ 45
Access Point............................................................................................................. 45
Wireless Client......................................................................................................... 47
Neighbor AP............................................................................................................. 48
Floor Plan......................................................................................................................... 50
Configuration................................................................................................................... 51
Create Profile ........................................................................................................... 51
Profile Settings......................................................................................................... 54
Firmware Upgrade................................................................................................... 74
SSL Certificate .......................................................................................................... 75
Payment Gateway.................................................................................................... 75
Report .............................................................................................................................. 76
Peak Network Activity ............................................................................................. 76
Hourly Network Activity .......................................................................................... 76
Daily Network Activity ............................................................................................. 77
Most Active AP ........................................................................................................ 78
Log ................................................................................................................................... 80
Device Syslog ........................................................................................................... 80
System Event Log ..................................................................................................... 81
Device Log................................................................................................................ 81
Audit Log.................................................................................................................. 82
Alerts ....................................................................................................................... 83
System ............................................................................................................................. 84
Device Management................................................................................................ 84
Settings .................................................................................................................... 85
Resources................................................................................................................. 86
About ....................................................................................................................... 87
Camera Surveillance ................................................................................................................ 88
Camera............................................................................................................................. 88
Live View.......................................................................................................................... 96
Playback........................................................................................................................... 98
Timeline ................................................................................................................... 98
Event Recording ..................................................................................................... 100
E-Map ............................................................................................................................ 102
LOG ................................................................................................................................ 104
Camera Surveillance Log........................................................................................ 104
Camera Log............................................................................................................ 105
Audit Log................................................................................................................ 105

Nuclias Connect Hub Plus User Manual Introduction
4
Alerts ..................................................................................................................... 106
Event Log ............................................................................................................... 107
System ........................................................................................................................... 108
Recording Schedule ............................................................................................... 108
Event Settings ........................................................................................................ 110
Display Settings...................................................................................................... 113
Recording Backup .................................................................................................. 114
Nuclias Connect App.............................................................................................................. 116
Export Network Profiles................................................................................................. 116
Discover and Configure APs Using the Nuclias Connect App ........................................ 118
Quick Setup............................................................................................................ 118
Nuclias Connect ..................................................................................................... 123
Standalone Access Point........................................................................................ 125
Nuclias Protect App ............................................................................................................... 129
Discover and Configure Cameras Using the Nuclias Protect App.................................. 129
Access Camera List......................................................................................................... 133
Camera Management............................................................................................ 133
Hub Dashboard...................................................................................................... 135
Hub Settings........................................................................................................... 137
Troubleshooting..................................................................................................................... 141
The Live View is not working if it is accessed from the Safari browser on macOS using
IPv6. ............................................................................................................................... 141
What is the storage requirement for DNH-200? ........................................................... 141

Nuclias Connect Hub Plus User Manual Introduction
5
Introduction
The DNH-200 Nuclias Connect Hub Plus is a hardware controller with pre-loaded Nuclias
Connect software. Nuclias Connect is D-Link’s centralized management solution for Small-to-
Medium-Sized Business (SMB) networks. Managing a group of access points and network
cameras is made easy and economical through Nuclias Connect. Nuclias Connect gives you
the scalability and technical flexibility to expand from a small network to a larger one, while
retaining a robust and future-proof management system. And with its intuitive Graphical
User Interface (GUI) supporting 11 languages and compliant apps for mobile accessibility,
Nuclias Connect minimizes the hassle of deployment, configuration, and administration
tasks. The DNH-200 is a successor to the DNH-100 Nuclias Connect Hub, equipping with a
hardware controller with pre-loaded Nuclias Connect software plus camera surveillance
capability. In addition to the centralized management of wireless networks, the new camera
surveillance facilitates surveillance applications with greater efficiency and manageability.
Coupled with the Nuclias Protect app, the live feeds of the cameras can be accessed anytime,
anywhere. It is designed to support on-premises security by providing useful surveillance
functions such as video monitoring, recording and playback, and event notifications. The
Nuclias Connect Hub Plus can currently manage up to 50 APs and 20 cameras of supported
models per unit with the potential to extend to other Nuclias Connect products in future
firmware updates.

Nuclias Connect Hub Plus User Manual Hardware Installation
6
Hardware Installation
Before configuring the DNH-200 for more advanced operation requirements, you need to
install the device. Use the instructions in the following sections to guide you through the
installation process and initial setup of the system for Ethernet or console communication.
Make sure your DNH-200 package includes the following items:
DNH-200 Nuclias Connect Hub Plus
Power adapter
Rack Mount Kit
Ethernet cable
Documentation
If any of the above items are damaged or missing, please contact your local D-Link reseller.
System Requirements
Computers with Windows®, Macintosh®, or Linux-based operating systems
Browser support for H.264 video stream: Microsoft® Edge, Google® Chrome, Mozilla®
Firefox, Mac® Safari
Browser support for H.265 video stream: Microsoft® Edge, Mac® Safari
Notes:
1. DNH-200 can manage IP cameras compatible with H.265 and H.264 but does not
provide any coding or decoding services for video streaming, live view, or playback.
Video coding and decoding need to be processed via the operating system or the web
browse r.
2. Browser compatibility requirements are subject to change. Before making any
purchase, obtain the latest information from your D-link reseller or product website.
3. Google® Chrome and Mozilla® Firefox browsers don’t support High Efficiency Video
Coding (HEVC) for H.265 decode. Microsoft® Edge requires the installation of HEVC
video extensions to view H.265 videos (fees may apply).

Nuclias Connect Hub Plus User Manual Hardware Installation
7
Hardware Overview
LED Indicators
# LED Status Color and Behavior
1Power LED Power On Green: solid
System Startup Green: blinking while the system
boots up (Normal Speed)*
System Ready Red: solid when the startup fails
Firmware Update Green: solid
Recovery Mode Red and Green: blinking alternately
(Normal Speed)*
Uplink and IP provision Red: blinking (Normal Speed)*
Power Off Orange: blinking (Normal Speed)*
2 HD LED HDD is Present Green: solid
HDD Read/Write Green: blinking (Normal Speed)*
HDD Power Off Light off
HDD Failure Red: solid
3 SSO LED Connect to Nuclias Server 1. Light Off: DNH-200 does not
connect to the Nuclias server in
the cloud with a Single Sign-on
(SSO) account.
2. Blue: solid, DNH-200 connects
to the Nuclias server in the
cloud with a Single Sign-On
①②③
⑴⑵⑶⑷

Nuclias Connect Hub Plus User Manual Hardware Installation
8
(SSO) account.
* Normal speed = 1 second On, 1 second Off
Interface Connectors
# Connector Description
1 Console Port RJ-45 port to connect the RJ-45 connector of a serial-to-RJ-45
console cable for CLI management.
2 Ethernet Port Gigabit RJ-45 port for LAN connection.
3 USB Port USB 2.0 supports flash drive for video export and configuration
backup.
4 Reset Device Reboot
Press the Reset button once to reboot the DNH-200.
Reset to Factory Default
Hold the Reset button for 5 seconds; all LEDs will turn on
at the same time. After 1 second, all the LEDs will turn off and
the DNH-200 will reboot and reset back to factory defaults.
Recovery
Press and hold the Reset button and then turn on the power. It
will enter the Recovery Mode for the firmware recovery
process.

Nuclias Connect Hub Plus User Manual Hardware Installation
9
Configuration
Note: D-Link recommends manual configuration of the DNH-200 before mounting it onto the
rack. The management computer, DHCP server, and DNH-200 must be in the same network.
Ethernet Connection
You need the following equipment to access the web interface of the DNH-200:
•A PC with a RJ-45 Ethernet connection
•An Ethernet cable
•A power adapter
1. Pull out the hard disk tray of the DNH-200 device.
2. Insert a 2.5-inch hard disk into the tray and secure the HDD with the supplied screws.
3. Reinsert tray back into the device.

Nuclias Connect Hub Plus User Manual Hardware Installation
10
4. Connect the adapter to the power input on the DNH-200, then plug the adapter into a
nearby power outlet.
5. Use an Ethernet cable to connect the DNH-200 with a switch or router that the
management computer is connected to.
6. Configure the DNH-200 from a computer. Enter https://DNH-200-XXXX.local* in the
address field of your browser (*where XXXX are the last four digits of your device’s MAC
address). You can find the MAC address printed on the label on the bottom of the DNH-
200).
7. Log into the device’s web interface. The default username is “admin” and password is
“admin”.
8. Configure the DNH-200 via its web interface after login.

Nuclias Connect Hub Plus User Manual Hardware Installation
11
Console Connection
Use a console cable to connect to the DNH-200’s console port. The console cable should be a
RS-232 serial-to-RJ-45 cable designed to use with the device. A terminal emulation program
is required for serial communication.
1. Connect the RS-232 interface to the serial port of the management PC.
2. Connect the RJ-45 interface to the console port of the device.
3. Open a terminal emulation program on the management PC and configure the
properties for connection as follows:
•The speed (baud): 115200 bps
•The data bits: 8
•The parity: None
•The stop bits: 1
•The flow control should be None.
Start the communication and the Limited Command Line Interface (CLI) should be available.

Nuclias Connect Hub Plus User Manual Hardware Installation
12
Installation
Mounting to a Solid Wall or Ceiling
The DNH-200 can be mounted on a solid wall or in an EIA standard 19-inch rack, which can
be placed in a wiring closet with other equipment.
You can either hang the unit on the wall by using the wall mount keyholes on the rear of the
unit or by using the supplied mounting bracket.
The following procedure explains how to use the keyholes.
1. Use the wall mount template to mark the screw positions on the wall.
2. Drill the 2 supplied wall anchors into the wall at the marked positions and screw the 2
supplied screws into them. Make sure they stand out ~6.7mm.
3. Hang the device on the wall by aligning the key holes with the mounted screws.
6.7 mm ±2.0

Nuclias Connect Hub Plus User Manual Basic Configuration
13
Basic Configuration
Launch Nuclias Connect
The DNH-200 comes preloaded with Nuclias Connect. Open a web browser from the
management computer and enter the IPaddress or Domain Name of the DNH-200. The
default domain name is https://DNH-200-XXXX.local. At the login page, enter admin for both
username and password.
Enter the CAPTCHA code as shown on the screen, then click Login to proceed.
Notes:
1. In the default domain name https://DNH-200-XXXX.local, XXXX is the last four digits of
your DNH-200’s MAC address. The MAC address and web management URL are printed
on the label on the bottom of the DNH-200.
2. The IP address can be obtained from the client list of the uplink router connected to your
DNH-200.
3. For initial configuration, the management computer and DNH-200 must be in the same
subnet.

Nuclias Connect Hub Plus User Manual Basic Configuration
14
Notes:
•The Forgot Password? function provides an option to reset your password in the
event that you’ve forgotten your current password. To use this function, the SMTP
server and email address must be configured first. Refer to System Settings > Mail
Server Settings.
•The Interface supports multilanguage options. By clicking the language menu, a
different language can be selected.
After the web browser opens and connects successfully to the server, a change-password
dialog appears. You are required to change your password. It must be 8-30 characters and
contains both and uppercase and lowercase letters and numbers. Also avoid using common
words or names.
In the New Password field enter a new password. Enter the same password in the Confirm
Password field to verify the entry. Then click Next to proceed.
You can modify the device name with a more descriptive name for easy identification of the
device. Also select the time zone for the device.

Nuclias Connect Hub Plus User Manual Basic Configuration
15
If you have a Nuclias account for Single Sign-On, enter it now. If you do not already have a
Nuclias account, you can click Create Account and a browser window will open to a link
where you can create one. The Single Sign-On allows you to use a Nuclias account to access
Nuclias Cloud and the Nuclias Connect portal.
After entering your Nuclias account information, click OK to confirm it.

Nuclias Connect Hub Plus User Manual Home
16
Home
After successfully logging in to the server, the Home page displays the 3 modules of the
Nuclias Connect Hub Plus (may be referred to as the Hub hereafter):
AP Network: Manage your current sites and networks through Nuclias Connect.
System Settings: Manage system-wide configurations and operations.
Camera Surveillance: Monitor and manage network cameras centrally and maintain
recordings on the Hub.

Nuclias Connect Hub Plus User Manual System Settings
17
System Settings
Dashboard
The Dashboard page presents a summary of information about relevant system resource
utilization.
CPU Loading The CPU’s workload in percentage.
CPU Temperature The current CPU temperature under load.
Memory The RAM usage: used/total.
HDD Storage The HDD storage usage: used/total.
RX/TX The data transmission statistics of the Ethernet port.
Managed AP(s) The number of managed APs through the AP Network module of
the Hub: Online/Total Managed.
Managed Camera(s) The number of managed network camera(s) through the Camera
Surveillance module of the Hub: Online/Total Managed.
You can also obtain basic device information of the Hub.
Device Name The descriptive name of the Hub.
Model Number The model number of the Hub.
IPv4 The IP address of the Hub in IPv4 addressing scheme.
IPv6 The IP address of the Hub in IPv6 addressing scheme.
MAC Address The MAC address of the Hub.
Uptime Total number of hours and minutes that the device has been

Nuclias Connect Hub Plus User Manual System Settings
18
running.
HDD Model The model name of the hard disk installed in the Hub.
Network Connection
Status
Shows whether the Hub is connected to or disconnected from
the network.
Connection Status with
Nuclias Connect Server
Shows whether the Hub is connected to the Nuclias server in
the cloud.
System Settings (FW)
Version
The firmware version of the System Settings module.
Camera Surveillance
Version
The firmware version of the Camera Surveillance module.
AP Network Version The firmware version of the AP Network module.
DDPv5 Client Version The DDPv5 (D-Link Discovery Protocol) client version.

Nuclias Connect Hub Plus User Manual System Settings
19
Settings
The Settings page provides configurable settings of the system. It contains these menus:
General, Date and Time, Network Settings, Mail Server Settings, Firmware Update, System
Operation, Single Sign On, Log Backup, Backup & Restore, Syslog Settings, and Event
Settings.
Note: Only the System Admin has the editing privilege in Settings.
General
The General page allows you to add the logo of the DNH-200 and configure the connection
settings for serial communication. Navigate to Settings > General to configure settings for
these functions.
In the Customized Settings, configure the device name and logo:
Device Name Click the text field to modify the name of the Hub.
Logo Drag and Drop Logo File in the box or browse to
locate the logo file. Note that the logo file must be
within 512 KB in size and in PNG or JPG image
format. The logo will be displayed on the top left-
hand side next to the device name.
Display Authentication Code Enable or disable the display of authentication code

Nuclias Connect Hub Plus User Manual System Settings
20
(the CAPTCHA code) in the login screen.
Click Save to save the values and update the screen.
In the Console Settings section, parameters for data communication through the console
port of the DNH-200 can be configured:
Console Check to enable management through the console port.
Console Protocol Choose whether to use Telnet or SSH as the terminal emulator.
Timeout Click the drop-down menu to select timeout in minutes: 5 minutes or
Never.
Click Save to save the values and update the screen.
Date and Time
Setting the time is essential for proper maintenance and troubleshooting of a network device
by checking system logs and alerts. Navigate to Settings > Date and Time to configure these
settings.
You can configure the time zone, adjust for daylight saving time, and configure the Network
Time Protocol (NTP) server to synchronize the date and time with a time server.
Configure the date and time and NTP server settings with the following parameters:
Time Zone & City Name Select the time zone.
Enable Daylight Saving Enable the daylight saving function.
DST Offset Select Daylight Saving Time (DST) Offset time.
DST Start (24HR) Designate the start date and time for DST.
Other manuals for Nuclias Connect Hub Plus DNH-200
1
Table of contents
Other D-Link Controllers manuals

D-Link
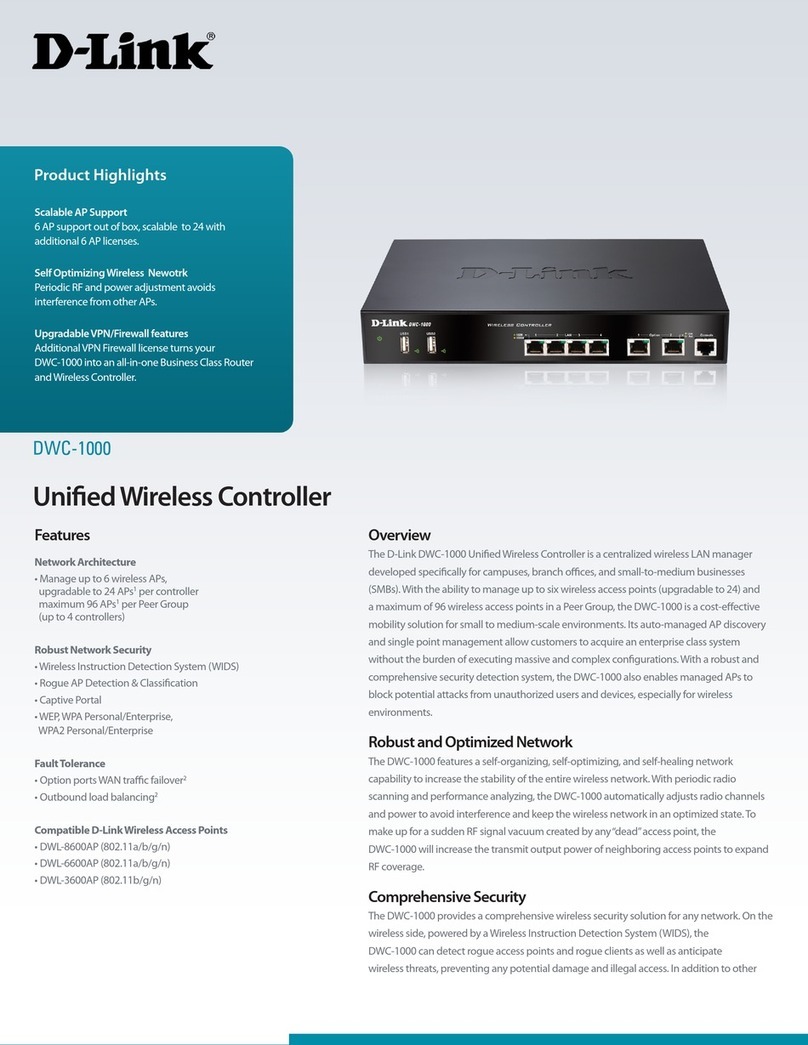
D-Link DWC-1000 User manual

D-Link
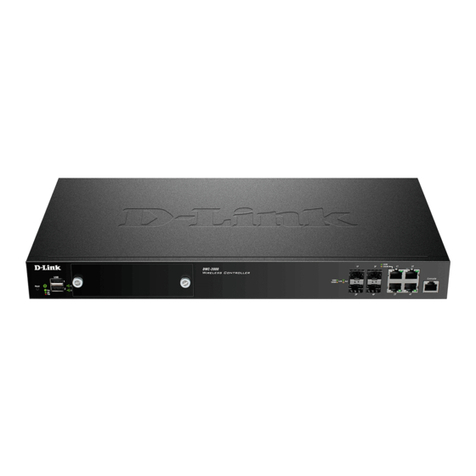
D-Link DWC-2000 User manual

D-Link
D-Link DSN-640 User manual

D-Link
D-Link DWC-1000 User manual

D-Link
D-Link DSA-6100 User manual

D-Link
D-Link DWC-1000 User manual

D-Link
D-Link DWC-1000 User manual

D-Link
D-Link DWC-1000 User manual

D-Link
D-Link DWC-1000 User manual

D-Link
D-Link DWC-1000 User manual