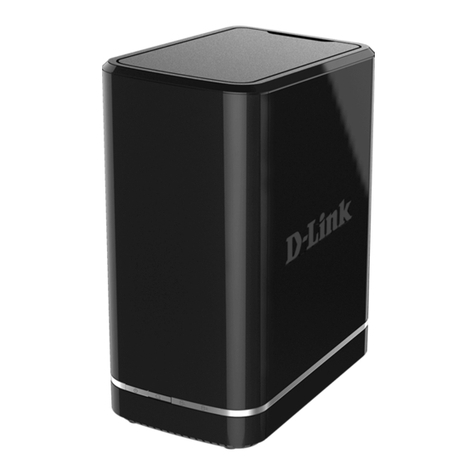
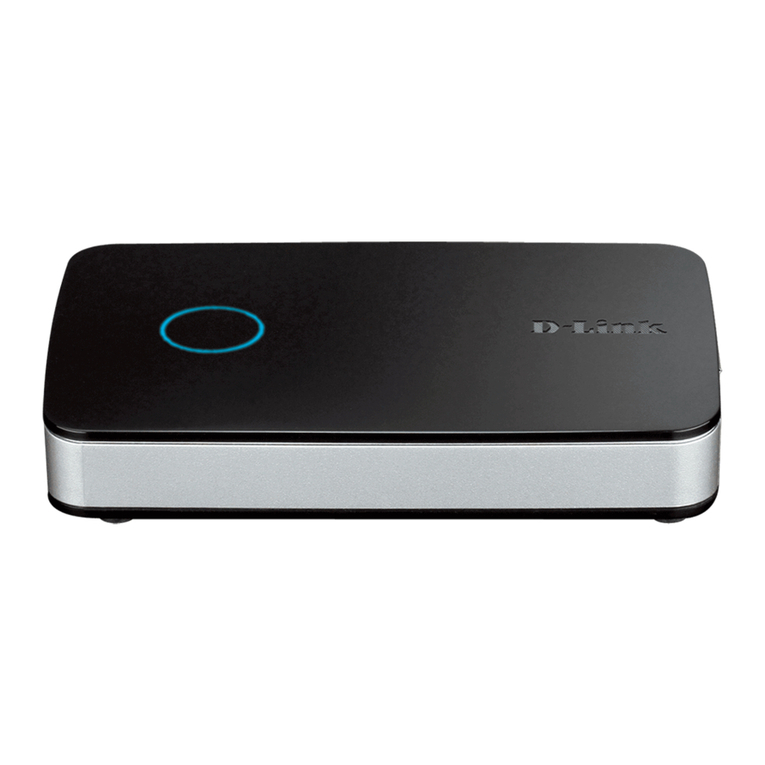
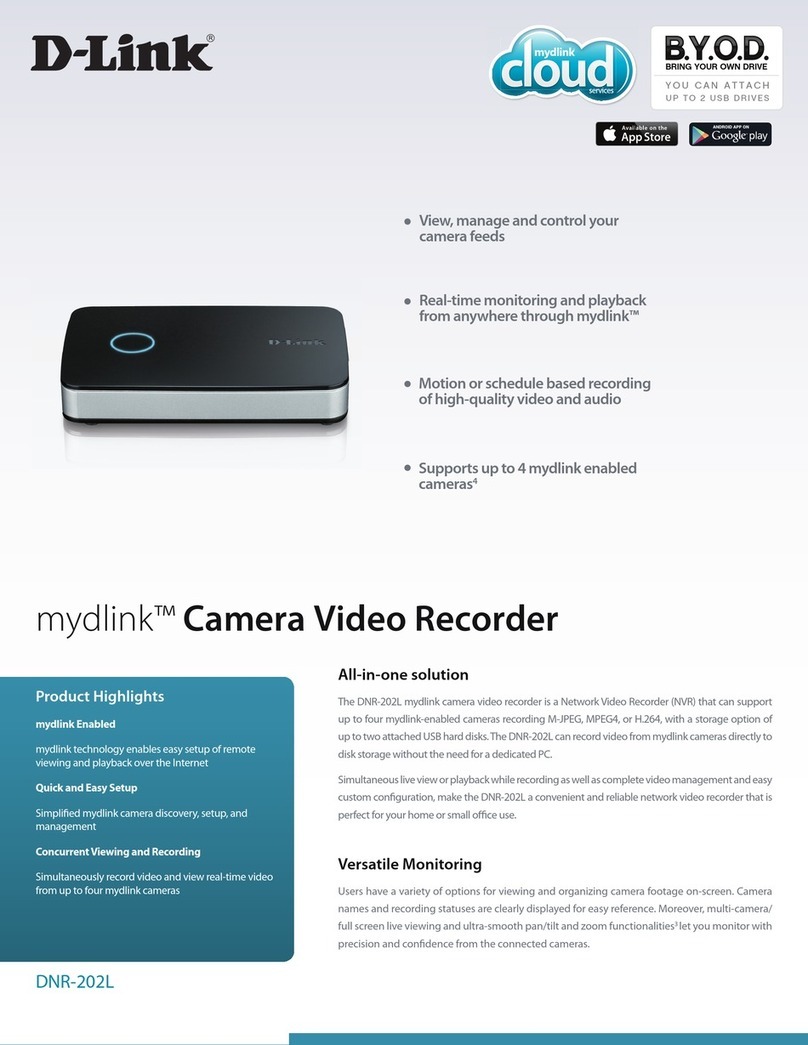
D-Link mydlink DNR-202L User manual

DNR-202L
Quick Install Guide
3D/HD
TV
SMART
TV
note:
for packaging,
use “with” mydlink logo
microSD
Get maximum coverage inside and
outside your home / Obtenez une
couverture maximale à l'intérieur et à
l'extérieur de votre maison
Get Full Coverage in and out of your
home with SmartBeam™ high gain
antennas / Obtenir la Couverture pleine
dans et dehors de votre maison avec
antennes SmartBeam™ à gaine élevé
with/avec
Next Generation /
Dernière génération
NEXTGEN
mydlinkTM Camera Video Recorder
Quick Install Guide


DNR-202L Install Guide 1
• Computer with Microsoft Windows® 8, 7; Mac OS 10.7 or above
• PC with Pentium 4 – 2.4 GHz or above; at least 512 MB RAM
•Internet Explorer 8, Safari 7 (Mac OS) or above
• Existing 10/100 Ethernet-based network
Thank you for purchasing the mydlink Camera Video Recorder. Follow the
easy steps in this guide to properly set up your recorder. Please verify that
all the package contents listed above are included.
Write your settings here so you can refer to them later:
Device IP address:
Device password:
mydlink username:
mydlink password:
Minimum Requirements
Notes
Package Contents
DNR-202L mydlink Camera Video Recorder
Power Adapter
Ethernet Cable
Quick Install Guide

2DNR-202L Install Guide
*Note: Ensure that your cameras have been set up on the network before starting the
DNR-202L setup wizard.
Important Note: When connecting a USB drive to the DNR-202L, it will need to be formatted by the
device in order to function. All data on the drive(s) will be permanently erased.
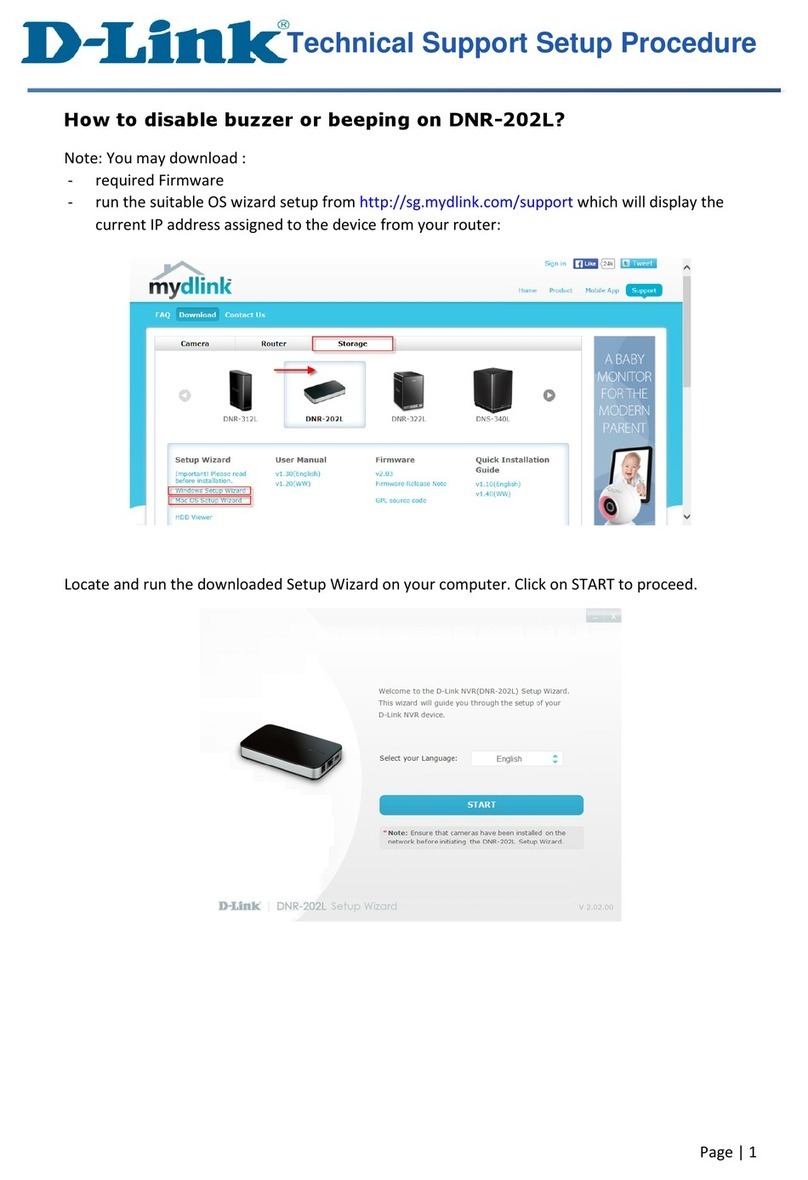
1Open your web browser and go to http://support.dlink.com/DNR-202L and
click the Downloads tab. Download the Setup Wizard for your operating
system and save it to your computer. Once downloaded, run the setup le.
Setup Wizard
2
3
Click Start.
Connect your USB hard drive to the DNR-202L and click Next to continue.

DNR-202L Install Guide 3
4
5
Connect the power adapter to the DNR-202L and then to a power outlet.
Click Next to continue.
Connect an Ethernet cable from your router’s LAN port to the DNR-202L.
Click Next to continue.

4DNR-202L Install Guide
6
7
Make sure the LED on the NVR is lit blue then click Next to continue.
The wizard will attempt to nd your NVR in your network. You can click
Rescan to search for the DNR-202L at any time. Click Next to continue.
Write down the IP address of the DNR-202L for future reference.

DNR-202L Install Guide 5
8
9
Once your NVR has been found, you can set a password for it in the text boxes.
Click Next to continue.
You must format the attached hard drive(s) for the NVR. Make sure you do
not have any important data on this drive before clicking Next.
Click OK to proceed with formatting.
*Note: Formatting will permanently erase all existing data on the drive(s).
Write the password down on the rst page for future reference.

6DNR-202L Install Guide
10
11
The wizard will scan for all available cameras attached to your network.
Registered mydlink cameras will be veried automatically. Click Rescan if
you are adding more cameras.
You can preview the discovered cameras by clicking on the blue camera
icon, or click Next to continue.
A pop-up will ask you to enter the password for your camera.
Click OK.
The checkbox next to your camera will now have a green check mark to
indicate it has been added successfully.
Click Next to continue.
If you want to add any additional cameras in the future, refer to the “Adding a
Camera to the NVR”section.

DNR-202L Install Guide 7
12
13
The wizard will guide you through the process of connecting your NVR to
a mydlink account. If you already have a mydlink account, enter the correct
conguration information and click Next to continue, otherwise select I
want to sign up for a new account or I don’t want to use mydlink service
and follow the instructions.
Click Next to continue.
Setup is complete. Make a note of the details presented and click on Go To
NVR to log in to the NVR for further conguration or click Finish.
Congratulations, your DNR-202L is now ready to use! Be sure to check the
support.dlink.com website periodically for the latest rmware updates to
keep your product secure and up to date with the latest features.

8DNR-202L Install Guide
Accessing the NVR
*Note: In order to connect to the DNR-202L using this method, you MUST be connected to the
same network as the device.
*Note: You will be prompted to enter your username and password. The default username is admin
and the password will have been congured by you during step 8 of the initial setup.
1
2
Open your web browser (e.g., Internet Explorer, Firefox, Safari) and enter the IP
address of your DNR-202L into the address bar. The IP address can be found during
the setup wizard (step 7 on page 6).
You are now logged into your DNR-202L.
Alternatively, you can use the mydlink portal to remotely connect to the DNR-202L
over the Internet if you added the DNR-202L to your mydlink account during the
initial setup.
Select your DNR-202L and click the Connect button.
Go to www.mydlink.com and log into your account.

DNR-202L Install Guide 9
3
4
Enter the username and password for your DNR-202L. (The User Name is
admin)
Click OK to access the NVR interface.
*Note: The password will have been congured by you during step 7 of the initial setup.
*Note: If you see a warning screen like the one shown below, choose to proceed.

10 DNR-202L Install Guide
Adding a Camera to the NVR:
1
2On the NVR Live interface, click on Camera Search .
Log into your DNR-202L (refer to the section“Accessing the NVR” for details).
You can use the setup wizard to add cameras to your NVR. Refer to Step 9 of the First
Time Setup section. Alternatively, you can follow the steps below.
3Click the Search button to scan your local network and look for any mydlink
cameras. Click on a detected camera in the top left window to highlight it.

DNR-202L Install Guide 11
5Your camera(s) and live streams will now be visible on the Live Video page.
*Note: If the camera does not appear, return to the Camera Search page to search again.
If it still does not appear, you might have entered an incorrect username or password for
the camera.
Click Add to add it to the Camera List. On the bottom right, enter the
administrator User Name and Password for your camera and click Save.
Click OK in the pop-up.
4

12 DNR-202L Install Guide
There are three ways to play back recorded video. If you added the DNR-202L to your
mydlink account during the initial setup, you can remotely play back video via the
mydlink portal and the mydlink-view NVR app.
To play back recorded video from the web interface, log into the DNR-202L using its
IP address (refer to the section“Accessing the NVR”for details).
Once logged in, click the Playback button at the top.
Web Interface
• Web interface - local access
• mydlink Portal - remote access
• mydlink View–NVR App - remote access
Video Playback
Click on a highlighted date in the Calendar panel on the right to open the View
Recorded Files timeline.

DNR-202L Install Guide 13
The View Recorded Files timeline shows the recorded video available for playback. A
red line indicates the recording was made using the always record option, while the
blue line indicates recorded events such as motion detection. To select a timeline for
playback, select the date, month and year. Dates highlighted in red indicate video
footage is available. Then click and drag the mouse cursor over the red or blue line
for the camera you wish to view. If necessary, use the + and – slider to increase or
decrease the timeline resolution. Once the time period is selected, click OK.
The View Recorded Files window will close and the video will play back on the main
playback page.

14 DNR-202L Install Guide
To remotely access video playback via mydlink, log into mydlink, select the
DNR-202L and click Connect.
Click the Playback tab and then the Open Recording button on the bottom.
mydlink Portal

DNR-202L Install Guide 15
A timeline shows the recorded video available for playback. A red line indicates the
recording was made using the Continuous Recording option, while the blue line
indicates recorded events such as motion detection. To select a timeline for playback,
select the date, month and year. Dates highlighted in red indicate video footage
is available. Then click and drag the mouse cursor over the red or blue line for the
camera you wish to view. If necessary, use the + and – slider to increase or decrease
the timeline resolution. Once the time period is selected, click OK.
The View Recorded Files window will close and the video will play back on the main
playback page.

16 DNR-202L Install Guide
The DNR-202L also has the ability to show recorded playback on your iOS or Android
device. You will need to install the mydlink View-NVR App for your device.
Once the app is open, log in to your mydlink account and select your DNR-202L.
Once selected, you will see the live video stream for your cameras. To play back
recorded video, double tap the camera you wish to play back. The screen will change
from the 4-camera view to full screen mode.
mydlink View–NVR App

DNR-202L Install Guide 17
Once you are viewing only a single camera, tap on the image to bring up the playback
icon at the bottom.
Android version: iOS version:
The playback timeline window will appear. Select the date, hour, minutes, and
playback time interval. The time interval is the amount of playback you wish to view
at one time. Click Play and the recorded video will begin to play.
To return to live mode, double tap on the video.

18 DNR-202L Install Guide
Technical Support
Please visit our technical support website to view
a list of frequently asked questions and answers.
Version 1.30(NA) _90 x 130
Septermber19, 2017
RMN0100976C
©2017 D-Link. All rights reserved. D-Link and the D-Link logo are trademarks or registered trademarks of
D-Link Corporation or its subsidiaries. All other third-party marks mentioned herein may be trademarks
of their respective owners. This publication may not be reproduced, in whole or in part, without prior
express written permission from D-Link Systems, Inc.
http://support.dlink.com/DNR-202L
USA
http://support.dlink.ca/DNR-202L
Canada
Other manuals for mydlink DNR-202L
9
Table of contents
Languages:
Other D-Link DVR manuals

D-Link
D-Link DNR-326 User manual

D-Link
D-Link mydlink DNR-202L Manual

D-Link
D-Link MYDLINK DNR-322L User manual
D-Link
D-Link JustConnect DNR-4020-16P User manual

D-Link
D-Link MYDLINK DNR-322L User manual

D-Link
D-Link mydlink DNR-202L/A2A User manual

D-Link
D-Link mydlink DNR-202L User manual
D-Link
D-Link mydlink DNR-202L User manual
D-Link
D-Link mydlink DNR-202L User manual

D-Link
D-Link DNS-722-4 User manual