manuals.online logo
Brands
  1. Home
  2. •
  3. Brands
  4. •
  5. D-Link
  6. •
  7. Storage
  8. •
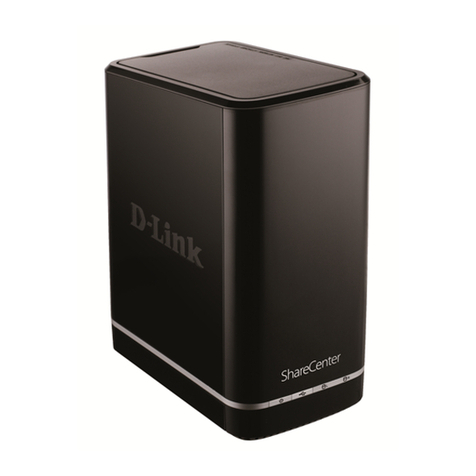
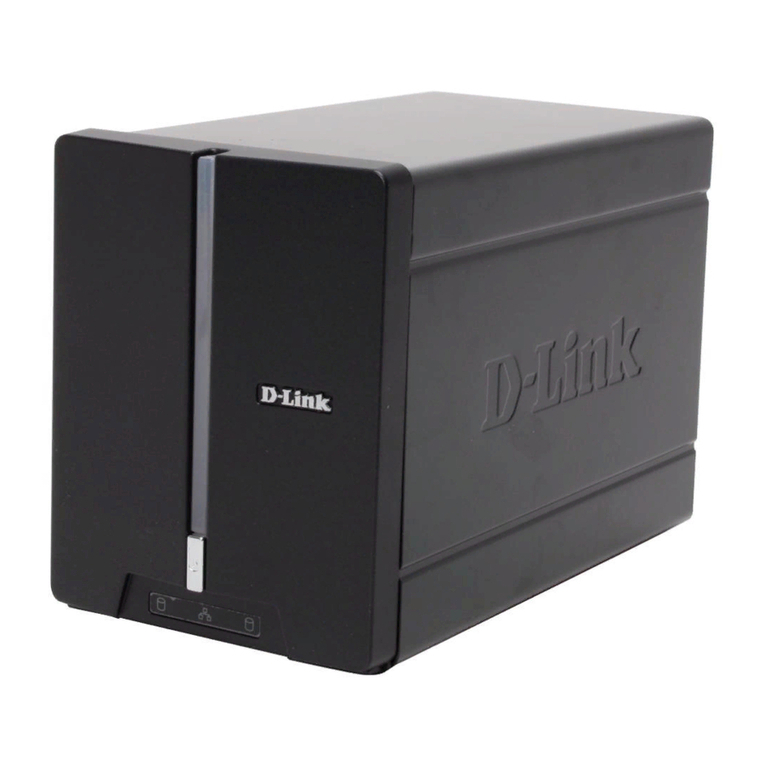
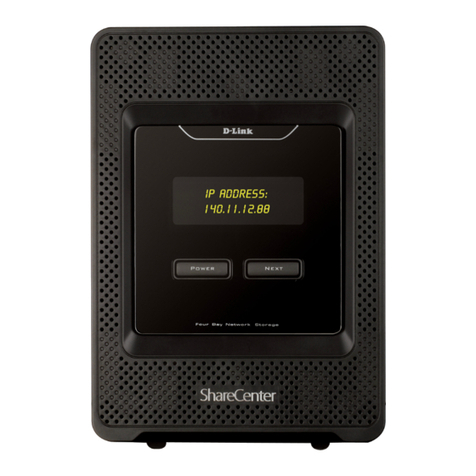
  9. D-Link ShareCenter DNS-320L User manual

D-Link ShareCenter DNS-320L User manual

Other manuals for ShareCenter DNS-320L

12

Other D-Link Storage manuals

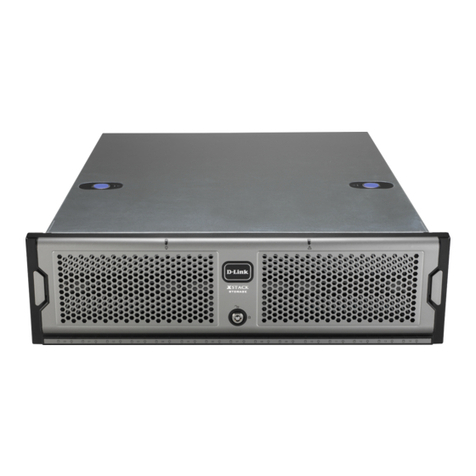
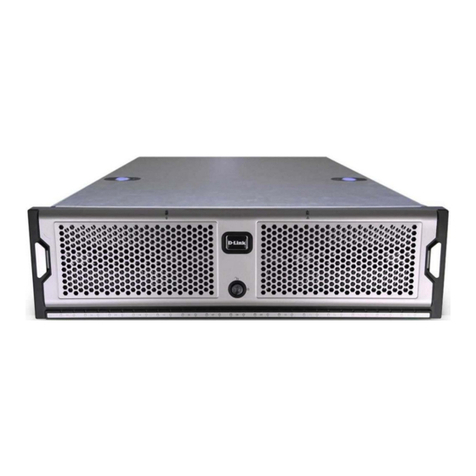
D-Link xStack Storage DSN-5210 Operating and maintenance manual

D-Link

D-Link xStack Storage DSN-5210 Operating and maintenance manual

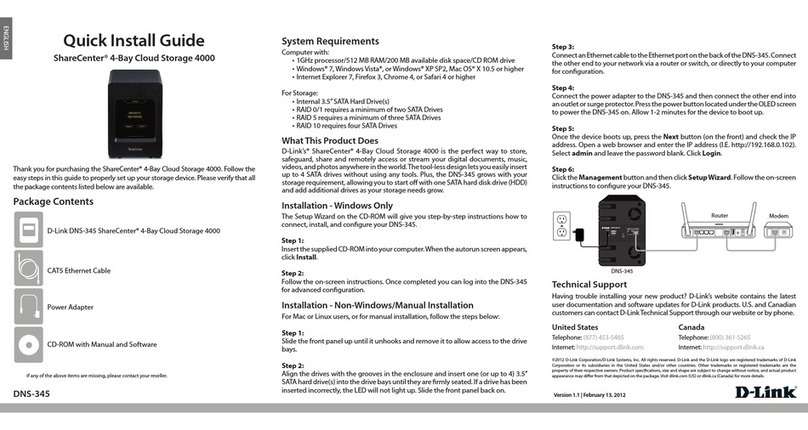
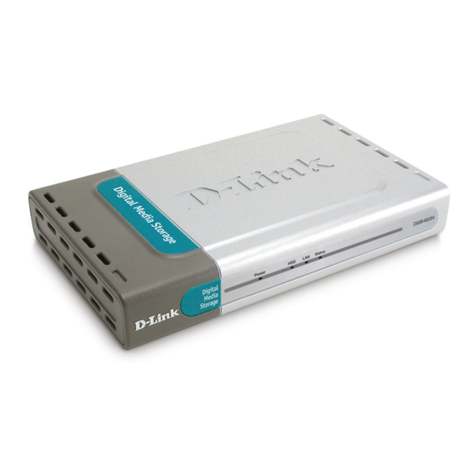
D-Link DNS-321 - Network Storage Enclosure Hard Drive... User manual

D-Link

D-Link DNS-321 - Network Storage Enclosure Hard Drive... User manual

D-Link ShareCenter DNS-320L User manual

D-Link

D-Link ShareCenter DNS-320L User manual

D-Link DNS-313 User manual

D-Link

D-Link DNS-313 User manual

D-Link Storage User manual

D-Link

D-Link Storage User manual

D-Link MediaLounge DSM-602H User manual

D-Link

D-Link MediaLounge DSM-602H User manual

D-Link xStack Storage DSN-4100 Operating and maintenance manual

D-Link

D-Link xStack Storage DSN-4100 Operating and maintenance manual

D-Link DSN-610 User manual

D-Link

D-Link DSN-610 User manual

D-Link DSN-1100 User manual

D-Link

D-Link DSN-1100 User manual

D-Link DNS-312H Mounting instructions

D-Link

D-Link DNS-312H Mounting instructions

D-Link DNS-346 User manual

D-Link

D-Link DNS-346 User manual

D-Link SharePort DNS-323 User manual

D-Link

D-Link SharePort DNS-323 User manual

D-Link DNS-313 User manual

D-Link

D-Link DNS-313 User manual

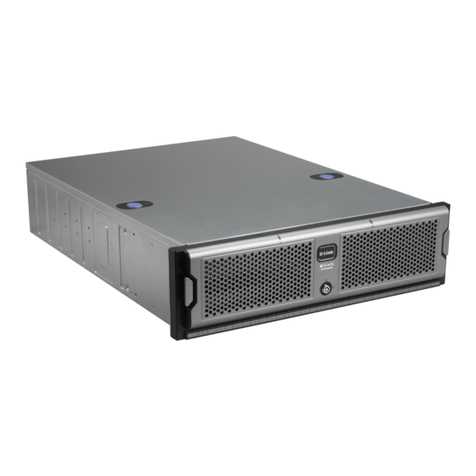
D-Link xStack Storage DSN-3000 Series User manual

D-Link

D-Link xStack Storage DSN-3000 Series User manual

D-Link xStack Storage DSN-4000 Series User manual

D-Link

D-Link xStack Storage DSN-4000 Series User manual

D-Link ShareCenter DNS-320L User manual

D-Link

D-Link ShareCenter DNS-320L User manual

D-Link ShareCenter Quattro DNS-345 User manual

D-Link

D-Link ShareCenter Quattro DNS-345 User manual

D-Link DNS-300 User manual

D-Link

D-Link DNS-300 User manual

D-Link DSN-3200 - xStack Storage Area Network Array Hard... User manual

D-Link

D-Link DSN-3200 - xStack Storage Area Network Array Hard... User manual

D-Link ShareCenter Quattro DNS-345 User manual

D-Link

D-Link ShareCenter Quattro DNS-345 User manual

D-Link DSN-6200 User manual

D-Link

D-Link DSN-6200 User manual

D-Link DNS-321 - Network Storage Enclosure Hard Drive... User manual

D-Link

D-Link DNS-321 - Network Storage Enclosure Hard Drive... User manual

D-Link ShareCenter 2Go - DNS-213 User manual

D-Link

D-Link ShareCenter 2Go - DNS-213 User manual

D-Link DSN-3200 - xStack Storage Area Network Array Hard... How to use

D-Link

D-Link DSN-3200 - xStack Storage Area Network Array Hard... How to use

Popular Storage manuals by other brands

IBM 40/80 GB HH DLTVS user guide

IBM

IBM 40/80 GB HH DLTVS user guide

Synology DiskStation DS716+II Quick installation guide

Synology

Synology DiskStation DS716+II Quick installation guide

Vantec NexStar-HX4 user manual

Vantec

Vantec NexStar-HX4 user manual

LaCie Christofle Galet datasheet

LaCie

LaCie Christofle Galet datasheet

LaCie Rugged Thunderbolt user manual

LaCie

LaCie Rugged Thunderbolt user manual

OCZ IBIS datasheet

OCZ

OCZ IBIS datasheet

Transcend JetFlash 110 Brochure & specs

Transcend

Transcend JetFlash 110 Brochure & specs

QNAP TS 32PXU Series user guide

QNAP

QNAP TS 32PXU Series user guide

LaCie RUGGED RAID user manual

LaCie

LaCie RUGGED RAID user manual

Freecom CLS DOCK Quick install guide

Freecom

Freecom CLS DOCK Quick install guide

PNY Attache P-FD64MBATT3 install guide

PNY

PNY Attache P-FD64MBATT3 install guide

OWC Mercury Elite Pro Dual mini Assembly manual

OWC

OWC Mercury Elite Pro Dual mini Assembly manual

OLT 6x6 Maximizer Assembly manual

OLT

OLT 6x6 Maximizer Assembly manual

Transcend JetFlash 160 Specifications

Transcend

Transcend JetFlash 160 Specifications

Thunderbolt 600 user manual

Thunderbolt

Thunderbolt 600 user manual

Intel RAID High Availability user guide

Intel

Intel RAID High Availability user guide

LaCie 12big Thunderbolt 3 Quick install guide

LaCie

LaCie 12big Thunderbolt 3 Quick install guide

Spectra Logic T-Series Spectra T50e quick start guide

Spectra Logic

Spectra Logic T-Series Spectra T50e quick start guide

manuals.online logo
manuals.online logoBrands
  • About & Mission
  • Contact us
  • Privacy Policy
  • Terms and Conditions

Copyright 2025 Manuals.Online. All Rights Reserved.

ENGLISH
Quick Install Guide
ShareCenter® Cloud Storage 2000
Thank you for purchasing the ShareCenter® Cloud Storage 2000. Follow the easy
steps in this guide to properly set up your storage device. Please verify that all the
package contents listed below are available.
DNS-320L
If any of the above items are missing, please contact your reseller.
Technical Support
Having trouble installing your new product? D-Link’s website contains the latest
user documentation and software updates for D-Link products. U.S. and Canadian
customers can contact D-Link Technical Support through our website or by phone.
United States
Telephone: (877) 453-5465
Internet: http://support.dlink.com
Canada
Telephone: (800) 361-5265
Internet: http://support.dlink.ca
Package Contents
Minimum System Requirements
DNS-320L ShareCenter® Cloud Storage 2000
CAT5 Ethernet Cable
Hard Drive Mounting Kit (2 straps, 4 screws)
Power Cord and Adapter
CD-ROM with Manual and Software
• One or two 3.5” SATA Hard Drive(s)
• Computer with: 1GHz processor/512MB RAM/200MB available disk
space/CD ROM drive
• Internet Explorer version 7.0 or Mozilla Firefox 3.0 or above
• Windows® 7, Vista®, or XP (with Service Pack 2); Mac OS® X (10.5 or
above)
Note: Please refer to the manual for more information.
Version 1.0 | April 16, 2012
The Setup Wizard on the CD-ROM will give you step-by-step instructions
how to connect, install, and congure your DNS-320L.
Step 1:
Insert the supplied CD-ROM into your computer. When the autorun screen
appears, click Install.
Step 2:
Follow the on-screen instructions. Once completed you can log into the
DNS-320L for advanced conguration.
Installation - Windows® Only
Manual Installation
For Linux users or for manual installation, follow the steps below:
Step 1:
Remove the top cover of your device by pressing the push button in and
then lift the cover up.
Step 2:
Attach the strap to your hard drive(s) with the supplied screws.
Step 3:
Insert one or two 3.5” SATA hard drive(s) into the drive bay until they are
rmly seated. Then, re-attach the top cover.
Step 4:
Plug an Ethernet cable to the Ethernet port on the back of the device and
plug the other end to your network via a router or switch, or directly to a
computer for conguration.
Step 5:
Connect the power adapter to the device and then connect the other end
into a power outlet or surge protector. Press the power button on the front
of the device to turn the device on.
Step 6:
Open a web browser and enter the IP address of the DNS-320L to access
the Web UI. If you have a DHCP-enabled router on your network, you may
need to check the DHCP table to see what IP address the DNS-320L was
assigned.
Note: The computer used to access the ShareCenter® web-based
conguration manager must be on the same subnet as the ShareCenter®.
If your network is using a DHCP server and the computer receives IP
settings from the DHCP server, the ShareCenter® will automatically be in
the same subnet.
©2012 D-Link Corporation/D-Link Systems, Inc. All rights reserved. D-Link, the D-Link logo, D-Link Green, the D-Link Green logo,
ShareCenter, and the D-Link RoHS logo are trademarks or registered trademarks of D-Link Corporation or its subsidiaries in the United
States and/or other countries. Other trademarks or registered trademarks are the property of their respective owners.
DC-IN LAN USB
LAN
5V--- 3A
1 2 LAN 3 4 INTERNET USB
RESET
Router Modem
DNS-320L
The Setup Wizard on the CD-ROM will give you step-by-step instructions
how to connect, install, and congure your DNS-320L.
Step 1:
Insert the supplied CD-ROM into your computer and navigate to the Setup
Wizard > Mac folder. Launch the setup wizard le.
Step 2:
Follow the on-screen instructions. Once completed you can log into the
DNS-320L for advanced conguration.
Installation - Mac OS® X Only
Step 7:
Select System Administrator and click the Login button (leave the
password blank by default). Once you are logged in, click Management
and then click Setup Wizard. Follow the on-screen instructions to
congure your device.