TABLE OF CONTENTS
1 Product overview.......................... 4
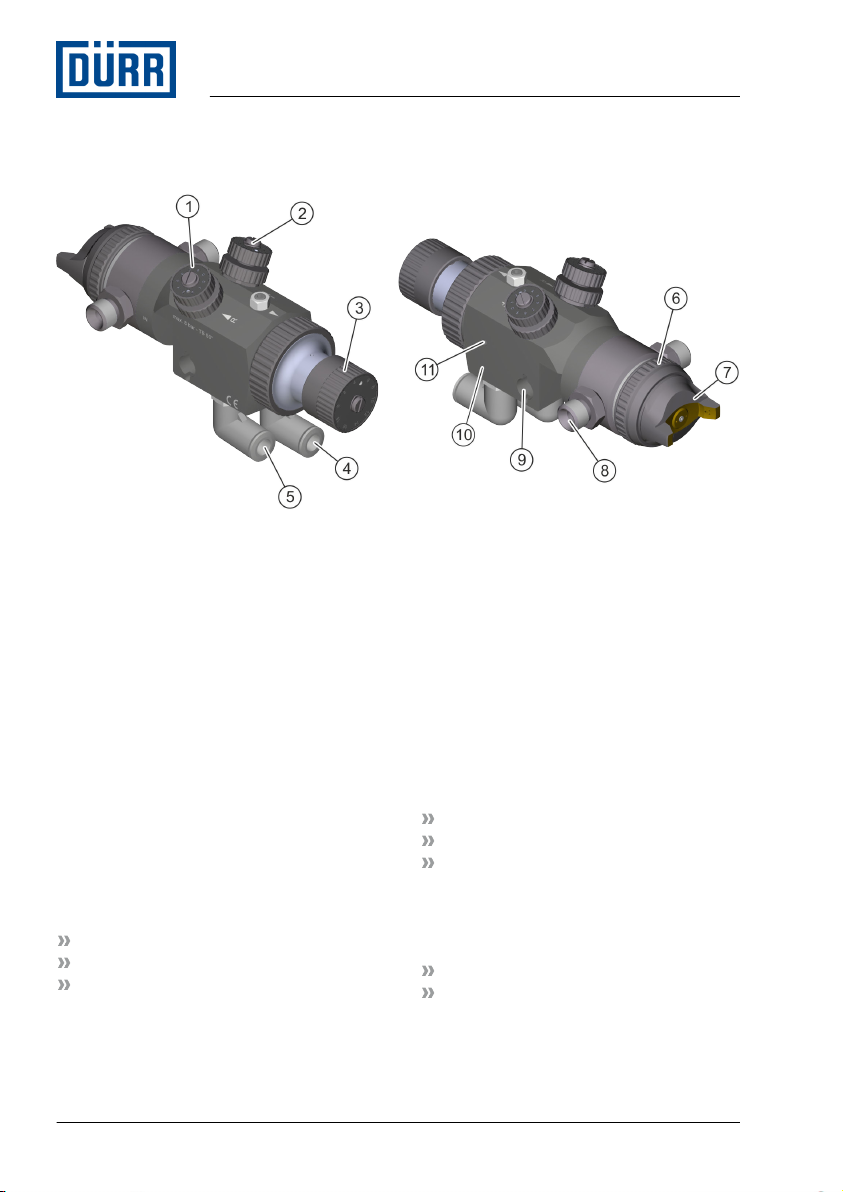
1.1 Overview................................ 4
1.2 Short description.................... 4
2 Safety............................................. 5
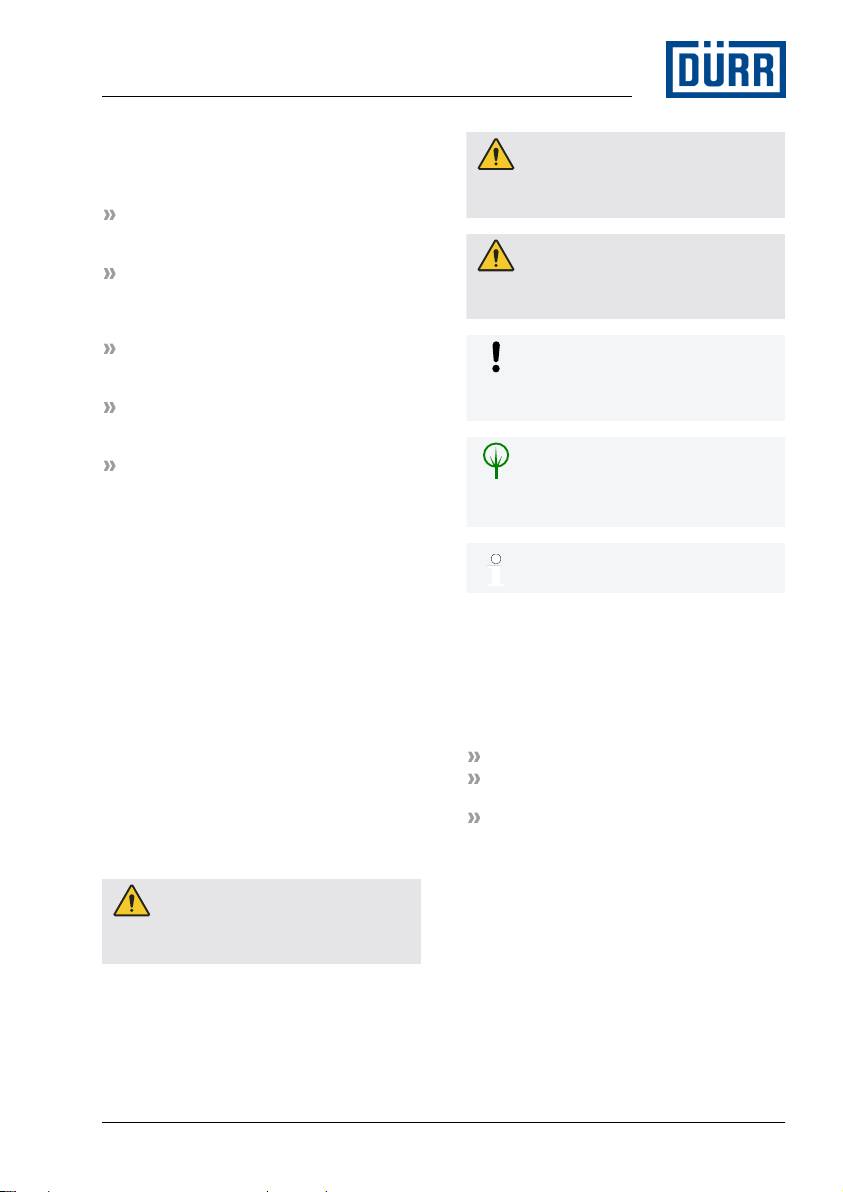
2.1 Presentation of Notes............ 5
2.2 Intended Use.......................... 5
2.3 Staff qualification.................... 6
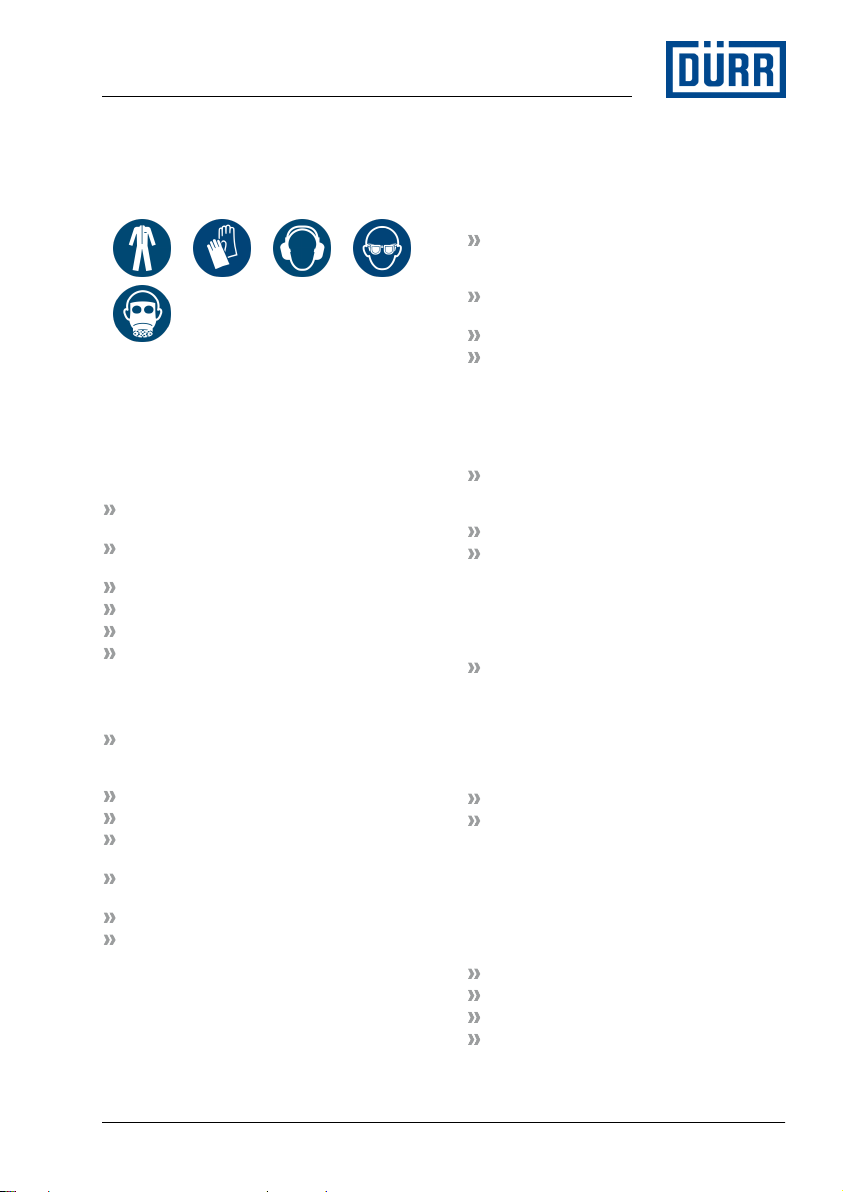
2.4 Personal protective equip-
ment....................................... 7
2.5 Residual risks......................... 7
3 Transport, scope of supply and
storage........................................... 8
3.1 Scope of delivery................... 8
3.2 Handling of
packaging material................. 8
3.3 Storage.................................. 8
4 Assembly....................................... 8
4.1 Requirements for the
Installation point..................... 8
4.2 Assembly............................... 8
4.3 Setting the spray jet............. 11
5 Commissioning........................... 11
6 Operation..................................... 13
6.1 Safety recommendations..... 13
6.2 General notes...................... 13
6.3 Rinsing................................. 14
6.3.1 Safety recommendations.. 14
6.3.2 Rinsing.............................. 14
7 Cleaning....................................... 14
7.1 Safety recommendations .... 14
7.2 Cleaning............................... 15
8 Maintenance................................ 16
8.1 Safety notes......................... 16
8.2 Maintenance schedule......... 17
8.3 Lubrication........................... 18
9 Faults........................................... 18
9.1 Safety recommendations .... 18
9.2 Defects table........................ 19
9.3 Troubleshooting................... 22
9.3.1 Replace needle and
nozzle................................ 22
9.3.2 Replace needle seal......... 23
9.3.3 Set delay time................... 24
9.3.4 Replace piston seals......... 25
10 Disassembly and Disposal........ 26
10.1 Safety recommendations... 26
10.2 Disassembly....................... 26
10.3 Disposal ............................ 27
11 Technical data............................. 27
11.1 Dimensions and weight...... 27
11.2 Connections....................... 27
11.3 Operating conditions.......... 27
11.4 Emissions........................... 27
11.5 Operating values................ 28
11.6 Type plate........................... 28
11.7 Materials used.................... 28
11.8 Operating and auxiliary
materials............................. 28
11.9 Material specification.......... 28
12 Replacement parts, tools and
accessories................................. 29
12.1 Replacement parts............. 29
12.2 Tools................................... 37
12.3 Accessories........................ 38
12.4 Order.................................. 40
02/2020 EcoGun AS AUTO pro - MSG00005EN 3/44