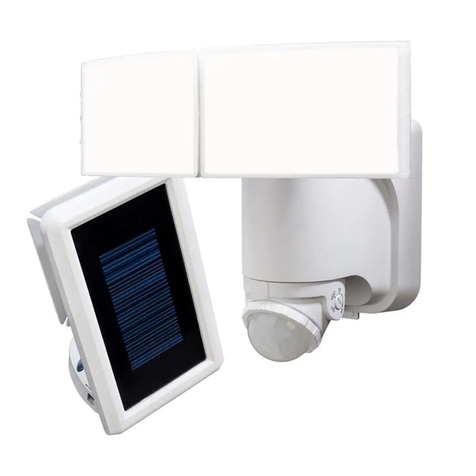
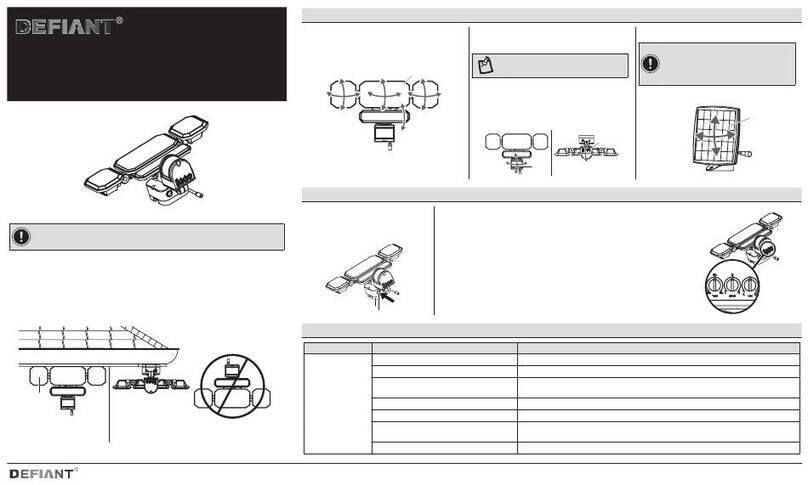
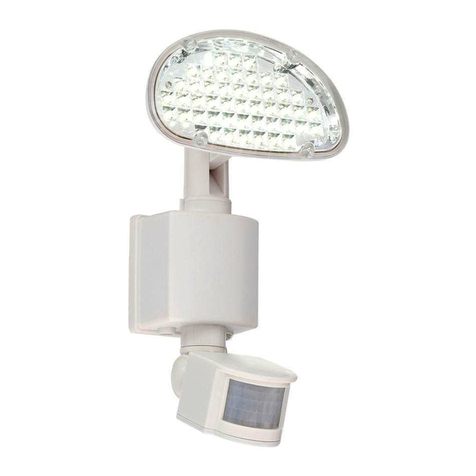
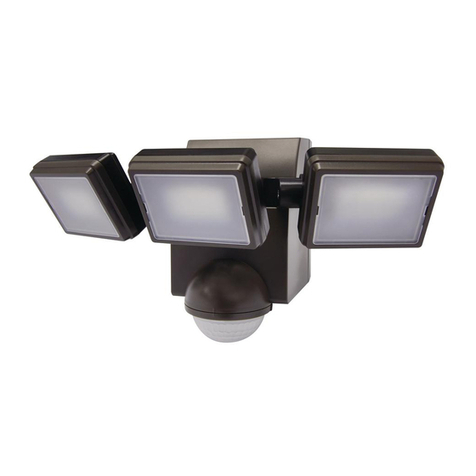
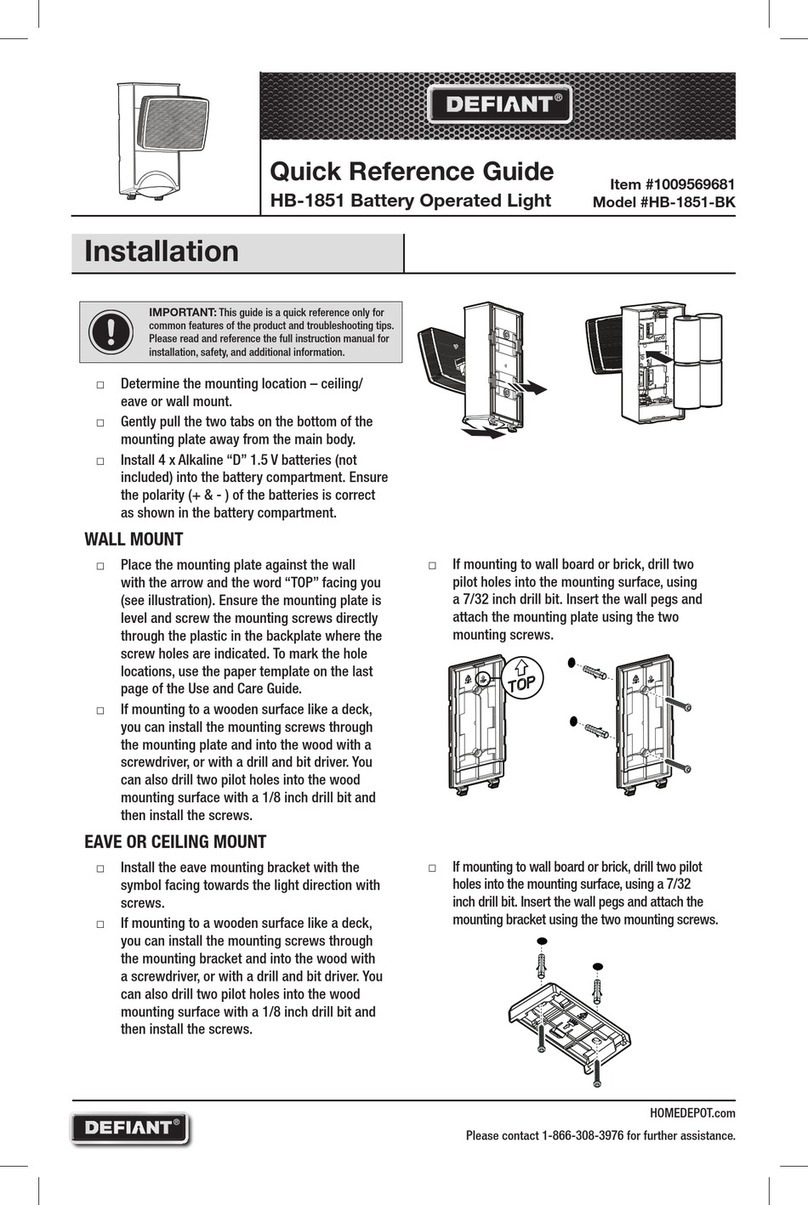
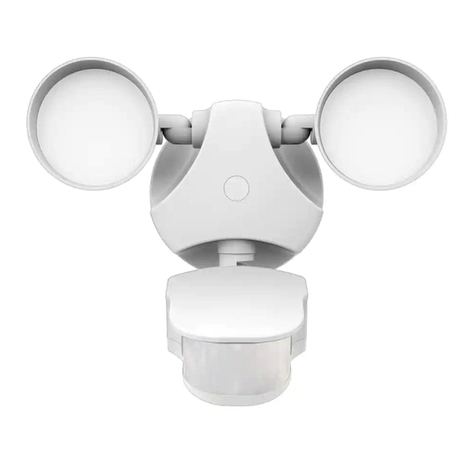
Defiant HB-2813-BK User manual

THANK YOU
We appreciate the trust and condence you have placed in Deant through the purchase of this battery-operated motion light. We strive to
continually create quality products designed to enhance your home. Visit us online to see our full line of products available for your home
improvement needs. Thank you for choosing Deant!
USE AND CARE GUIDE
BATTERY-OPERATED MOTION LIGHT
Questions, problems, missing parts?
Before returning to the store, call Deant Customer Service
8 a.m. - 7 p.m., EST, Monday - Friday, 9a.m. - 6 p.m., EST, Saturday
1-866-308-3976
HOMEDEPOT.COM
Item #1009569680
Model #HB-2813-BK

2
Table of Contents
Table of Contents ...................................2
Safety Information ..................................2
Precautions ......................................2
Warranty ..........................................2
3-Year Warranty ...................................2
Specications ......................................3
Pre-Installation.....................................3
Planning Installation ...............................3
Tools That May Be Required..........................3
Hardware Included.................................3
Package Contents .................................3
Installation ........................................4
Operation. . . . . . . . . . . . . . . . . . . . . . . . . . . . . . . . . . . . . . . . . . 5
Care and Cleaning ..................................7
Troubleshooting ....................................7
Safety Information
PRECAUTIONS
Please read and understand this entire manual before attempting to
assemble, install, or operate this light xture
For proper operation, this light xture should be:
□Used indoors; for example in a garage or shed, or outdoors.
□Ceiling/eave or wall mounted.
□Installed on the ceiling, or 6 ft. – 8ft. above the ground, if
mounted on a wall.
□Do not immerse components in liquid.
WARNING: To prevent possible SERIOUS INJURY or DEATH
never allow small children near batteries. If battery is
swallowed, immediately notify a doctor.
WARNING: “THIS PRODUCT MUST BE INSTALLED IN
ACCORDANCE WITH THE APPLICABLE INSTALLATION CODE
BY A PERSON FAMILIAR WITH THE CONSTRUCTION AND
OPERATION OF THE PRODUCT AND THE HAZARDS INVOLVED”
WARNING: This device complies with Part 15 of the FCC
Rule. Operation is subject to the following two conditions:
(1) This device may not cause harmful interference, and
(2) This device must accept any interference received,
including interference that may cause undesired operation.
WARNING: DO NOT mix old and new batteries. DO
NOT mix battery types – such as alkaline, heavy duty and
rechargeable – in a single device. Battery leakage may
occur.
WARNING: DO NOT DISPOSE OF BATTERIES IN FIRE.
BATTERIES MAY EXPLODE OR LEAK.
CAUTION: Please note that changes or modications not
expressly approved by the party responsible for compliance
could void the user’s authority to operate the equipment.
NOTICE: When replacing batteries, recycle used batteries or
dispose of them in accordance with local regulations.
WARNING: This equipment has been tested and found to comply with limits for a Class B digital device, pursuant to Part 15 of the FCC Rules.
These limits are designed to provide reasonable protection against harmful interference in a residential installation.
This equipment generates, uses and can radiate radio frequency energy and, if not installed and used in accordance with the instructions, may
cause harmful interference to radio communications.
However, there is no guarantee that interference will not occur in a particular installation. If this equipment does cause harmful interference
to radio or television reception, which can be determined by turning the equipment off and on, the user is encouraged to try to correct the
interference by one or more of the following measures:
• Reorient or relocate the receiving antenna.
• Increase the separation between the equipment and the receiver.
• Connect the equipment into an outlet on a circuit different from that to which the receiver is connected. • Consult the dealer or an
experienced radio/TV technician for help.
Warranty
3-YEAR WARRANTY
Contact the Customer Service Team at 1-866-308-3976 or visit www.HOMEDEPOT.COM.

3 HOMEDEPOT.COM
Please contact 1-866-308-3976 for further assistance.
Specications
Detection Range Up to 30 ft. (9.1m)
Sensing angle 270°
LED Lumens 1300 lumens
LED Color temperature 4000 K
Operating temperature -4° F to +104° F (-20° C to +40° C)
Power requirements 4 Alkaline “D” cell batteries - 1.5V (not included)
Pre-Installation
PLANNING INSTALLATION
Before installing the light xture, ensure that all parts are present (see Hardware Included on page 3). If any part is missing or damaged, do
not attempt to assemble, install, or operate this light xture.
Estimated installation time: 15 – 20 minutes
TOOLS THAT MAY BE REQUIRED
Phillips screwdriver Drill Ladder
Drill bits Safety
goggles Level
HARDWARE INCLUDED
NOTE: Hardware not shown to actual size.
AA BB CC
Part Description Quantity
AA Screws 2
BB Wall pegs 2
CC Eave mounting bracket 1
PACKAGE CONTENTS
A
D
B
C

4
Installation
1 Determining the mounting location
□Determine the mounting location – ceiling/eave or wall
mount
□Recommended installation height is 8 - 10 ft. for ceiling
mounting and 6 - 8 ft. for wall mounting.
Ceiling/Eave mountWall mount
2 Removing the mounting plate
□Gently pull the two tabs (1) on the bottom of the mounting
plate (C) away from the main body (B).
NOTE: This xture comes with a mounting plate (C). It is
pre-assembled on the light xture (B) for shipping.
C
B
1
3 Installing the batteries
□Install 4 x Alkaline “D” 1.5 V batteries (2) (not included)
into the battery compartment
□Make sure the polarity (+ & - ) of the batteries is
correct as shown in the battery compartment.
B
2
4 Installing the mounting plate or
mounting bracket
WALL MOUNT
□Place the mounting plate (C) against the wall with the
arrow and the word “TOP” facing you (see illustration).
Ensure the mounting plate (C) is level. The backplate is
designed to allow you to drive the screws directly through
the thin plastic in the 2 locations indicated. Push rmly
with a screwdriver and drive screws into the wall through
the plastic. You can also use a drill and drive the screws
though the plastic or drill pilot holes rst.
□We have also provided you with a template, in case you
want to mark the hole locations and drill pilot holes rst.
This is located on the back cover of this Use and Care
Guide. You simply cut out the template area and use as
guide to mark the holes through the paper.
□If mounting to a wooden surface like a deck, you can install
the mounting screws (AA) through the mounting plate (C) and
into the wood with a screwdriver, or with a drill and bit driver.
□You can also drill two pilot holes into the wood mounting
surface with a 1/8 inch drill bit and then install the screws.
□If mounting to wall board or brick, drill two pilot holes into
the mounting surface, using a 7/32 inch drill bit.
□Insert the wall pegs (BB) and attach the mounting plate (C)
using the two mounting screws (AA).
BB AA
C
C

5 HOMEDEPOT.COM
Please contact 1-866-308-3976 for further assistance.
Installation (continued)
EAVE OR CEILING MOUNT
□Install the eave mounting bracket (CC) with the arrow
facing the same direction as your light (B) will be facing
with screws (AA). Make sure to allow 5 inches between
the eave mounting bracket (CC) and the wall, so you have
enough clearance to slide the light (B) onto the bracket.
□If mounting to a wooden surface like a deck, you can
install the mounting screws (AA) through the mounting
bracket(CC) and into the wood with a screwdriver, or with
a drill and bit driver.
□You can also drill two pilot holes into the wood mounting
surface with a 1/8 inch drill bit and then install the screws.
□If mounting to wall board or brick, drill two pilot holes into
the mounting surface, using a 7/32 inch drill bit.
□Insert the wall pegs (BB) and attach the mounting
bracket(CC) using the two mounting screws (AA) with a
very long Phillips screwdriver.
CC
5 inches
B
BB
CC
AA
5 Mounting the light xture
WALL MOUNT
□Attach the light xture (B) to the mounting plate (C).
□Press the unit on the top to the mounting plate. You should
hear a “Click” sound. This indicates that the main body (B)
is securely attached to the mounting plate (C).
CBClick!
EAVE OR CEILING MOUNT
□Slide the front of the light xture (B) onto the rear of the eave
mounting bracket (CC), until it reaches the front of the bracket
and “clicks” into place. This indicates that the main body (B)
is securely attached to the eave mounting bracket (CC).
CC
B
Operation
1 Adjusting the lamp heads
□If needed, gently grasp the lamp heads (A) and adjust. The
middle lamp head can be tilted down by 85±5° and upward
by 15±5°. The outside lamp heads can be tilted down by
65±5° and upward by 65±5°. They also can be panned out
by 100±5° or in by 15±5°.
□Hinge (3) can pan the light in and out. Hinge (4) can tilt the
lamp up and down.
3
4
A

6
Operation (continued)
2 Detecting motion
□When motion is detected, the light will turn on for 15 seconds at 100% brightness and stay on as long as motion is being
detected. If no further motion is detected, after 15 seconds, the light will dim to 20% brightness for another 10 seconds, before
turning the light off. If further motion is detected, the light will come on at 100% brightness.
3 Adjusting the DIM/ECO control
□Press the DIM/ECO button for 2 seconds, the light will
show its maximum brightness based on the current battery
capacity.
□Release the DIM/ECO button and press it again within
5 seconds, the light will show the next lower dim level.
Release the button, and press it again within 5 seconds, the
dim level will further go down for the next level, and so on.
□When the dim level reaches the desired level, release the
button for 5 seconds or more, the dim level is set.
□During the DIM/ECO level setting, the light will go from
the maximum brightness and dim in multiple steps until it
reaches the lowest setting. If you keep pushing the button
within 5 seconds, it will go from maximum, down in steps
to the minimum, and from minimum, back to maximum. It
will continue in this cycle, until you stop pushing the button
for 5 seconds or more, and this will be your new dim level
setting.
4 Adjusting the Dusk Learn control
□To set the ambient lux, or dusk level, press and hold the
Dusk Learn button 2 or 3 seconds until the light ashes
once, indicating it is calibrating the current lux level. After
several more seconds, the light will ash again, indicating
that the new dusk level has been set. You can return to the
default factory setting by removing and reinstalling one of
the batteries.
5 Using TEST mode
□Press Dusk Learn and DIM/ECO buttons simultaneously
for more than 10 seconds until the light ashes once. This
indicates that light has entered the Test mode. Once motion is
detected, the light will stay on for about 2 seconds. You can
check the detection range during daylight hours in Test mode.
□To exit the Test mode, press either the Dusk Learn or
DIM/ECO button once, or after 5 minutes without motion
detection, it will automatically go back into the Auto mode.

7 HOMEDEPOT.COM
Please contact 1-866-308-3976 for further assistance.
Care and Cleaning
□To prolong the original appearance, clean with water and a soft, damp cloth only
□Do not use paints, solvents, or other chemicals on this light xture. They could cause premature deterioration of the nish. This is not a
defect in the nish and will not be covered by the warranty.
□Do not spray with a hose or power washer.
Troubleshooting
Problem Possible Cause Solution
The light will not come on. □The motion sensor is out of coverage area. □Relocate the motion sensor, so it is detecting
motion in your desired coverage area.
□Batteries are dead. □Recheck with new batteries.
□Batteries may be incorrectly installed. □Recheck and make sure batteries are
installed with the correct polarity (+ & -), as
shown in the battery compartment.
The light comes on during the day. □The motion sensor may be installed in a
relatively dark location.
□The light xture is operating normally under
these circumstances.
□Dusk learn was set in daylight conditions. □Set the Dusk Learn correctly after dark, or
return to the factory default setting by remov-
ing and reinstalling the batteries.
The light comes on for no apparent
reason.
□The motion sensor may be sensing small
animals or automobile trafc, or other heat
sources.
□Reposition the motion sensor.
□Strong wind may activate the sensor. □The light xture is operating normally under
these circumstances.
The lights stay on continuously. □Another regular light is positioned too close
to the motion sensor or pointed at nearby
objects that cause heat to trigger the motion
sensor.
□Reposition the motion sensor away from the
light or nearby objects.
□The motion sensor may be picking up a heat
source like an air vent, dryer vent, or brightly
painted, heat-reective surface.
□Same as above.
FCC Supplier’s Declaration of Conformity (SDoC)
Unique Identier Trade Name: IQ America
Model Name: HB-2813-BK
Responsible Party-U.S. Contact Information
IQ America, Inc.
110 Glancy St., Suite # 212
Goodlettsville, TN 37072
USA
Tel: 1-800-296-1869
FCC Compliance Statement (for products subject to Part 15)
This device complies with part 15 of the FCC Rules. Operation is subject to the following two conditions: (1) This device may not cause harmful interference, and (2) this
device must accept any interference received, including interference that may cause undesired operation.

Questions, problems, missing parts?
Before returning to the store, call Deant Customer Service
8 a.m. - 7 p.m., EST, Monday-Friday, 9 a.m. - 6 p.m., EST, Saturday
1-866-308-3976
HOMEDEPOT.COM
Retain this manual for future use.
3.09 in. (78.52mm)
0.25 in.
(6mm)
Screw Hole Drilling Template
This manual suits for next models
1
Table of contents
Other Defiant Lighting Equipment manuals

Defiant
Defiant IS01a012NK-50W1 User manual

Defiant
Defiant IS09a4505BRBKTH User manual

Defiant
Defiant DF-5512-WH-D User manual

Defiant
Defiant 84045 User manual

Defiant
Defiant HB-1851 User manual

Defiant
Defiant HD-1895-BZ User manual

Defiant
Defiant DF-5311-BZ-D User manual

Defiant
Defiant DFI-7005-WH-G User manual

Defiant
Defiant DFI-0760-WH User manual

Defiant
Defiant DFI-0553-WH User manual