Quick Start Guide
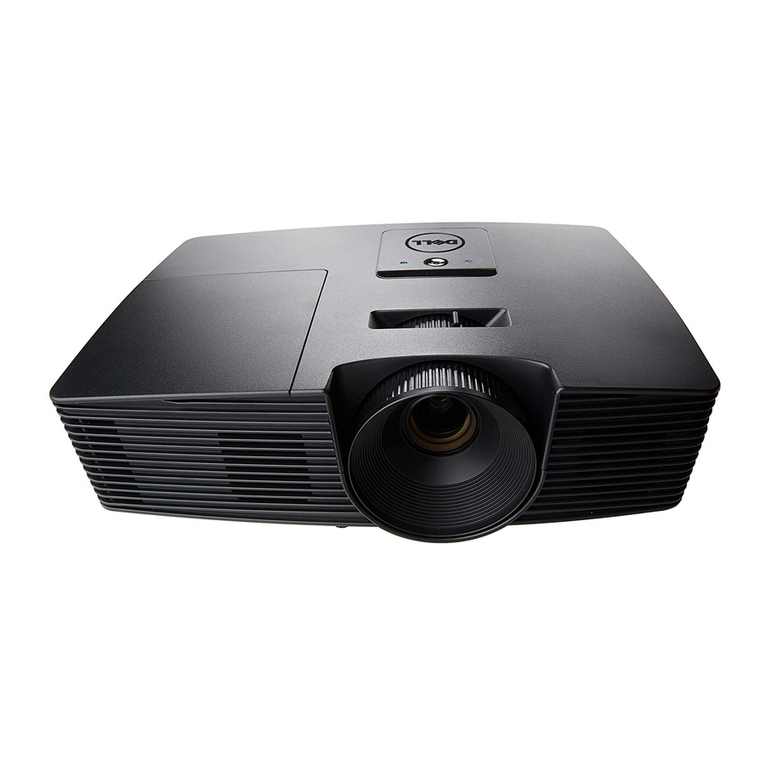
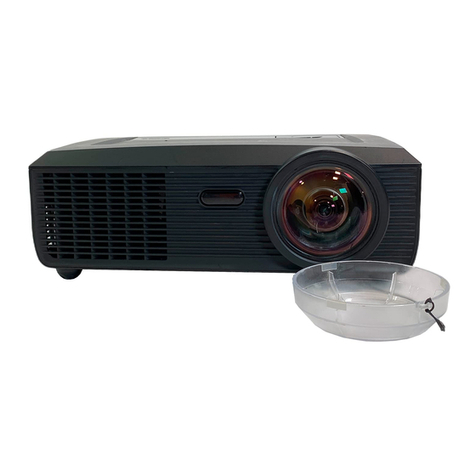
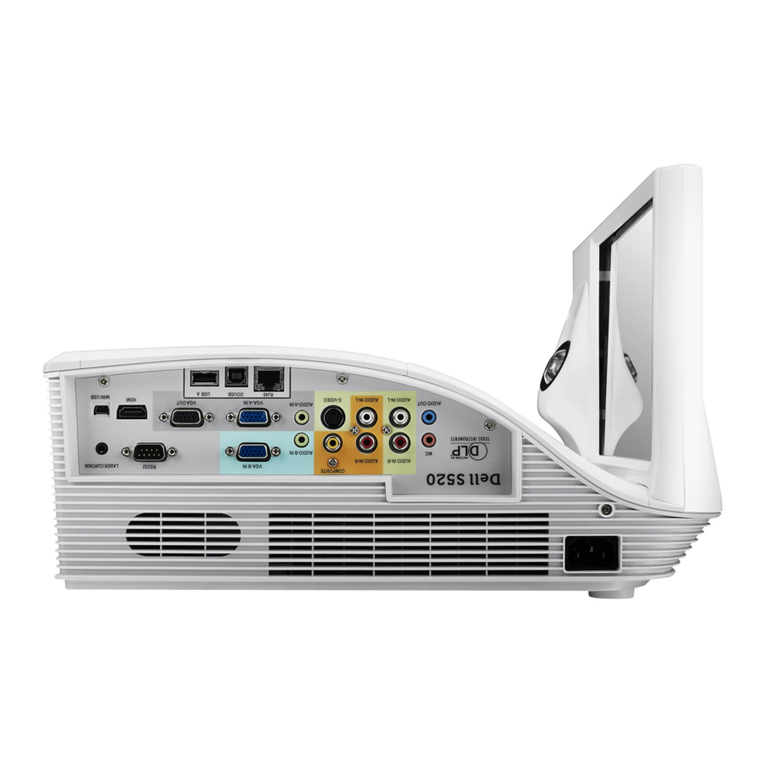
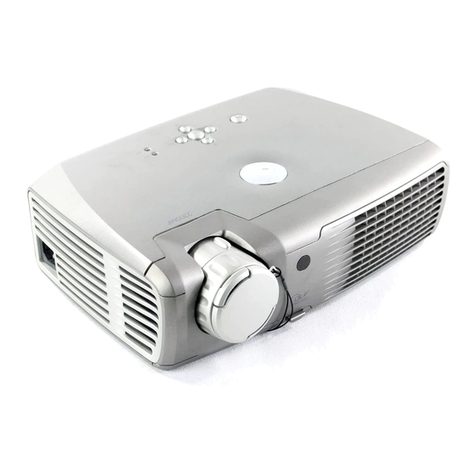
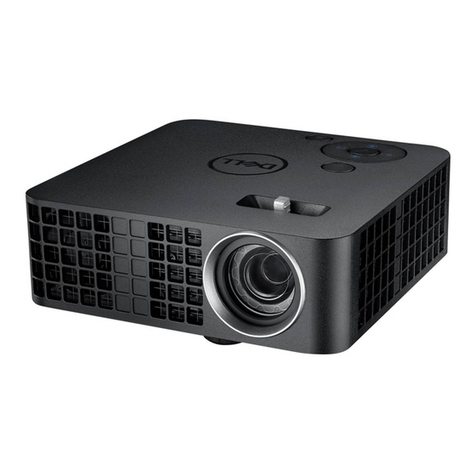
Standard Meeting Projector - Dell M209X
Getting Up and Running
Initial Setup
11
2
33
44
55
66
77
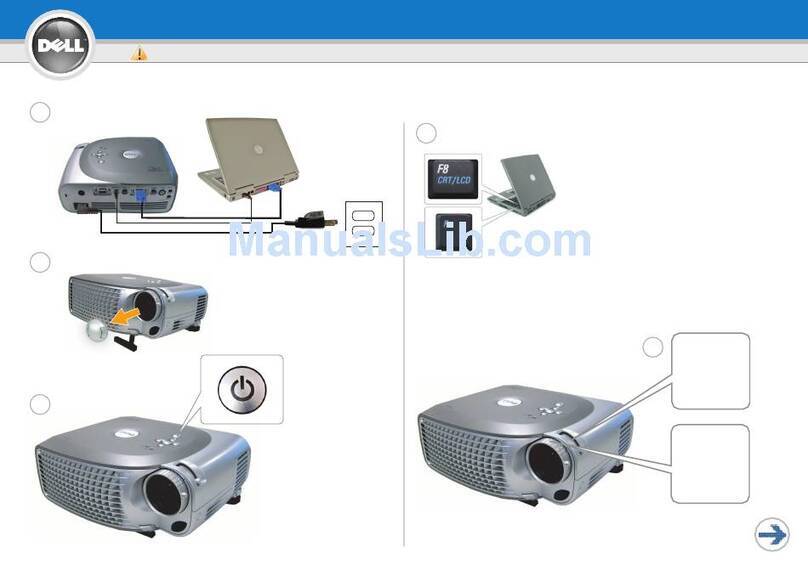
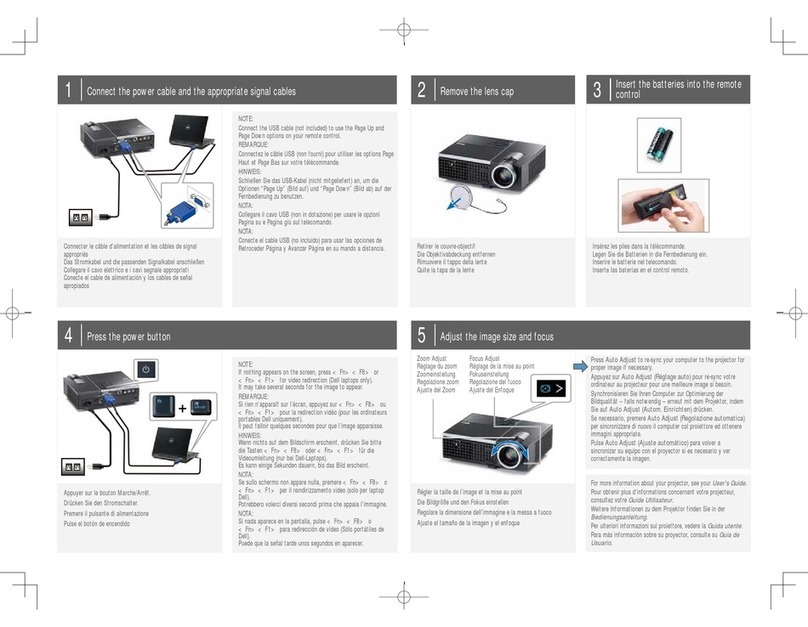
Make sure your projector and computer are both turned OFF
Connect VGAcable (blue) to “VGAIn” on projector and VGAinput on
computer
Connect power cable (black) to projector and an electrical outlet
Connect USB cable (red) to projector and any available USB port on your computer
Remove lens cap and press POWER button
Turn ON your computer
99
1010
Adjusting the Image
F4
F8
CRT/LCD
F5
/
F7
LCD / VGA
Fn
88 Push button to release stand
8
91010
If necessary, sync projector & computer by holding down FUNCTION and pressing one of the following keys to toggle:
NOTE: Depending on your computer, you
may have to use a different F key than those
listed above. If you have any problems,
please give us a call at 1-877-633-8866
Quick Start Guide
Standard Meeting Projector - Dell M209X
Using the Wireless Remote
1111
1212
1313
Make sure USB cable is connected to projector and a USB port on your computer (Step 4)
Press PAGE buttons and to scroll through slides
Press MENU or button to adjust advanced settings
Does your image look like one of these?
Troubleshooting:
If so, here’s how to fix it:
Press MENU or button
Scroll right and select SET UP
Adjust H. KEYSTONE and V. KEYSTONE to get desired image
Powering Off
1414
1515
1616
Press POWER button on projector
Wait at least 90 seconds, then unplug projector from outlet
When message appears, press POWER button again
If you encounter any problems whatsoever, please call us at 1-877-633-8866. We’re more than happy to help!
Rotate lens to focus
Slide ZOOM TAB to reach appropriate size
