DeLOCK 64208 User manual

Support Delock
If you have further questions, please contact our customer support
You can nd current product information on our homepage: www.delock.com
Final clause
Information and data contained in this manual are subject to change without notice
in advance. Errors and misprints excepted.
Copyright
No part of this user manual may be reproduced, or transmitted for any purpose,
regardless in which way or by any means, electronically or mechanically, without
explicit written approval of Delock.
Edition: 03/2023
Declaration of conformity
Products with a CE symbol fulll the EMC directive (2014/30/EU) and
RoHS directive (2011/65/EU+2015/863+2017/2102), which were released by the
EU-comission.
The declaration of conformity can be downloaded here:
https://www.delock.de/produkte/G_64208/merkmale.html
WEEE-notice
The WEEE (Waste Electrical and Electronic Equipment)-directive, which became
eective as European law on February 13th 2003, resulted in an all out change
in the disposal of disused electro devices. The primarily purpose of this directive
is the avoidance of electrical waste (WEEE) and at the same time the support of
recycling and other forms of recycling in order to reduce waste. The WEEE-logo on
the device and the package indicates that the device should not be disposed in the
normal household garbage. You are responsible for taking the disused electrical
and electronical devices to a respective collecting point. A separated collection and
reasonable recycling of your electrical waste helps handling the natural resources
more economical. Furthermore recycling of electrical waste is a contribution to
keep the environment and thus also the health of men. Further information about
disposal of electrical and electronical waste, recycling and the collection points
are available in local organizations, waste management enterprises, in specialized
trade and the producer of the device.
EU Import: Tragant Handels- und Beteiligungs GmbH
Beeskowdamm 13/15, 14167 Berlin, Germany
Bedienungsanleitung
Manual del usuario
Instrukcja obsługi
Bruksanvisning
Használati utasítás
Εγχειρίδιο χρήστη
English
Deutsch
Sicherheitshinweise
• Produkt vor Feuchtigkeit schützen
• Vermeiden Sie antistatische Auadung beim Einbau des Produktes
Hardwareinstallation
1. Schalten Sie Ihren PC aus, ziehen Sie das Netzkabel.
2. Önen Sie das Gehäuse.
3. Entfernen Sie nun die Blende vom gewünschten freien Schacht und stecken
Sie das Front Panel hinein. Schrauben Sie diesen an den Seiten fest.
4. Verbinden Sie ein Stromkabel Ihres Netzteils mit dem Front Panel.
5. Verbinden Sie das USB Kabel mit einem freien 19 Pin USB Pfostenstecker.
6. Schließen Sie das Gehäuse wieder und verbinden Sie das Netzkabel mit dem
Netzteil.
7. Sie können nun das Front Panel verwenden.
Safety instructions
• Protect the product against moisture
• Avoid anti-static electricity when installing the product
Hardware Installation
1. Turn o your PC and unplug the power cord.
2. Open the housing.
3. Remove the panel from the available bay and insert the front panel into the
bay and screw it to the housing.
4. Connect a power cable of your power supply to the front panel.
5. Connect the USB cable to a free 19 pin USB pin header male.
6. Reattach the housing and connect the power cord to the AC adapter.
7. The front panel is now ready for use.
Hrvatski
ελληνικά
Οδηγίες ασφάλειας
• Προστατεύστε το προϊόν από την υγρασία
• Αποφύγετε αντιστατικό ηλεκτρισμό όταν εγκαθιστάτε το προϊόν
Εγκατάσταση υλικού
1. Σβήστε τον Η/Υ σας και βγάλτε το καλώδιο τροφοδοσίας από την πρίζα.
2. Ανοίξτε το περίβλημα.
3. Βγάλτε τον πίνακα από τη διαθέσιμη bay και εισάγετε τον Μπροστινό Πίνακα
στη bay και βιδώστε το στο περίβλημα.
4. Συνδέστε το καλώδιο παροχής ρεύματος του τροφοδοτικού σας στον
μπροστινό πίνακα.
5. Συνδέστε το καλώδιο USB σε μια ελεύθερη κεφαλίδα 19 ακίδων USB
αρσενικό.
6. Συνδέστε ξανά το περίβλημα και συνδέστε το καλώδιο τροφοδοσίας στην
πρίζα ρεύματος.
7. Ο Μπροστινός Πίνακας είναι τώρα έτοιμος για χρήση.
Sigurnosne upute
• Zaštitite proizvod od vlage
• Izbjegavajte statički elektricitet kod ugradnje proizvoda
Ugradnja hardvera
1. Isključite računalo i odvojite kabel za napajanje.
2. Otvorite kućište.
3. Skinite ploču s dostupnog ležišta i stavite prednju ploču u ležište i pričvrstite
je vijkom na kućište.
4. Povežite kabel napajanja iz izvora napajanja na prednju ploču.
5. Priključite USB kabel u slobodnu 19-polnu USB mušku priključnicu.
6. Vratit kućište i ponovno priključite kabel za napajanje u AC adapter.
7. Prednja ploča će sada biti spremna za upotrebu.
Product-No: 64208
User manual no: 64208-a
www.delock.com
User manual
Mode d’emploi
Uživatelská příručka
Manuale utente
Manual de utilizare
Korisnički priručnik
3.5″ USB 5 Gbps Front Panel
10 x USB Type-A

Français
Español
Polsku
Italiano
České
Svenska
Română
Magyar
Instrukcje bezpieczeństwa
• Produkt należy zabezpieczyć przed wilgocią
• Podczas instalacji produktu należy unikać elektryczności statycznej
Instalacja sprzętu
1. Wyłącz komputer i odłącz kabel zasilania.
2. Otwórz obudowę.
3. Usuń panel z wolnej wnęki i włóż do wnęki panel przedni przykręcając go do
obudowy.
4. Podłącz przewód zasilający zasilacza do panelu przedniego.
5. Podłącz przewód USB do wolnej męskiej 19-pinowej listwy USB.
6. Zamknij z powrotem obudowę i podłącz kabel do zasilacza.
7. Panel przedni jest teraz gotowy do użycia.
Bezpečnostní pokyny
• Chraňte produkt před vlhkostí
• Při instalaci produktu se vyvarujte antistatické elektřině
Instalace hardware
1. Vypněte PC a odpojte přívodní šňůru napájení.
2. Otevřte kryt PC.
3. Vyndejte záslepku z volné šachty a vložte přední panel do šachty a připevněte
jej šroubky ke skříni.
4. Připojte napájecí kabel vašeho zdroje k přednímu panelu.
5. Připojte USB kabel k volnému pinovému konektoru 19 pin USB samec.
6. Nasaďte zpět kryt a připojte napájecí šňůru.
7. Přední panel je připraven k použití.
Instrucciones de seguridad
• Proteja el producto contra el polvo
• Evite la electricidad antiestática al instalar el producto
Hardware Instalación
1. Apague su equipo y desconecte el cable de alimentación.
2. Abra la carcasa.
3. Quite el panel frontal de la bahía disponible, inserte el panel frontal en dicha
bahía y atorníllelo a la carcasa.
4. Conecte un cable de alimentación de su fuente de alimentación al panel
frontal.
5. Conecte el cable USB a una base de conexiones USB macho de 19 pines.
6. Vuelva a colocar la carcasa y conecte el adaptador de CA del cable de
alimentación.
7. El panel frontal estará listo para su uso.
Instructions de sécurité
• Protéger le produit contre l’humidité
• Evitez l’électricité électrostatique lorsque vous installez le produit
Installation matérielle
1. Eteignez votre PC et débranchez le cordon d'alimentation.
2. Ouvrez le boîtier.
3. Enlevez le cache de la baie disponible, insérez la face avant dans la baie, et
vissez la au boîtier.
4. Raccordez un câble d'alimentation de votre bloc d'alimentation électrique au
panneau avant.
5. Branchez le câble USB sur une embase USB à 19 broches libre.
6. Remontez le boîtier et branchez le cordon d'alimentation et l'adaptateur AC.
7. La Face avant est maintenant prête à l’emploi.
Biztonsági óvintézkedések
• Óvja a terméket a nedvességtől.
• Kerülje az elektrosztatikus kisüléseket a termék üzembe helyezése közben
Hardvertelepítés
1. Kapcsolja ki a PC-t és húzza ki a hálózati tápkábelt.
2. Nyissa ki a számítógépházat.
3. Távolítsa el az egyik szabad bővítőhely előlapját és illessze az előlapot a
bővítőhelyre, majd csavarral rögzítse a házhoz.
4. Csatlakoztasson egy tápkábelt a konnektorba és az elülső panelhez.
5. Csatlakoztassa az USB-s kábelt egy szabad, 19 tűs, USB-s csatlakozósorral
ellátott csatlakozódugóhoz.
6. Szerelje vissza a ház fedelét és csatlakoztassa a tápkábelt a tápegységhez.
7. Az előlap készen áll a használatra.
Instrucţiuni de siguranţă
• Protejaţi produsul împotriva umidităţii
• Evitaţi electricitatea antistatică atunci când instalaţi produsului
Instalarea componentelor hardware
1. Închideţi PC-ul şi deconectaţi cablul de alimentare.
2. Deschideţi carcasa.
3. Scoateți panoul din spațiul disponibil și introduceți panoul frontal în locaș și
înșurubați-l spre carcasă.
4. Conectați un cablu de alimentare al sursei de alimentare la panoul frontal.
5. Conectaţi cablul USB la un conector USB cu 19 pini tată.
6. Reataşaţi carcasa şi conectaţi cablul de alimentare la adaptorul de c.a.
7. Panoul frontal este acum gata de utilizare.
Säkerhetsinstruktioner
• Skydda produkten mot fukt
• Undvik antistatisk elektricitet när du installerar produkten
Hårdvaruinstallation
1. Stäng av datorn och koppla ifrån strömsladden.
2. Öppna höljet.
3. Ta bort panelen från den tillgängliga öppningen och sätt in frontpanelen i
öppningen och skruva fast den i höljet.
4. Anslut en strömkabel från din strömförsörjning till frontpanelen.
5. Anslut USB-kabeln till ett ledigt 19-stifts USB-stifthuvud (hane).
6. Sätt tillbaka höljet och anslut strömsladden till eluttaget.
7. Frontpanelen är nu klart att använda.
Istruzioni per la sicurezza
• Proteggere il prodotto dall'umidità
• Evitare l'elettricità antistatica durante l'installazione del prodotto
Installazione dell'hardware
1. Spegnere il PC e scollegare il cavo di alimentazione.
2. Aprire l'alloggiamento.
3. Rimuovere il pannello dal bay disponibile e inserire il pannello frontale nel
bay, poi ssarlo all'alloggiamento.
4. Collegare un cavo di alimentazione dell'alimentatore al pannello frontale.
5. Collegare il cavo USB ad un connettore USB maschio a 19 pin disponibile.
6. Reinserire l'alloggiamento e collegare il cavo di alimentazione all'adattatore
CA.
7. Ora il pannello frontale è pronto per l'uso.
Cet appareil
se recycle
Points de collecte sur www.quefairedemesdechets.fr
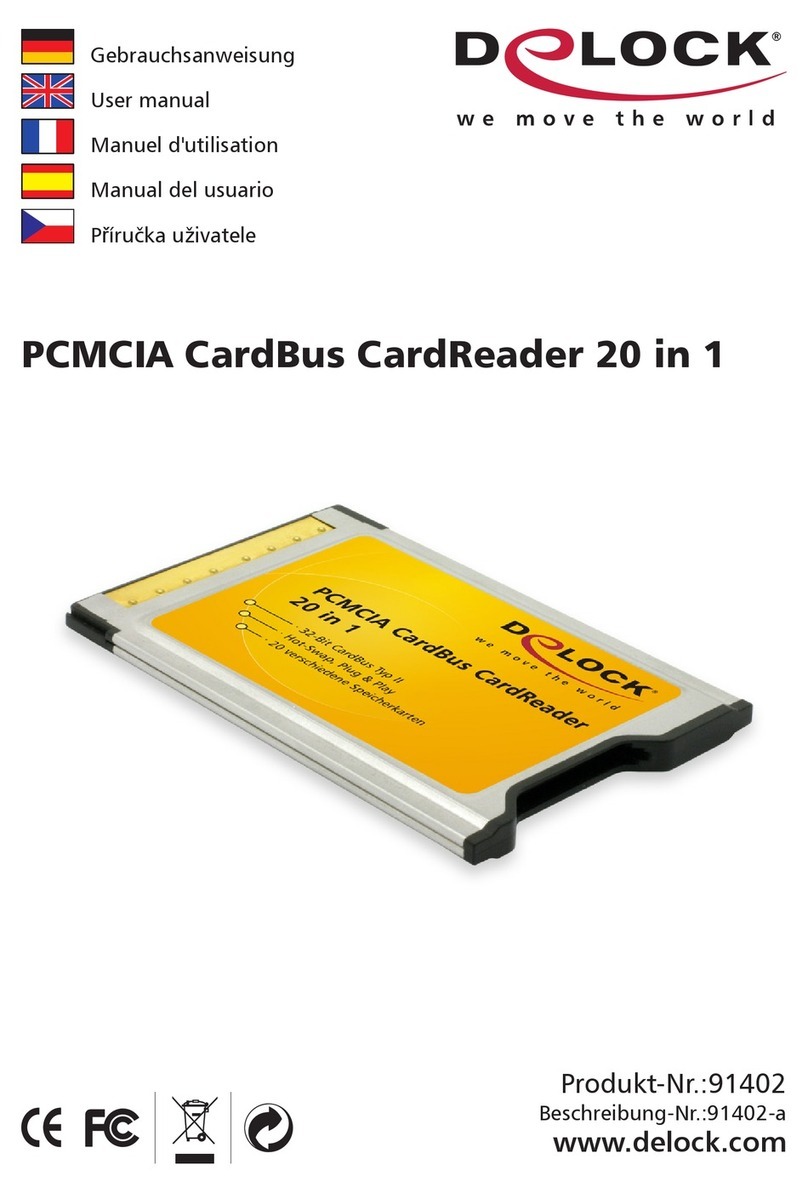
Other DeLOCK Card Reader manuals

DeLOCK
DeLOCK 91686 User manual

DeLOCK
DeLOCK 91629 User manual

DeLOCK
DeLOCK 91005 User manual

DeLOCK
DeLOCK PCMCIA CardBus User manual

DeLOCK
DeLOCK 91704 User manual

DeLOCK
DeLOCK 91004 User manual

DeLOCK
DeLOCK 91758 User manual

DeLOCK
DeLOCK 91008 User manual

DeLOCK
DeLOCK 91628 User manual

DeLOCK
DeLOCK 91739 User manual