DEMA 94235 User manual

REFRACTOMETER 0-32%
DEMA 94235

2
CONTENTS
1. Safety instructions..................................................................................3
1.1. Intended use...........................................................................................3
2. Assembly and construction ....................................................................3
3. Service ...................................................................................................4
3.1. Setting the zero-point .............................................................................4
3.2. Measuring...............................................................................................5
4. Maintenance...........................................................................................5
5. Disposal..................................................................................................6
6. Technical data ........................................................................................6
7. Conversion table ....................................................................................7

3
1. SAFETY INSTRUCTIONS
• Warning!
Technical changes can be made by manufacturer at any time
without prior notice and may not be taken into account in this
manual.
• Before use, always check the device to be properly assem-
bled tightened and without missing parts.
• Never use damaged device or device with missing parts.
If the device is damaged or have missing parts - contact
manufacturer or have otorised, qualied technician to service
the device.
• Always work carefully, with caution and do not work under
inuence of drugs, alcohol etc.
• Keep children and not working people away from working
area.
• Do not overload the tools, use correct tool for the task.
• Store packaging materials (foils, plastic bags, styrofoam,
etc.) in places out of reach of children, they can present dan-
gers (e.g. risk of suocation).
1.1 INTENDED USE
• For determining sugar levels in liquids.
• Not suitable for aggressive liquids - acids, brake oils, lubri-
cants, gasoline, petrol, etc.
2. ASSEMBLY AND CONSTRUCTION
• The refractometer is deliverred assembled and ready for use.

4
3. SERVICE
3.1. Setting the zero point
• Open the cover plate of the refractometer.
• Drop 1-3 drops of distilled water on the prism surface with
the help of the pipette included in the set
• Close the cover plate very carefully and rmly - so the water
is distributed to the entire surface of the prism without bub-
bles and dry spots.
• Hold the refractometer with the cover against a light source
(like lamp).
• The calibration should be made in room tem-
perature (around 20ºC and wait around 30
seconds - for the temperature compensation to
take place.
• A light and dark area are now visible from the
ocular. The borderline between them indicates
the refractive index on the scale which is also visible on the
scale.
• Adjust the adjustment screw, to set the scale, so that the bor-
der line is exactly against 0.0%. For that purpose you must
remove the rubber cap on the screw and adjust it with the
trimming tool provided in the set.
Operation Manual for Hand-held Refractometer for
Brix measurement 28 to 62%
Product Layout
Specification:
Model: RBX2862
Measuring range: 28 ~62%
Display Resolution: 0.2%
Temperature Compensation: Automatic from 10 to 30degree Celsius.
(ATC model only)
Calibration:
1. Calibration should be made in an ambient environment of 20degree Celsius.
2. Open the Light Plate & place few drops of calibration fluid ½ fill the prism.
Model Calibration fluid Calibration Point
RBX2862 29.6% Sucrose Solution 29.6%
Alternative standards may be used.
3. Close the Light Plate. Ensure the water is spread across the entire surface of
the Prism. There must not be any bubbles or dry spots on the Prism, which is
cause by too little liquid use.
4. Wait for about 30 seconds, this is to allow the temperature compensation to
take place.
5. Hold the meter in the direction of light source and look into the Eyepiece.
6. Adjust the Focus Dial until image is clear and sharp. Each person has his own
focusing adjustment.
7. Remove the rubber cap on the Calibration knob, with the use of the provided
trimming tool and adjust it until the bottom line of the blue section is at 29.6%.
8. Calibration Completed.
9. Wipe dries the Light Plate and Prism with soft lint-free clothes before
proceeding with measurement.
Operation Manual for Hand-held Refractometer for
Brix measurement 28 to 62%
Product Layout
Specification:
Model: RBX2862
Measuring range: 28 ~62%
Display Resolution: 0.2%
Temperature Compensation: Automatic from 10 to 30degree Celsius.
(ATC model only)
Calibration:
1. Calibration should be made in an ambient environment of 20degree Celsius.
2. Open the Light Plate & place few drops of calibration fluid 1.2 fill the prism.
Model Calibration fluid Calibration Point
RBX2862 29.6% Sucrose Solution 29.6%
Alternative stanards may be used.
3. Close the Light Plate. Ensure the water is spread across the entire surface of
the Prism. There must not be any bubbles or dry spots on the Prism, which is
caused by too little liquid use.
4. Wait for about 30 seconds, this is to allow the temperature compensation to
take place.
5. Hold the meter in the direction of light source and look into the Eyepiece.
6. Adjust the Focus Dial until image is clear and sharp. Each person has his own
focusing adjustment.
7. Remove the rubber cap on the Calibration knob, with the use of the provided
trimming tool and adjust it until the bottom line of the blue section is at 29.6%.
8. Calibration Completed
9. Wipe dries the Light Plate and Prism with soft lint-free clothes before
proceeding with measurement.
Eyepiece
Calibration Knob
Focus Dial
Light Plate
Prism
Eyepiece
Calibration Knob
Focus Dial
Light Plate
Prism
Zero point

5
3.2. MEASURING
• Open the cover plate of the refractometer.
• Drop 1-3 drops of the liquid on the prism surface with the
help of the pipette included in the set
• Close the cover plate very carefully and rmly - so the water
is distributed to the entire surface of the prism without bub-
bles and dry spots.
• Hold the refractometer with the cover against a light source
(like lamp).
• Wait around 30 seconds - for the temperature compensation
to take place.
• A light and dark area are now visible from the
ocular. The borderline between them indicates
the refractive index on the scale which is also
visible on the scale. It indicates the measured
value.
4. MAINTENANCE
• After each use, clean the prism with a slightly moistened, soft
cloth.
• Clean the instrument before storage and after each use.
Residue left from liquids, can damage the prism surface.
• Do NOT immerse the instrument in water – if the view inside
the instrument becomes foggy, this means that water entered
into the body. In such case call a qualied technician to ser-
vice it or contact the dealer.
• Do NOT clean the prism with thinner / abbrasives, because
this will remove the special coating of the prism and damage
the instrument.
• Store only in dry and cool environment.
Making Measurement:
1. Open the light plate & place 2 to 3 drops of the test liquid on the prism.
2. Close the Light Plate. Ensure the water is spread across the entire surface of
the Prism. There must not be any bubbles or dry spots.
3. Wait for about 30 seconds, this is to allow the temperature compensation to
take place.
4. Hold the meter in the direction of light source and look into the Eyepiece.
5. Select the scale, which is the intended unit of measurement.
6. Take the reading from the scale on the line where the blue and white area
meets.
7. Wipe dry the Light Plate and Prism with a soft lint-free clothe after each and
every test and before storing away.
8. It is important to maintain the Light Plate and Prism dust and stain free in order
to have good repeatability measurement.
Precautions in Usage:
1. Clean the instrument between each measurement and before storage with a
soft cloth. Residue of samples stained on the prism could damage the coating
on the prism.
2. Do not measure with abrasive or corrosive chemicals. This will damage the
prism’s coating.
3. Do not immerse the instrument in water. If the view inside the Eyepiece
becomes foggy, water has entered into the body. Call a qualified service
technician or contact your dealer.
4. Do not clean the prism with thinner as this will remove the special coating on
the prism and damage the unit.
5. Do not store the instrument in a damp environment. Store only in a cool and
dry environment.
6. This is an optical instrument and requires careful handling and storage. With
care, this instrument will provide years of reliable service.

6
5. DISPOSAL
• Do not dispose with commonal waste.
• Dispose only on the proper places or contact DEMA or local
dealer or local recylcing point suitable for disposing such
tools.
6. TECHNICAL DATA
Measurement range: 0 – 32 %
Error / Accuracy ± 2 %
Shaft diameter 25 mm
Test glass 40 x 13 mm
Size 175 x 40 mm
Weight 140 g.
Operation Manual for Hand-held Refractometer for
Brix measurement 28 to 62%
Product Layout
Specification:
Model: RBX2862
Measuring range: 28 ~62%
Display Resolution: 0.2%
Temperature Compensation: Automatic from 10 to 30degree Celsius.
(ATC model only)
Calibration:
1. Calibration should be made in an ambient environment of 20degree Celsius.
2. Open the Light Plate & place few drops of calibration fluid ½ fill the prism.
Model Calibration fluid Calibration Point
RBX2862 29.6% Sucrose Solution 29.6%
Alternative standards may be used.
3. Close the Light Plate. Ensure the water is spread across the entire surface of
the Prism. There must not be any bubbles or dry spots on the Prism, which is
cause by too little liquid use.
4. Wait for about 30 seconds, this is to allow the temperature compensation to
take place.
5. Hold the meter in the direction of light source and look into the Eyepiece.
6. Adjust the Focus Dial until image is clear and sharp. Each person has his own
focusing adjustment.
7. Remove the rubber cap on the Calibration knob, with the use of the provided
trimming tool and adjust it until the bottom line of the blue section is at 29.6%.
8. Calibration Completed.
9. Wipe dries the Light Plate and Prism with soft lint-free clothes before
proceeding with measurement.
Operation Manual for Hand-held Refractometer for
Brix measurement 28 to 62%
Product Layout
Specification:
Model: RBX2862
Measuring range: 28 ~62%
Display Resolution: 0.2%
Temperature Compensation: Automatic from 10 to 30degree Celsius.
(ATC model only)
Calibration:
1. Calibration should be made in an ambient environment of 20degree Celsius.
2. Open the Light Plate & place few drops of calibration fluid 1.2 fill the prism.
Model Calibration fluid Calibration Point
RBX2862 29.6% Sucrose Solution 29.6%
Alternative stanards may be used.
3. Close the Light Plate. Ensure the water is spread across the entire surface of
the Prism. There must not be any bubbles or dry spots on the Prism, which is
caused by too little liquid use.
4. Wait for about 30 seconds, this is to allow the temperature compensation to
take place.
5. Hold the meter in the direction of light source and look into the Eyepiece.
6. Adjust the Focus Dial until image is clear and sharp. Each person has his own
focusing adjustment.
7. Remove the rubber cap on the Calibration knob, with the use of the provided
trimming tool and adjust it until the bottom line of the blue section is at 29.6%.
8. Calibration Completed
9. Wipe dries the Light Plate and Prism with soft lint-free clothes before
proceeding with measurement.
Eyepiece
Calibration Knob
Focus Dial
Light Plate
Prism
Eyepiece
Calibration Knob
Focus Dial
Light Plate
Prism

7
PERCENT DEGREE PERCENT DEGREE PERCENT DEGREE PERCENT DEGREE
10.0% 40.0º 15.1% 61.5º 20.2% 83.8º 25.3% 107.0º
10.1% 40.4º 15.2% 61.9º 20.3% 84.3º 25.4% 107.4º
10.2% 40.8º 15.3% 62.4º 20.4% 84.7º 25.5% 107.9º
10.3% 41.2º 15.4% 62.8º 20.5% 85.2º 25.6% 108.4º
10.4% 41.6º 15.5% 63.2º 20.6% 85.6º 25.7% 108.8º
10.5% 42.1º 15.6% 63.7º 20.7% 86.0º 25.8% 109.3º
10.6% 42.5º 15.7% 64.1º 20.8% 86.5º 25.9% 109.7º
10.7% 42.9º 15.8% 64.5º 20.9% 86.9º 26.0% 110.2º
10.8% 43.3º 15.9% 64.9º 21.0% 87.4º 26.1% 110.7º
10.9% 43.7º 16.0% 65.4º 21.1% 87.8º 26.2% 111.1º
11.0% 44.1º 16.1% 65.8º 21.2% 88.3º 26.3% 111.6º
11.1% 44.6º 16.2% 66.2º 21.3% 88.7º 26.4% 112.1º
11.2% 45.0º 16.3% 66.7º 21.4% 89.2º 26.5% 112.5º
11.3% 45.4º 16.4% 67.1º 21.5% 89.6º 26.6% 113.0º
11.4% 45.8º 16.5% 65.5º 21.6% 90.1º 26.7% 113.5º
11.5% 46.2º 16.6% 68.0º 21.7% 90.5º 26.8% 113.9º
11.6% 46.6º 16.7% 68.4º 21.8% 91.0º 26.9% 114.4º
11.7% 47.1º 16.8% 68.8º 21.9% 91.4º 27.0% 114.9º
11.8% 47.5º 16.9% 69.3º 22.0% 91.9º 27.1% 115.3º
11.9% 47.9º 17.0% 69.7º 22.1% 92.3º 27.2% 115.8º
12.0% 48.3º 17.1% 70.2º 22.2% 92.8º 27.3% 116.3º
12.1% 48.7º 17.2% 70.6º 22.3% 93.2º 27.4% 116.7º
12.2% 49.2º 17.3% 71.0º 22.4% 93.7º 27.5% 117.2º
12.3% 49.6º 17.4% 71.5º 22.5% 94.1º 27.6% 117.7º
12.4% 50.0º 17.5% 71.9º 22.6% 94.6º 27.7% 118.2º
12.5% 50.4º 17.6% 72.3º 22.7% 95.1º 27.8% 118.6º
12.6% 50.9º 17.7% 72.8º 22.8% 95.5º 27.9% 119.1º
12.7% 51.3º 17.8% 73.2º 22.9% 96.0º 28.0% 119.6º
12.8% 51.7º 17.9% 73.6º 22.0% 96.4º 28.1% 120.0º
12.9% 52.1º 18.0% 74.1º 23.1% 96.9º 28.2% 120.5º
13.0% 52.5º 18.1% 74.5º 23.2% 97.3º 28.3% 121.0º
13.1% 53.0º 18.2% 75.0º 23.3% 97.8º 28.4% 121.5º
13.2% 53.4º 18.3% 75.4º 23.4% 98.2º 28.5% 121.9º
13.3% 53.8º 18.4% 75.8º 23.5% 98.7º 28.6% 122.4º
13.4% 54.2º 18.5% 76.3º 23.6% 99.2º 28.7% 122.9º
13.5% 54.7º 18.6% 76.7º 23.7% 99.6º 28.8% 123.3º
13.6% 55.1º 18.7% 77.2º 23.8% 100.1º 28.9% 123.8º
13.7% 55.5º 18.8% 71.6º 23.9% 100.5º 29.0% 124.3º
13.8% 55.9º 18.9% 78.0º 24.0% 101.0º 29.1% 124.8º
13.9% 56.4º 19.0% 78.5º 24.1% 101.4º 29.2% 125.2º
14.0% 56.8º 19.1% 78.9º 24.2% 101.9º 29.3% 125.7º
14.1% 57.2º 19.2% 79.4º 24.3% 102.4º 29.4% 126.2º
14.2% 57.6º 19.3% 79.8º 24.4% 102.8º 29.5% 126.7º
14.3% 58.1º 19.4% 80.3º 24.5% 103.3º 29.6% 127.2º
14.4% 58.5º 19.5% 80.7º 24.6% 103.7º 29.7% 127.6º
14.5% 58.9º 19.6% 81.1º 24.7% 104.2º 29.8% 128.1º
14.6% 59.4º 19.7% 81.6º 24.8% 104.7º 29.9% 128.6º
14.7% 59.8º 19.8% 82.0º 24.9% 105.1º 30.0% 129.1º
14.8% 60.2º 19.9% 82.5º 25.0% 105.6º
14.9% 60.6º 20.0% 82.9º 25.1% 106.0º
15.0% 61.1º 20.1% 83.4º 25.2% 106.5º
7. Conversion table

Table of contents
Other DEMA Laboratory Equipment manuals
DEMA
DEMA 292QD AERATING WAND User manual
DEMA
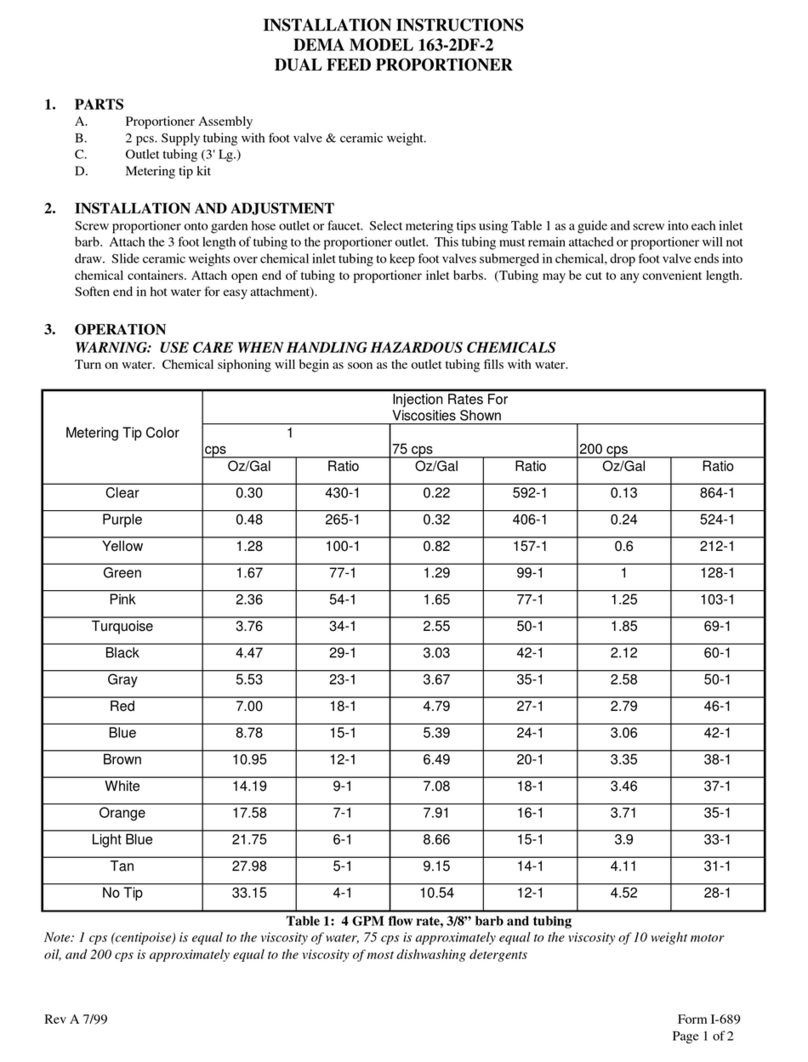
DEMA 163-2DF-2 User manual
DEMA
DEMA 203BS-2EP User manual
DEMA
DEMA 700 Series User manual

DEMA
DEMA 633AG-1 User manual
DEMA
DEMA 633GAP Series User manual
DEMA
DEMA 162HCGHT User manual

DEMA
DEMA Fusion One Assembly instructions
DEMA
DEMA 163CH User manual
DEMA
DEMA 681GAP-2P User manual
Popular Laboratory Equipment manuals by other brands
tbs electronics
tbs electronics SHURCut 2500 Operator's manual
Gerber Instruments
Gerber Instruments Micro 3 operating instructions
Integra
Integra 310 60040 Series Assembly procedure
J.P. SELECTA
J.P. SELECTA RS 3001-V manual
Bio-Tek
Bio-Tek Synergy HTX Operator's manual
TAN Bead
TAN Bead Maelstrom 9600 user manual

