manuals.online logo
Brands
  1. Home
  2. •
  3. Brands
  4. •
  5. Dension
  6. •
  7. Gateway
  8. •
  9. Dension ice>Link Gateway 500 User manual

Dension ice>Link Gateway 500 User manual

General User Guide
Gateway 500
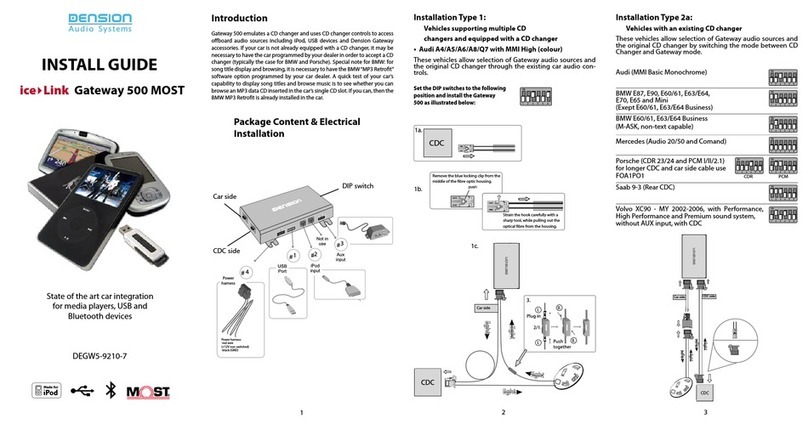
1. Introduction
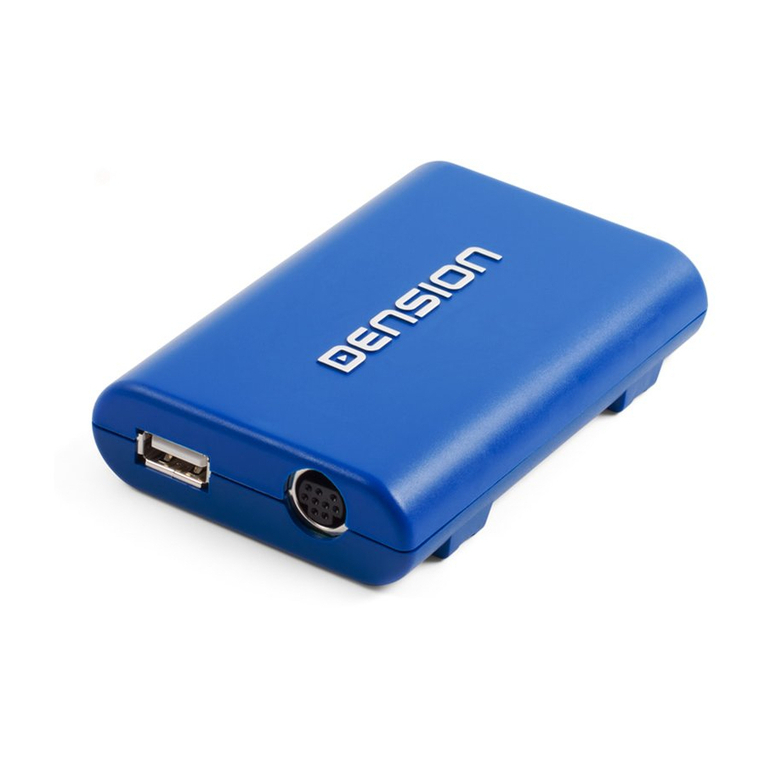
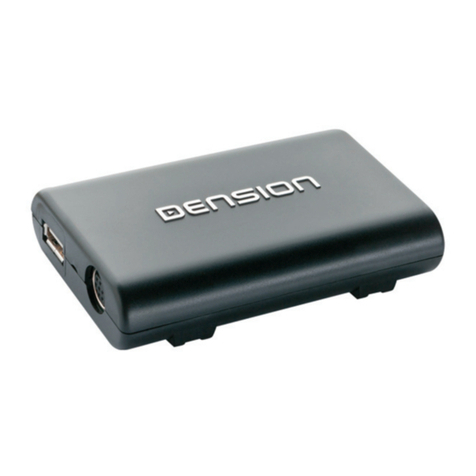
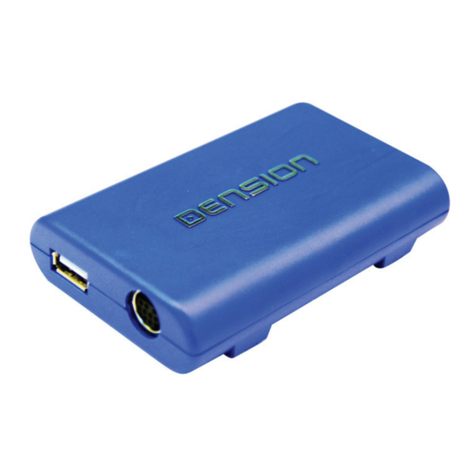
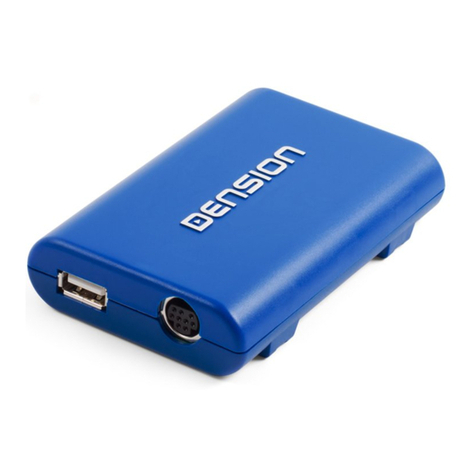
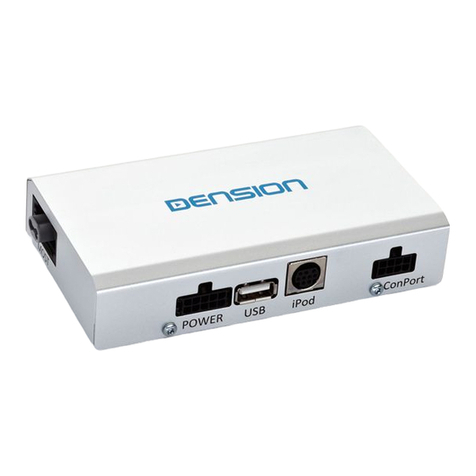
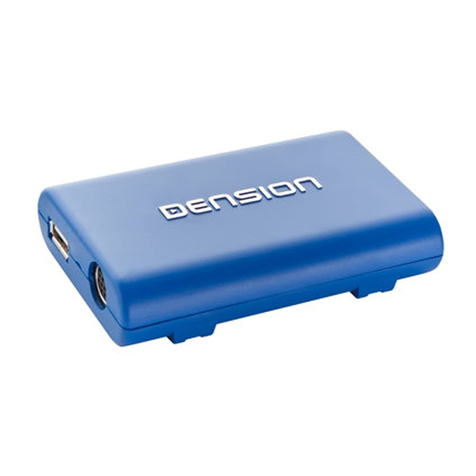
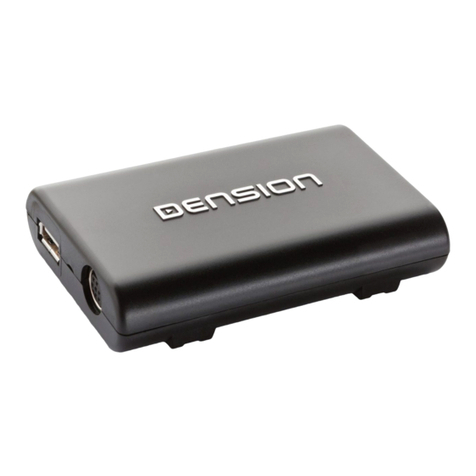
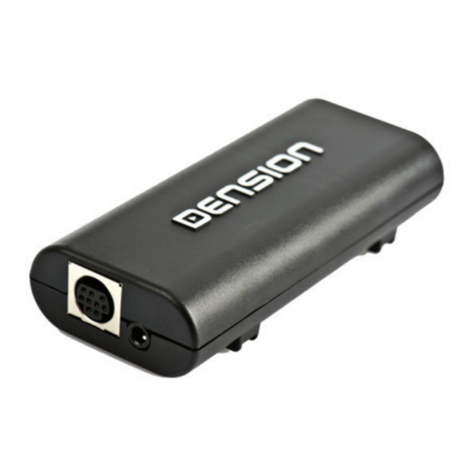
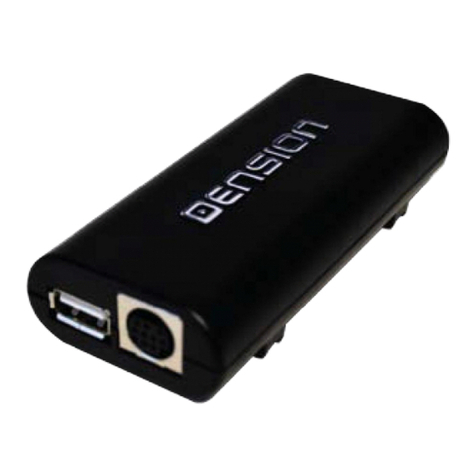
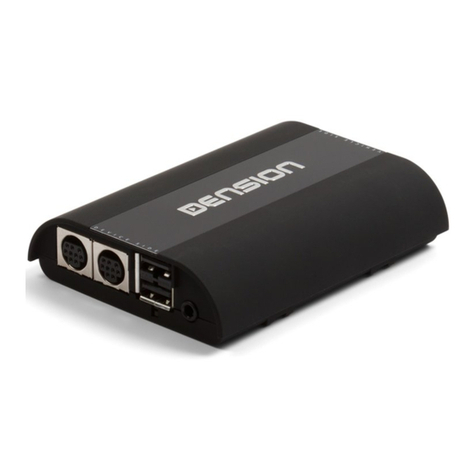
The Dension Gateway 500 lets you connect your USB fl ash drive iPod
and iPhone to your original car radio, providing music playback and
menu based control through your vehicle’s entertainment system,
using the original controls of the car stereo.
2. Supported audio devices
USB: USB stick and external hard drive with one partition
File system: FAT32
Storage capacity: up to 320 GB music content
Music format: MP3, WAV and WMA (except for DRM protected,
WMA-lossless, WMA-Pro)
iPods1:
• iPod (4th generation)
• iPod nano (1st, 2nd, 3rd, 4th, 5th and 6th generation)
• iPod mini
• iPod photo 4G
• iPod video 5G
• iPod classic
• iPod touch (1st, 2nd, 3rd and 4th generation)
1These require the optional Dension “30-pin Dock cable” (IPDC1GW).
Supported iPod and iPhone devices via Lightning adapter for
Gateway (LIA1GW0) (not included in the package):
• All iPhone and iPod devices that have a Lightning connector
5. Music menu
Here you can browse and select the music content of the connected
device.
• USB: Files, Artists, Albums, Titles, Bookmarks are available
• iPod/iPhone: Playlists, Artists, Albums, Songs, Genres
Please note: In case the current list of the playlist/album contains
more than 30 items (songs) the whole list cannot be displayed on the
same screen due to the technical limitation of the radio so it will be
split to pages (sub lists) containing 30 items.
3. First steps with the Gateway
Before you start, please check that your iPod or iPhone is up-to-date.
You can get the latest firmware updates via iTunes or the settings
menu on your device. If you use a USB device, please check the above
mentioned requirements.
Getting started:
Switch your head unit (car radio) ON and select CD changer as source.
If in doubt consult the audio section of your car’s instruction manual!
Depending on your head unit, the music menu can be browsed with
radio buttons (Next / Back), MMI or i-Drive controller (for further
details please go to Section 8). Trough the CD changer option you
should see the menu of the Gateway in CD6 or CD1 (head unit
dependent).
4. Sources
If you connect a source to the Gateway, that source will start to play
automatically. In case if that source has been in use earlier, the music
will continue from the last played position.
In the Source menu you can select from which source you would like
to listen your music. This can be:
• GW AUX: in AUX mode the radio displays ‘AUX GW’ on the radio
screen and cluster display (car/head unit dependent). No control
functions are available.
• iPod UI: the original user interface of the iPod remains active
(i.e. the click wheel still works) so you can use it for browsing as
normal. In this mode the ID3 tag info will not be displayed, time
counter is not synchronized and only ‘iPod UI’ will appear on the
screen.
• iPod GW: the click wheel or the touch screen (iPhone, iPod touch)
is disabled, iPod displays the currently played song information,
except on touch and iPhone where ‘Accessory attached’
message is displayed. The iPod playback control is possible from
the car stereo (head unit) or the steering wheel only. In this mode
the ID3 tag info and the time is displayed on the radio display
(radio dependent).
• USB: the playback is controlled from the Gateway. ID3 tag info
will be displayed (if that details are properly filled out).
Please note: Gateway returns to Now playing menu after you choose
a music file.
G51-9201-2
7. Specific operation guides
BMW
The menu of the Gateway is displayed on the iDrive or the radio screen:
The music playback and settings are controlled from the radio or
iDrive controller, but it is also possible to select the next or the
previous track from the steering wheel buttons (if available). For more
information, please check section #4, #5, #6 and #7!
Browsing is possible on non-iDrive cars, by the next or previous
track buttons. In order to select a menu item, please press and hold
the fast forward button (about 3 seconds). Press and hold the fast
rewind if you want to get back to the previous menu.
On iDrive based systems turn the iDrive controller left or right for
browsing. Press the iDrive to select a song or enter a menu, slide the
controller up and push the iDrive controller to get back to the previous
menu.
Mercedes-Benz
The menu of the Gateway is displayed on the screen of the COMAND
head unit:
The music playback and settings are controlled from the buttons of
the head unit, but it is also possible to select the next or the previous
track from the steering wheel (if available). For more information,
please check section #4, #5, #6 and #7!
Toggling between different menu options is possible with the next
SEEK+ ( ) or previous track SEEK- ( ) buttons. In order to select
a menu item, press and hold (about 3 seconds) the next track SEEK+
( ) button. You can get back to the previous menu level if you do the
same procedure with previous back SEEK- ( ) button.
Note: The Gateway menu can be reached by “Magaz.” button as well
where you can use side navigation buttons too, however for browsing
and selecting the same buttons need to be used as mentioned above.
On text capable radios the source selection and browsing is
organized in a Menu - available by
selecting Disc6 or in the car’s built in Browser. Due to the very
different graphic interface of various
cars the Menu may look diffrenet as well.
Navigation in the Menu is just like you were selecting Tracks on a
CD.
Use the Nex/Back track button or the jog-wheel to highlight an
item in the list.
You can Enter a menu or select the highlighted item by fast
forward or by pressing the controller wheel.
With the fast revind button you can go back to the previous
menu level.
To browse the content of the connected device, you need to use
the CDC menu and CDC controls of the head unit.
These controls are head unit dependent but the basics are the
same.
Basic music browsing
6.
Use the disc buttons or disc selection menu as you see below to
manage the playback from the Gateway.
- Disc1: You can see the list of playlists/folders if you select Disc
1 of the CD changer option.
- Disc2: With Disc 2 you can browse the Artists
- Disc3: After pressing Disc3 you will be able to select between
the available albums.
- Disc 4: Under Disc4 you will find an extra menu wher you can
select play All list or you can turn ON/OFF the Random, repeat
or Scan options.
- Disc5: Disc5 is the playing disc you should see the now
playing menu if you select this disc or if you wait until the
Gateway switch to Disc 5 automatically after Timeout.
- Disc6: Disc 6 is the menu of the Gateway. Under this option,
you can find the Source menu where you can select between the
different connected sources.
Also you can browse the content of the active source. The
content of the browsing menu is source dependent.
To enter the menu of the Gateway, you need to press audio
button, then select CDC . After this, you can reach the discs
with the numerical buttons.
Porsche
The menu of the Gateway is displayed on the PCM head unit:
You can enter the Gateway’s menu by selecting “CD List” and then
“Menu” by the right rotary knob. When you entered the menu of the
Gateway you can toggle between the different menu options by the
next (>) or previous track (<) buttons. In order to select a menu item,
press and hold (about 3 seconds) the next track (>) button. You can
get back to the previous menu level if you do the same procedure with
previous track (<) button.
The music playback and settings are controlled from the radio, but
it is also possible to select the next or the previous track from the
steering wheel (if available). For more information, please check
section #4, #5, #6 and #7!
Audi
The menu of the Gateway is displayed on the MMI screen:
You can enter the Gateway’s menu by selecting “Changer” with
the upper side button and then select “Menu” (CD1-6 or CD7-12) by
using the MMI rotary knob.
Turn left or right the MMI rotary controller for browsing and press this
knob to select a song or enter a menu. Alternatively you can use the
next track (>) button to enter or select, if you hold it for 3 seconds.
You can get back to the previous menu level, if you select the first
menu item in the list (at the top) or if you press and hold the previous
track (<) button.
The music playback and settings are controlled from the radio, but
it is also possible to select the next or the previous track from the
steering wheel (if available). For more information, please check
section #4, #5, #6 and #7!
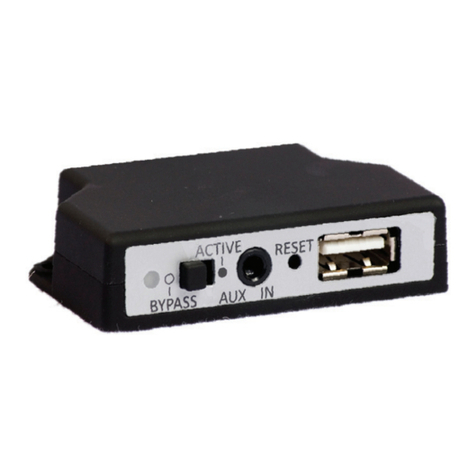
8. AUX box
The Aux box is a convenient accessory and AUX input (Stereo RCA)
and it has a mode selector switch and a reset button. Use the mode
selector switch to toggle between ACTIVE/BYPASS mode. In active
mode the blue LED will light continuously, meaning the Gateway is
the active source. In bypass mode (LED only fl ashes), the Gateway
will be fully “invisible”, so no functions - as media playback from
iPod or the phone - will be accessible. In this mode you can reach the
original CD changer (if available) instead of the Gateway.
Use bypass mode if:
• You want to use the original CD changer of the car
• If the car is taken to service (to avoid conflicts with diagnostic
devices)
Please note: After changing the mode switch to active or bypass
mode please turn off the whole car with closed doors for 5 minutes to
finalize the new setting. 10. Disclaimer
If your car’s electrical system begins to behave in an unpredictable way
please immediately diconnect the Gateway device physically and have
it checked by your installer or an automotive electronics professional.
Dension and its authorized distributors and retailers are not liable for
any incidental consequential or indirect damages or loss and do not
assume liability for any diagnostic fees.
The use of handheld devices while driving may be subject to
government legislation. Please ensure that your use of the Dension
device complies with applicable traffic laws. Dension does not assume
liability for any events resulting from the illegal or irresponsible use
of handheld devices during the driving. Dension reserves the right to
modify its products or specifications without prior notice.
11
.
Warranty
Dension devices carry a one-year limited warranty that protects
you from defects in material and workmanship of products sold by
Dension or its authorized distributors and retailers. Dension does
not warrant any installation work or assume liability for any damage
caused due to negligence, improper installation or operation. For
warranty claims, proof of purchase is required.
12
.
Update and support
If you need further assistance in using your Gateway, please contact
your local supplier or visit www.dension.com/support. Please check
the product section for the latest firmware version and product
documentation of your device.
Magyar nyelvű útmutatóért kérjük látogasson el weboldalunkra.
Für die deutsche Anleitung bitte unsere Webpage zu besuchen.
9. Operation in Non-Text capable cars
If your car do not support text, than instead of a Menu, you can
select a source by seting a Track# on Disc6. When you select
Disc6, the Track# will indicate the currently active source. This
may take a few seconds. Chnage the Track# and press FF to
select a new source.
This table indicates the Track# assignment to the possible
sources:
To browse the content of the connected device in non-text
mode, you need to use the same controls as you see in section
#6.
In non-text mode, you can switch between the first tracks of
each playlist/folder after you pressed Disc1. With the fast
forward you can selected the playlist which actually heared
through the speakers.
You can do the same with Artists after pressing Disc2 or with
Albums after pressing Disc3.

Other manuals for ice>Link Gateway 500

2

Other Dension Gateway manuals

Dension iGateway GW1-9202-1 User manual

Dension

Dension iGateway GW1-9202-1 User manual

Dension Lite BT GBL-9230-1 User manual

Dension

Dension Lite BT GBL-9230-1 User manual

Dension ice Link Gateway 100 User manual

Dension

Dension ice Link Gateway 100 User manual

Dension Lite BT Instruction Manual

Dension

Dension Lite BT Instruction Manual

Dension GWL-9221-2 User manual

Dension

Dension GWL-9221-2 User manual

Dension 500S User manual

Dension

Dension 500S User manual

Dension GW53MO1 User manual

Dension

Dension GW53MO1 User manual

Dension GWL-9210-1 User manual

Dension

Dension GWL-9210-1 User manual

Dension GWP-9202-1 User manual

Dension

Dension GWP-9202-1 User manual

Dension Lite BT User manual

Dension

Dension Lite BT User manual

Dension GW 100 User manual

Dension

Dension GW 100 User manual

Dension GWP-9210-1 User manual

Dension

Dension GWP-9210-1 User manual

Dension 500S BT User manual

Dension

Dension 500S BT User manual

Dension GBL-9222-1 User manual

Dension

Dension GBL-9222-1 User manual

Dension 500S BT User manual

Dension

Dension 500S BT User manual

Dension GWL-9231-1 User manual

Dension

Dension GWL-9231-1 User manual

Dension Gateway Blue User manual

Dension

Dension Gateway Blue User manual

Dension 500S GW53MO1 User manual

Dension

Dension 500S GW53MO1 User manual

Dension Lite BT User manual

Dension

Dension Lite BT User manual

Dension Gateway Pro BT User manual

Dension

Dension Gateway Pro BT User manual

Dension DEGW5-9210-7 User manual

Dension

Dension DEGW5-9210-7 User manual

Dension 500S User manual

Dension

Dension 500S User manual

Dension ice>Link Gateway 500 User manual

Dension

Dension ice>Link Gateway 500 User manual

Dension Gateway Pro BT User manual

Dension

Dension Gateway Pro BT User manual

Popular Gateway manuals by other brands

ActionTec T3260 user manual

ActionTec

ActionTec T3260 user manual

Banner SureCross Performance FlexPower DX80G9M2S-P7 manual

Banner

Banner SureCross Performance FlexPower DX80G9M2S-P7 manual

CBN CG7486E user guide

CBN

CBN CG7486E user guide

WELLTECH WellGate 3512 quick start guide

WELLTECH

WELLTECH WellGate 3512 quick start guide

COTX X5 quick start guide

COTX

COTX X5 quick start guide

Arris Touchstone DG860 Quick install guide

Arris

Arris Touchstone DG860 Quick install guide

SmartSavy Serial GSM Gateway Software configuration guide

SmartSavy

SmartSavy Serial GSM Gateway Software configuration guide

Allied Telesis AT-iMG624 datasheet

Allied Telesis

Allied Telesis AT-iMG624 datasheet

Net2Phone Net2Phone MAX 8/16 user guide

Net2Phone

Net2Phone Net2Phone MAX 8/16 user guide

Seneca Z-KEY MBUS user manual

Seneca

Seneca Z-KEY MBUS user manual

Pelican GW400 Getting started

Pelican

Pelican GW400 Getting started

Eaton EU5C-SWD-EIP-MODTCP manual

Eaton

Eaton EU5C-SWD-EIP-MODTCP manual

Compal Broadband Networks CH6640E user guide

Compal Broadband Networks

Compal Broadband Networks CH6640E user guide

LG EnerBox2 Quick setup guide

LG

LG EnerBox2 Quick setup guide

Pace HomePortal 5168NV Technical specifications

Pace

Pace HomePortal 5168NV Technical specifications

Everflourish 30UL-WB user manual

Everflourish

Everflourish 30UL-WB user manual

NETGEAR CG3000D user guide

NETGEAR

NETGEAR CG3000D user guide

ZyXEL Communications ZYAIR B-2000 Specifications

ZyXEL Communications

ZyXEL Communications ZYAIR B-2000 Specifications

manuals.online logo
manuals.online logoBrands
  • About & Mission
  • Contact us
  • Privacy Policy
  • Terms and Conditions

Copyright 2025 Manuals.Online. All Rights Reserved.