DEVILBISS
SERVICE
BULLETIN
SB-2-240-C
Replaces
SB-2-240-B
AUTOMOnYE
REFINISHING
PIIODUCiS
Repair
Kil
KK-4987-1
JGHV-530 High Volume
Low Pressure Spray Gun
IMPORTANT:
Before
using
this
equipment,
read all
safety
precautions
and
Instructions.
Retain
lor
fu-
ture
use.
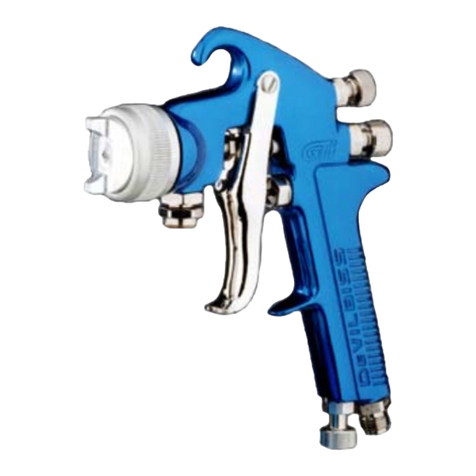
DESCRIPTION
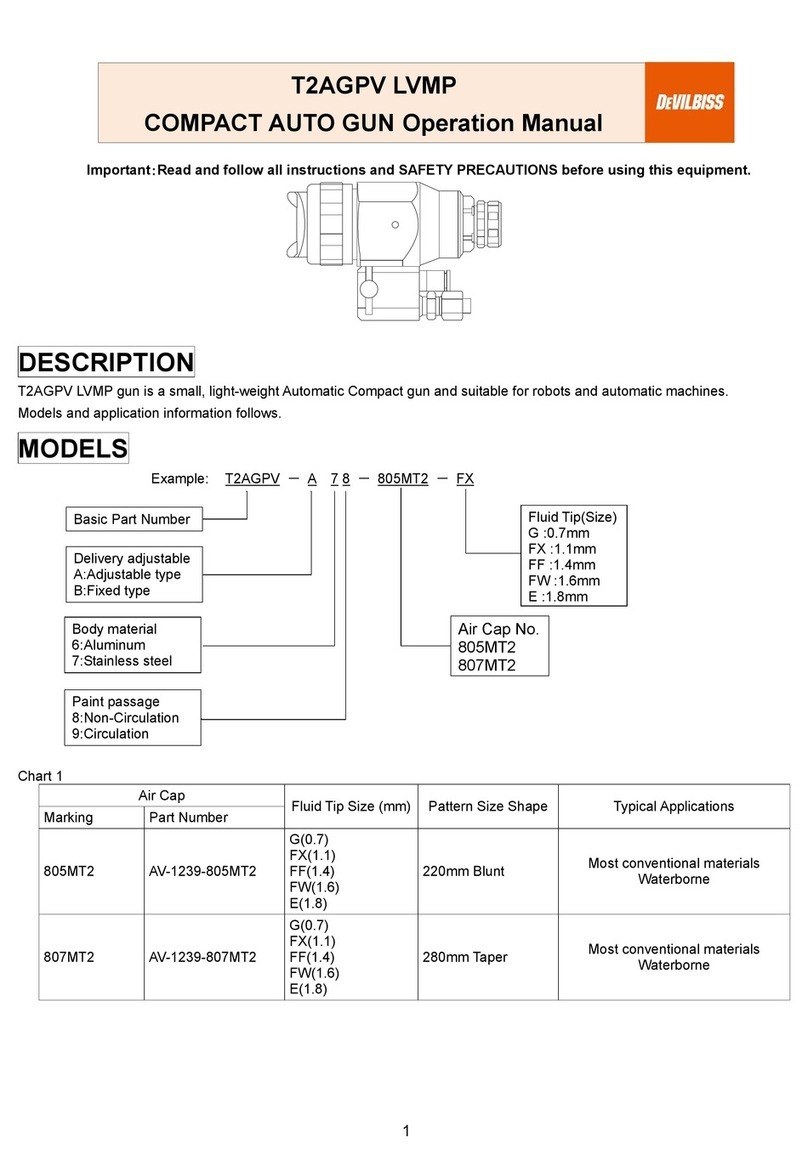
The JGHV-530 is a primary, auto refinish HVLP spray
gun designedto apply a wide variety of finishing materi-
als. Thisgunwasmanufacturedtocomply
with
SCAQMD
and
other
air
quality
authorities
by limiting the aircap
pressure to 10 psi. This spray gun is intended for use
with pressure feed paint supply only.
The No. 33 aircapandgun is intendedforsmall
or
partial
jobs. The No. 57 air cap and gun is intended for larger
jobs, completes and fleet refinishing jobs. Refer to the
Air Cap Chart 2
lor
more information.
INSTALLATION
Connect the gun to a clean, moisture and oil tree air
supplyusing ahose sizeofatleast5/16"
I.D
. Depending
on hose length,larger
I.
D.
maybe required. Install an air
adjusting valve/air gauge, HAV-501, at the gun handle
and air cap test kit,see "Accessories", over tip.
For
maximum
gun
pertonmance and
to
assure
code
compliance,
set
the
air
cap
presssure
at10
pslg
or
less. Remove the aircap test kit and install the aircap.
OPERATION
Adjustfluidpressureto deliverthe desired paint volume.
As ageneralrule ofthumb,thefollowing fluid flowandtip
sizes should be followed.
Tip
Cap
Size Flow (oz /min.)
DFX
57
.042 10-14
FX
33
.042" 10
GX
33
.034' 6
Excessive flow rates will resutt
in
heavy center spray
patterns. Inadequate flows may cause the pattern to
split. See Spray Gun Guide, SB-2-001, for details
concerning set up of spray guns.
HVLP requires gun distances of 6-8" be used. Excess
distance will produce inferior results.
Strain material thru 60
or
90 mesh screen.
Bestatomizationwill occurwith 10psigaircap pressure.
However, some materials can be sprayed
at
lower pres-
sures which will result in highertransfer efficiency.
PREVENTIVE
MAINTENANCE
To clean fluid passages, remove excess material at
source, then flush with a suitable solvent.
To clean air cap and fluid tip, brush exterior wtth a stiff
bristle brush.
If
necessary to clean cap holes, use a
broom straw
or
toothpick.
Never
use
a
wire
or
hard
Instrument.
This
may
scratch
or
burr holes causing a
distorted spray pattern.
Wipegun exteriorwith a solvent dampenedcloth. Never
completely immerse in solvent
as
this is detrimental to
the performance and gun life expectancy, as well
as
destroying the lubricants and packings.
Note
When baffle (6) & fluid
tip
(3) are removed, seal
(4)
and
0-Ring
(27) should
be
replaced. Foryourconvenience,
an extra seal &
0-Ring
is included wtththis gun.
Be
sure
to lubricate the
ID
of the baffle and
0-Ring
with SSL-10
gun lube to prevent
0-Ring
damage during installation.
Spray
Gun
Lubrication
Daily, applyadropofgun lube
at
triggerbearing stud (19)
and the stem
of
the air valve (14) where it enters the
a1r
valve assembly (17). The shank
of
the fluid needle (29)
where
it
entersthe packing nut (23) should also
be
oiled.
The fluid needle packing (22) should
be
kept soft and
pliable by periodic lubrication. Make
sure
baffle and
retaining
ring
threads
are
clean
and
tree
of
foreign
matter.
Before
assembling
air
cap
to
baffle, add
one
drop
of
gun
lube
to
threads.
The fluid needle spring (31) should be coated with a light
grease. The air valve spring (15) should be coated with
a very light grease, ensuring that any excess grease will
not clogthe airpassages.
For
bestresults, lubricate the
points indicated, daily.
A. Trigger points
B. Packing
C.
Adjusting valve D
D.
Baffle & retaining ring threads
E.
Air valve cartridge
©Copyright
1994,
DeVilbiss
Automotive
Refinishing
Products
