Close-up of the mode switch, to change from dynamic mode
condenser mode and vice versa.
Protect your microphone:
This Devine microphone is equipped ith very sensitive electronics to provide optimal audio performance.
Make sure the microphone is not exposed to severe shocks, collision, drops from high altitude or any
situations that may cause permanent damage. Improper use of the microphone is not covered by arranty.
Al ays transport the microphone in the original package, or in a flightcase ith proper foam inlay.
Transporting the microphone ithout proper protection may cause permanent damage and ill not be
covered by arranty.
Positioning and using the included accessories:
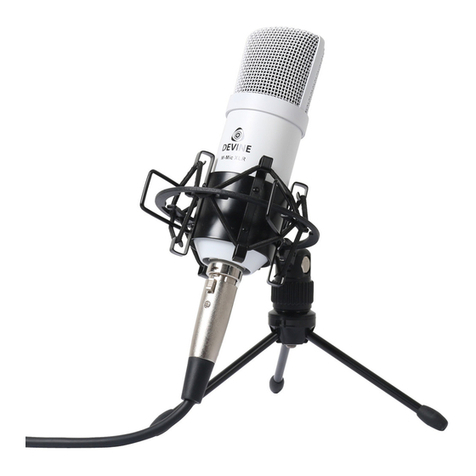
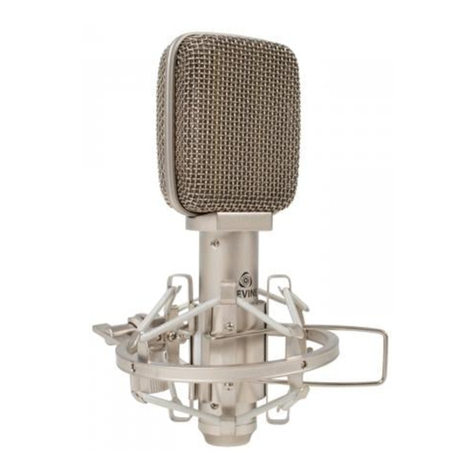
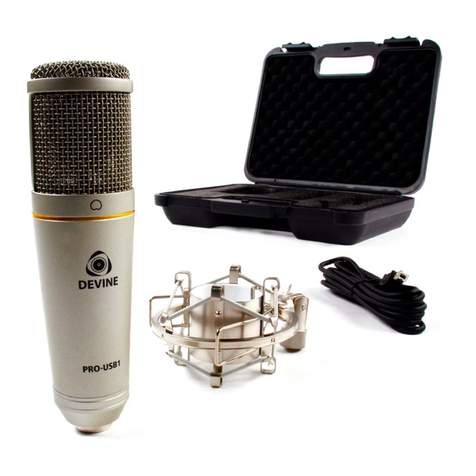
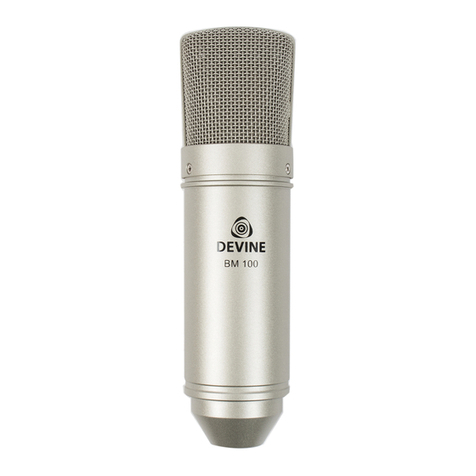
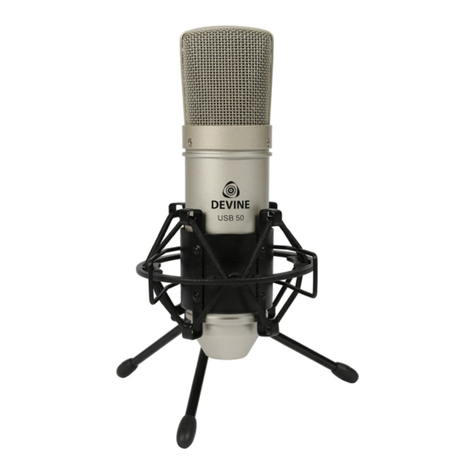
The BM-1000 includes a shock mount and metal pop filter for optimal audio performance. Devine
recommends to al ays use the included shock mount, to prevent audio distortion and background or
handling noise. The metal pop screen is optional and is mostly used hen recording vocals. The indscreen
breaks up airflo caused by vocal expressions, hich prevents distortion.
Connect your microphone to a mixer or audio interface:
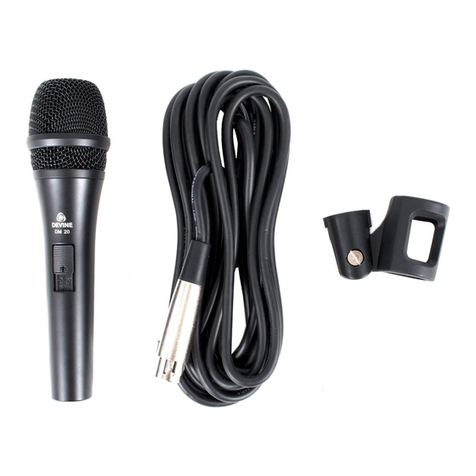
This microphone comes ith a XLR – 3.5mm TRS jack cable for direct connection ith a computer
microphone input. It is also possible to use a 3-pin XLR cable for connection ith your mixer or audio-
interface (XLR-XLR cable not included). It is recommended to check the settings on your audio equipment
before connecting the microphone, regardless of the selected orking mode. Check your equipment for the
follo ing settings:
Mixer/Audio interface:
- Gain set to the 0-point (in the most final counter-clock ise position)
- Compression/lo cut settings positioned in the off or most neutral position
- EQ settings on the most neutral position
- Pan/Balance settings on the most neutral position
- Volume fader or potentiometer set to the lo est possible position
- Phantom po er in the ‘on’ position hen used in this mode (mostly a button per channel, or a group of
channels)
Microphone:
- Steady positioning on a microphone stand (sold separately), ith the included shock mount
- Make sure the audio source (vocalist or instrument) is positioned as close as possible to the microphone
After you checked the settings above, you may start recording the audio source. Placing the audio source as
near to the microphone as possible, provides the best audio quality and grants you the ability to reduce
overall gain settings, hich prevents audio feedback and noise.
Turn the volume parameter (potentiometer or fader) on the ‘0 dB’ position for the best audio performance and
slo ly increase the gain, until slight clipping (mostly indicated ith a (LED) VU meter or LED) or distortion is
noticed.
Placement on a microphone stand or boom arm
The shockmount of the BM-500 microphone is equipped ith a 5/8” thread, suitable for most microphone
stands. If your microphone stand has 3/8” thread, adapters can be purchased separately. For easy
positioning, mount the shockmount ith the thread mount before mounting the microphone.
Any information and illustrations shown in this user manual are subject to change without further notice.
User manual version: 1.0 Creation date + author initials: 27-01-2014 RV Revision date + author initials: 27-01-2014 RV
