Use of the microphone
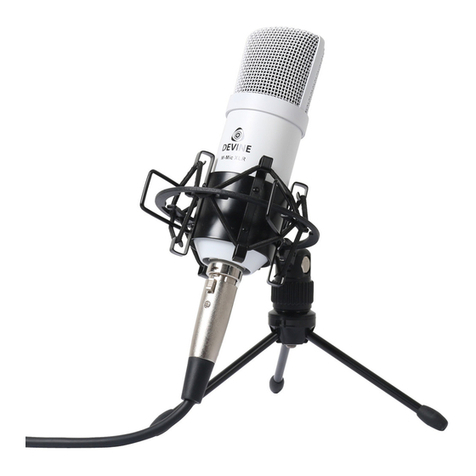
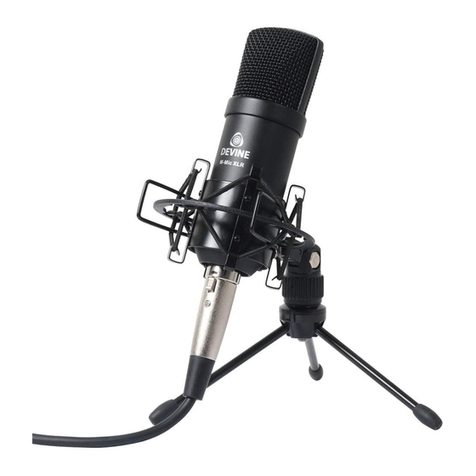
The Devine RM 10 studio microphone is suitable for lots of studio recording applications. It has a special
'figure of eight' polar pattern, also known as bi-directional. In practice, this means that the microphone
captures sound from the front, as well as the back of the microphone. Keep this in mind when setting up the
microphone, as sound sources positioned at the back of the microphone may have influence on the audio
track during recording.
IMPORT NT: Phantom power
This ribbon microphone does not require +48V phantom power to operate properly. Ensure that the phantom
power feature on your mixing board, audio interface or other phantom power capable equipment is turned off
before connecting the microphone.
Exposing the RM 10 microphone to a phantom power source for a longer period of time may cause
permanent damage and is therefore strongly discouraged.
Protect your microphone:
This Devine microphone is equipped with very sensitive electronics to provide optimal audio performance.
Make sure the microphone is not exposed to severe shocks, collision, drops from high altitude or any
situations that may cause permanent damage. Improper use of the microphone is not covered by warranty.
Always transport the microphone in the original package, or in a flightcase with proper foam inlay. The
microphone is not intended for on-the-road use.
Positioning and using the included accessories:
The RM 10 includes a shock mount for optimal audio
performance. Devine recommends to always use the
included shock mount, to prevent audio distortion and
background or handling noise.
The shock mount is specifically designed for the RM 10.
To insert your RM 10 microphone, please hold the
shock mount with one hand. There are metal brackets
attached to the inner section in which the microphone
can be slided. Use your middle finger and thumb to
press the metal brackets to each other (1), which
makes the inner section of the microphone mount
slightly larger (2). This ensures optimal width for the
microphone to slide into the inner section. The section
is equipped with foam padding to prevent scratches and
damage to your microphone.
The microphone needs to be inserted with the logo
facing you, while the shockmount angle adjustment
knob is facing away from you.The microphone must be
inserted in such a way that the brand and type number can still be seen. This is the most optimal position.
The shock mount can easily be mounted to a microphone stand or microphone broadcasting arm. 5/8” thread
is available and with the tightening knob you are able to adjust the angle opposed to the mounting surface. If
your microphone stand or arm has smaller thread, you can use an adapter from 3/8” iner to 5/8” outer thread
(not included).
Connect your microphone to a mixer or audio interface:
This microphone uses a 3-pin XLR connector for connection with your mixer or audio-interface (cable not
included). It is recommended to check the settings on your audio equipment before connecting the
microphone. Check your equipment for the following settings:
Mixer/Audio interface:
All information and illustrations shown in this user manual are subject to change without further notice.
User manual version: 1.0 Creation date + author initials: 26-11-2015 RV Revision date + author initials: -
