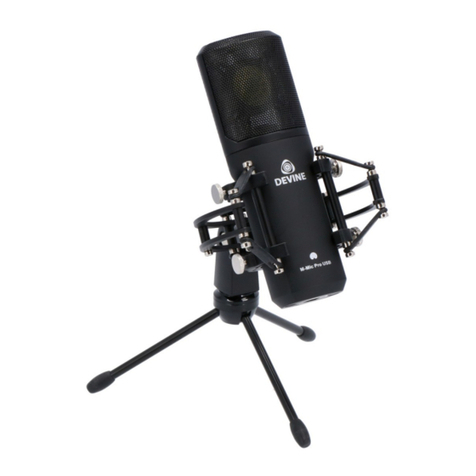
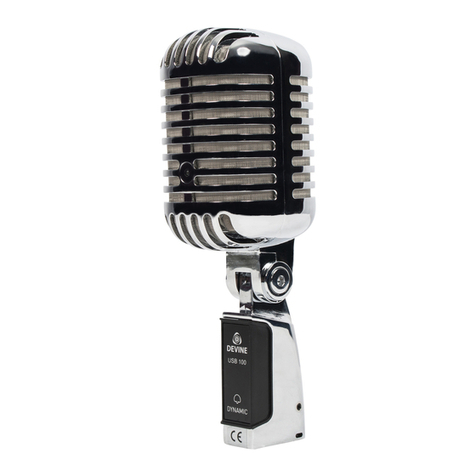
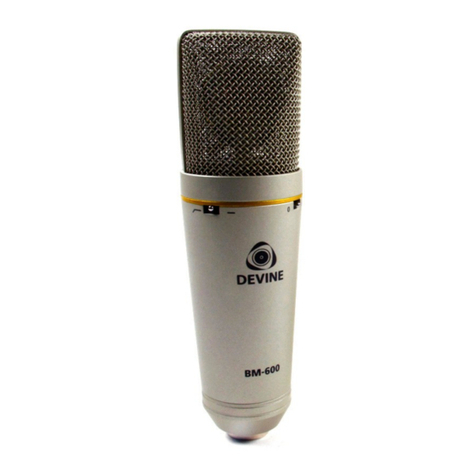
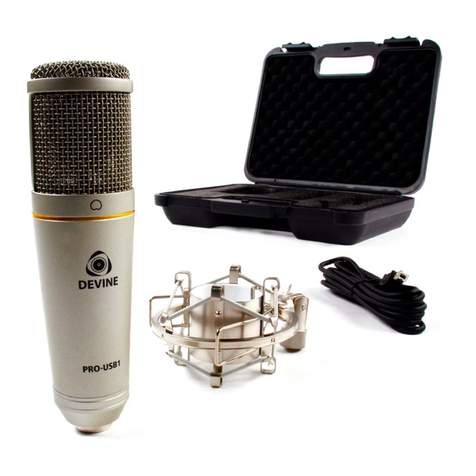
Microphone Installation
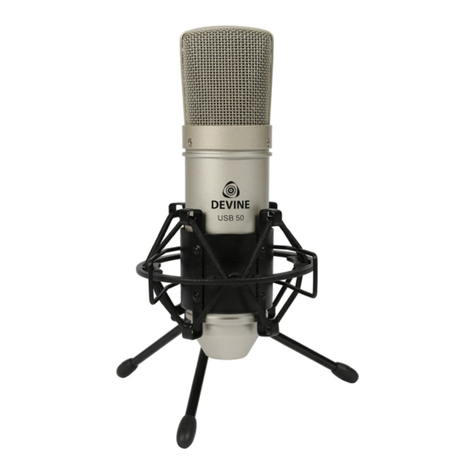
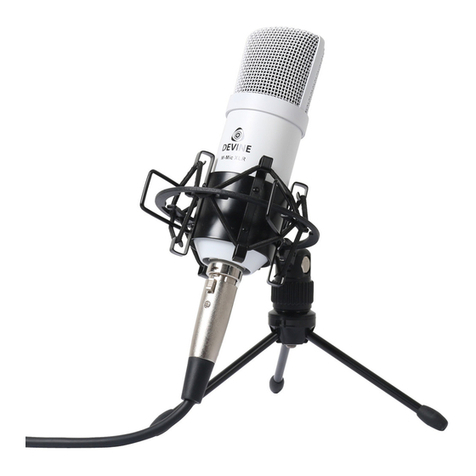
The adapter on your microphone enables you to mount it on mic stands with either metric (Europe) or
imperial-gauge threads (North America). To do so first dismantle the microphone from the stand mount
adapter by detaching the fine-threadshoulder screw at the bottom end of the microphone. Next gently fasten
the adapter onto the microphone stand place the microphone into it and tighten the screw again.
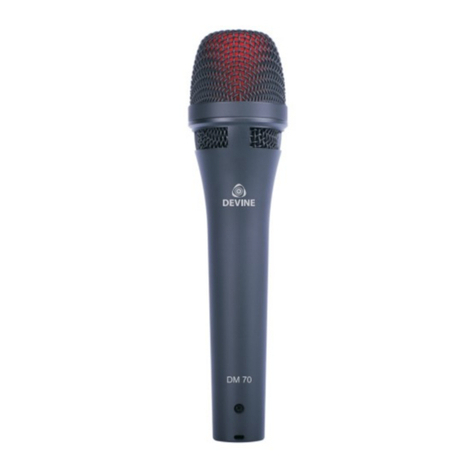
Basically the microphone in the stand mount adapter should stand upright and face the sound source at a
right angle. Make sure the Devine logo and name are directed at the sound source for best recording quality.
The angle of the microphone to the sound source influences the sound of the recording. Therefore
experiment with different positions until you achieve the desired sound. To this end you can rotate the mic in
the stand mount adapter by loosening the screw somewhat and tightening it again. If necessary you can
bend the microphone out of its vertical position by using the hinge on the microphone stand.
Note: please make sure to handle the microphone shaft with attention and care to avoid damaging the screw
thread. By no means should you ever apply excessive force. It is possible to detach the USB-1 microphone
from the stand mount adapter and attach it to a commercially available (desktop) mic stand.
Level Setting/Adjusting the Basic Sound:
Adjust the gain control in the microphone channel of your software audio editor so that the peak indicator of
that channel only lights up occasionally or never at all. The EQ controls in the microphone software channel
should be set to mid-neutral position to start with. To get the sound you want try changing the mic position
relative to the sound source or even move the microphone around in the recording room of your studio.
Adjusting the angle at which the walls face the sound source can also be helpful. Only when the desired
basic sound has been achieved should you start to use equalizers and signal processors if any at all.
Remember: less is more!
Due to the extremely linear frequency response and the high sonic resolution of the USB-1 there is no need
for high-frequency "EQing" that can heavily influence the signal and unnecessarily increase the noise level.
The USB-1 provides the much desired transparency which often gets lost during recording and mixing.
Protect your microphone:
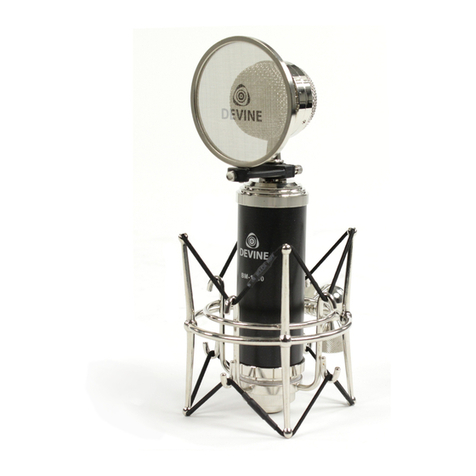
This Devine microphone is equipped with very sensitive electronics to provide optimal audio performance.
Make sure the microphone is not exposed to severe shocks collision drops from high altitude or any
situations that may cause permanent damage. Improper use of the microphone is not covered by warranty.
Always transport the microphone in the original package or in a flightcase with proper foam inlay. The
microphone is not intended for on-the-road use.
Any information and illustrations shown in this user manual are subject to change without further notice.
User manual version: 1.0 Creation date + author initials: 27-01-2014 DK Revision date + author initials: 27-01-2014 DK
