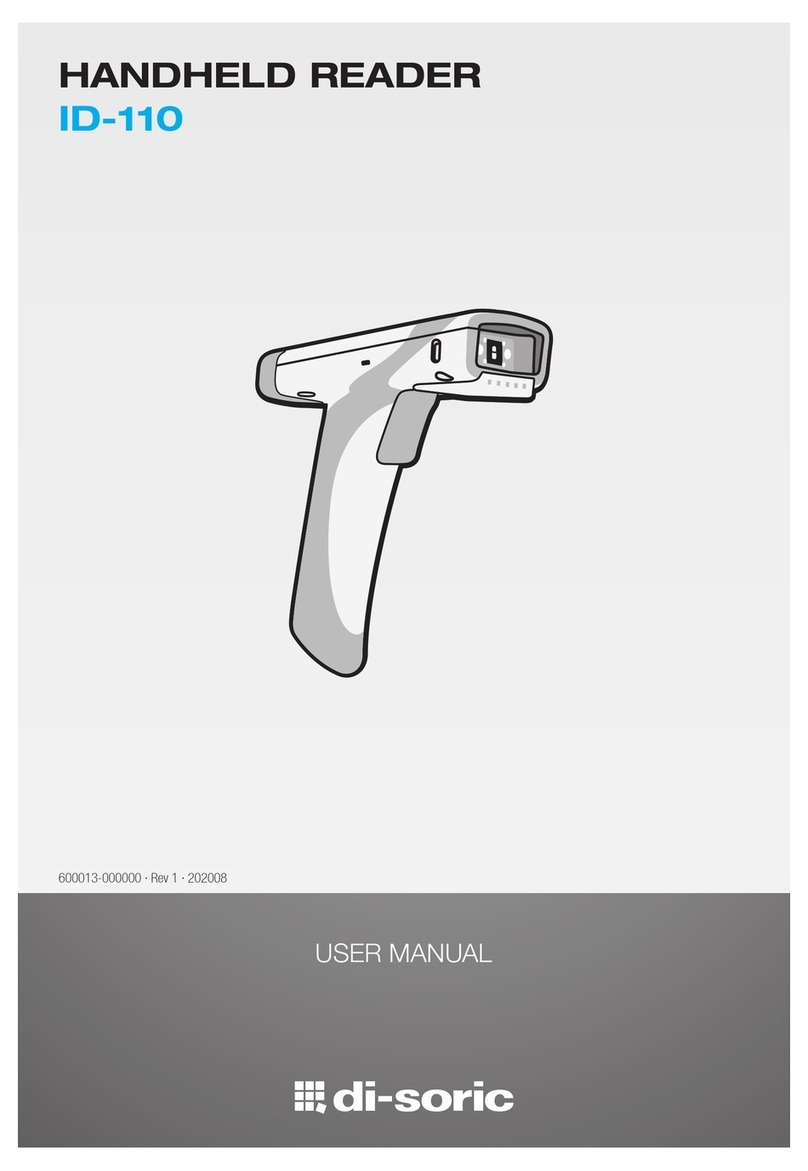
Step 2 — Set Up Hardware (USB)
Note: The USB interface draws its power from the host.
Hardware for USB
USB Installation
To power on the reader, plug the
USB cable into the reader’s
handle and into the host’s USB
port. After several seconds, the
reader will beep twice and the
LED will turn off. The reader will
now be ready to use.
Important: If you use a USB hub,
be sure that it is a powered hub.
1ID-08 Handheld Reader ID-08-IM3-2-U
ID-09 Handheld Reader ID-09-IM3-2-U
USB Hardware
1
2
Default to USB
(HID)
Save
Settings
Test Symbol
(ABCDEFGHIJKLMNOP)
Step 1 — Check Required Hardware
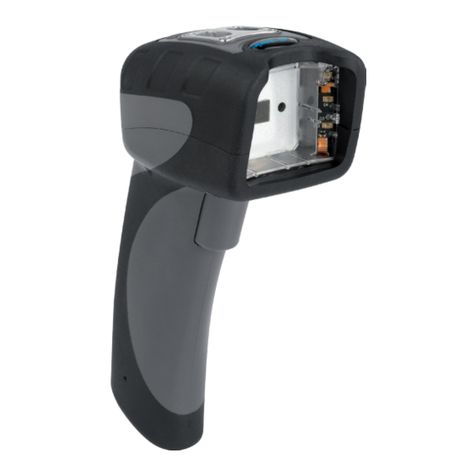
The ID-08 / ID-09 is shipped with one of the following cables:
USB Hardware
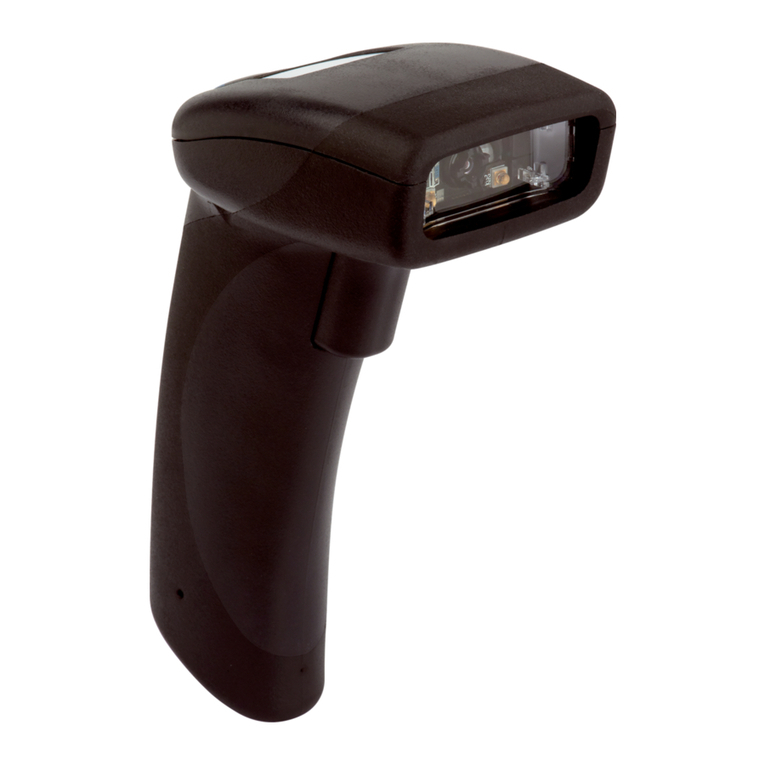
1. ID-08 / ID-09 Handheld Reader
2. USB cable
RS-232 Hardware
1. ID-08 / ID-09 Handheld Reader
2. RS-232 Cable
3. RS-232 Power Supply
Detaching the Cable
The reader can be converted from USB to RS-232 or from RS-232 to
USB by changing the cable and scanning the appropriate communications
programming symbol below. To detach the USB or RS-232 cable
from the reader, press a paper clip into the hole on the side of the
handle and gently pull the cable out of the connector.
6’ USB
Straight
Cable
8’ RS-232
Coiled
Cable
Save
Settings
USB
Interface
RS-232
Interface
Quick Start Guide
ID-08 / ID-09 Handheld
Reader
ID-08, ID-09 Quick Start Guide
Step 2 — Set Up Hardware (RS-232)
Hardware for RS-232
*Remark:
The power supply is standardly included within the ID-08 and
ID-09 serial models.
RS-232 Installation
To power on the reader, plug the
RS-232 cable into the reader’s
handle, plug the power supply into
the AC outlet, plug the power supply
cord into the barrel jack on the
cable, and then connect the cable
to the appropriate serial port on
the host. The unit will beep twice
and the LED will turn off. The
reader will now be ready to use.
1ID-08 Handheld Reader ID-08-IM3-2-S*
ID-09 Handheld Reader ID-09-IM3-2-S*
RS-232 Hardware
1
2
Reset to RS-232
Factory Defaults
Save
Settings
Test Symbol
(ABCDEFGHIJKLMNOP)
Step 3 — Install di-soric ID
di-soric ID Software is di-soric’s configuration and testing software.
Use di-soric ID to set up your ID-08 and ID-09 Handheld Reader.
di-soric ID can be found on the di-soric Tools CD that is packaged
with the reader.
1. Follow the prompts to install di-soric ID from the CD.
2. Click on the di-soric ID icon to run the program.
Note: di-soric ID can also be installed from
the Download Center at www.di-soric.com.
Minimum System Requirements
• 233 MHz Pentium processor
• Windows 7 (32-bit or 64-bit), Vista (32-bit or 64-bit), XP, or 2000
• Internet Explorer 6.0 or higher
• 128 MB RAM or greater
• 80 MB hard drive space
• 800 x 600 minimum 256 color display (1024 x 768 32-bit color
recommended)
Step 4 — Select Model
When you start di-soric ID, the following menu will appear:
1. Click the ID-08 / ID-09 button and then click OK. If you do
not want to make this selection every time you start di-soric
ID, uncheck “Show this dialog at startup”. If you need to
select another model later, click Switch Model at the top of
the screen.
Note: You can also type a name of your choice in the
Description text field and click OK.
2. Click Yes when this dialog appears:
