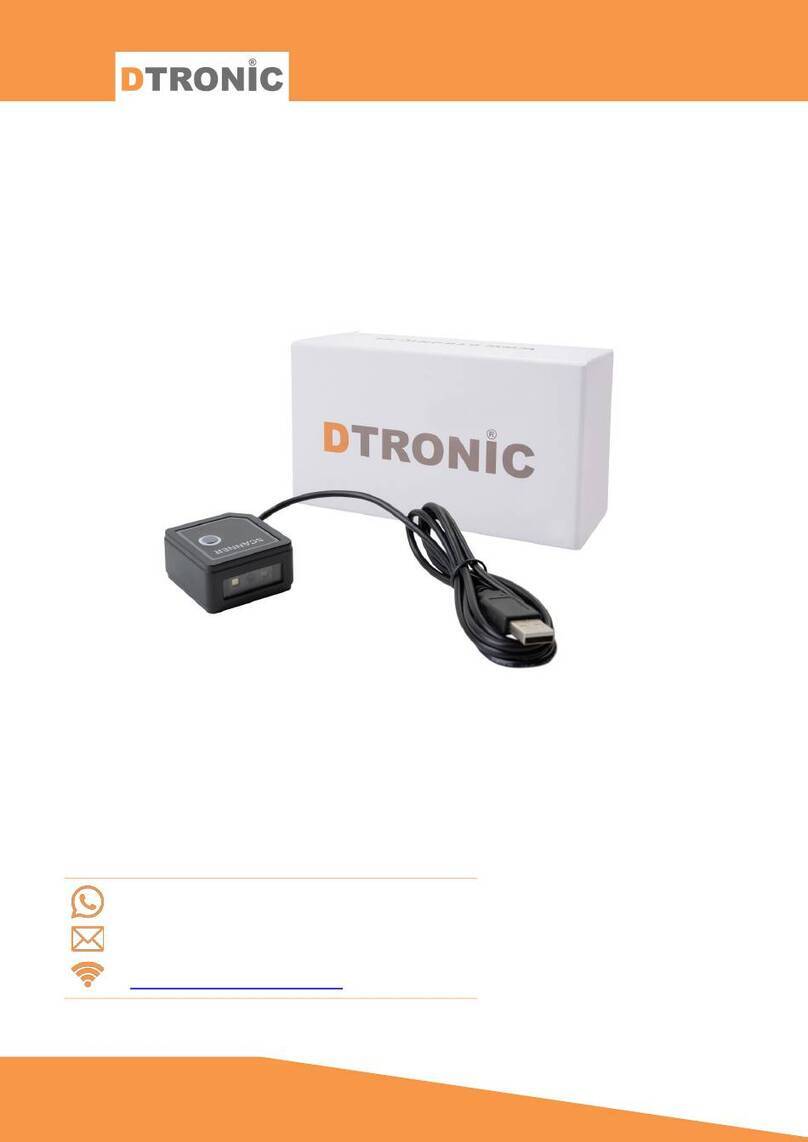
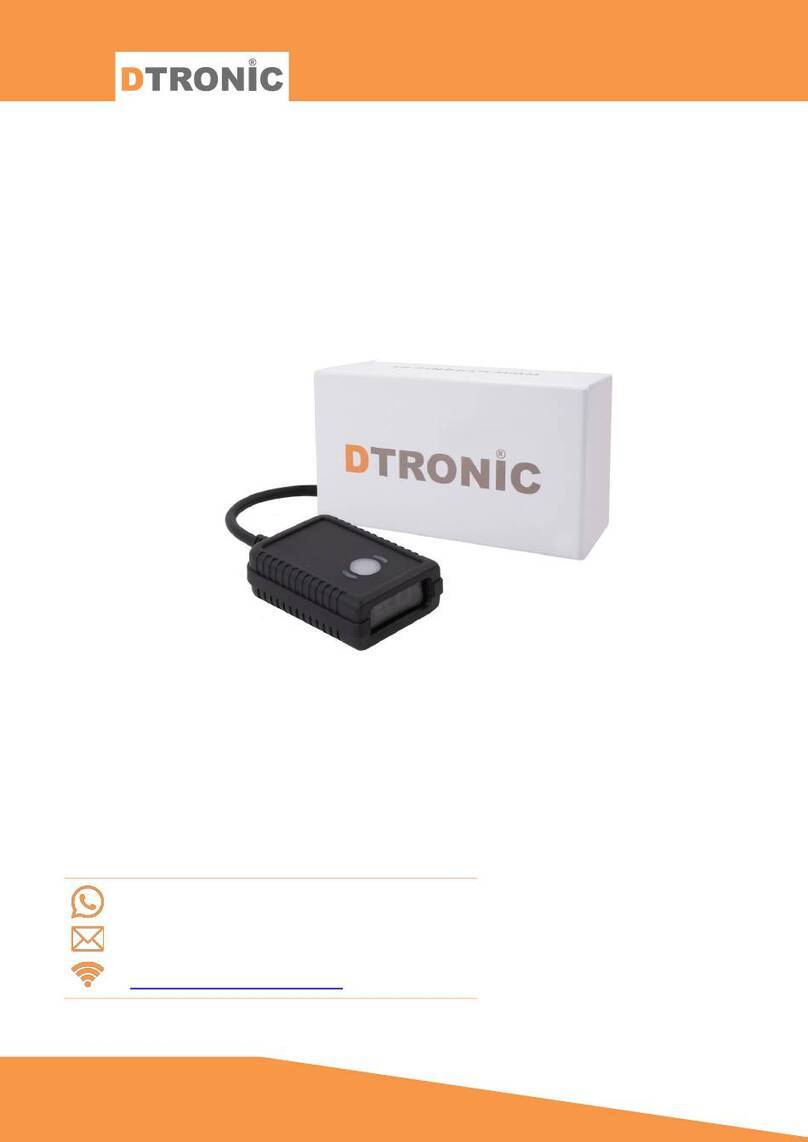
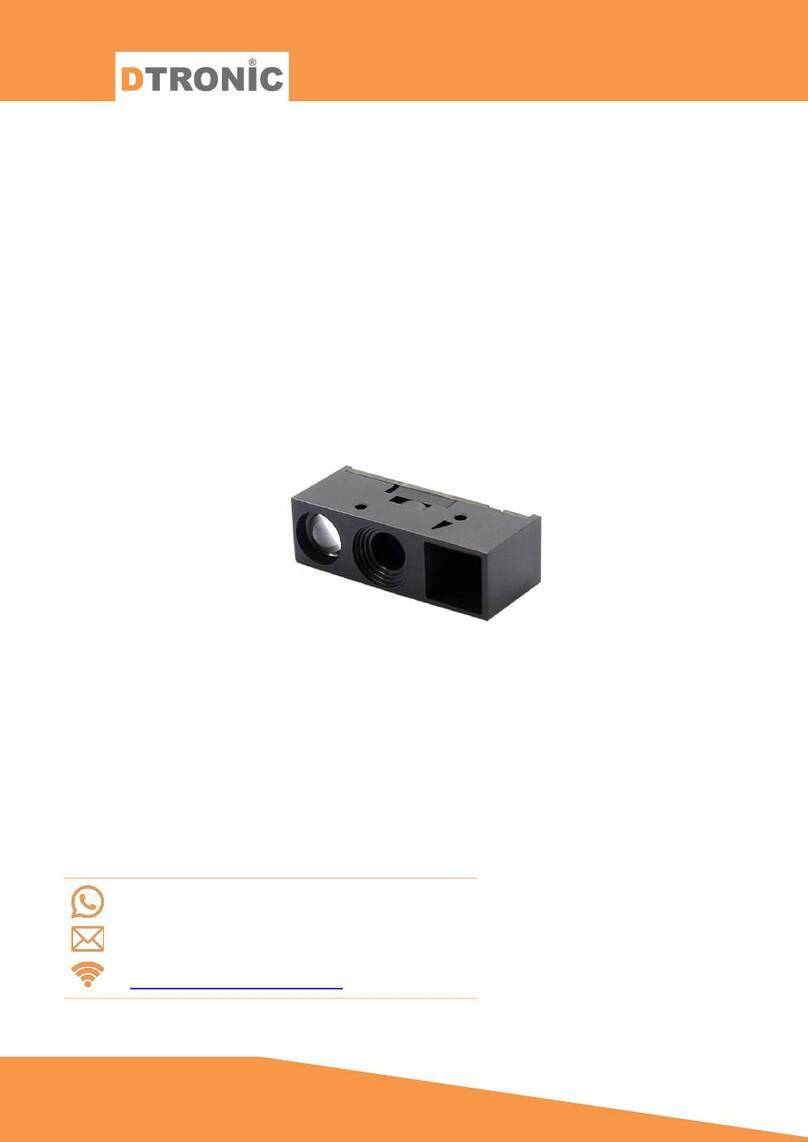
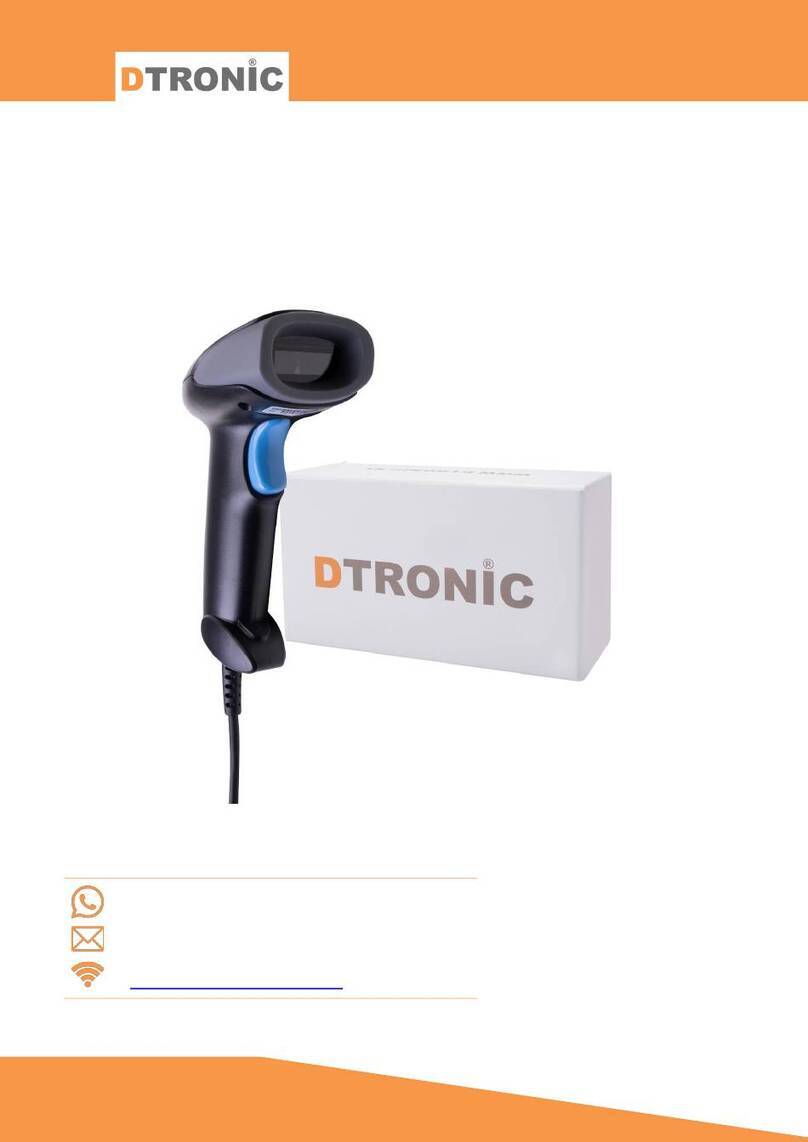
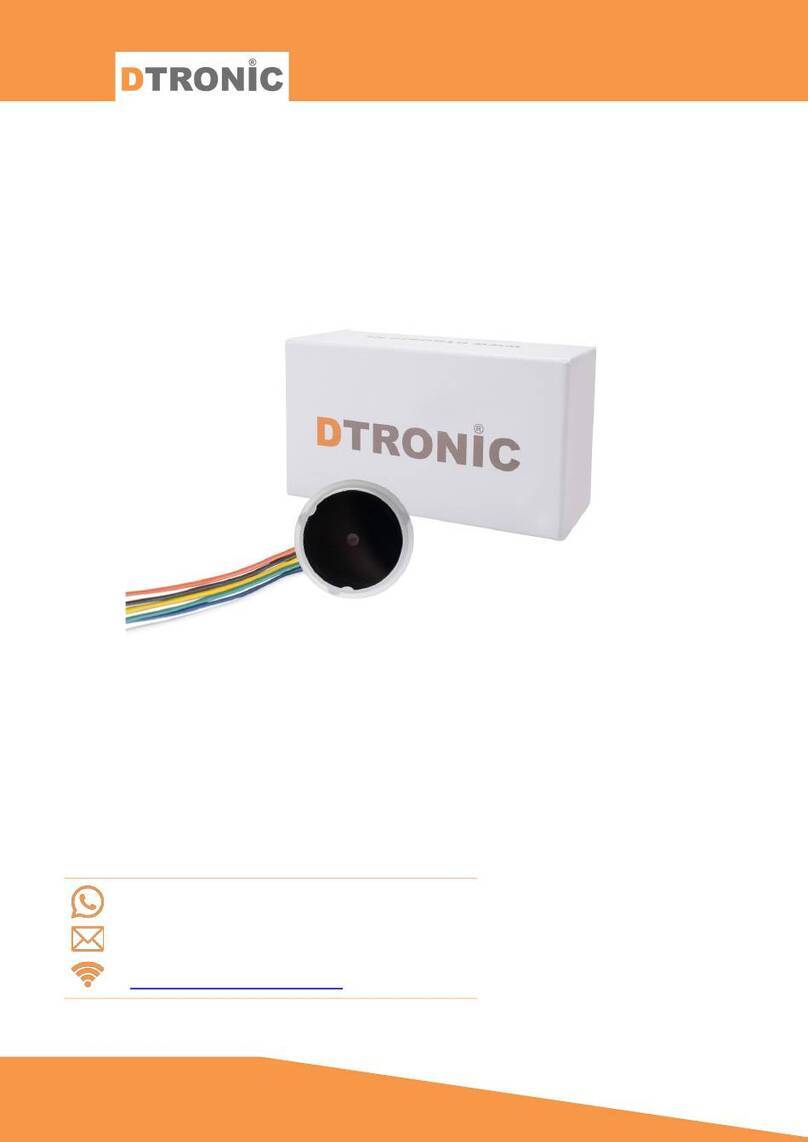
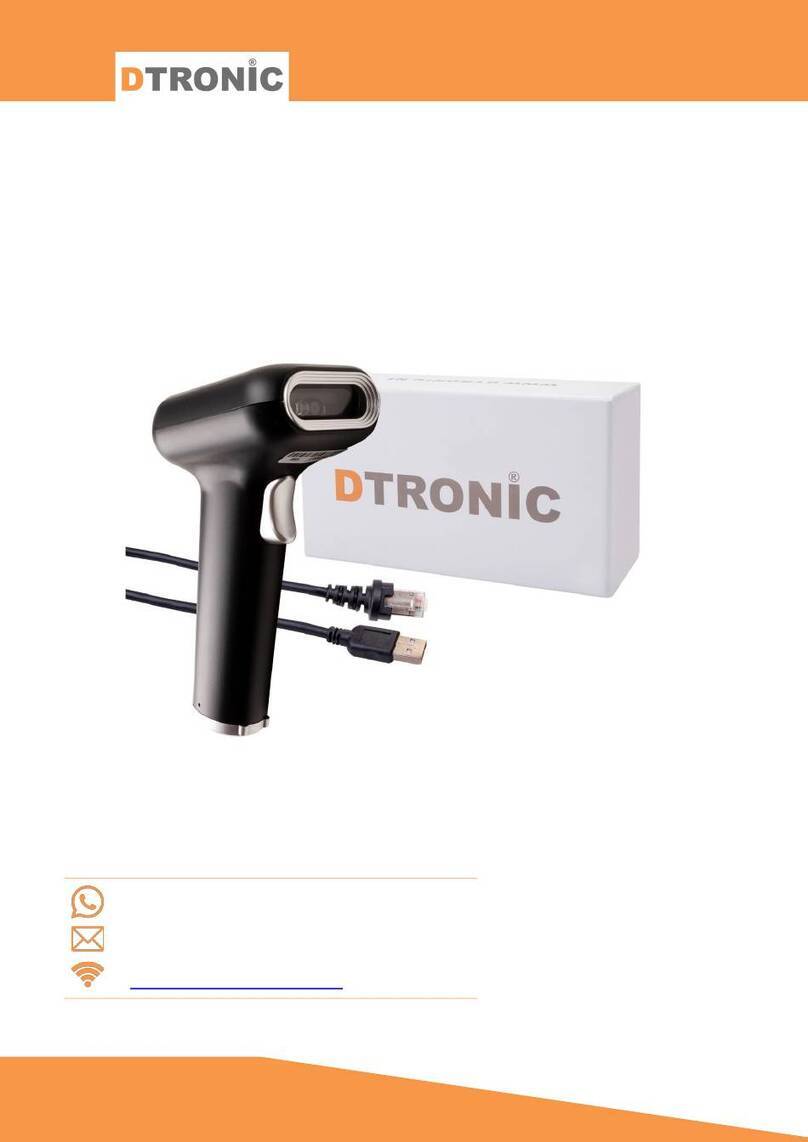
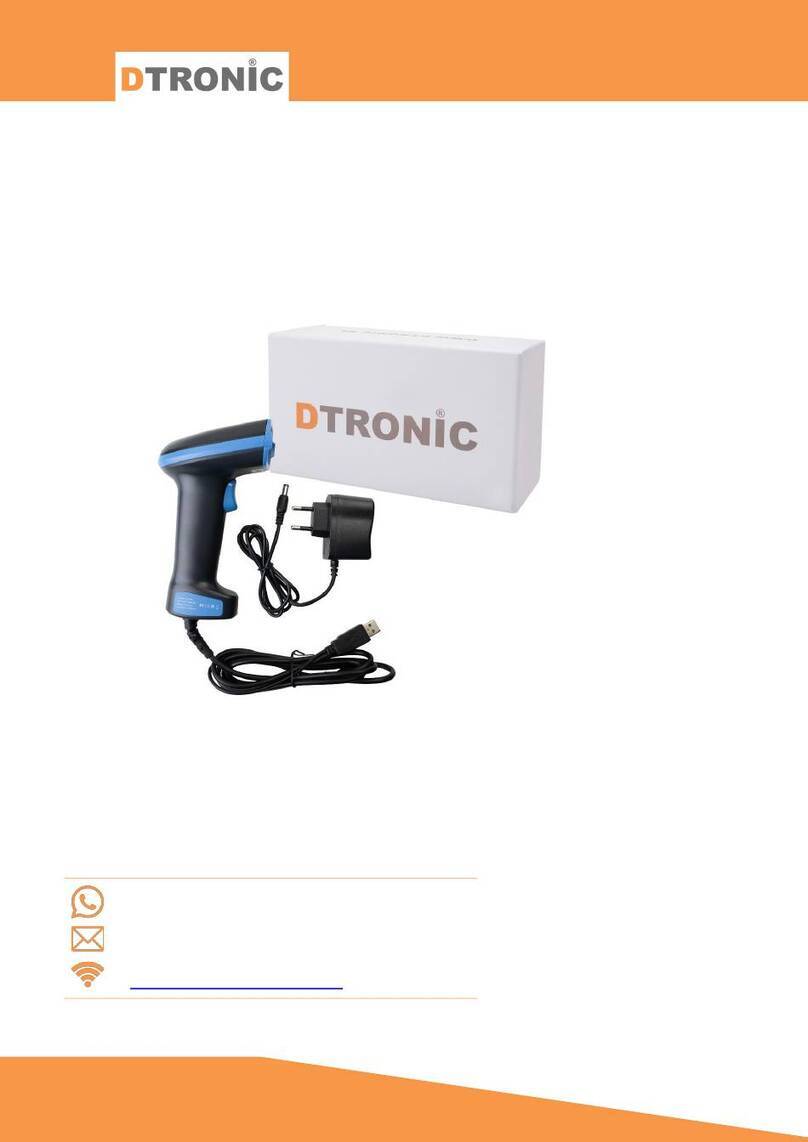
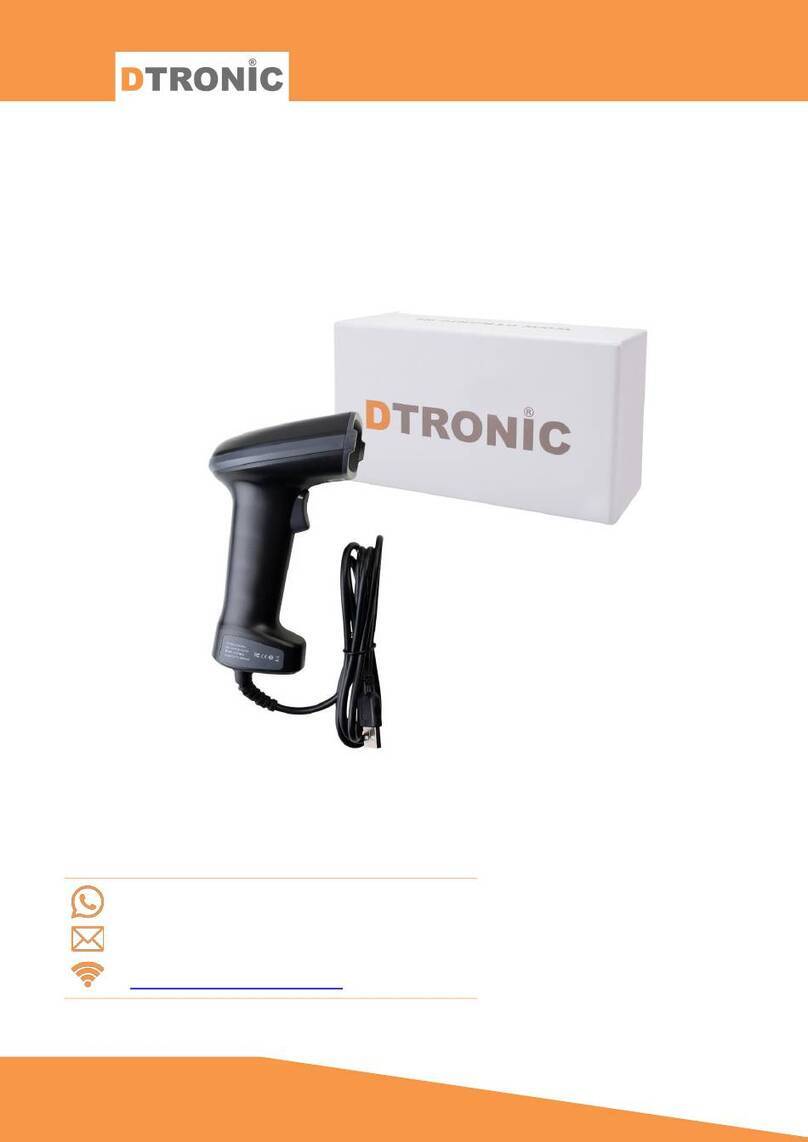
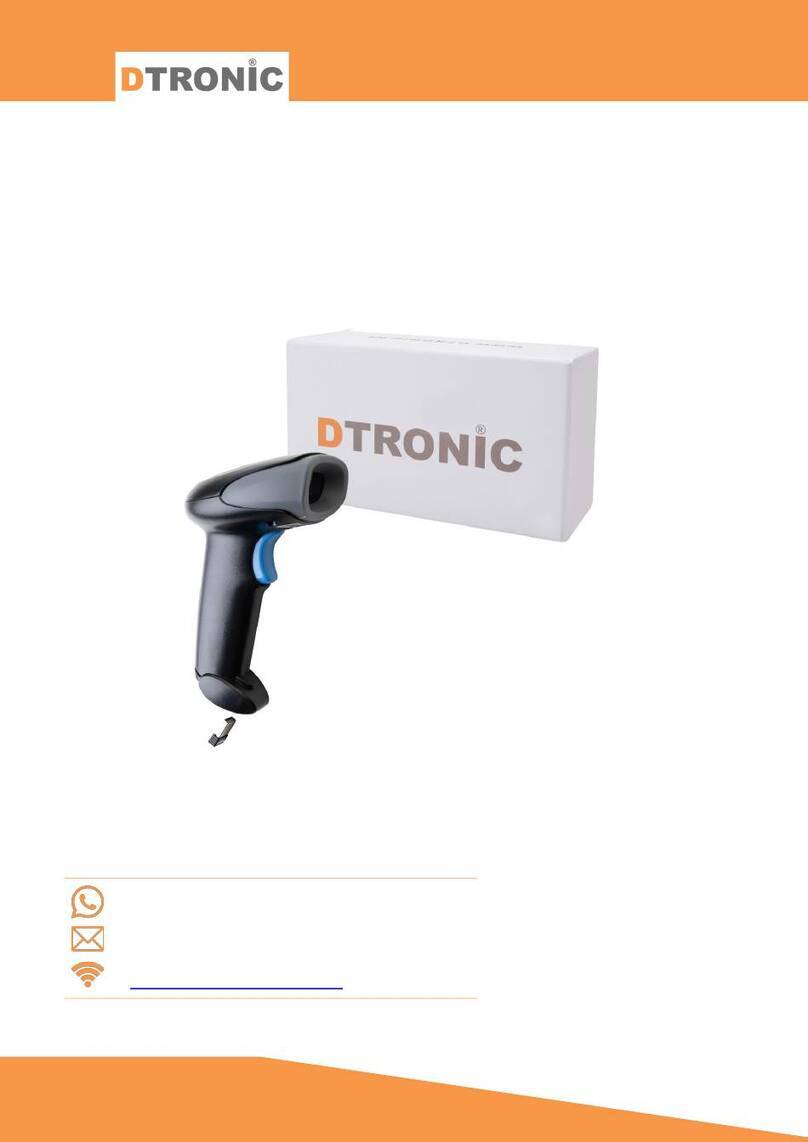
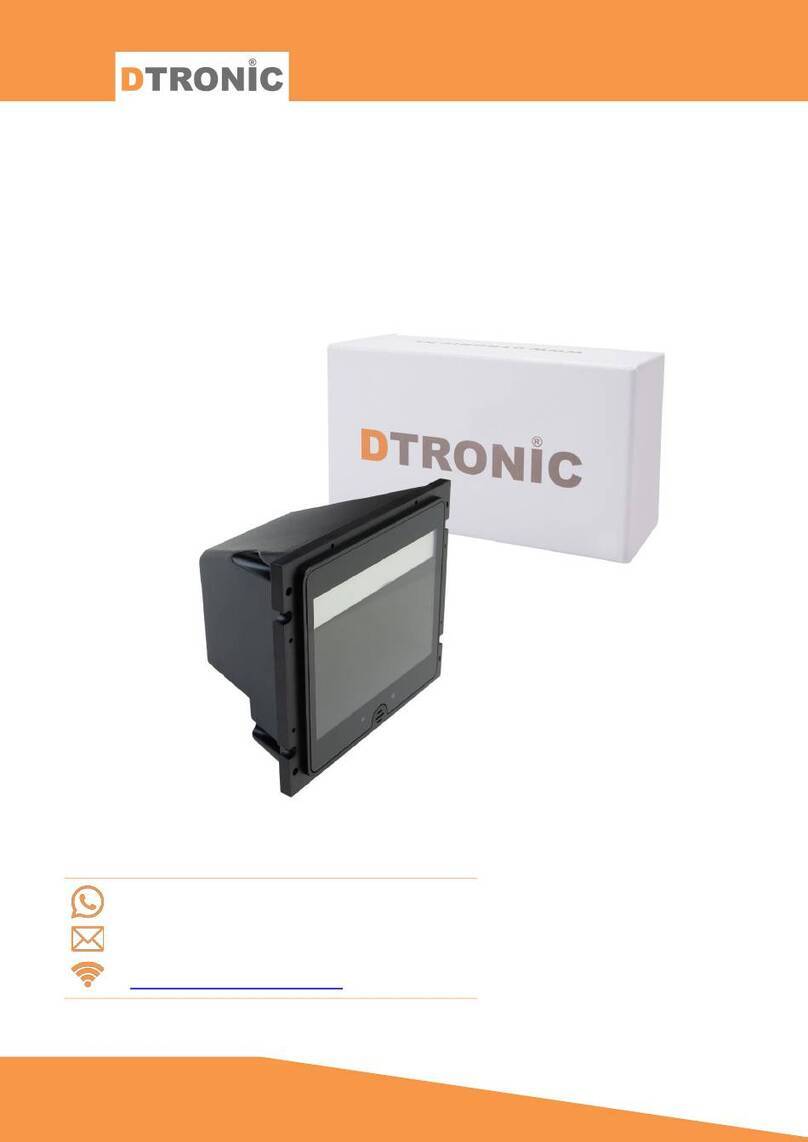
Dtronic DT3003 User manual

User manual ‘DT3003’
Datum : feb-2024
Versie : 1.0
pagina 2 van 28
Introduction
Thank you for trusting a product from DTRONIC. Please read the contents of the user manual
carefully in order to use the products safely and effectively.
You are advised to keep this manual correctly for your installation and as a reference. Please do not
disassemble the product or tear off the seal, otherwise we will not provide warranty or
replacement service.
The illustrations in this user manual are for reference only. If there are images that do not match
the actual product, please take the actual product as standard.
Updated information is subject to change without notice. All information in this manual is
copyrighted and our company reserves all rights. It is prohibited to distribute, copy, compile or sell
all or part of this manual without our written permission.
DTRONIC is a BOIP registered trademark and legally protected in cooperation with GS1. Diwolar is
the only company with the rights to market this trademark. If you have purchased a product that
was not purchased through Diwolar, the warranty is void. When contacting customer service
always ask for the order number. This user manual applies to DTRONIC barcode scanners that
identify barcodes using a laser scan pattern.
DTRONIC is not liable for damages and defects suffered when the barcode scanner fails, does not
work properly or is misused.
Do you have any questions about your product? We will be happy to assist you.
WhatsApp: +316 45 733 500 Bereikbaar van 09:00-17:00u
Website: www.dtronic.nl Webshop 24/7 geopend
Kind regards, team Dtronic
-Diederik Director
-Arjan Operations manager
-Marjolein Financial employee
-Jaxx Administrative employee
-Tim Customer service
-Hessel Customer service
- Roger Test center
- Kees-Jan Logistics

User manual ‘DT3003’
Datum : feb-2024
Versie : 1.0
pagina 3 van 28
INHOUDSOPGAVE
Inhoud
INTRODUCTION..........................................................................................................................2
1. PRODUCT.............................................................................................................................4
1.1 Function............................................................................................................................ 4
1.2 Unbox................................................................................................................................ 4
1.3 Start .................................................................................................................................. 4
1.4 Window............................................................................................................................. 4
1.5 Reading ............................................................................................................................. 5
1.6 Picture............................................................................................................................... 5
1.7 Led indicator..................................................................................................................... 5
2. SYSTEM SETUP .....................................................................................................................6
2.1 System Setup .................................................................................................................... 6
2.1.1 Setup code.............................................................................................................. 6
2.1.2 Restore factory default settings............................................................................. 6
2.1.3 Battery capacity...................................................................................................... 6
2.1.4 Product User Settings............................................................................................. 6
2.1.5 Beeper settings....................................................................................................... 6
2.1.6 2.4G ........................................................................................................................ 7
2.1.7 Vibration Settings................................................................................................... 7
2.2 Reading mode settings ..................................................................................................... 7
2.2.1 Scan mode.............................................................................................................. 7
2.2.2 Sleep time............................................................................................................... 8
2.2.3 Time display............................................................................................................ 8
2.3 Communication settings................................................................................................... 9
2.3.1 USB keyboard ......................................................................................................... 9
2.3.2 USB keyboard sending speed...............................................................................10
2.3.3 Eject / Hide keyboard........................................................................................... 10
2.3.4 Inventory Mode....................................................................................................10
2.3.5 Custom prefix on/off settings............................................................................... 11
2.3.6 Customized prefixes............................................................................................. 12
2.3.7 Custom suffix on/off settings ...............................................................................12
2.3.8 Custom suffixes ....................................................................................................12
2.3.9 Terminator settings..............................................................................................13
2.3.10Case output settings............................................................................................. 14
3. APPENDIX ..........................................................................................................................15
3.1.1 Appendix 3 Control Characters Table...................................................................18
3.1.2 Appendix 4 ASCII Code table ................................................................................28
User manual ‘DT3003’
Datum : feb-2024
Versie : 1.0
pagina 4 van 28
1. Product
1.1 Function
- Works with Plug&Play and without installation software.
- Works with most WMS systems.
- Some WMS or POS systems must be set up to use a scanner.
- Device the scanner is connected to will see it as keyboard.
- Basically the scanner scans the 95% of bar codes, remaining 5% can be set as desired with this
manual.
- There are patented parts in the scanner, DTRONIC has the rights to sell these items on the
Dutch, Belgian and German market
1.2 Unbox
After opening the box containing the product, perform the following steps:
- Remove the scanner accessories from the packaging.
- Remove the scanner from the packaging.
- At the packing list, check that everything is complete and in good condition. If there are
damaged or missing parts, save the original packaging and contact DTRONIC for customer
service.
Packing list:
1. Handheld scanner
2. USB Connection Cable (for wireless scanners, this is the charging cable).
3. Paperclip
4. Abridged user manual
1.3 Start
Startup: connect the computer to the scanner. The computer will recognize it as a keyboard and the
scanner can be used.
Power off: remove the cable connected to the scanner; remove the USB connected to the
computer.
Restart: if the scanner crashes or is unresponsive, turn it off and restart it. Optionally, use the
factory setting from this manual
1.4 Window
The scanning window must be kept clean, the supplier does not bear the warranty responsibility
due to improper maintenance. Prevent the window from wearing out or being scratched by a hard
object. Use a soft cloth to remove stain on the scanning window. Clean the scan window with a soft
cloth, such as a lens cleaning cloth
Spraying liquid on the scan window is prohibited. Prohibit all cleaning solvents except cleaning
water.

User manual ‘DT3003’
Datum : feb-2024
Versie : 1.0
pagina 5 van 28
1.5 Reading
If the bar code is small, it should be closer to the scan window; if the bar code is large, it should be
further away from the scan window for easier reading.
If the bar code is highly reflective (for example, the coated surface), you may need to tilt the bar
code at an angle to scan the bar code. The best distance to read a bar code is 10-15 cm
1.6 Picture
1.7 Led indicator
INDICATOR STATUS
EXPLAIN
Red light on
Charging
Red light off
No charging
Green light on
No decoding
Green light off
Decode succesfully
One blue light on
Pairing successful or connect to
USB

User manual ‘DT3003’
Datum : feb-2024
Versie : 1.0
pagina 6 van 28
2. System Setup
2.1 System Setup
Option and function setting mainly by reading a series of special bar codes. In this chapter, we give
you a detailed introduction to the options and functions available for user setup and the
corresponding setup code.
This method of setting up the scan is direct, easy to understand and user-friendly.
2.1.1 Setup code
Start scan setting and safe with this >>
Exit Settings
2.1.2 Restore factory default settings
Restore factory settings
2.1.3 Battery capacity
Battery
2.1.4 Product User Settings
Save user default settings
Restore user default settings
2.1.5 Beeper settings
Volume set to High (50%) (default)
Volume set to midrange (25%)

User manual ‘DT3003’
Datum : feb-2024
Versie : 1.0
pagina 7 van 28
Mute
2.1.6 2.4G
1、To enter the pairing status, first scan“2.4G Receiver Mode”, then scan “Pairing Setting”(the green
light will flash).
2、Plug the USB dongle into the device, when hearing a“beep”sound, it means the pairing is
successful and the blue&green light is always on. (The whole pairing process takes about 1min, if
timeout and the pairing failed, it will automatically exit the pairing mode);
Receiver mode
Pairing setting
2.1.7 Vibration Settings
On
Off
2.2 Reading mode settings
2.2.1 Scan mode
Continuous mode
Manual

User manual ‘DT3003’
Datum : feb-2024
Versie : 1.0
pagina 8 van 28
Automatic
2.2.2 Sleep time
The repeat read setting is only available in continuous mode.
1 min
2min
5min
30min
No sleep mode
Immediately sleep
2.2.3 Time display
Set display front
Set time back
Turn off time

User manual ‘DT3003’
Datum : feb-2024
Versie : 1.0
pagina 9 van 28
2.3 Communication settings
1、First scan “Bluetooth HID”, then scan “Pairing Setting” to enter Bluetooth
searching(Blue&green light will flash once the searching is begun);
2、Turn on Bluetooth in your device, search, select and pair “Barcode Scanner HID”,
if the pairing is successful, you will hear a “beep” sound and green&flash light is
always on. (The whole pairing process takes about 1min, if timeout and the pairing
failed, it will automatically exit the pairing mode)
Bluetooth pairing
Bluetooth searching
Bluetooth HID
Virtuele com-poort
2.3.1 USB keyboard
Portuguese (Brazil) cannot output "?" and "/" .
Nederlands
Italian
Spanish
Czech
Portuguese
French
German
Enter UTF
Turkish F
English (UK)

User manual ‘DT3003’
Datum : feb-2024
Versie : 1.0
pagina 10 van 28
Japanese
German (Switzerland)
Belgium
2.3.2 USB keyboard sending speed
If there is missed data at the receiver side, the occurrence speed should be turned down, which is
easy to occur at the receiver side with poor performance.
5 ms (default)
10 ms
20 ms
Ultra low
2.3.3 Eject / Hide keyboard
Eject/Hide HID Keyboard
Turn On Keyboard Double-click Function
(Default)
Turn Off Keyboard Double-tap Function
2.3.4 Inventory Mode
Off
Upload statistics

User manual ‘DT3003’
Datum : feb-2024
Versie : 1.0
pagina 11 van 28
Upload all data
Delete all data
Offline
Immediate mode
Mixed Mode
Upload in memory chip
Delete all data in memory chip
Show total amount scans in storage
2.3.5 Custom prefix on/off settings
Custom prefixes add a user-defined string before the decoded information. For example, if you
allow to add a custom prefix and set the prefix to the string "AB", after reading the barcode with
the data "123", the scanner adds the string "AB" before the string "123", and the host side receives
"AB123". After the barcode reading data is "123", the scanner will add the string "AB" before the
string "123", and the host side will receive "AB123".
If set to "Off", the decoded information will only have the barcode data information, no prefix, and
the default value is to turn off the custom prefix output.

User manual ‘DT3003’
Datum : feb-2024
Versie : 1.0
pagina 12 van 28
Hide the Front Character
(prefix)
Hide the Back-end Character
(suffix)
Set escape character set 0
Set escape character set 1
Set escape character set 2
Set escape character set 3
Set escape character set 4
Set GS Character Convert
2.3.6 Customized prefixes
The custom prefix adds a user-defined string before the decoded information, and the output
format after customization is "Custom Content + Barcode Content".
Set the custom prefix to 'a' (the hex value of a is 0x61)
1. Read "Startup Settings"
2. Read the "Custom Prefix" setting code
3. Check the ASCII code of the character "a": the ASCII code of "a" is "0x61" (see ASCII code table)
4. Read data code: "6" "1" (see data code table)
5. Read "Save" (see data code table)
6. Read "Exit Settings"
Set prefixes
2.3.7 Custom suffix on/off settings
2.3.8 Custom suffixes
Custom suffix adds a user-defined string after the decoded information, and the output format
after customization is "barcode content + custom content".
Set the custom suffix to 'a' (the hex value of a is 0x61)

User manual ‘DT3003’
Datum : feb-2024
Versie : 1.0
pagina 13 van 28
1. Read "Startup Settings"
2. Read the "Custom Suffix" setting code
3. Check the ASCII code of the character "a": the ASCII code of "a" is "0x61" (see ASCII code table)
4. Read data code: "6" "1" (see data code table)
5. Read "Save" (see data code table)
6. Read "Exit Settings"
Set suffixes
2.3.9 Terminator settings
The terminator suffix is used to mark the end of a complete piece of data information. The
terminator suffix stands alone and does not participate in any other form of data formatting. The
terminator suffix must be the last piece of data sent, and no additional data will be added
thereafter.
The ending character can be set to carriage return, line feed, carriage return line feed, tab or ETX,
and the default ending character is set to carriage return.
No terminator
Enter (default)
Line Feed (Down)
Enter + LF
Tab

User manual ‘DT3003’
Datum : feb-2024
Versie : 1.0
pagina 14 van 28
2.3.10 Case output settings
Case conversion for characters in a string, prefix and suffix have no effect.
Normal output (default)
Convert Case
Convert all to Uppercase
Convert All to lowercase

User manual ‘DT3003’
Datum : feb-2024
Versie : 1.0
pagina 15 van 28
3. Appendix
De
ci
ma
l
AS
CII
Chara
cter
set 0
Chara
cter
set 1
Chara
cter
set 2
Chara
cter
set 3
Chara
cter
set4
Setting Barcode
1
SO
H
NULL
Home
Ctrl+
A
Alt+00
1
Enter(
Key
pade)
2
STX
Ctrl+B
End
Ctrl+
B
Alt+00
2
Cap
Lock
3
ETX
Ctrl+C
Up
Arrow
Ctrl+
C
Alt+00
3
Right
Arrow
4
EOT
NULL
Down
Arrow
Ctrl+
D
Alt+00
4
Up
Arrow
5
EN
Q
NULL
Left
Arrow
Ctrl+
E
Alt+00
5
NULL
6
AC
K
NULL
Right
Arrow
Ctrl+
F
Alt+00
6
NULL
7
BEL
NULL
Shift+
Tab
Ctrl+
G
Alt+00
7
Enter
8
BS
Back
Space
Back
Space
Back
Spac
e
Alt+00
8
Left
Arrow
9
HT
Tab
Tab
Tab
Alt+00
9
Tab

User manual ‘DT3003’
Datum : feb-2024
Versie : 1.0
pagina 16 van 28
10
LF
Enter
Enter
Ctrl+
P
Alt+01
0
Down
Arrow
11
VT
NULL
NULL
Ctrl+
Q
Alt+01
1
Tab
12
FF
NULL
NULL
Ctrl+
R
Alt+01
2
delete
13
CR
Enter
Enter
Enter
Alt+01
3
Enter
14
S0
F1
Page
Up
Ctrl+
N
Alt+01
4
Insert
15
S1
F2
Page
Down
Ctrl+
O
Alt+01
5
Esc
16
DLE
F3
F11
Ctrl+
P
Alt+01
6
F11
17
DC1
F4
NULL
Ctrl+
Q
Alt+01
7
Home
18
DC2
F5
NULL
Ctrl+
R
Alt+01
8
Print
Scree
n
19
DC3
F6
NULL
Ctrl+
S
Alt+01
9
Back
Space
20
DC4
F7
NULL
Ctrl+
T
Alt+02
0
Shift
tab

User manual ‘DT3003’
Datum : feb-2024
Versie : 1.0
pagina 17 van 28
21
NA
K
F8
F12
Ctrl+
U
Alt+02
1
F12
22
SYN
F9
F1
Ctrl+
V
Alt+02
2
F1
23
TB
F10
F2
Ctrl+
W
Alt+02
3
F2
24
CA
N
F11
F3
Ctrl+
X
Alt+02
4
F3
25
EM
F12
F4
Ctrl+
Y
Alt+02
5
F4
26
SU
B
NULL
F5
Ctrl+
Z
Alt+02
6
F5
27
Esc
Esc
F6
Ctrl+[
Alt+02
7
F6
28
FS
ALT+
028
F7
Ctrl+\
Alt+02
8
F7
29
GS
ALT+
029
F8
Ctrl+]
Alt+02
9
F8
30
RS
NULL
F9
Ctrl+
^
Alt+03
0
F9
31
US
NULL
F10
Ctrl+_
Alt+03
1
F10

User manual ‘DT3003’
Datum : feb-2024
Versie : 1.0
pagina 18 van 28
3.1.1 Appendix 3 Control Characters Table
Decimal
ASCII
Corresponding Barcode
32
Space
33
!
34
"
35
#
36
$
37
%
38
&
39
'
40
(

User manual ‘DT3003’
Datum : feb-2024
Versie : 1.0
pagina 19 van 28
41
)
42
*
43
+
44
,
45
-
46
.
47
/
48
0
49
1
50
2

User manual ‘DT3003’
Datum : feb-2024
Versie : 1.0
pagina 20 van 28
51
3
52
4
53
5
54
6
55
7
56
8
57
9
58
:
59
;
60
<
Table of contents
Other Dtronic Barcode Reader manuals

Dtronic
Dtronic DT3222 User manual

Dtronic
Dtronic DT3422 User manual

Dtronic
Dtronic DT3427 User manual

Dtronic
Dtronic DT3229 User manual

Dtronic
Dtronic DT3326 User manual

Dtronic
Dtronic DT3430 User manual

Dtronic
Dtronic DT3330 User manual

Dtronic
Dtronic DT3042 User manual

Dtronic
Dtronic DT3008 User manual

Dtronic
Dtronic DT3163 User manual

Dtronic
Dtronic DT3260 User manual

Dtronic
Dtronic DT3212 User manual

Dtronic
Dtronic DT322-O User manual

Dtronic
Dtronic DT3005 User manual

Dtronic
Dtronic DT3327 User manual

Dtronic
Dtronic DT3210 User manual

Dtronic
Dtronic A8 User manual

Dtronic
Dtronic DT3162 User manual

Dtronic
Dtronic DT3402 User manual

Dtronic
Dtronic DT332-D User manual