manuals.online logo
Brands
  1. Home
  2. •
  3. Brands
  4. •
  5. Digiplex
  6. •
  7. Keypad
  8. •
  9. Digiplex DGP-641ACC Operating instructions

Digiplex DGP-641ACC Operating instructions

Access Control LCD Keypad V1.1
DGP-641ACC
Programming Guide
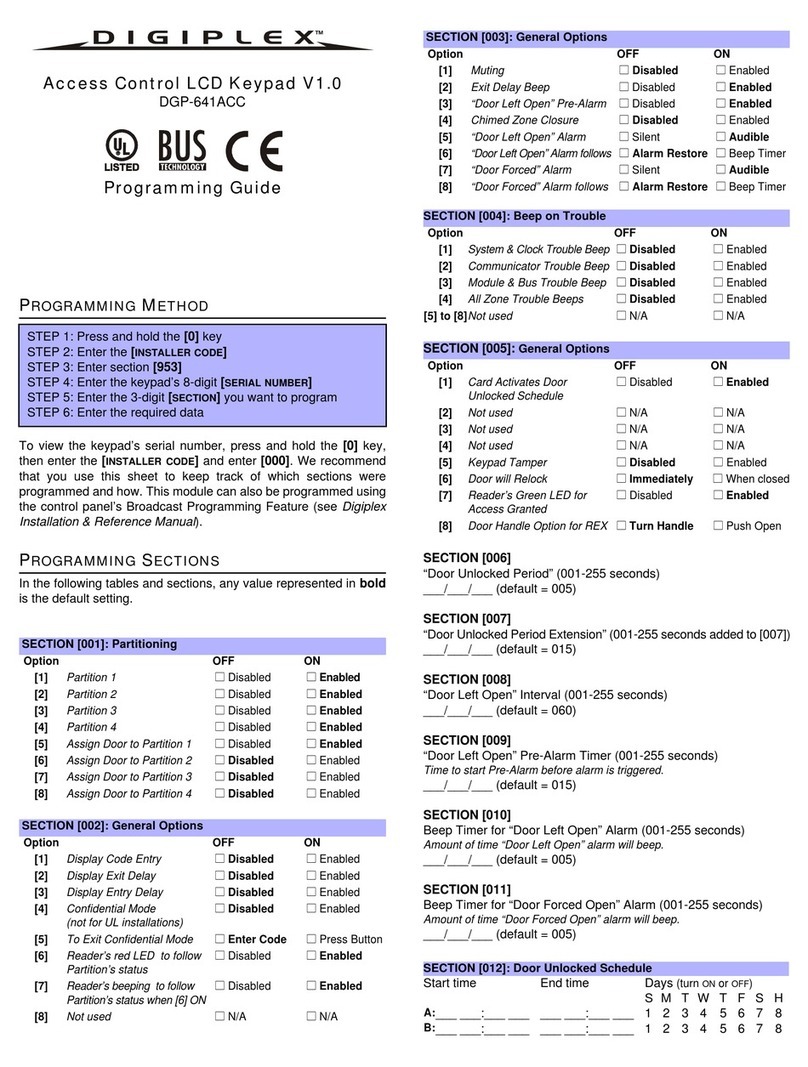
PROGRAMMING METHOD
To view the keypad’s serial number, press and hold the [0] key,
enter the [INSTALLER CODE]and enter [000]. We recommend that
you use this sheet to keep track of which sections were
programmed and how. This module can also be programmed using
Module Broadcast (see Digiplex Installation & Reference Manual).
BUS VOLTMETER
To verify if the bus is supplying sufficient power, press and hold the
[0] key, enter the [INSTALLER CODE]and press [ACC].
A reading of 9.2V indicates that the voltage is too low. The
voltage may drop during the control panel battery test.
PROGRAMMING SECTIONS
Bold = default setting.
SECTION [006]
Door Unlocked Period (001-255 seconds)
___/___/___ (default = 005)
SECTION [007]
Door Unlocked Period Extension (001-255 seconds added to [006])
___/___/___ (default = 015)
SECTION [008]
Door Left Open Interval (001-255 seconds)
___/___/___ (default = 060)
SECTION [009]
Door Left Open Pre-Alarm Timer (001-255 seconds)
Time to start Pre-Alarm before alarm is triggered.
___/___/___ (default = 015)
SECTION [010]
Beep Timer for Door Left Open Alarm (001-255 seconds)
Amount of time Door Left Open alarm will beep.
___/___/___ (default = 005)
SECTION [011]
Beep Timer for Door Forced Open Alarm (001-255 seconds)
Amount of time Door Forced Open alarm will beep.
___/___/___ (default = 005)
STEP 1: Press and hold the [0] key
STEP 2: Enter the [INSTALLER CODE](by default 000000)
STEP 3: Enter section [953]
STEP 4: Enter the keypad’s 8-digit [SERIAL NUMBER]
STEP 5: Enter the 3-digit [SECTION]you want to program
STEP 6: Enter the required data
SECTION [001]: Partitioning
Option OFF ON
[1] Partition 1 !" Disabled !"
Enabled
[2] Partition 2 !" Disabled !" Enabled
[3] Partition 3 !" Disabled !" Enabled
[4] Partition 4 !" Disabled !" Enabled
[5] Assign Door to Partition 1 !" Disabled !" Enabled
[6] Assign Door to Partition 2 !" Disabled !" Enabled
[7] Assign Door to Partition 3 !" Disabled !" Enabled
[8] Assign Door to Partition 4 !" Disabled !" Enabled
SECTION [002]: General Options
Option OFF ON
[1] Display Code Entry !" Disabled !" Enabled
[2] Display Exit Delay !" Disabled !" Enabled
[3] Display Entry Delay !" Disabled !" Enabled
[4] Confidential Mode
(not for UL installations)
!" Disabled !" Enabled
[5] To Exit Confidential Mode !" Enter Code !" Press Button
[6] Reader’s red LED to follow
Partition’s status
!" Disabled !" Enabled
[7]
Reader’s beeping to follow
Partition’s status when [6] ON
!" Disabled !" Enabled
[8] Not used !" N/A !" N/A
SECTION [003]: General Options
Option OFF ON
[1] Muting !" Disabled !" Enabled
[2] Exit Delay Beep !" Disabled !" Enabled
[3] Door Left Open Pre-Alarm !" Disabled !" Enabled
[4] Chimed Zone Closure !" Disabled !" Enabled
[5] Door Left Open Alarm !" Silent !" Audible
[6]
Door Left Open Alarm follows
!" Alarm Restore !" Beep Timer
[7] Door Forced Alarm !" Silent !" Audible
[8] Door Forced Alarm follows !" Alarm Restore !" Beep Timer
SECTION [004]: Beep on Trouble
Option OFF ON
[1]
System & Clock Trouble Beep
!" Disabled !" Enabled
[2] Communicator Trouble Beep !" Disabled !" Enabled
[3] Module & Bus Trouble Beep !" Disabled !" Enabled
[4] All Zone Trouble Beeps !" Disabled !" Enabled
[5] to [8]Not used !" N/A !" N/A
SECTION [005]: General Options
Option OFF ON
[1] Card Activates Door
Unlocked Schedule
!" Disabled !" Enabled
[2] Door Left Open Alarm !" Disabled !" Enabled
[3] Door Forced Open Alarm !" Disabled !" Enabled
[4] Not used !" N/A !" N/A
[5] Keypad Tamper !" Disabled !" Enabled
[6] Door will Relock !" Immediately !" When closed
[7] Reader’s Green LED for
Access Granted
!" Disabled !" Enabled
[8] Unlock on REX !" Disabled !" Enabled
SECTION [012]: Door Unlocked Schedule
Start time End time Days (turn ON or OFF)
SMTWT FSH
A:___ ___:___ ___ ___ ___:___ ___ 1 2 3 4 5 6 7 8
MESSAGE PROGRAMMING
Each section from [101] to [249] contains one message with a
maximum of 16 characters. The following are the defaults:
Section [101] to [148] = Zone 01 to Zone 48 respectively
Section [149] to [244] = Code 01 to Code 96 respectively
Section [245] = Paradox Family
Section [246] = First Area
Section [247] = Second Area
Section [248] = Third Area
Section [249] = Fourth Area
After entering the section corresponding to the desired message, it
can be re-programmed to suit the installation needs (see Table 1).
Example: change section [101] “ZONE 01” to “FRONT DOOR”.
Figure 1: Keypad Connections
Table 1: Message Programming
Key Function Details
[STAY]Insert Space
Press the
[
STAY
]
key to insert a blank
space in the current cursor position.
[FORCE]Delete
Press the
[
FORCE
]
key
to delete the
character or blank space found at the
current cursor position.
[ARM]Delete Until the End
Press the
[
ARM
]
key to delete all
characters and spaces to the rightofthe
cursor and at the cursor's position.
[DISARM]Numeric/Alphanumeric
Press the
[
DISARM
]
key to toggle the
numeric keys to alphanumeric keys and
vice versa. Numeric: Keys
[0]
to
[9]
represent numbers 0 to 9.
Alphanumeric: refer to Table 2.
[BYP]Lower/Upper Case
Press the
[
BYP
]
key to toggle from lower
to upper case and vice versa.
[MEM]Special Characters
After pressing the
[
MEM
]
key, the cursor
will turn into a flashing black square.
Using Table 3, enter the 3-digit number
for the desired special character.
Table 2: Alphanumeric Keys
Key Press Key Once Press Key Twice Press Key Three
Times
[1] A B C
[2] D E F
[3] G H I
[4] J K L
[5] M N O
[6] P Q R
[7] S T U
[8] V W X
[9] Y Z
Table 3: Special Characters
Figure 2: Connections to Access Keypad

Other Digiplex Keypad manuals

Digiplex DGP-641ACC Operating instructions

Digiplex

Digiplex DGP-641ACC Operating instructions

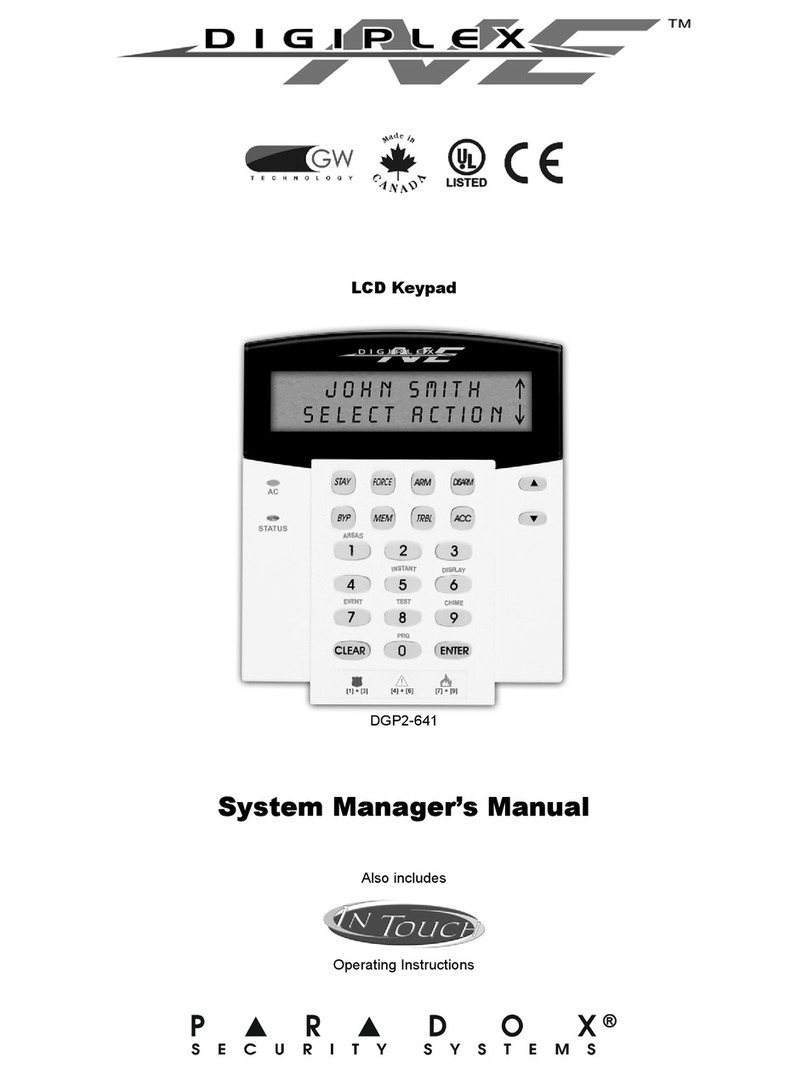
Digiplex DGP-641 Operating instructions

Digiplex

Digiplex DGP-641 Operating instructions

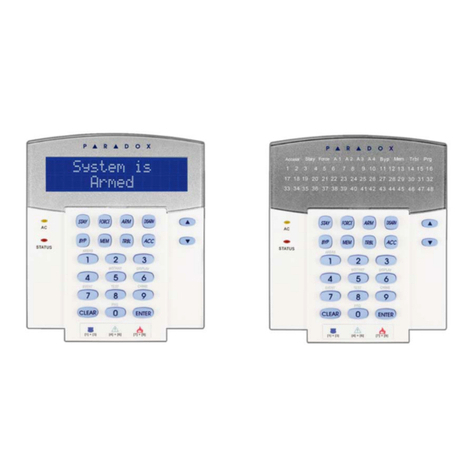
Digiplex DGP2-641 User guide

Digiplex

Digiplex DGP2-641 User guide

Digiplex DGP-641 Assembly instructions

Digiplex

Digiplex DGP-641 Assembly instructions

Digiplex EVO641 User manual

Digiplex

Digiplex EVO641 User manual

Digiplex DGP2-641 User guide

Digiplex

Digiplex DGP2-641 User guide

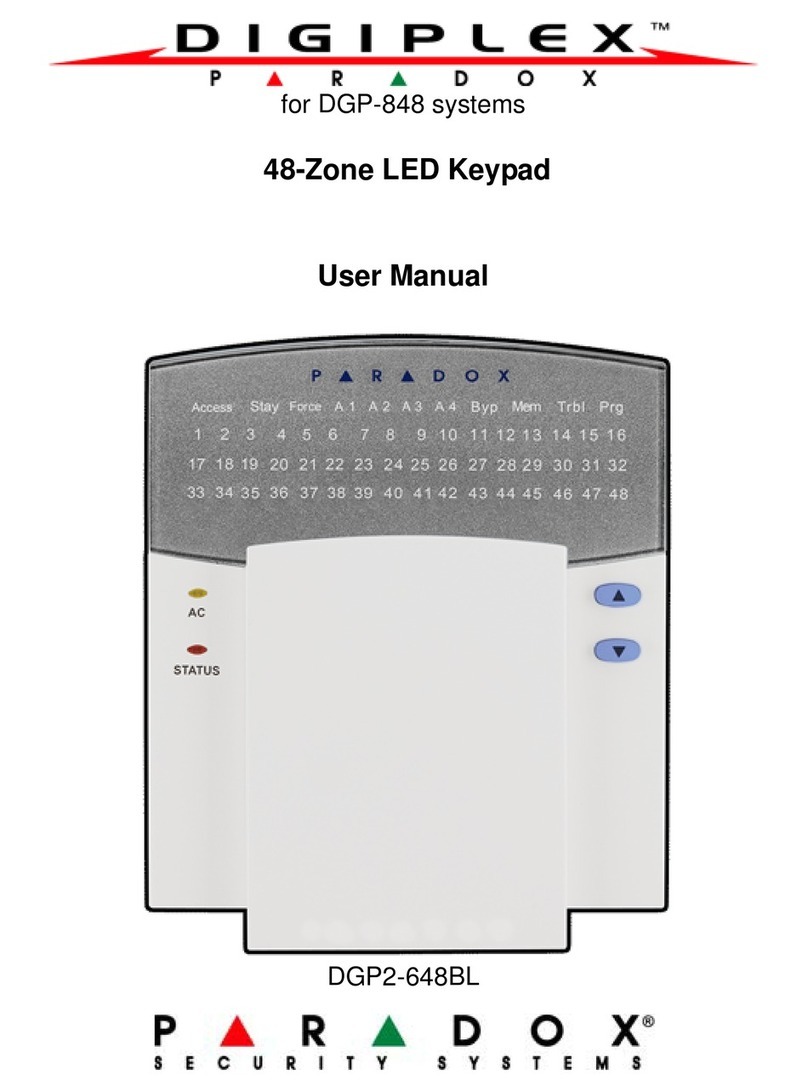
Digiplex DGP2-648BL User manual

Digiplex

Digiplex DGP2-648BL User manual

Digiplex DGP-641 User manual

Digiplex

Digiplex DGP-641 User manual

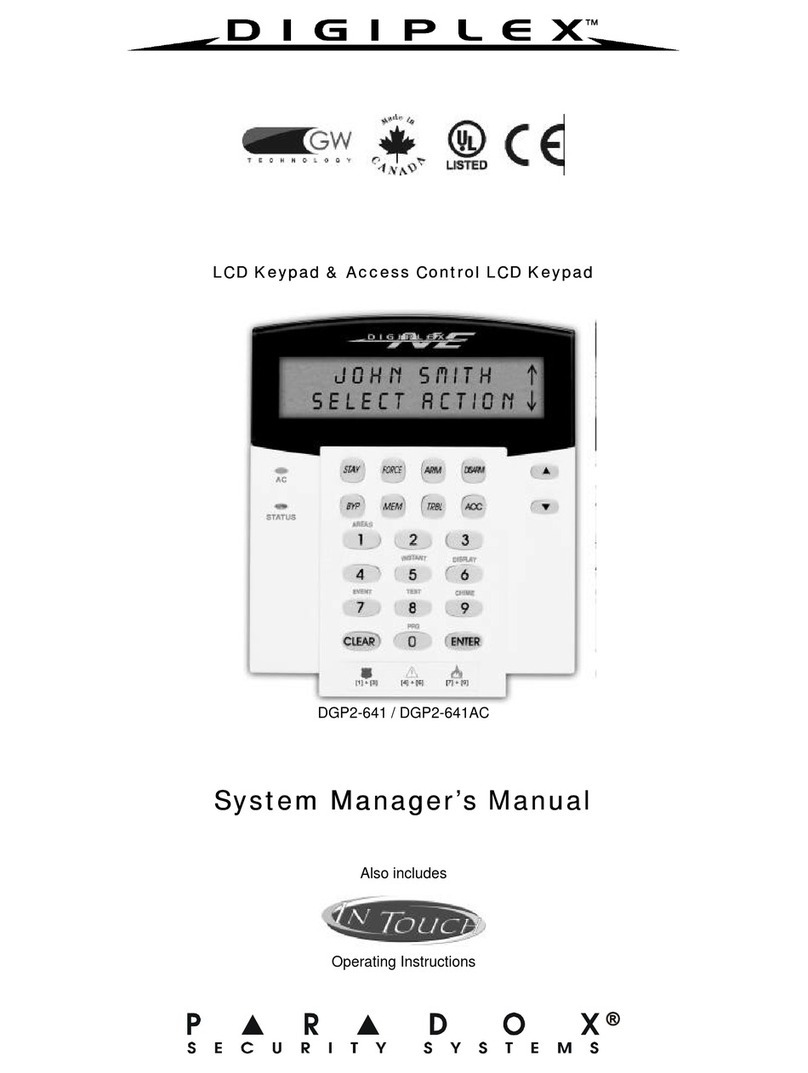
Digiplex DGP2-641AC User guide

Digiplex

Digiplex DGP2-641AC User guide

Popular Keypad manuals by other brands

Risco lightsys RP432KP manual

Risco

Risco lightsys RP432KP manual

QRPworks Key Log Go user manual

QRPworks

QRPworks Key Log Go user manual

ICT PRT-TS50 installation manual

ICT

ICT PRT-TS50 installation manual

AMX Mio Modero DMS quick start guide

AMX

AMX Mio Modero DMS quick start guide

NAPCO MAGNUM ALERT RP2000 KEYPAD manual

NAPCO

NAPCO MAGNUM ALERT RP2000 KEYPAD manual

Visonic KP-250 user guide

Visonic

Visonic KP-250 user guide

Spectra 1641 installation guide

Spectra

Spectra 1641 installation guide

Popp POPE700045 manual

Popp

Popp POPE700045 manual

Spectra 1689 User quick reference guide

Spectra

Spectra 1689 User quick reference guide

Honeywell 6150RF - Ademco Deluxe Fixed Keypad/Receiver user guide

Honeywell

Honeywell 6150RF - Ademco Deluxe Fixed Keypad/Receiver user guide

tau TCODE-W Original instructions

tau

tau TCODE-W Original instructions

Magellan K10V User quick reference guide

Magellan

Magellan K10V User quick reference guide

Richmond GTR053 instruction manual

Richmond

Richmond GTR053 instruction manual

Risco WL Panda Installation and user guide

Risco

Risco WL Panda Installation and user guide

CAMDEN CV-550SPK V3 Reference manual

CAMDEN

CAMDEN CV-550SPK V3 Reference manual

Leroy-Somer KEYPAD-LCD Installation

Leroy-Somer

Leroy-Somer KEYPAD-LCD Installation

DMP Electronics Security Command 690 installation guide

DMP Electronics

DMP Electronics Security Command 690 installation guide

PRASTEL EASYBKA manual

PRASTEL

PRASTEL EASYBKA manual

manuals.online logo
manuals.online logoBrands
  • About & Mission
  • Contact us
  • Privacy Policy
  • Terms and Conditions

Copyright 2025 Manuals.Online. All Rights Reserved.