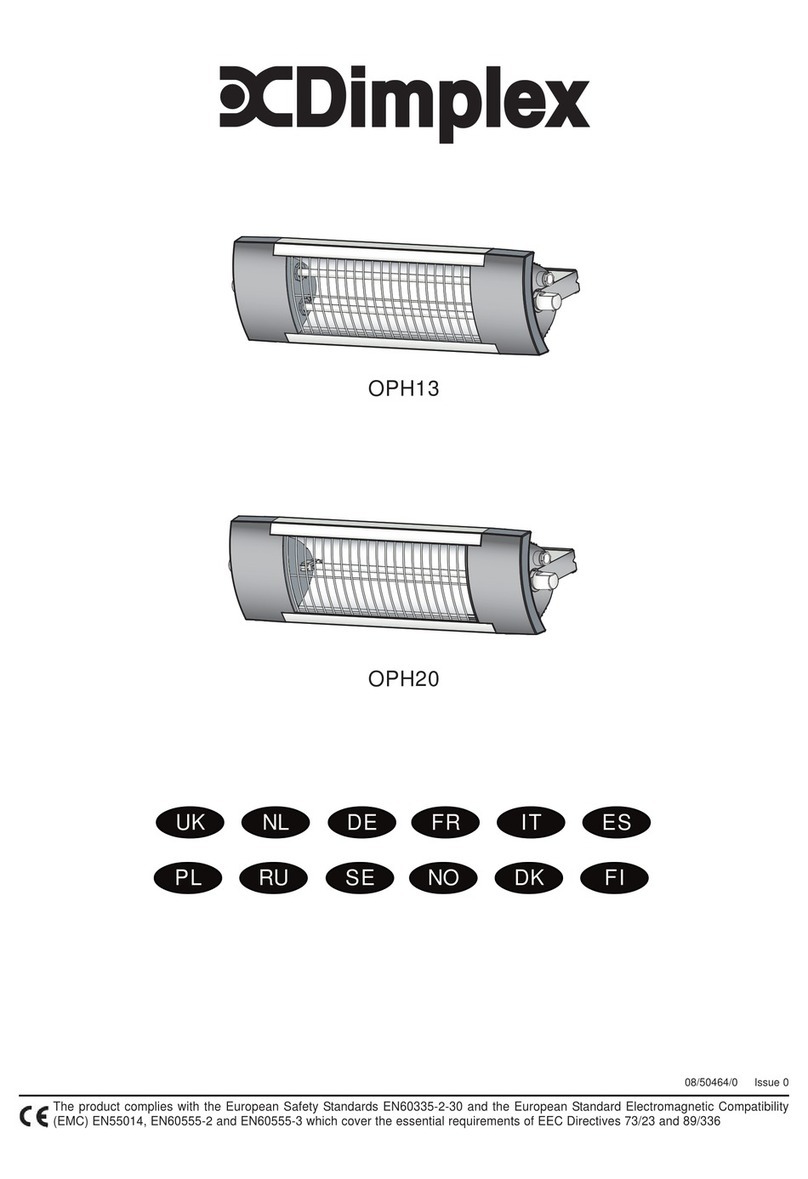
Dimplex Outdoor Patio Heaters
Model(s) : OPH13 & OPH20
THESEINSTRUCTIONSSHOULDBEREADCAREFULLYANDRETAINEDFORFUTUREREFERENCE
(IPX4)
Important Safety Advice
Because the Dimplex Outdoor Patio Heater contains no
moving parts little maintenance is required. Before
undertaking any maintenance work on the heater due
attention must be paid to the following:
This heater is designed to be horizontally wall mounted
only, it must not be ceiling mounted.
Always ensure a safe mounting height, at or above a
minimum height of 1.8 metres from ground level, so that
the heater can not be touched when in operation.
The heater must be wall mounted level ± 5º to the
horizontal.
Do not locate the heater immediately above or below a
fixed socket outlet or connection box.
Alwaysdisconnecttheheater from the electricity supply
before attempting to work on or near it.
Always ensure a safe means of access using an access
tower or properly supported ladder.
Do not cover the heater.
Keep combustible materials away from the heater.
Donotpositionpatio furniture, sunshades, awnings and
other combustible materials too close to the heater.
Do not look into the heater for prolonged periods
Do not use the heater if the elements are broken - as
injury may occur.
Allow adequate time (minimum of 30 mins.) for the
elements and body casing to cool before attempting to
work on the heater.
Do not allow the supply cord to sit or hang in front of the
heater while in use.
If the supply cord is damaged, the heater should not be
used, it must be replaced by an assembly available from
the manufacturer or service agent.
Note: Provide sufficient slack to the cable to allow for
angular adjustment of the body.
Always handle the Halogen bulb without touching the
glass (by gripping the ceramic ends gently but firmly) to
maximise bulb life.
General
The OPH range of heaters are especially designed for use
on Patio Areas. The heaters provide warmth and comfort for
recreational areas. The OPH13 uses quartz elements which
emit a warm glow of medium wave infra-red. The OPH20
uses Halogen elements which produce a high proportion of
their output in the short-wave infra-red. This provides a high
comfort factor – similar to the natural energy from the sun.
The IPX4 rating means the appliance is suitably rated to be
permanently installed either internally or externally.
Electrical
The installation of this appliance should be carried out by a
competent electrician and be in accordance with the current
IEE wiring regulations and any local or insurance regulations.
The OPH13 & OPH20 are designed for use on a 230-240V
AC single phase supply. A double pole isolating switch with
a minimum separation of 3mm in each pole must be fitted to
facilitate isolation. This switch must either be positioned
inside a building or have an IP rating against water ingress
suitable for external installation. The appliance must be
supplied through a residual current device (RCD) having a
rated residual operating current not exceeding 30mA. The
RCDfor the OPH20 shouldbe type 3or C rated, with a tripping
coefficientof 7-10 times therated current. Any otherswitching
device should be Tungsten lamp rated. The appliance must
be connected to a socket-outlet having an earthing contact.
Installation – Wall Mounting
Heaters are supplied with an integral wall bracket which may
be fixed through the mounting holes to any suitable structure.
The bracket allows the heater to be inclined at the required
angle. The recommended fixing height to the centre line of
the bracket is2.0m from ground level- see Fig. 2. Theintegral
wall fixing bracket may be removed by fully unscrewing to
facilitate its fixing. The siting of the heater(s) should be such
as to allow an even and uninterrupted distribution of radiation
to the area(s) to be heated. Heaters are most effective when
the beam angle is inclined down at an angle of between 30º
to 45º to the vertical - see Fig. 2. When deciding upon the
best location, consideration must be given to the following
requirements:
a. Avoid structures which might vibrate e.g. crane gantries.
These could adversely affect element life
b. Comfort and safety could be compromised unless the
heater is mounted at or above 1.8m from ground level.
c. Allow a minimum of 500mm minimum clearance between
the top of the heater and any horizontal surface- see Fig.1.
Installation – Pole Mounting
TheOPH range of patio heaters can bepermanently mounted
to parasols, poles or other support structures. A mounting kit
(OPHMK1) can be obtained directly from Dimplex or any of its
service agents. Refer to the instructions supplied with this kit
for further advice.
Element Replacement OPH20 (see Fig. 3)
WARNING–BEFOREUNDERTAKINGTHISTASKENSURETHE
HEATERISDISCONNECTEDFROMTHEELECRICITYSUPPLY
ANDLEFT TOCOOL FOR AMINIMUM OF 30MINUTES.
1. Remove the four screws which hold the two front panels
onto the heater.
2. Slide the guard out on either side.
3. Disconnect the element wires from the terminal blocks
4. Unclip the lamp from spring clips and pull out the lamp
with the wires.
5.Feed the wires of the new lamp back through the insulation.
6. Clip in the new lamp.
Note: Take care not to touch the bulb with bare hands.
7. Reconnect the wires.
8. Replace the guard and top panels.
Element Replacement OPH13 (see Fig. 3)
WARNING–BEFOREUNDERTAKINGTHISTASKENSURETHE
HEATERISDISCONNECTEDFROMTHEELECRICITYSUPPLY
ANDLEFT TOCOOL FOR AMINIMUM OF 30MINUTES.
1. Remove the two screws which hold the one of the front
panels onto the heater.
2. Slide out the guard.
3. The lamps are held by spring connectors, push against
these to remove the lamp.


