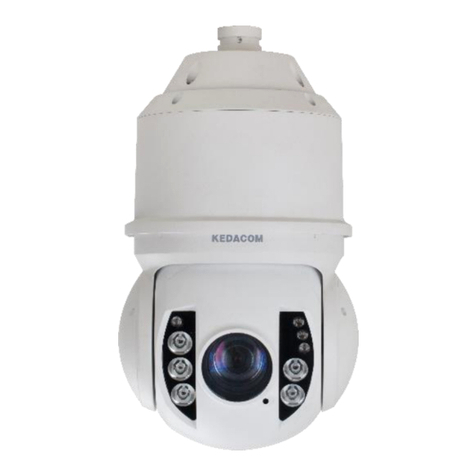
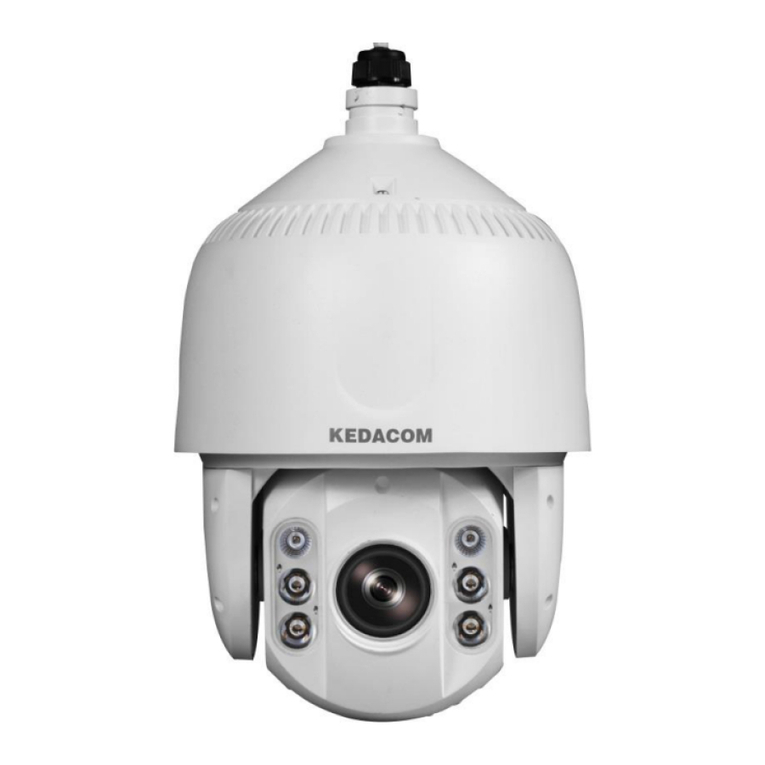
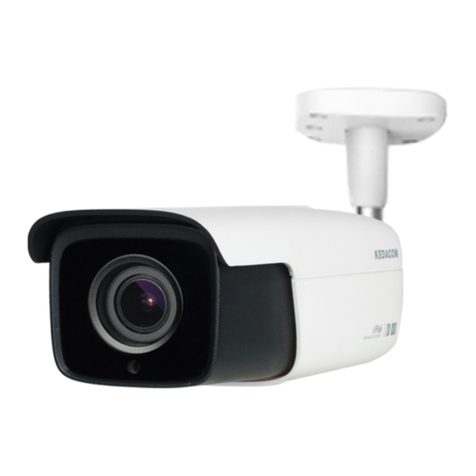
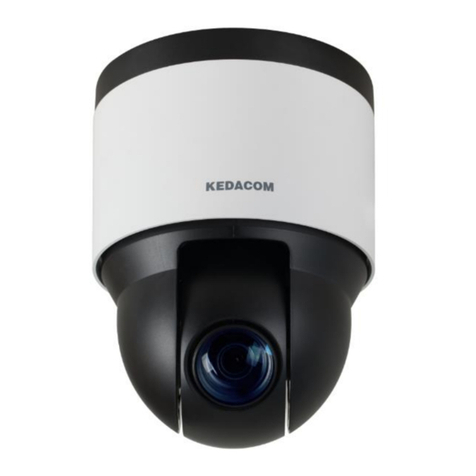
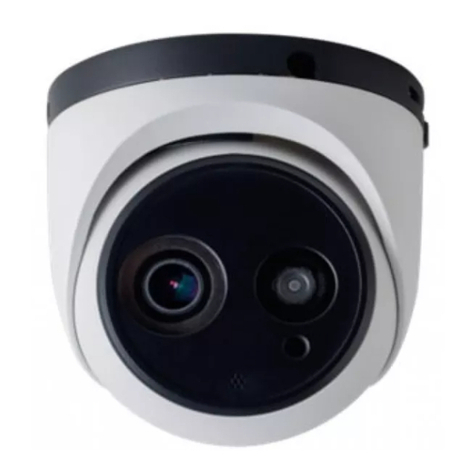
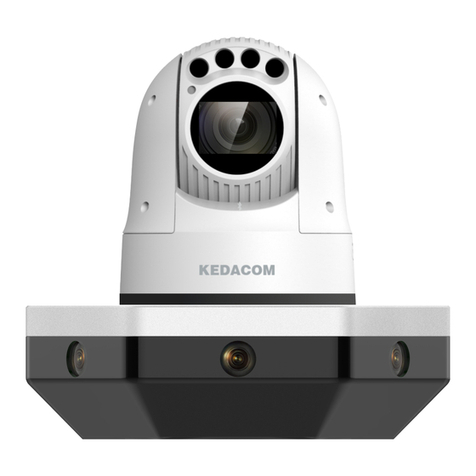
Kedacom IPC2860 Series User manual

KEDACOM
User Manual for
Fisheye Network Camera
V1 (August, 2018)

2
Trademark
Kedacom™ and are trademarks of Suzhou Keda Technology Co., Ltd. in
China and various other countries. All other trademarks mentioned in this document are
the property of their respective holders.
Suzhou Keda Technology Co., Ltd.
131 Jinshan Road
New District, Suzhou, 215011
People's Republic of China
http://www.kedacom.com/en
Tel: +86-512-68418188
Fax: +86-512-68412699
© 2018 Suzhou Keda Technology Co., Ltd. All rights reserved.
Without the prior written permission of Suzhou Keda Technology Co., Ltd., any
reproduction, translation or retransmission of all or any part of this document for any
purpose in either electronic or mechanical form is not allowed.
Notice
The information in this document is subject to change without Note. Every effort has been
made in the preparation of this document to ensure accuracy of the contents, but all
statements, information, and recommendations in this document do not constitute a
warranty of any kind, express or implied. Suzhou Keda Technology Co., Ltd. is not
responsible for printing or clerical errors.

3
Target Audience
Administrators and Operators of Video Surveillance Products
Document Version
V1
Applicable Models
IPC2860 series
Related Document
Quick Start Guide
Convention
Icon
Convention
Notes
italic
Book or document name;
Filling content
>
Connector between menus of different level
BOLD
Menu; Button; Option
UL Safety Instruction
CAUTION: Risk of Explosion if Battery is replaced by an Incorrect Type. Dispose of Used
Batteries According to the Instructions.
Suitable for Mounting on Concrete or Other Non-Combustible Surface Only.
This product is intended to be supplied by a Listed Power Unit, output rated minimum 24Vac,
50/60HZ, 0.5A or 12Vdc, 0.8A or POE,0.5A,non-energy hazards and Tma=60Deg.C. complied
with LPS.
a. the function of the ITE being investigated to IEC 60950-1 is considered not likely to
require connection to an Ethernet network with outside plant routing, including campus
environment; and
b. the installation instructions clearly state that the ITE is to be connected only to PoE
networks without routing to the outside plant.

4
Contents
1. Product Brief...................................................................................................................................1
2. Appearance.....................................................................................................................................2
3. Start Up............................................................................................................................................3
3.1 Network Connection.............................................................................................................3
3.2 Activate Camera...................................................................................................................3
3.3 Configure Camera................................................................................................................5
3.4 Login and Log Out of the Web Client...................................................................................7
3.5 Main Interface ......................................................................................................................8
4. Basic Functions..............................................................................................................................9
4.1 Live View..............................................................................................................................9
4.1.1 PTZ Control................................................................................................................9
4.1.2 Preset.........................................................................................................................9
4.1.3 Image Adjustment ....................................................................................................10
4.1.4 Mode Setting............................................................................................................11
4.1.5 Live View Window....................................................................................................13
4.2 Playback ............................................................................................................................15
4.3 Snapshot............................................................................................................................17
4.4 Local Setting ......................................................................................................................17
5. System Functions.........................................................................................................................21
5.1 Recording...........................................................................................................................21
5.2 Snapshot............................................................................................................................22
5.3 Intelligent Function.............................................................................................................22
5.3.1 Motion Detection ......................................................................................................23
5.3.2 Video Blocked ..........................................................................................................24
5.3.3 Guard Line................................................................................................................24
5.3.4 Defocus....................................................................................................................25

5
5.3.5 Scene Change..........................................................................................................25
5.3.6 Entry Guard Area .....................................................................................................26
5.3.7 Exit Guard Area........................................................................................................27
5.3.8 Enter Guard Area.....................................................................................................28
5.3.9 Object Left................................................................................................................28
5.3.10 Object Removal ...................................................................................................29
5.3.11 Gathering.............................................................................................................30
5.3.12 Audio Surge.........................................................................................................30
5.4 Alarm Input.........................................................................................................................31
5.5 Alarm Output......................................................................................................................32
5.6 Abnormality Linkage...........................................................................................................33
6. Network .........................................................................................................................................34
6.1 IP and Port.........................................................................................................................34
6.1.1 LAN ..........................................................................................................................34
6.1.2 Port...........................................................................................................................35
6.2 Access Protocol .................................................................................................................35
6.2.1 VSIP.........................................................................................................................35
6.2.2 ONVIF ......................................................................................................................36
6.2.3 GB28181..................................................................................................................37
6.3 Other Protocol....................................................................................................................38
6.3.1 DDNS.......................................................................................................................38
6.3.2 FTP...........................................................................................................................38
6.3.3 PPPoE......................................................................................................................39
6.3.4 K-SNMP ...................................................................................................................39
6.3.5 802.1X......................................................................................................................40
6.3.6 QoS..........................................................................................................................40

6
6.3.7 UPnP........................................................................................................................41
6.3.8 SMTP .......................................................................................................................42
7. Image Settings..............................................................................................................................44
7.1 Image.................................................................................................................................44
7.1.1 Image Adjustment ....................................................................................................44
7.1.2 Exposure..................................................................................................................44
7.1.3 White Balance..........................................................................................................45
7.1.4 Night Cut ..................................................................................................................45
7.1.5 IR..............................................................................................................................45
7.1.6 Image Enhancement ................................................................................................46
7.1.7 EIS ...........................................................................................................................46
7.1.8 Rotate and BNC.......................................................................................................47
7.2 OSD...................................................................................................................................47
7.3 Video Parameters ..............................................................................................................48
7.3.1 Encoding Format......................................................................................................48
7.3.2 ROI...........................................................................................................................49
7.3.3 Privacy Mask............................................................................................................50
7.3.4 Video Info Overlay....................................................................................................51
7.4 Audio Parameters ..............................................................................................................52
7.4.1 Audio Encoding........................................................................................................52
7.4.2 Audio Decoding........................................................................................................52
8. System...........................................................................................................................................54
8.1 Device Info.........................................................................................................................54
8.2 User Security......................................................................................................................54
8.2.1 User..........................................................................................................................54
8.2.2 RTSP Authorization..................................................................................................55

7
8.2.3 IP Filter.....................................................................................................................55
8.2.4 Security Service .......................................................................................................56
8.3 Time...................................................................................................................................56
8.4 Serial Port ..........................................................................................................................58
8.5 Log.....................................................................................................................................58
8.6 System Maintenance..........................................................................................................59
9. Appendix: Glossary of Terms......................................................................................................61

Fisheye Network Camera User Manual
1
1. Product Brief
The fisheye network camera is a digital surveillance product that integrates various functions such
as video and audio collection, intelligent coding compression and network transmission. With
embedded operating system and high-performance hardware processing platform, it has high
stability and reliability. The fisheye network camera adopts super wide-angle lens to realize
panoramic monitoring without any blind spots. It is suitable for large outdoor scenes, indoor stadiums
and parking lots, also for boutiques, supermarket chains, offices and etc.
Some features of the fisheye network camera:
Preview Modes
Fisheye network camera supports previewing modes of Soft Decode and Hard Decode;
Fisheye network camera supports multiple mount methods, including wall mount, ceiling mount and
desk mount;
Fisheye network camera supports various display modes, including fisheye, panorama, 180°
panorama and 360°panorama, PTZ and various combinations of them;
Alarm
With audio and alarm ports, realize functions of talkback and alarming;
Motion detection and alarm linkage, make video surveillance intelligent;
Support alarm linkage edition: alarm text overlay, device output, email notification and etc.;
Networking
Support static address, DHCP or PPPoE;
Support NAT traversal, DNS and multicast technology;
Storage
With storage card slot, when the network breaks down, video can be stored in local storage card;
Support local snapshot, default format is .JPG;
Support local recording, user can query and playback recording on PC.

Fisheye Network Camera User Manual
2
2. Appearance
Picture 2-1 IPC2860 series

3
3. Start Up
3.1 Network Connection
Note: You are responsible for risks of accessing cameras to the Internet, including but not limited to
possible cyber-attack, hacking attack, virus infection and etc. This company is not responsible for the
product failures and information disclosure caused thereby, but will provide timely technical support
for the cameras.
After the camera is installed, configure parameters and functions through the web client. Please
ensure the mutual network communication between the camera and the PC before configuring.
Requirements of PC for installing the client:
Processor: Intel CORE®i5 series and later version or other equivalent processors
RAM Memory: 8GB DDR4 or above
Operating System: Windows XP or higher versions
Browser: IE8.0 or later versions, Firefox (49 and older versions)
DirectX:9.0c
3.2 Activate Camera
When the camera is first used, user should activate it and set the login password for normal use.
There are 2 methods to activate the camera: though IPCSearch or through browser.
Activate through IPCSearch
1) Get IPCSearch from the attached CD and install it according to the prompts.
2) After finishing installation, open IPCsearch and the system will search the cameras in
LAN and display the list as shown below.
Picture 3-1 IPCSearch
Note: Camera name is subject to the search result.

4
3) Select the camera to be activated, right click and select “Activate”. On the popup interface,
configure admin user password and email for claiming password. Click “Activate” to
activate the device.
4) When there are more than one non-activated devices, select the device and click“Batch
processing”. In the popup interface, set admin user’s password and the email address
to claiming password. Click “Activate”and wait for rebooting, as shown in Picture 3-2.
Picture 3-2 Activate through IPCSearch
Activate through browser
Configure the IP addresses of PC in the same network segment as the camera and input the
camera IP address in browser, the device activation interface will pop up, ass shown below:

5
Picture 3-3 Activate through browser
Note:
1) To ensure the safety of device on internet, it is strongly recommended that you set a strong
password composed of at least 2 kinds of the following, numbers, upper-case letters,
lower-case letters or specific symbols with length of 8 to 16 characters.
2) Please modify the password periodically such as once every 3 months. If the device is used in
highly risky environment, suggest modifying the password monthly or weekly.
3) Please keep your username and password safe.
3.3 Configure Camera
After logging into the camera, go to Settings > Network > IP and Port > LAN, and modify camera
network parameters such as IP address, subnet mask and gateway.

6
Picture 3-4 Network settings
Alternatively, run IPCSearch and select an activated camera whose network parameters should be
modified. Click “Modify Params”or right click the mouse, as shown in Picture 3-5. Modify
parameters and fill admin user name (admin) and the password set when activating the device.

7
Picture 3-5 Modify Parameter
3.4 Login and Log Out of the Web Client
Login to the Web Client
After activation, input camera IP address in the browser to enter the login interface. Input
username and the password set during activation and click “Login”, as shown in Picture 3-6.
Picture 3-6 Web Client Login Interface

8
Picture 3-7 Setting interface of web client
Log Out of the Web Client
On the live view interface, click to log out.
3.5 Main Interface
On the main interface of camera, you can view live video, playback video records, manage
snapshots and configure settings.
Live View: preview camera live video and adjust parameters;
Playback: search, playback and download video records by timeline or record types;
Snapshot: view, search and download snapshots;
Settings: configure camera functions and system parameters.

9
4. Basic Functions
4.1 Live View
Click “Live View”to enter the preview interface.
4.1.1 PTZ Control
Click and the following interface will show:
Picture 4-1 PTZ control
Button
Note
Direction buttons, the 8 direction buttons mean the different directions of the image.
Click either to adjust the image rotation direction.
is the pan patrol button, click it to enable the camera to patrol in pan direction.
Step increment adjustment button, step increment means the rotation speed of the
image each time the direction button is clicked. Drag the slide bar to the right of the
direction keys to adjust the step increment. The larger it is, the faster the rotation
speed of the image will be.
Zoom In/ Zoom Out buttons, zooming is to control the field of view monitored by IP
camera. The larger the field of view is, the wider the surveillance scope will be.
Under night mode, when the IR mode is manual, click this button to increase or
decrease IR light illumination. Each click increases or decreases the illumination by 10.
4.1.2 Preset
Click and the following interface will show:

10
Picture 4-2 Preset
Presets can be loaded, saved and deleted anytime once set and saved.
Setting steps: Choose a position and adjust lens direction and field of view up to request;
select a preset from the list of presets and click the “Save”icon to save the preset. Click the
“Load”icon to load the preset if necessary.
Note: Preset setting is available only under PTZ mode.
4.1.3 Image Adjustment
Click to show the following interface.
Picture 4-3 Image adjustment
Brightness: Drag Brightness slide bar to adjust image brightness by request. The higher the
value is, the brighter the image will be.
Contrast: Drag Contrast slide bar to adjust image contrast by request. The higher the value is,
the clearer contrast between the dark and the bright of the image there will be.
Saturation: Drag Saturation slide bar to adjust image saturation by request. The higher the
value is, the fresher the image will be.

11
Sharpness: Drag Sharpness slide bar to adjust image sharpness by request. The higher the
value is, the more distinct the objects on the image will look.
4.1.4 Mode Setting
Soft Decode and Hard Decode
Fisheye network camera supports soft decode and hard decode. Different modes display
differently. Please subject to actual devices.
Soft decode decodes video by the CPU of PC and obtains the decoded image; hard
decode decodes video by the hardware of the device itself and obtains the decoded
image. User can select by request.
Mount method
Please select the mount method according to the actual installation of the camera.
The following represents ceiling mount, wall mount and desk mount respectively from the
left to the right.
Picture 4-4 Mount method
Display mode
The display modes under different mount methods are different, as shown below:
Decode Mode
Mount Method
Display Mode
Soft Decode
Ceiling Mount

12
Soft Decode
Wall Mount
Soft Decode
Desk Mount
Hard Decode
Ceiling Mount
Hard Decode
Wall Mount
Hard Decode
Desk Mount
The preview image of the camera could be fisheye, panorama or PTZ or the blending of
them.
Fisheye image: the omniscient/ wide angle view image monitored by the fisheye lens
of fisheye camera.

13
Panorama image: the corrected rectangle image from fisheye image.
PTZ image: the close-up image of certain selected area in the fisheye or panorama
images. PTZ image supports ePTZ.
The display modes of fisheye camera are explained as follows:
4.1.5 Live View Window
Aspect Ratio
means the live view window displays image in standard screen ratio 4:3.
Icon
Note
Display fisheye image
Display 180°panorama image
Display 360°panorama image
Display 2 PTZ images
Display 4 PTZ images
Display fisheye image and 3 PTZ images
Display fisheye image and 8 PTZ images
Display 360°panorama image and 1 PTZ
image
Display 360°panorama image and 3 PTZ
images
Display 360°panorama image and 6 PTZ
images
Display 360°panorama image and 8 PTZ
images
Display panorama image
Display panorama image and 3 PTZ
images
Display panorama image and 8 PTZ
images
Table of contents
Other Kedacom Security Camera manuals

Kedacom
Kedacom IPC2240-HN-SIR30 User manual

Kedacom
Kedacom IPC52X Series User manual

Kedacom
Kedacom IPC411 User manual

Kedacom
Kedacom IPC427-D120-N User manual

Kedacom
Kedacom IPC Series User manual

Kedacom
Kedacom IPC4X2 Series User manual

Kedacom
Kedacom IPC2860-HN-PIR15 User manual

Kedacom
Kedacom IPC425 User manual

Kedacom
Kedacom IPC2251-AN User manual

Kedacom
Kedacom IPC524 Series User manual