INSTALLATION
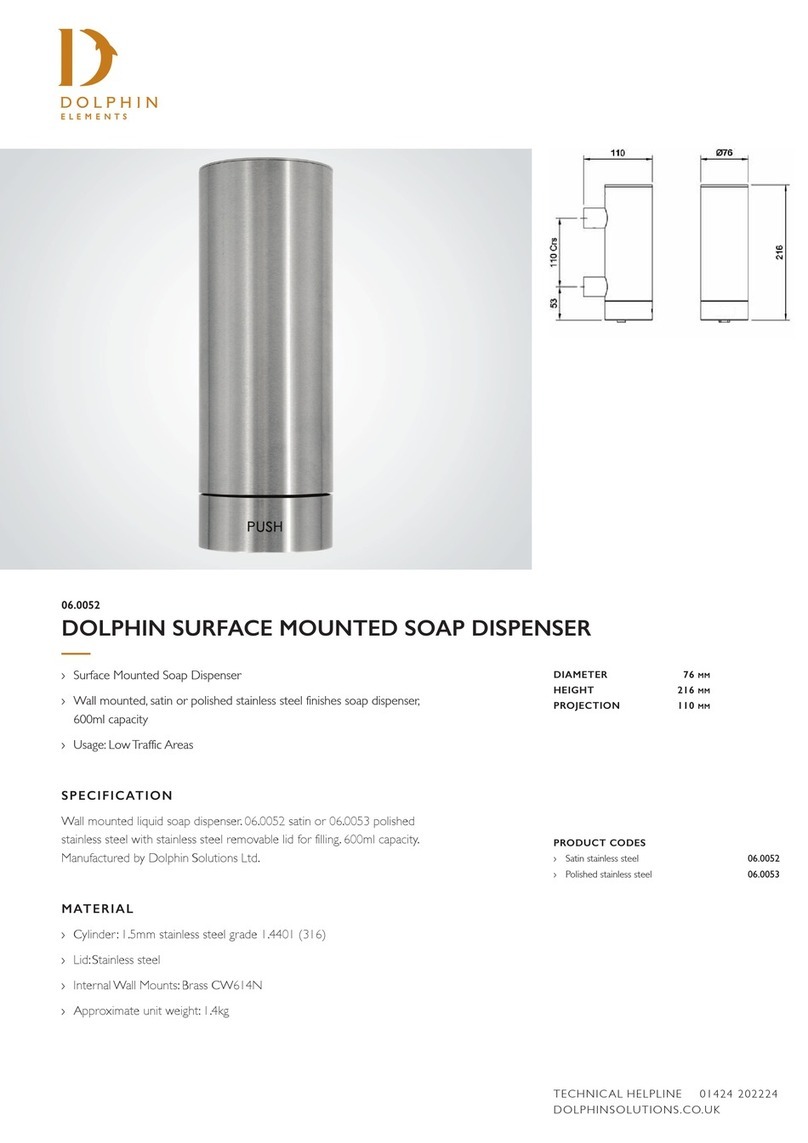
See diagram opposite
› Mark location of fixing holes on wall.
› Loosen grub screws (C) with the hexagon key until brass-
mounting tubes (D) fall free.
› Align the brass mounting tubes with the fixing holes in the wall
and secure using suitable screws (Please check the screws
supplied are suitable for the installation).
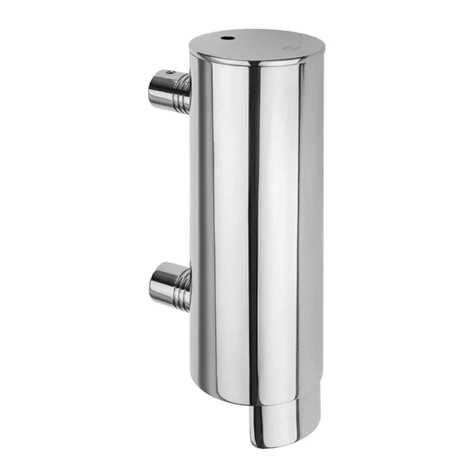
› Position the cylinder body (E) over the brass mounting tubes and
secure by tightening the grub screws.
› Remove lid (A) (Remove white protective cover from lid on
install) and fill the soap dispenser to just below the vent hole (B).
› For best results always use Dolphin solutions ltd ‘Pearlised’ liquid
soap (part No. 06.8305)
› Fit the lid back into position ensuring that it is securely in place.
› Do not open the dispenser from the base without seeking advice
from the manufacturer.
OPERATION
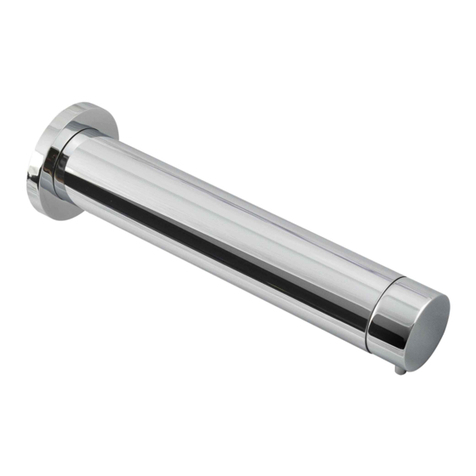
› Push lower ring horizontally towards the wall to dispense liquid
soap into palm of hand. Each stroke delivers approximately 1ml of
liquid soap per activation. Recommended for light to medium use
areas.
› Fill soap dispenser by removing acrylic lid and pouring liquid soap
into container.To purge, press lower ring until soap begins to
dispense from nozzle.
Liquid Soap
› We recommend using Dolphin solutions ltd ‘Pearlised’ liquid soap
(Product code 06.8305).We do not recommend using high
viscosity liquid soaps or gels, which may impair function.Warning:
Liquid soap with high sodium chloride content can cause
corrosion and may invalidate the product warranty
INSTALLATION KIT
See diagram above
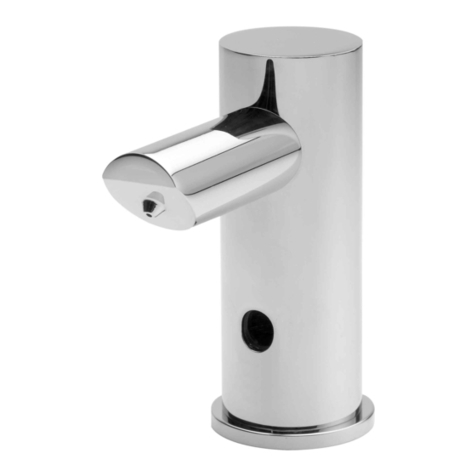
› 1 x Stainless steel soap dispensing cylinder
› 1 x Round tinted acrylic lid with fitted ‘O’ ring
› 2 x Brass wall mounting tubes
› 2 x Grub screws
› 2 x No.10 fixing screws
› 2 x Wall plugs
› 1 x Hexagon key
› A. See through lid
› B.Vent hole
› C. Grub screw (2)
› D. Brass wall mounting tube (2)
› E. Stainless steel cylindrical body
CARE AND MAINTENANCE
› If dispenser fails to function, empty the liquid soap from the
container and re-fill with warm water. Pump the warm water
through the dispenser to dislodge any dried soap residue and
then re-fill the container with fresh liquid soap.
› Use a stainless steel cleaner. Never use an abrasive cloth to
remove stubborn stains. Dry with a soft clean cloth.
THIS PRODUCT FALLS WITHIN THE SCOPE OF
THE WASTE ELECTRICAL & ELECTRONIC
EQUIPMENT REGULATIONS DIRECTIVE (WEEE)
This product should not be disposed of with
household waste. Please recycle where facilities
exist or contact Dolphin Solutions Ltd for
further assistance. Check with your local authority for further
recycling advice.
WARRANTY
This product is covered by a 12-month warranty from the date of
purchase to be free from defects if installed and maintained in
accordance with these instructions. Dolphin Solutions will replace or
repair (as appropriate) free of charge any product with a proven
manufacturing defect if reported within the warranty period.
Dolphin Solutions Ltd reserves the right to amend the design or
dimensions without formal notice.
TECHNICAL HELPLINE 01424 202224
DOLPHINSOLUTIONS.CO.UK

