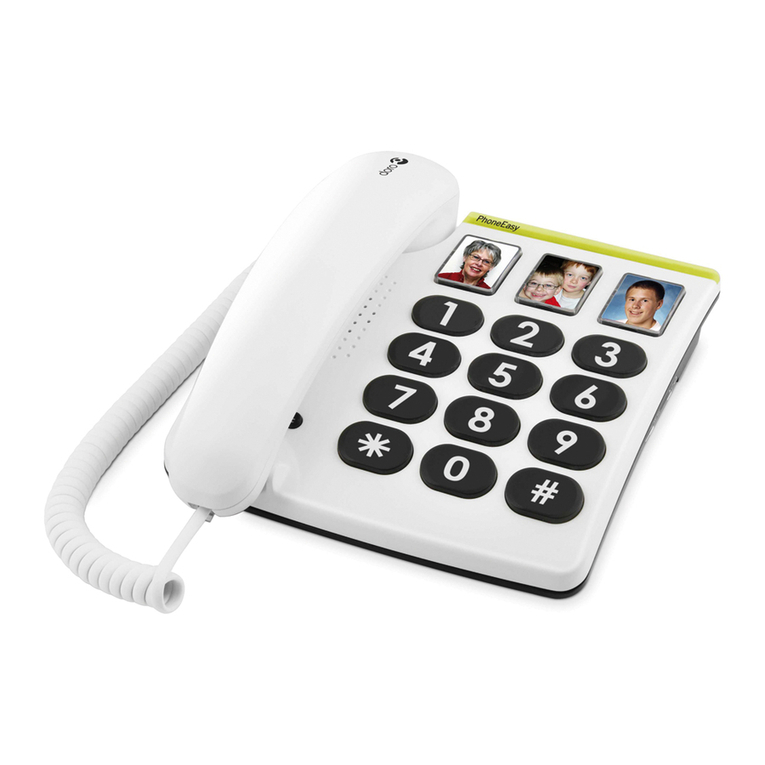
Doro PHONE EASY User manual

Manual
phone easy
design on speaking terms

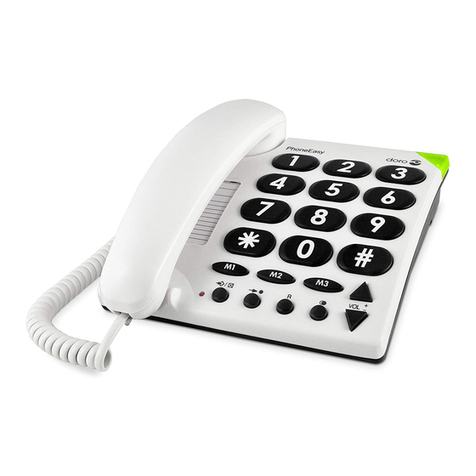
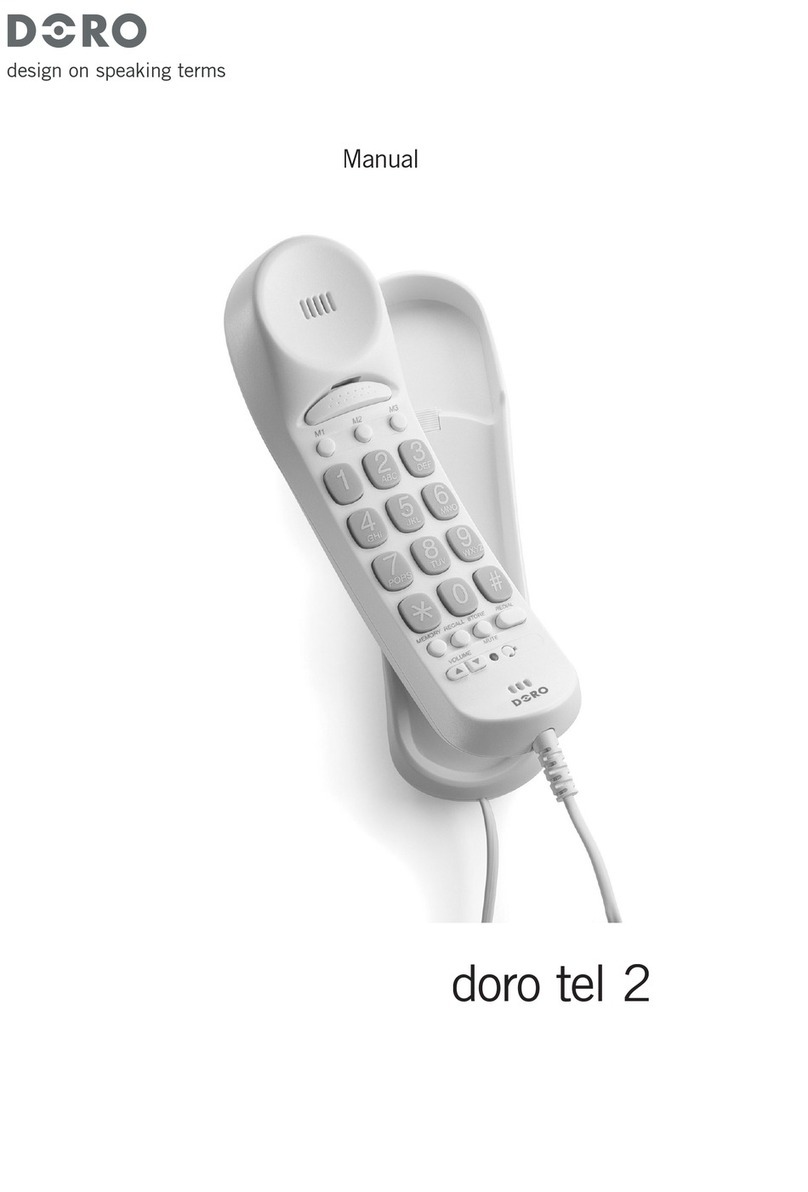
1 One Touch (Direct) Memories
2 Store/Mute button and indicator
light
3 Memory button
4 Recall button
5 Redial button
6 Earpiece Volume control
7 Visual Ring indicator
8 Handset hanger hook
English (see page 3-7)
1 Pamięci szybkiego wybierania
2 Przycisk zapisu i wyciszania/
kontrolka wyciszania
3 Przycisk skróconego wybierania
4 Przycisk Recall (R)
5 Przycisk ponownego wybierania
6 Regulacja głośności
7 Wskaźnik dzwonka/wiadomości
oczekującej*
*Działanie tej funkcji jest zależne od
operatora sieci.
Polski (patrz strony 8-11)

English
www.doro.com 3
Operation
Connection
1. Connect the handset curly cord to the handset and the socket on the left-
hand side of the telephone.
2. Connect the telephone line cord to the socket at the rear of the telephone,
and to a telephone network wall socket.
3. You will hear a click when the modular plug is correctly in place.
4. Lift the handset and listen for the dial tone. Your telephone is now
operational.
Wall mounting
The telephone can be wall mounted using two screws positioned vertically at
a distance of 100 mm, the screws should t into the ‘keyholes’ on the back of
the telephone. Remove the hanger hook (please refer to diagram on page 2) by
pushing it upwards, then rotate it 180 degrees and replace it
Hearing Aid compatible
This telephone is hearing aid compatible. Select the T mode on your hearing
aid to enable this feature.
Mute button
Press and release z to mute the handset microphone during a call, the light next
to the button will ash while the microphone is muted. Press and release z again
to continue with your telephone conversation.
Redial button
If the number dialled is engaged or you wish to dial the last number called lift
the handset and press and release r. Redial will not work if the number dialled
was from memory (i.e. M1, M2, M3 or 0-9).
Recall
Access to additional network services can be gained by using the recall button
R, * and # keys. Contact your network operator for more information.
Press the recall button R followed by the extension number to when connected
to a PBX (TBR only).

English
4 www.doro.com
Settings
Memory
The telephone has 3 one-touch and 10 two-touch memories. One-touch
memories are stored in M1, M2 & M3, two touch memories are stored using the
telephone keypad digits 0-9.
Storing One-touch Memories
1. Lift the handset, press and release P (ignore anything you hear in the
earpiece).
2. Select a memory location M1, M2 or M3 by pressing the corresponding
button.
3. Enter the telephone number to be stored (up to 21 digits).
4. Press and release P again.
5. Replace the handset. The number is now stored.
Dialling using One-touch Memories
1. Lift the handset and wait for a dialling tone.
2. Select a memory location by pressing the corresponding memory button
(M1, M2 or M3). The stored number will now be dialled.
Storing Two-touch Memories
1. Lift the handset, press and release P (ignore anything you hear in the
earpiece).
2. Press and release m
.
3. Select a memory location by pressing one of the keypad number buttons
0-9.
4. Enter the telephone number to be stored (up to 21 digits).
5. Press and release P again.
6. Replace the handset. The number is now stored.
Dialling using Two-touch Memories
1. Lift the handset and wait for a dialling tone.
2. Press and release m
.
3. Select a memory location by pressing the relevant keypad number 0-9. The
stored number will now be dialled.
Press and release r if you need to insert a pause in a telephone number. The name or number
stored in memory can then be entered on the memo list if wished. If a stored number changes,
follow the procedures above entering the new number in the same location as the old one.

English
www.doro.com 5
Settings
Earpiece Volume control
During a conversation press and release either v to increase or V to decrease
the earpiece volume.
Ringer
1. Lift the handset (ignore anything you hear in the earpiece). Press and release
P.
2. Press and release #.
3. Select a ringer and melody by pressing the number keys 0-9 (please refer
to the table below).
4. Press and release P. Replace the handset.
Key/setting Melody type Ringer volume
1.......................................... Melody A........................ Low
2.......................................... Melody A........................ Normal
3.......................................... Melody A........................ High
4.......................................... Melody B........................ Low
5.......................................... Melody B........................ Normal
6 (factory setting) ............... Melody B........................ High
7.......................................... Melody C ....................... Low
8.......................................... Melody C ....................... Normal
9.......................................... Melody C ....................... High
0.......................................... Off * ............................... -
* If you select 0 the ringer will be turned off until the handset is lifted. After that, the ringer
will revert to the previous setting.

English
6 www.doro.com
Other
UK
If you cannot resolve the fault using the faultnder section, technical support is
available on the Premium Rate Number: 0906 302 0114.
Calls cost 50 pence per minute (prices correct at the time of going to press),
and is operational between 9AM - 5PM Monday-Friday excluding Bank Holidays.
Alternatively, E-mail on: tech@doro-uk.com
You can contact us in writing: Consumer Support Group, Doro UK Ltd.,
22 Walkers Road, North Moons Moat, Redditch, Worcestershire, B98 9HE,
(regarding any Spares or Technical query), or Telephoning (Spares only): 01527 584377
Web site: www.doro-uk.com
Guarantee
This product is guaranteed for a period of 12 months from the date of purchase. Proof
of purchase is required for any service or support required during the guarantee period.
This guarantee shall not apply to a fault caused by an accident or a similar incident
or damage, liquid ingress, negligence, abnormal usage or any other circumstances on
the purchaser’s part. Furthermore, this guarantee shall not apply to a fault caused by
a thunderstorm or any other voltage uctuations. This guarantee does not in any way
affect your statutory rights. (As a matter of precaution, we recommend disconnecting
the telephone during a thunderstorm.)
Australia and New Zealand
Products permitted for connection to the telephone network are marked with
in Australia and in New Zealand. These marks indicate
the products comply with the regulations and can be used without concern in the
country of purchase.
If you believe this product is malfunctioning, please refer to the relevant section and/or
consult the troubleshooting guide in this manual to ensure that you have followed the
instructions carefully. As an alternative you can visit our web site for FAQ’s or send
an e-mail for a prompt reply.
Guarantee
This product is guaranteed for a period of 12 months from the date of purchase.
Should you experience difculties with the product, please contact us for assistance. If
the product is then found to be faulty you will be asked to return it directly to us with
a copy of the purchase receipt. This guarantee shall not apply to a fault caused by an
accident or a similar incident or damage, liquid ingress negligence, abnormal usage or
any other circumstances on the purchaser’s part. Furthermore, this guarantee shall not
apply to a fault caused by a thunderstorm or lightning, excessive or any other voltage
uctuations or faults on the telephone line. (As a matter of precaution, we recommend
disconnecting the telephone during a thunderstorm). This guarantee does not affect
your statutory rights.

English
www.doro.com 7
Other
AUSTRALIA NEW ZEALAND
DORO Australia Pty Ltd Atlas Gentech (NZ) Limited
PO Box 6760 Private Bag 14927
Baulkham Hills BC NSW 2153 Panmure
Australia Auckland
New Zealand
Consumer Support Consumer Support
Ph: (02) 8853 8444 Ph: 0900-500-25 (Toll Call)
Fax: (02) 8853-8489 Fax: (09) 574-2722
Email: support@doro.com.au Email: support@atlasgentech.co.nz
Web site: www.doro.com.au
REN (RN for New Zealand)
The REN (Ringer Equivalence Number) or (RN) is of signicance only if you
wish to connect more than 1 telephone to your telephone line. A standard
telephone line has a maximum REN capacity of 3 (RN of 5). It is possible
to connect 3 devices with a REN of 1 (RN of 1) with no degradation to the
product’s performance. Exceeding this limit may cause the volume of the ringer
in any phone to decrease or not ring at all.
Notes for operation in New Zealand
ALL PRODUCTS
The grant of a Telepermit for any item of terminal equipment indicates only
that Telecom has accepted that the item complies with the minimum conditions
for connection to its network. It indicates no endorsement of the product by
Telecom, nor does it provide any sort of warranty. Above all, it provides no
assurance that any item will work correctly in all respects with another item of
Telepermitted equipment of a different make or model, nor does it imply that
any product is compatible with all of Telecom’s network services.
This equipment shall not be set to make automatic calls to the Telecom “111”
Emergency Service.
This equipment may not provide for the effective hand-over of a call to another
device connected to the same line.
This equipment should not be used under any circumstances that may constitute
a nuisance to other Telecom Customers.

Polski
8 www.doro.com
Obsługa
Podłączanie
1. Podłącz przewód telefoniczny do gniazda telefonicznego oraz do gniazda
znajdującego się na tylnej ściance telefonu.
2. Podłącz skrętny przewód do gniazda słuchawki znajdującego się na lewej bocznej
ściance aparatu oraz do słuchawki.
3. Po poprawnym włożeniu wtyczki modularnej do gniazdka powinno być słyszalne
kliknięcie.
4. Podnieś słuchawkę i sprawdź, czy słychać ciągły sygnał wybierania.
Montaż na ścianie
Telefon można zamontować na ścianie po uprzednim demontażu podstawki. Użyj
dwu wkrętów usytuowanych w pionie w odległości 85 milimetrów. Wkręty powinny
wtedy trać w dwa otwory w kształcie dziurki od klucza, znajdujące się z tyłu
telefonu. Wyjmij wieszak (obok miejsca na słuchawkę), pchając go ku górze. Obróć
wieszak o 180 stopni, po czym ponownie go załóż.
Zgodność z aparatami słuchowymi
Telefon ten jest zgodny z aparatami słuchowymi. Aby uaktywnić sprzężenie z
aparatem słuchowym, należy przełączyć aparat słuchowy w tryb T.
Przycisk wyciszania
Podczas rozmowy można odłączyć mikrofon, naciskając przycisk wyciszania
z. Ponowne naciśnięcie tego przycisku aktywuje mikrofon. Gdy mikrofon jest
odłączony, kontrolka obok przycisku pulsuje.
Przycisk ponownego wybierania
Jeśli wybrany numer jest zajęty, lub jeśli zachodzi potrzeba ponownego wybrania tego
samego numeru, podnieś słuchawkę i naciśnij przycisk ponownego wybierania r.
Dodatkowe usługi sieciowe
Aby przenieść połączenie, gdy telefon jest podłączony do centrali abonenckiej,
naciśnij przycisk R, a następnie wybierz numer wewnętrzny.
Za pomocą przycisków R, *, # można uzyskać dostęp do dodatkowych usług sieci
telefonicznej. Więcej informacji na ten temat można uzyskać u operatora sieci.

Polski
www.doro.com 9
Ustawienia
Pamięć
Telefon jest wyposażony w 3 pamięci do wybierania jednym przyciskiem oraz
10 pamięci do wybierania za pomocą dwu przycisków, przeznaczone dla często
wybieranych numerów.
Aby wybrać numer przechowywany w pamięci, wystarczy nacisnąć jeden albo dwa
przyciski, w zależności od lokalizacji. Pamięci do wybierania jednym przyciskiem
są ponumerowane od M1 do M3, a pamięci do wybierania dwoma przyciskami są
przechowywane pod przyciskami klawiatury numerycznej 0-9.
Zapamiętywanie numerów wybieranych jednym przyciskiem
1. Podnieś słuchawkę i naciśnij przycisk P (zignoruj dźwięki w słuchawce).
2. Wybierz pozycję M1-M3, naciskając odpowiedni przycisk.
3. Wprowadź numer telefoniczny do zapamiętania (maksymalnie 21 cyfry).
4. Ponownie naciśnij P.
5. Odłóż słuchawkę. Numer został zapamiętany.
Wybieranie jednym przyciskiem
1. Podnieś słuchawkę i sprawdź, czy słychać ciągły sygnał wybierania.
2. Wybierz żądany numer, naciskając odpowiadającą mu pozycję (M1-M3).
Zapamiętywanie numerów do szybkiego wybierania
1. Podnieś słuchawkę i naciśnij przycisk P (zignoruj dźwięki w słuchawce).
2. Naciśnij m
.
3. Wybierz pozycję, pod którą ma być zapamiętany numer, naciskając jeden z
przycisków 0-9.
4. Wprowadź numer telefoniczny do zapamiętania (maksymalnie 21 cyfry).
5. Ponownie naciśnij P.
6. Odłóż słuchawkę. Numer został zapamiętany.
Szybkie wybieranie zapamiętanych numerów
1. Podnieś słuchawkę i sprawdź, czy słychać ciągły sygnał wybierania.
2. Naciśnij m
.
3. Wybierz numer, naciskając jeden z przycisków 0-9.
Aby wprowadzić przerwę w numerze telefonicznym, naciśnij prz ycisk r.
Na kartkę znajdującą się pod słuchawką można wprowadzić numery lub nazwy telefonów
przechowywanych w pamięci aparatu. Jeśli zachodzi konieczność zmiany zapisanego w pamięci
aparatu numeru telefonu, należ y zapisać nowy numer w miejsce dotychczasowego.

Polski
10 www.doro.com
Ustawienia
Regulacja głośności
W trakcie rozmowy można zwiększyć lub zmniejszyć (o kilka poziomów)
głośność dźwięku w głośniku słuchawki. Do zwiększania głośności służy
przycisk v, a do zmniejszania głośności - przycisk V
.
Dzwonek
1. Podnieś słuchawkę (zignoruj sygnał wybierania) i naciśnij przycisk zapisu
P oraz #.
2. Wybierz sygnał dzwonka naciskając przyciski 0-9, zgodnie z tabelą
zamieszczoną poniżej.
3. Naciśnij przycisk zapisu P i odłóż słuchawkę. Sygnał dzwonka został
ustawiony.
Przycisk/ustawienie Typ melodii Głośność dzwonka
1.......................................... Melodia A....................... Niska
2.......................................... Melodia A....................... Normalna
3.......................................... Melodia A....................... Wysoka
4.......................................... Melodia B....................... Niska
5.......................................... Melodia B....................... Normalna
6 (ust. fabryczne)................ Melodia B....................... Wysoka
7.......................................... Melodia C ...................... Niska
8.......................................... Melodia C ...................... Normalna
9.......................................... Melodia C ...................... Wysoka
0.......................................... Brak *............................. -
* Po wybraniu prz ycisku 0 sygnał dzwonka będzie wyłączony, aż do następnego podniesienia
słuchawki. Po podniesieniu słuchawki prz ywrócone zostanie ostatnio wybrane ustawienie
dzwonka.
Wybieranie tonowe/impulsowe
Za pomocą przełącznika ♫/... znajdującego się na prawej bocznej ściance należy
wybrać tonową (♫) lub impulsową (...) metodę wybierania.
Sugerujemy wybór tonowej metody wybierania jako nowocześniejszej, jednak w
przypadku niektórych central może okazać się konieczne (gdy brak możliwości
wybrania numeru) zastosowanie metody impulsowej. Jeśli jest konieczność
pracy aparatu w trybie impulsowym, w czasie połączenia istnieje możliwość
chwilowego przejścia na system tonowy poprzez naciśnięcie klawisza "*".

Polski
www.doro.com 11
Inne
Rozwiązywanie problemów
Należy sprawdzić, czy przewód telefoniczny nie jest uszkodzony i czy jest
prawidłowo podłączony. Należy odłączyć wszelkie dodatkowe urządzenia, jeśli
są podłączone. Jeśli problem został rozwiązany, uszkodzenie występuje w innym
urządzeniu.
Aparat należy przetestować z linią telefoniczną, która na pewno jest sprawna.
Jeśli aparat będzie działał, to prawdopodobnie uszkodzona jest linia telefoniczna
użytkownika. Należy skontaktować się z operatorem sieci telefonicznej.
Jeśli nadal występują problemy, należy skontaktować się z serwisem.
Gwarancja
Aparat jest objęty standardową roczną gwarancją. W przypadku reklamacji
proszę skontaktować się z najbliższym serwisem lub ze sprzedawcą. Serwis
gwarancyjny jest dostępny wyłącznie po przedstawieniu ważnego dowodu
zakupu/faktury.
Gwarancja nie obejmuje uszkodzeń powstałych w wyniku wypadku lub
podobnych zniszczeń, uszkodzeń spowodowanych zalaniem aparatu płynem,
niedbałości, niewłaściwym użytkowaniem lub innymi przyczynami leżącymi po
stronie nabywcy. Ponadto gwarancja nie obejmuje uszkodzeń spowodowanych
przez burze i inne skoki napięcia.
Gwarancja w żaden sposób nie wpływa na ustawowe uprawnienia nabywcy.
• INFO LINIA pomocy technicznej: 0-801-67-48-88, czynna od 8.00-16.00
od poniedziałku do piątku z wyjątkiem świąt i dni wolnych od pracy.
• INTERNET: www.doro.atlantel.pl
Ze względów bezpieczeństwa zaleca się odłączanie telefonu przed nadejściem
burzy.
DORO ATLANTEL Sp. z o.o. zastrzega sobie prawo do błędów w druku i
zmian w specykacji technicznej bez uprzedzenia.


English
Polish
Version 2.0
Table of contents
Languages:
Other Doro Telephone manuals

Doro
Doro 915c Syntiro User manual

Doro
Doro COMFORT 3005 User manual

Doro
Doro 6620 User manual

Doro
Doro 6531 User manual

Doro
Doro COMFORT 4005 User manual

Doro
Doro 912c Installation guide

Doro
Doro PhoneEasy 331ph User manual

Doro
Doro X20 User manual

Doro
Doro COMFORT 3000 User manual

Doro
Doro HEARPLUS 313CI User manual

Doro
Doro PhoneEasy 311C User manual

Doro
Doro 6525 User manual

Doro
Doro HearPlus 317ci User manual

Doro
Doro 80 User manual

Doro
Doro 509C User manual

Doro
Doro AFTI 40 User manual

Doro
Doro PhoneEasy 331ph User manual

Doro
Doro MemoryPlus 319i ph User manual

Doro
Doro PHONEEASY 410GSM User manual

Doro
Doro 506 User manual