manuals.online logo
Brands
  1. Home
  2. •
  3. Brands
  4. •
  5. Dover
  6. •
  7. Controllers
  8. •
  9. Dover DESTACO Automating Tomorrow ROBOHAND DRF... User manual

Dover DESTACO Automating Tomorrow ROBOHAND DRF... User manual

destaco.com
Automating Tomorrow™
WARNING: This is a controlled document. It is your responsibility to deliver this information to the end user of the
Destaco Robohand product. Failure to deliver this could result in your liability for injury to the user or damage to the
machine. For copies of this manual, call your Customer Service Representative at 1.248.836.6700
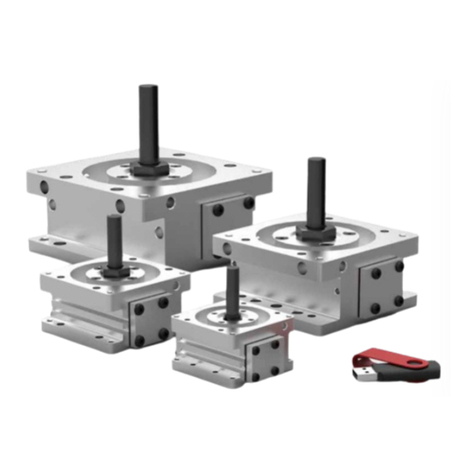
ROBOHAND
Service Manual
DRF Series
Dimensions and technical information are subject to change without notice
116
Rotary Actuators | Maintenance and Assembly Procedure
DRF Series
1
2
3
4
5
6
7
8
9
10
11
12
13 14
15
16
18
19
20
21
23
17
22
24
25
26
-A Option Shown
Shock Absorbers
For more information call us at: 1-800-ROBOHAND or 203-261-5558 Fax: 203-452-7418 Visit us on the Internet at: www.destaco.com
3.56
DRF SERIES
MAINTENANCE
DRF SERIES EXPLODED VIEW
Item Qty Name
01 1 Body
02 1 Pinion Shaft
03 2 End Plates
04 1 Upper Bearing
05 1 Lower Bearing
06 1 Rack
07 1 Piston
08 1 Bearing Retainer
09 1 Hub
10* 1 Stop Puck
11 2 Gaskets
12 2 Urethane Bumpers
13 2 U-cups
14 1 Magnet
15 2 Bumper Washers
16 2 Bumper Screws
17 4 Retainer Screws
18 8 End Plate Screws
19 2 Roll Pins
20* 2 Fixed Orifices
21 2 Stop Screws
22 2 Stop Screw Locking Screws
23 2 Stop Puck Screws
24 2 Shock Block
25 2 Shocks
26 8 Shock Block Mounting
Screws
*NOTES:
1) Contact the Robohand Sales Department
for a complete spare parts list with order
numbers and prices.
2) Item #10 Quantity 1 for 180° rotations,
all other rotations Quantity 2
3) Item #20 not in size -131
Third Angle
Projection
Seal Kit
Items
Thread
Locker
Krytox™
Lubricant
Teflon™Based
Grease
Lightweight
Machine Oil
Super
Bonder
Assembly Procedure
1) Press the Upper Bearing #4 onto the Pinion #2.
2) Install the Bearing Retainer #8 onto the Pinion #2 and press the Hub
#9 onto the pinion: install the Stop Puck #10 onto the Hub with the
stop puck Screws #23.
3) Assemble the Rack #6 to the Piston #7 with Roll Pins #19.
4) Grease the U-Cups #13 and install them onto the Piston #7.
5) Press the Magnet #14 into the Piston #7.
6) Assemble the Bumper #12, Washers #15 and Bumper Screw #16
onto the Piston #7.
7) Lubricate the Body #1 bore and install the Piston Assembly into
the body.
8) Press the Lower Bearing #5 into the Body #1.
9) Locate the Piston assembly so it is aligned with an outer edge
of the body.
10) Lubricate the Pinion assembly and align the key with the same edge
of the Body as the Piston and Press the Pinion into the Body.
11) Rotate the Hub Assembly through the full travels and insure that the
Piston is correctly located in the Body, adjust the travel of the Piston
if necessary.
12) Grease the Gasket #11 and install the End Plate #3 onto
the Body #1.
13) Install the 2 Orifices #20 into the Body #1 screw them in until they
bottom.
14) Install the Bearing Retainer Screws #17.
-A Option Assembly Procedure:
1) Install the Shock Absorber #25 in to the Shock Blocks #24, use
Teflon®tape to seal and tighten the lock nut if shock comes with one.
2) Screw the Shock Block onto the Body using the
Mounting Screws #26.
3.1-3.45 (RR_DRM) RED.qxd 2/7/06 1:13 PM Page 56
Dimensions and technical information are subject to change without notice 117
Rotary Actuators | Maintenance and Assembly Procedure
DRF Series
For more information call us at: 1-800-ROBOHAND or 203-261-5558 Fax: 203-452-7418 Visit us on the Internet at: www.destaco.com
3.57
DRF SERIES
MAINTENANCE
52
50
51
54
56
57
58
59
60
Magneto Resistive Sensors
1) Insert sensors #57 or #60 from either end of the profile slots and
set the sensor with the integrated slotted screw set.
Plumbing Fittings
1) Plumbing fittings #58 & #59 can be used in any airport.
2) Flow controls #56 can be inserted and used in any airport.
Turntable and Output Shaft
1) Insert he two Dowel Pins #54 into the hub (slip fit).
2) Attach the turntable #51 or #52, or the output shaft #53 onto the
dowel Pins.
3) Put thread lock on the Socket Head Screw #50, insert it through
the Pinion and tighten.
Item Qty Name
50 1 Soc Head Cap Screw
51 1 Blank Turntable
52 1 DIRECTCONNECT Turntable
54 2 Dowel Pins
56 1 or 2 Adjustable Flow Control
57 1 or 2 Magneto Resistive Sensor, with Quick Disconnect
(short or straight barrel)
58 1 or 2 Plumbing Fitting, Push-in straight
59 1 or 2 Plumbing Fitting, Push-in 90° Elbow
60 1 or 2 Magneto Resistive Sensor, 90° barrel,
with Quick Disconnect
DRF SERIES ASSEMBLED VIEW
Third Angle
Projection
Seal Kit
Items
Thread
Locker
Krytox™
Lubricant
Teflon™Based
Grease
Lightweight
Machine Oil
Super
Bonder
Item Qty Name
01 1 Body
02 1 Pinion Shaft
04 1 Upper Bearing
06 1 Rack
07 1 Piston
08 1 Upper Bearing Retainer
09 1 Hub
10* 2 Stop Pucks
20 2 Fixed Orifices
21 2 Stop Screws
24 2 Shock Blocks
25 2 Shocks
*NOTES:
1) Contact the Robohand Sales
Department for a complete spare parts
list with order numbers and prices.
2) Item #10 Quantity 1 for 180° rotations,
all other rotations Quantity 2.
1
2
9
7
25
24
8
20
21
10
6
4
-A Option Shown
Shock Absorbers
Warning: Removal of
Orfices will void
warranty
Accessory Installation & Adjustment Instructions
3.1-3.45 (RR_DRM) RED.qxd 2/7/06 1:13 PM Page 57
Global Locations
NORTH AMERICA
Corporate Headquarters
Auburn Hills, Michigan
Toll Free: 1.888.DESTACO
Marketing: [email protected]
Global Technology Center
Auburn Hills, Michigan
Tel: 1.248.836.6700
Customer Service: [email protected]
Mt. Juliet, Tennessee
Tel: 1.888.DESTACO
Customer Service: [email protected]
Wheeling, Illinois
Tel: 1.800.645.5207
Customer Service: [email protected]
Red Wing, Minnesota (Central Research Laboratories)
Tel: 651.385.2142
Customer Service: [email protected]
ASIA
Bangkok, Thailand
Tel: +66-2-326-0812
Customer Service: [email protected]
Shanghai, China
Tel: +86-21-6081-2888
Customer Service: [email protected]
Bangalore, India
Tel: +91-80-41123421-426
Customer Service: [email protected]
EUROPE
Oberursel, Germany
Tel: +49-6171-705-0
Customer Service: [email protected]
Sainte Florine, France
Tel: +33-4-73545001
Customer Service: [email protected]
Wolverhampton, United Kingdom
Tel: +44-1902-797980
Customer Service: [email protected]
Sant Boi de LLobregat, Spain
Tel: +34-936361680
Customer Service: [email protected]
Uithoorn, Netherlands
Tel: +31-297285332
Customer Service: [email protected]
Spain
Netherlands
UK
France
India
Thailand
China
Mt. Juliet, TN USA
Auburn Hills, MI USA
Germany
Red Wing, MN USA
Wheeling, IL USA
© Copyright, 2019 DESTACO. All rights for layout, photos and text rest with the publisher
DESTACO. All photomechanical or other reproductions only with our express permission.
All sales are based on our terms and conditions of sale, delivery and payment. IN_SM-DRF_03/19

Other Dover Controllers manuals

Dover MagLink LX4 User manual

Dover

Dover MagLink LX4 User manual

Dover Petro Vend FSC3000 User manual

Dover

Dover Petro Vend FSC3000 User manual

Dover NEPTUNE PSG NEP-131906 Owner's manual

Dover

Dover NEPTUNE PSG NEP-131906 Owner's manual

Dover DESTACO ROBOHAND DRG Series User manual

Dover

Dover DESTACO ROBOHAND DRG Series User manual

Dover HYDRO Multi-Washer 3000 Series User manual

Dover

Dover HYDRO Multi-Washer 3000 Series User manual

Dover All-Flo PSG 72000-00 Owner's manual

Dover

Dover All-Flo PSG 72000-00 Owner's manual

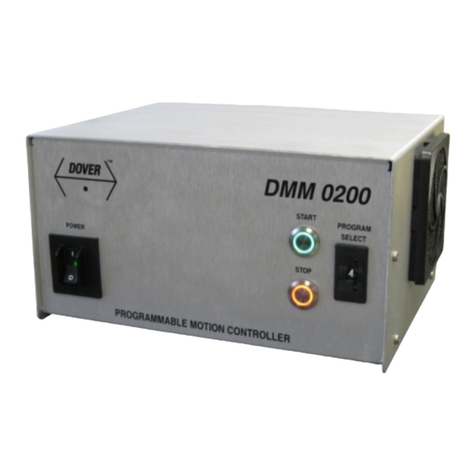
Dover DMM-0200 Specification sheet

Dover

Dover DMM-0200 Specification sheet

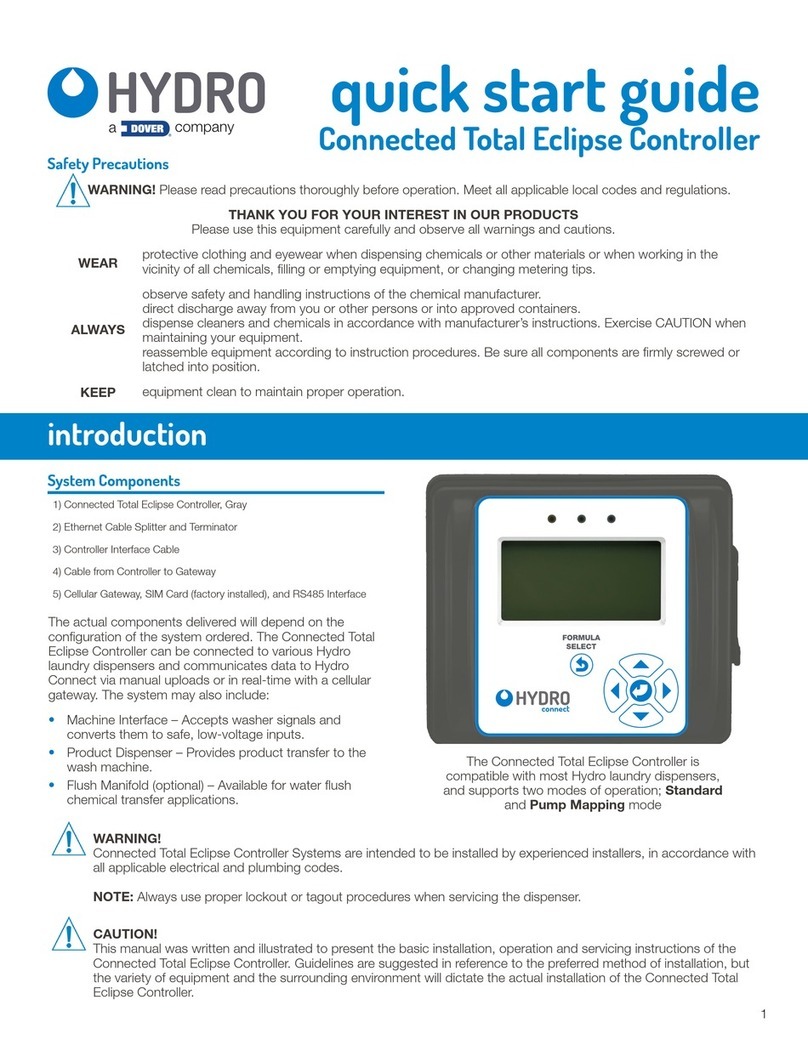
Dover Hydro Connected Total Eclipse User manual

Dover

Dover Hydro Connected Total Eclipse User manual

Dover Markem-Imaje LASER 7031 Quick start guide

Dover

Dover Markem-Imaje LASER 7031 Quick start guide

Dover MagLink LX4 User manual

Dover

Dover MagLink LX4 User manual

Dover All-Flo PSG 72100-00 Owner's manual

Dover

Dover All-Flo PSG 72100-00 Owner's manual

Popular Controllers manuals by other brands

SolarVenti SControl manual

SolarVenti

SolarVenti SControl manual

LAE electronic LT6 Instructions for installation and use

LAE electronic

LAE electronic LT6 Instructions for installation and use

AKO 14801 instructions

AKO

AKO 14801 instructions

Sulzer ABS PC 441 installation guide

Sulzer

Sulzer ABS PC 441 installation guide

Honeywell PEHA D CDH8U5 Series Installation and commissioning instructions

Honeywell

Honeywell PEHA D CDH8U5 Series Installation and commissioning instructions

impact ES-DMX-RGB-2811 user manual

impact

impact ES-DMX-RGB-2811 user manual

Icop VDX2-6554 user manual

Icop

Icop VDX2-6554 user manual

Salto CU42 Series Instructions for use

Salto

Salto CU42 Series Instructions for use

Ambient Lockit ACN-CL Handbook

Ambient

Ambient Lockit ACN-CL Handbook

MTX Thunder Sports AWMC3 owner's manual

MTX

MTX Thunder Sports AWMC3 owner's manual

DSE DSEG8660 installation instructions

DSE

DSE DSEG8660 installation instructions

SKYDANCE ES32-V manual

SKYDANCE

SKYDANCE ES32-V manual

AudioCodes Mediant 4000B Quick setup guide

AudioCodes

AudioCodes Mediant 4000B Quick setup guide

RDZ EASY CLIMA SA 230 user manual

RDZ

RDZ EASY CLIMA SA 230 user manual

ADTRAN Total Access 750 BCU DSX-1 Installation and Maintenance

ADTRAN

ADTRAN Total Access 750 BCU DSX-1 Installation and Maintenance

ABB COM600 series Data historian operator's manual

ABB

ABB COM600 series Data historian operator's manual

SmartLine SL1600 installation instructions

SmartLine

SmartLine SL1600 installation instructions

Honeywell N20010 manual

Honeywell

Honeywell N20010 manual

manuals.online logo
manuals.online logoBrands
  • About & Mission
  • Contact us
  • Privacy Policy
  • Terms and Conditions

Copyright 2025 Manuals.Online. All Rights Reserved.