manuals.online logo
Brands
  1. Home
  2. •
  3. Brands
  4. •
  5. Draper
  6. •
  7. Projection Screen
  8. •
  9. Draper Nocturne User manual

Draper Nocturne User manual

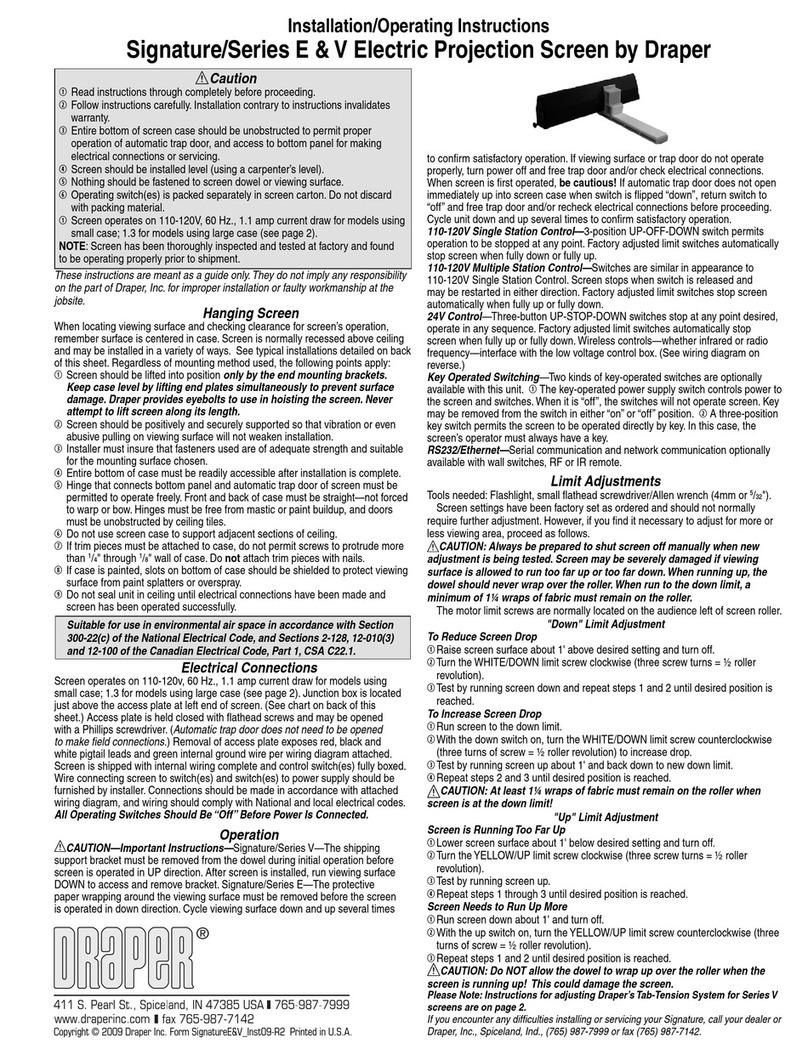
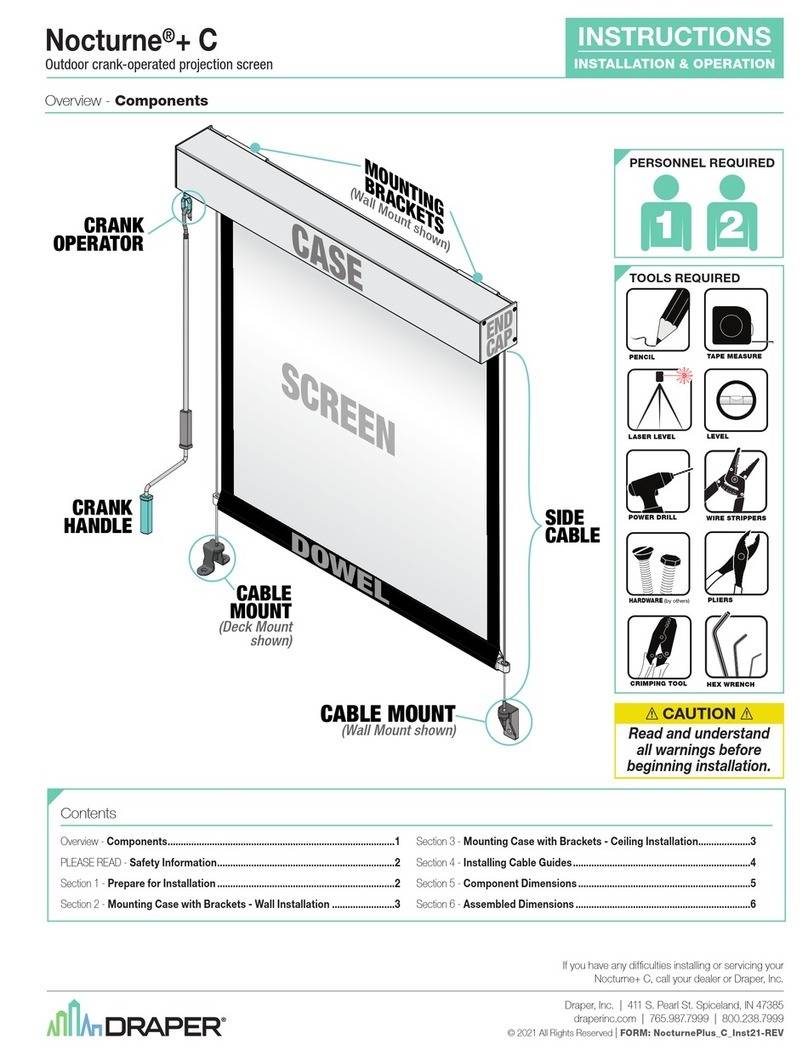
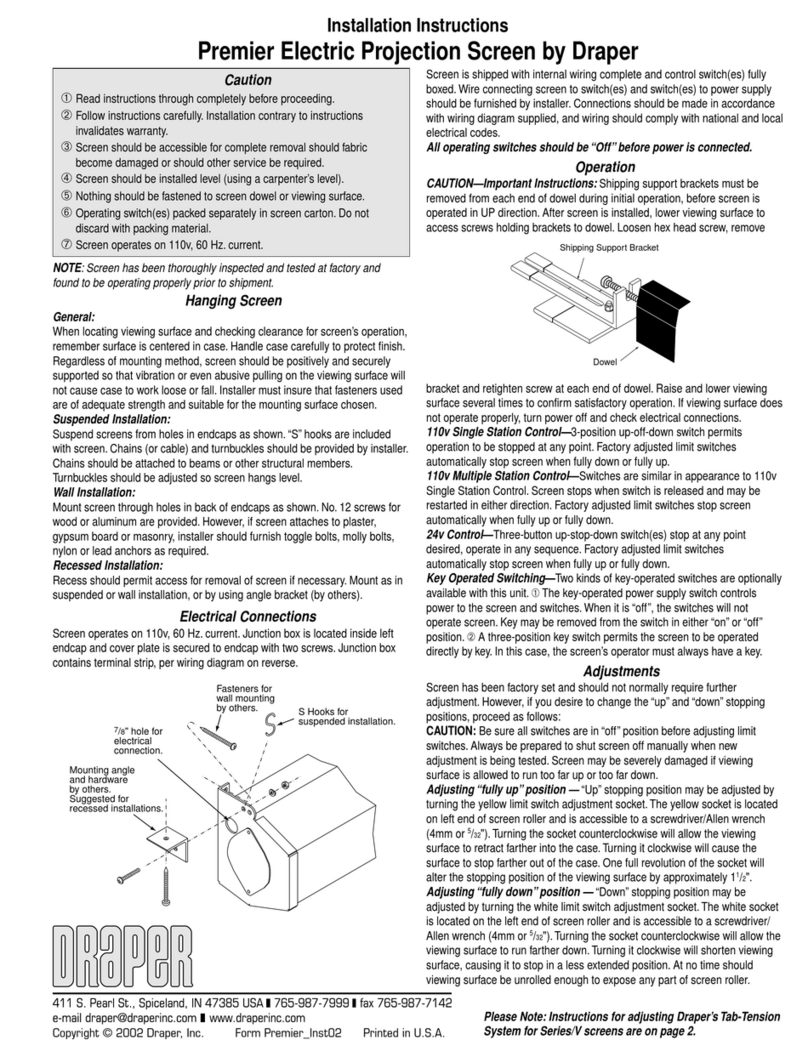
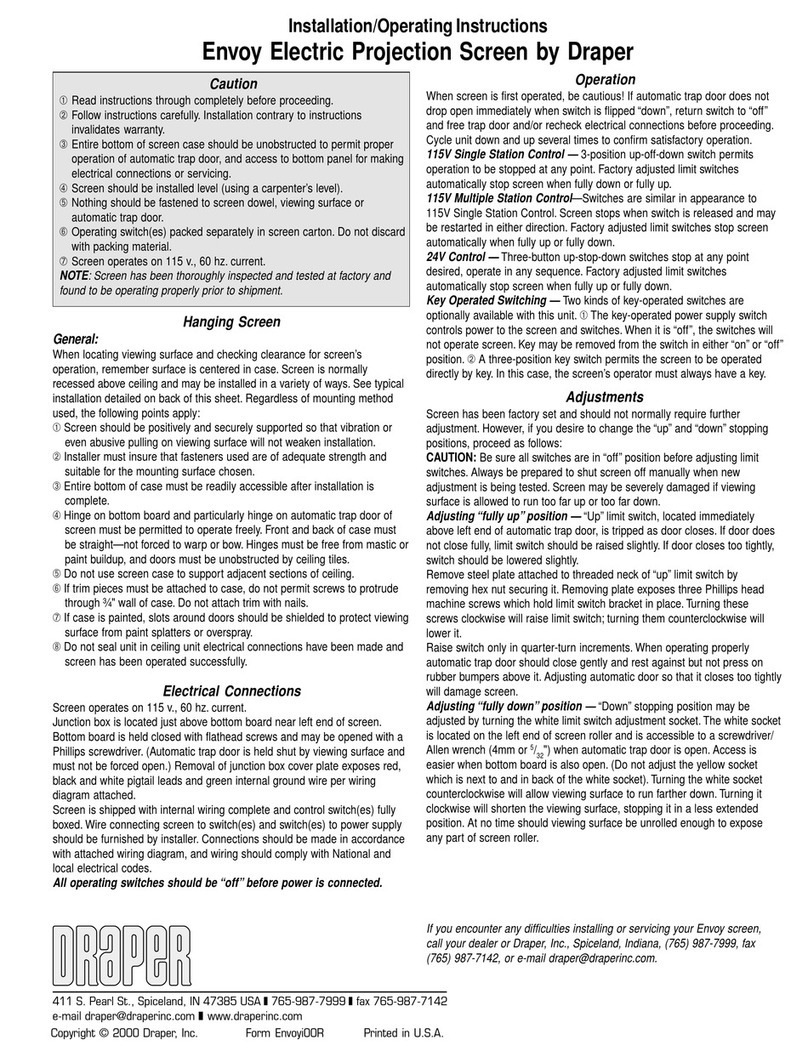
Installation Instructions
Nocturne™ Exterior Projection Screen by Draper
Copyright © 2012 Draper Inc. Form Nocturne_Inst12 Printed in U.S.A.
®
If you encounter any difficulties installing or servicing your Nocturne Exterior Projection Screen
call your dealer or Draper, Inc. in Spiceland, Indiana, 765-987-7999, or fax 765-987-7142.
Caution
①Inspect all boxes to make sure you have received the proper parts.
②Open cartons lengthwise.
③All hardware must be installed level. Screens must be level and square.
④Do not wire motors in parallel without written permission from Draper.
⑤It is the installer’s responsibility to make sure appropriate fasteners are used
for mounting surface.
⑥Please read the following installation guidelines thoroughly and follow
them carefully. Failure to do so may cause product to fall or otherwise
fail, and invalidates warranty.
Continued on next page
Before mounting your Nocturne Exterior Projection Screen, mark build-
ing for placement of mounting brackets and pre-drill mounting holes
and electrical access holes (if necessary) in mounting surface. It is
installer’s responsibility to make sure appropriate fasteners are used for
mounting surface. The Nocturne Exterior Projection Screen is shipped
with screen case assembly complete (see Fig. 1).
Mounting Through Back of Screen Case:
①Remove fascia from screen case. If your unit is equipped with a crank
operator, first remove the crank attachment from the unit, then remove ad-
ditional screws holding fascia onto back/top and rotate fascia up and off of
unit (see Fig. 2).
Figure 1
Drill holes for wall mounting,
using holes in endcaps as guides.
Figure 2
②Drill mounting holes in back of screen case, using holes in endcaps for
guides. Holes can also be drilled through the sides of the endcaps for
inside mounting (see Fig. 3). If this is a motorized unit, you will also need to
drill out a hole for the power and control cable to exit the screen case.
Figure 3
Mounting Through Top of Screen Case:
①Remove fascia from screen case. If your unit is equipped with a crank
operator, first remove the crank attachment from the unit, then remove ad-
ditional screws holding fascia onto back/top and rotate fascia up and off of
unit (see Fig. 2).
②Remove screen assembly from screen case. If motorized, remove motor
retaining clips. Pull the screen assembly away from the operator end. This
will depress the spring-loaded pin on the non-operator end. Then you can
rotate screen assembly out of the screen case (Fig. 4).
Figure 4
Motorized Crank
③Drill mounting holes in top of screen case, using holes in endcaps for
guides. If this is a motorized unit, you will also need to drill out holes for the
power and control cables to exit the screen case.
Please Note: It is the installer’s responsibility to make sure appropriate
fasteners are used for mounting surface.
④Replace screen assembly in screen case. Place the spring-loaded pin on
the non-operator end into the endcap. Push the screen assembly toward
the non-operator end to depress the spring-loaded pin, then rotate screen
assembly into the screen case.
⑤Lower viewing surface approximately 12" to begin guide installation.
⑥If motorized, replace motor retaining clips (see Fig. 4).
Please Note: It is the installer’s responsibility to make sure appropriate
fasteners are used for mounting surface.
Side Cable Installation (see Fig. 5 on page 2):
Please Note: Skip this section if you elect not to install the side cable
guides.
①Attach cable deck or wall mount to mounting surface.
②Attach cable to deck or wall mount using provided washer and nut.
③After making sure of the length required, cut cable and strip the protective
jacket from the top 1".
④Insert cable through the hole provided in the end of the dowel, and then up
through hole in endcap.
⑤Insert stripped-off portion of cable into provided screw jacket, then tighten
in place against the side wall of the endcap with the provided screw. Make
sure the cable is taut. Tension to 8 in-lbs, so the screen will move up and
down easily along the cable.
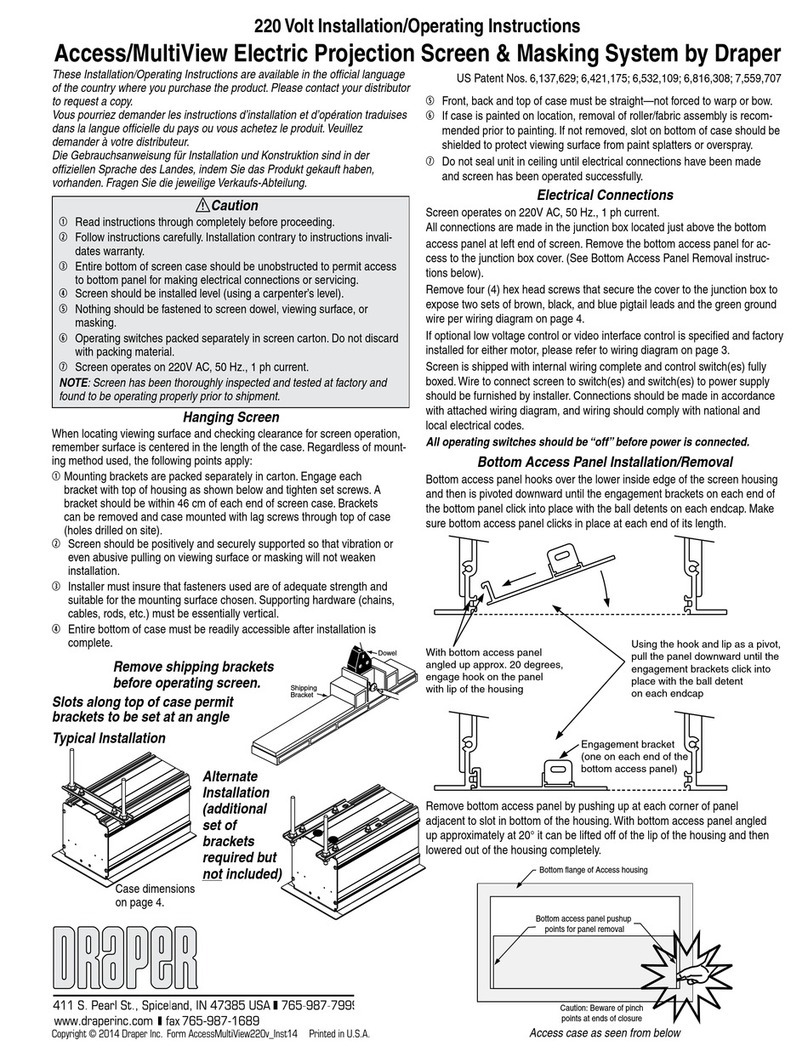
⑥Replace fascia and crank operator (if provided).
Please Note: A minimum of 1¾" is required
for the closure to hinge up, attach and close.
Please Note: A minimum of 1¾" is required for the closure to hinge up, attach
and close.
For flush ceiling mount, blocking (max.
depth 3") may also be required above
screen case to allow closure panel suf-
ficient room to hinge to open/close.
1¾"
Min.
3" Max.
Wall
Clg
Nocturne Exterior Projection Screen by Draper Page 2 of 4
www.draperinc.com (765) 987-799
9
Figure 5
OR
Electrical Connections
Screen operates on 110-120V, 60 Hz. current. Screen is shipped with internal
wiring complete and control switch (es) fully boxed, and supplied with a 6'
cable lead. Longer lead can be substituted by removing two screws in motor
end of roller, removing lead, plugging new lead in, and replacing screws. Wire
to connect shade to switch (es) and switch (es) to power supply should be fur-
nished by installer. Connections should be made in accordance with attached
wiring diagram, and wiring should comply with national and local electrical
codes. DO NOT wire motors in parallel without written permission from
Draper.
All operating switches should be “off” before power is connected.
Limit Switch Adjustments—Standard Motor
Push Button Limits
①Fully depress both limit switch push buttons, then operate wall
switch to make sure system works properly.
②Raise screen to desired “up” stop position.
③Set upper limit by depressing and releasing the proper (back)
push button.
④Lower screen to desired “down” stop position.
⑤Set lower limit by depressing and releasing the proper (front)
push button.
Screw-Type Limits
①Determine which direction of travel corresponds with arrows on
motor.
②Operate screen to desired “down” stop position. Set limit by
turning the proper socket toward the “+” to lower the limit, and
“-” to raise it.
③Operate screen to desired “up” stopping position. Set limit by
turning the proper screw toward the “-” to raise the limit, and “+”
to lower it.
Please Note: Screen limits are factory set for optimum performance of
the screen. A procedure is outlined below for minor tweaks, but any ad-
justment of these limits may negatively affect the flatness of the screen
surface and could also void the warranty. Please check with Draper prior
to resetting screen limits.
CAUTION: Always be prepared to shut screen off manually when new
adjustment is being tested. Screen may be severely damaged if viewing
surface is allowed to run too far up or too far down.
CAUTION: Be sure all switches are in “off” position before adjusting
limit switches.
Total width = Viewing Surface width + 35/16"
4"
½"
5"
121/32"
Back Top
1½"
7
/
8
"
213/16"
113/16"
5/8"
Nocturne Exterior Projection Screen—Crank and Motorized Dimensions
Motor End
1
2
+
+
Motor End
Page 3 of 4
Nocturne Exterior Projection Screen by Draper
www.draperinc.com (765) 987-799
9
Wiring Diagrams
Do not wire motorized units in parallel without written consent from Draper.
Wiring Diagrams Standard Motor)
Single Station Control
Internal Screen Wiring
White (Common)
Black (Down)
Red (Up)
Green/Yellow (Ground)
Dashed wiring
by electrician
Control
switch
Single gang box by others
Min. 4" x 21/8" x 1 7/8" deep
Blue
Black
Red
Location of key
operated on-off
switch if furnished
To 110-120V Line
Multiple Station Control
Internal Screen Wiring
White (Common)
Black (Down)
Red (Up)
Green/Yellow (Ground)
Dashed wiring
by electrician
Red
Red
Black
Blue
Blue
Cap off with wire
nut and tape
Black
Red Blue
Black Single gang box by others
Min. 4" x 21/8" x 1 7/8" deep.
3 shown. More or less equally
feasible.
Location of key
operated on-off
switch if furnished
To 110-120V Line
External Two-Way Serial Communication (RS232) with MC1
3 Button Wall Switch
DOWN - Black
COM - White
UP - Red
White-Common to screen & 110-120V AC Neutral
Red-to screen (directional)
Brown-to screen (directional)
Yellow-to 110-120V AC-Hot
Black-to 110-120V AC-Hot
Green-Ground
Eye Port for IR Eye, RF Receiver or LED
Wall Switch. For more than one of
these, a splitter is required.
Aux Port for connecting additional LVC-III
modules (up to six total can be linked-
connect from Aux to Eye).
Dashed wiring by electrician
Low voltage wiring by others
White (Common)
Red (Up)
Black (Down)
Green (Ground)
Location of key
operated on-off
switch if furnished
To
110-120V
Line
Internal Screen Wiring
STOP
Control
Switches
24v DC
STOP
RS232 Data FROM Control System
RS232 Data TO Control System
Signal Ground & Manual Switch Common
Manual Switch Down
Manual Switch Up
White-Common to screen & 110-120V AC Neutral
Red-to Screen (directional)
Brown-to Screen (directional)
Black-Hot to 110-120V AC
Green/Yellow-Ground
Fuse
Program LED
Eye Port for IR Eye. For RF Receiver or LED
Wall Switch, a Splitter and a Power Supply
is required. Plug RF Receiver or LED Wall
Switch and Power Supply into splitter, then
run cable from Splitter to MC1 Eye Port.
Low Voltage Wiring by others
AC Wiring by electrician
MC1
White (Common)
Red (Up)
Black (Down)
Green/Yellow (Gnd)
Internal Screen Wiring
Location of key
operated on-off
switch if furnished
To
110-120V
Line
STOP
Control
Switches
24v DC
STOP
External Low Voltage and Remote Control
Please Note: Do not wire motors in parallel.
Internal Screen Wiring
White (Neutral)
Black
Green (Ground)
Dashed wiring
by electrician
To 110-120V Line
Wall Switch
or RF
Receiver
Radio Technology
110-120V Motor
CAUTION: Wall switches
provided with these screens are
interior switches, and should
not be installed outdoors.
➁You will then need to find the programming button which is a small
button on the back or side of the transmitter. You will need to de-
press the button for 10-15 seconds. The motor should jog up and
down once then pause and jog a second time during this time
period. Once the motor has completed its second jog, then you can
start at step 1 of initial programming as the motor is clear.
Add/Delete a Channel/Transmitter
Add:
➀Select the channel/transmitter that is currently operating the motor,
then press the programming button until the motor jogs.
➁Select the new channel/transmitter that you want to add to the
motor, then press the programming button until the motor jogs.
➂The motor should now work on both the old and new channel/
transmitter.
Delete:
➀Select the channel/transmitter that is currently operating the motor
and you want to keep, then press and hold the programming button
until the motor jogs.
➁Select the channel/transmitter that you want to remove, then press
and hold the programming button until the motor jogs.
➂The motor should now only work on the channel/transmitter from
step 1.
Adjust Limits in User Mode
If your initial limits have changed or you want to fine tune a motor,
you do not need to reset the motor and re-program it. You can just
change the limits with these steps.
➀Move the motor to the limit (upper or lower) that you want to
change.
➁Press and hold the UP and DOWN buttons until the motor jogs.
➂Move the motor to its new limit location.
➃Press and hold the STOP button until the shade jogs.
Nocturne Exterior Projection Screen by Draper Page 4 of 4
www.draperinc.com (765) 987-799
9
Channel se-
lector button
on Multi-
Channel
Transmitter
RTS Motor/Remote Programming Instructions
If you receive a Nocturne with an optional RTS motor from Draper,
Inc., the motor has no programming on it, so it must be learned and
programmed to work on the transmitter that you have. The limits must
also be set. Here are the initial programming instructions.
➀Connect power to motor. Select the transmitter/channel to which
you plan to learn the motor. Press and hold the UP and DOWN
buttons at the same time until the motor jogs, then release.
➁Check the motor run direction by press either the UP or DOWN
buttons. This is important because if you do step 3 without doing
this step, then you will need to reset the motor. If you need to
reverse the motor direction, then press the STOP button (middle
button which might be labeled MY) for 5 seconds until the motor
jogs. Check the direction again to make sure that it works.
➂Move the motor to its upper limit position. Press the STOP and
DOWN buttons at the same time until the motor starts to move
down, then release. You will stop the motor at its lower limit. You
can use the UP and DOWN buttons to adjust the motor to the
correct lower limit position if need be.
➃Once the motor is at its lower limit position, then press the UP and
STOP buttons at the same time until the motor starts to move up,
then release. The motor should move to the upper limit position in
step 3 and stop.
➄Once the motor has stopped at its upper limit position, then press
and hold the STOP button for 5 seconds until the motor jogs.
➅Now, you must put the motor into USER mode. Find the program-
ming button which is a small button on the back or side of the trans-
mitter and press it until the motor jogs. Once you have done this,
then the motor will operate in normal fashion.
➆Disconnect power to this motor and move to the next in your
installation and start with step 1. Reconnect motor to power when
all motors are programmed.
Reset Motor Instructions
If the motor is not working or responding correctly and you want to
reprogram it from the beginning and clear all previous programming,
then follow these steps.
➀Disconnect the motor from power for 2-5 seconds, reconnect to
power for 10-13 seconds, disconnect from power for 2-5 seconds,
and reconnect to power. The motor should move down a little after
you reconnect to power the last time.

Other Draper Projection Screen manuals

Draper Ultimate Access V Installation instructions

Draper

Draper Ultimate Access V Installation instructions

Draper Rolleramic Electric Projection Screen Manual

Draper

Draper Rolleramic Electric Projection Screen Manual

Draper 116015 Manual

Draper

Draper 116015 Manual

Draper Salara User manual

Draper

Draper Salara User manual

Draper Premier XL 220 User manual

Draper

Draper Premier XL 220 User manual

Draper premier User manual

Draper

Draper premier User manual

Draper Clarion User manual

Draper

Draper Clarion User manual

Draper Nocturne+ E Installation instructions

Draper

Draper Nocturne+ E Installation instructions

Draper Onyx User manual

Draper

Draper Onyx User manual

Draper Envoy Manual

Draper

Draper Envoy Manual

Draper Salara/Hardwire User manual

Draper

Draper Salara/Hardwire User manual

Draper Curved Onyx User manual

Draper

Draper Curved Onyx User manual

Draper Signature E Series Manual

Draper

Draper Signature E Series Manual

Draper M Series Manual

Draper

Draper M Series Manual

Draper Loke User manual

Draper

Draper Loke User manual

Draper Tabletop Projection Screen MicroScreen User manual

Draper

Draper Tabletop Projection Screen MicroScreen User manual

Draper Silhouette/Series V Manual

Draper

Draper Silhouette/Series V Manual

Draper Access XL Manual

Draper

Draper Access XL Manual

Draper Clarion User manual

Draper

Draper Clarion User manual

Draper Luma User manual

Draper

Draper Luma User manual

Draper Silhouette C Series Manual

Draper

Draper Silhouette C Series Manual

Draper Paragon E User manual

Draper

Draper Paragon E User manual

Draper Artisan Series Manual

Draper

Draper Artisan Series Manual

Draper MC1 User manual

Draper

Draper MC1 User manual

Popular Projection Screen manuals by other brands

Elite Screens Evanesce B Series Product White Paper

Elite Screens

Elite Screens Evanesce B Series Product White Paper

Da-Lite TENSIONED CONTOUR ELECTROL Instruction book

Da-Lite

Da-Lite TENSIONED CONTOUR ELECTROL Instruction book

Elite Screens EZ-Cinema Series Product White Paper

Elite Screens

Elite Screens EZ-Cinema Series Product White Paper

DMT Alpha A3.9i Series user manual

DMT

DMT Alpha A3.9i Series user manual

Elite Screens Tab-Tension Series user guide

Elite Screens

Elite Screens Tab-Tension Series user guide

Genius Sierra 800 installation instructions

Genius

Genius Sierra 800 installation instructions

Elite Screens Kestrel Tab-Tension 2 CLR Series manual

Elite Screens

Elite Screens Kestrel Tab-Tension 2 CLR Series manual

Screen Technics ELECTRICINEMA 235 Replacement instructions

Screen Technics

Screen Technics ELECTRICINEMA 235 Replacement instructions

RL TWEEDIE HALL Operational instructions

RL

RL TWEEDIE HALL Operational instructions

Da-Lite Deluxe Insta-theater Instruction book

Da-Lite

Da-Lite Deluxe Insta-theater Instruction book

Avers Screens Electric projection screen user manual

Avers Screens

Avers Screens Electric projection screen user manual

Philips BDL4230E/00 Service manual

Philips

Philips BDL4230E/00 Service manual

Changhong Electric S-CK Series user guide

Changhong Electric

Changhong Electric S-CK Series user guide

V-TAC 11077 instruction manual

V-TAC

V-TAC 11077 instruction manual

Celexon Ultra mobile professional operating instructions

Celexon

Celexon Ultra mobile professional operating instructions

DirectConnect Reel View DC84FS16x9 user guide

DirectConnect

DirectConnect Reel View DC84FS16x9 user guide

Banner EZ-SCREEN LS System Operation, Diagnostics and Troubleshooting

Banner

Banner EZ-SCREEN LS System Operation, Diagnostics and Troubleshooting

Seymour Screen Excellence TAM Assembly manual

Seymour Screen Excellence

Seymour Screen Excellence TAM Assembly manual

manuals.online logo
manuals.online logoBrands
  • About & Mission
  • Contact us
  • Privacy Policy
  • Terms and Conditions

Copyright 2025 Manuals.Online. All Rights Reserved.