I
N
A
U
S
T
R
A
L
I
A
P
R
O
U
D
L
Y
B
U
I
L
T
2
LIMIT SETTING FOR CONNECT ELECTRICINEMA SCREENS
The following instructions are for the adjustment of the limit switches that alter the upper and
lower stop positions on “Connect” ElectriCinema Screens only.
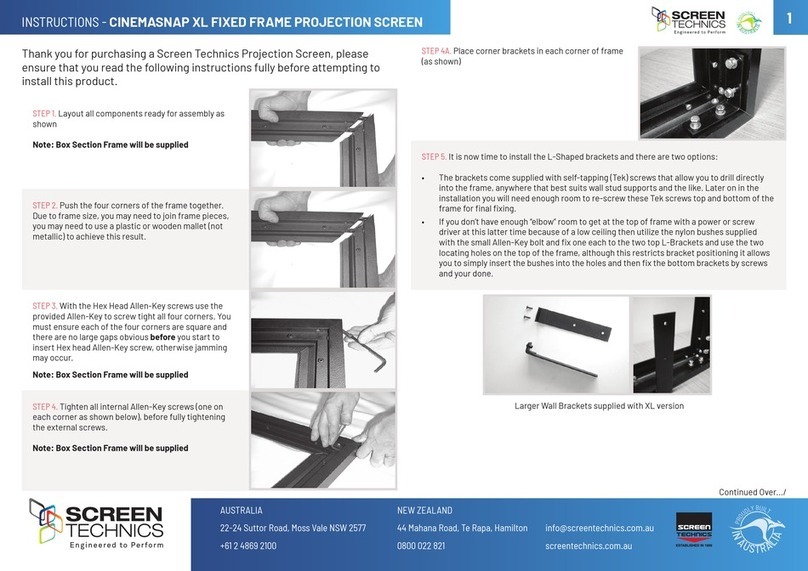
WHERE ARE THE LIMIT SWITCHES?
Open the doors on the ElectriCinema 235, on the left
hand side of the screen you will see the motor and the
two limits (see picture)
WHICH SWITCH IS FOR UP AND DOWN?
Down switch - located at the back of the unit
Up switch - located at the front of the unit
WHAT TOOLS DO I NEED?
Either the limit setting tool (supplied), a narrow tip screw driver (less than 4mm) or a 4mm Allen
Key
WHICH WAY DO I TURN THE SWITCH?
Either Clockwise always increases the amount of rotation (travel) of the motor.
Anti-clockwise always reduces the amount of rotation (travel) of the motor.
So pick the switch responsible for the limit position, up or down. Clockwise turning of the
switch will always let the motor travel further in that direction. Anti-clockwise turning of the
switch will lessen the amount of travel in that direction.
CAN I ADJUST THE SWITCH WHILE THE SCREEN IS SITTING ON THE LIMIT - I.E. FULLY UP OR DOWN?
Clockwise adjustment? – YES. But it is better to back the screen away from the limit and then
adjust.
Anti-clockwise adjustment? - NO you will damage the micro switch if you turn it anti-clockwise
while the screen is sitting on the limit. Never attempt this. You must back the screen away from
the limit before adjustment.
After adjustment you will need to run the screen up and down to pick up the new limit.
WILL I VOID THE PRODUCT WARRANTY IF I DAMAGE THE SCREEN WHILST MAKING THESE ADJUSTMENTS?
Yes.
STEP 12. Once the top and bottom limits have been set, close both the doors on the unit and
reconnect the remaining motor controllers.
STEP 13. Place the original screen into the packaging supplied for the replacement and repack
in the same manner as the replacement was received. Once the screen has been packed up
please let Screen Technics know and we will arrange for it to be collected and return to us for
evaluation.
Should you have any questions regarding the installation of our products, please call our sales
desk on +61 2 4869 2100 for assistance
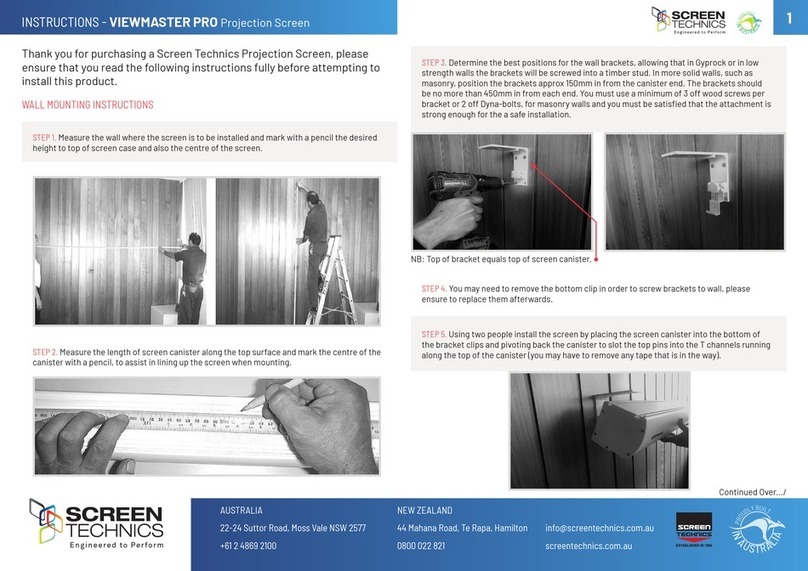
SCREEN SURFACE REPLACEMENT INSTRUCTIONS - ELECTRICINEMA 235
STEP 10. Once all the bolts have been tightened, reconnect the power to the screen connect
motor controller only.
If it is not possible to only connect the one motor controller you will need to be careful when
setting the limits to only operate the screen using the rst channel of buttons on the remote
control.
STEP 11. You will need to reset the top and bottom limits
on the screen as the surface will be hanging down
lower than its original position, when adjusting the
bottom limit you will need to be careful that you do not
go past the physical limit of the surface causing the
screen surface to unattached from the roller.
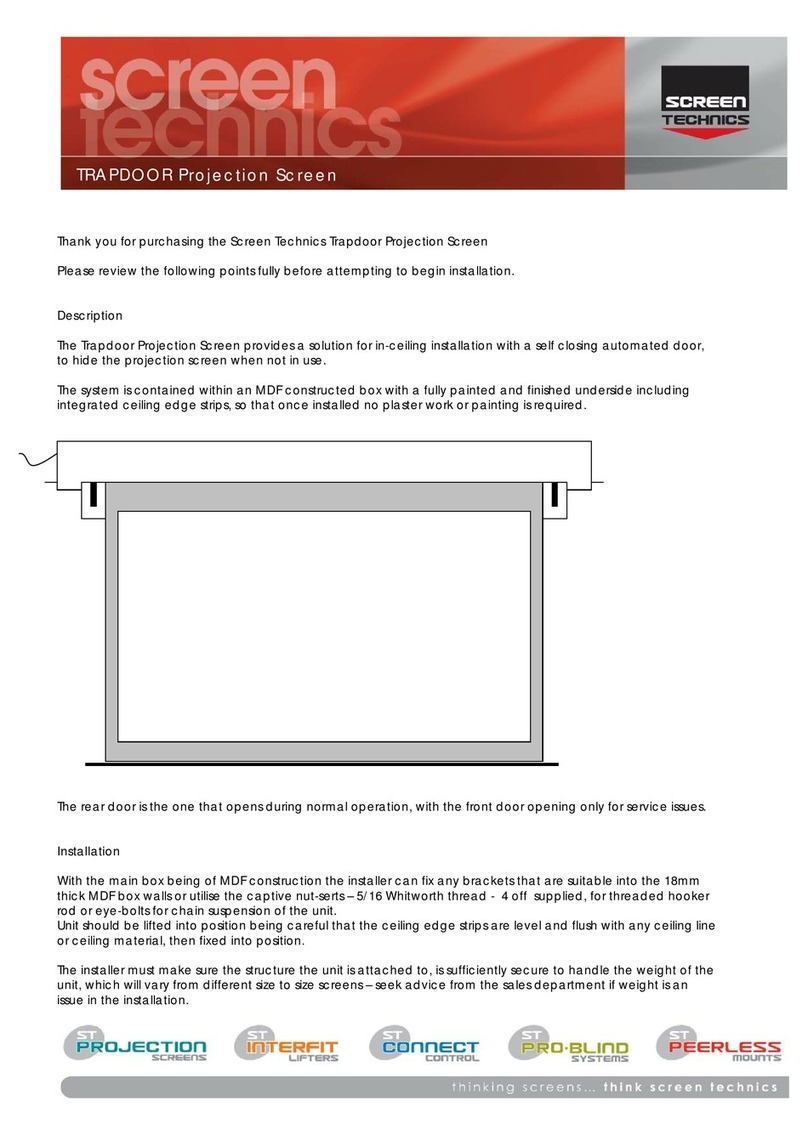
Step 7 – Make sure that the screen surface tube is flush with the flange on the motor side (as shown in the
picture below)
Step 8 – Replace rubber block using a 4mm Allen Key
Step 9 – Replace door stop using a 4mm Allen Key
Step 10 – Once all the bolts have been tightened, reconnect the power to the screen connect motor
controller only.
If it is not possible to only connect the one motor controller you will need to be careful when setting the limits to
only operate the screen using the first channel of buttons on the remote control.
Step 11 – You will need to reset the top and bottom limits on the screen as the surface will be hanging down
lower than its original position, when adjusting the bottom limit you will need to be careful that you do not go
past the physical limit of the surface causing the screen surface to unattached from the roller.
Limit Setting for Connect ElectriCinema Screens
The following instructions are for the adjustment of the limit switches that alter the upper
and lower stop positions on "Connect" ElectriCinema Screens only
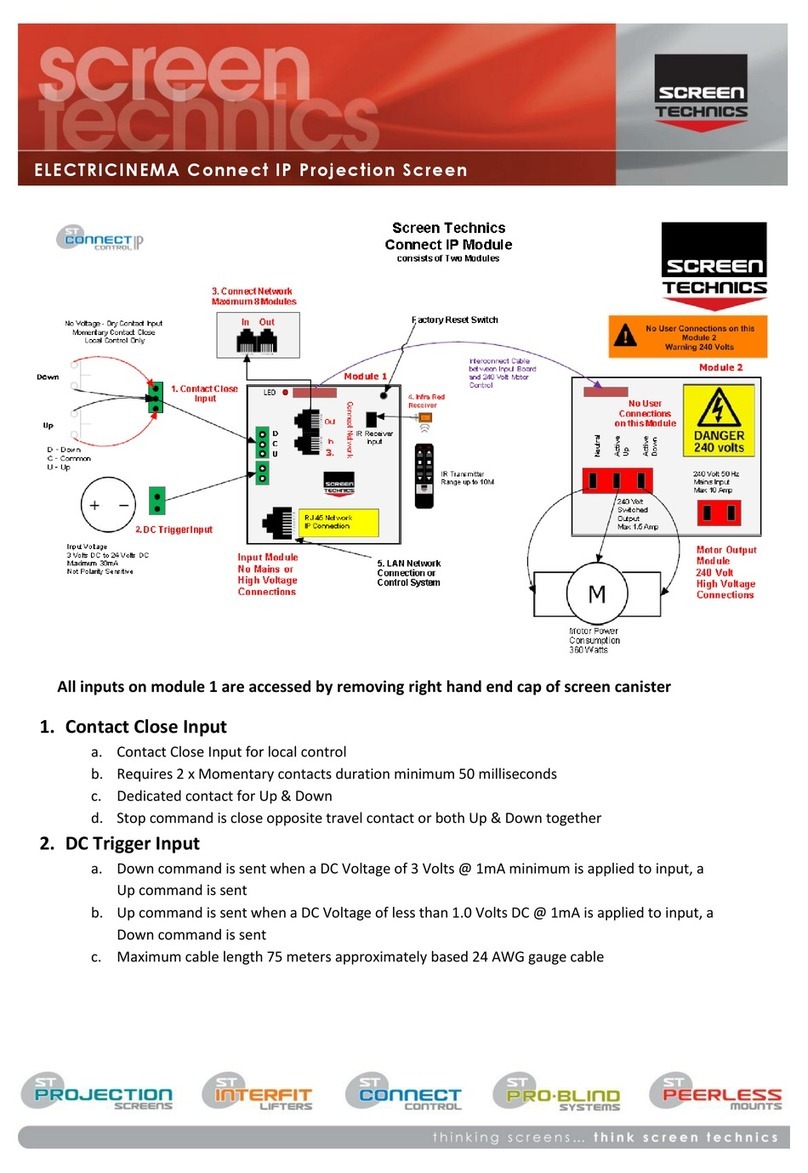
Where are The Limit Switches?
Open the doors on the ElectriCinema 235, on the left hand side of the
screen you will see the motor and the two limits (see picture)
Which Switch is for Up and Down?
Down switch - located at the back of the unit
Up switch - located at the front of the unit
What Tools do I Need?
Either the limit setting tool (supplied), a narrow tip screw driver (less than
4mm) or a 4mm Allen Key
Which Way do I Turn the Switch?
Clockwise always increases the amount of rotation (travel) of the motor.
Anti-clockwise always reduces the amount of rotation (travel) of the motor.
So pick the switch responsible for the limit position, up or down. Clockwise turning of the switch will always let
the motor travel further in that direction. Anti-clockwise turning of the switch will lessen the amount of travel in
that direction.
Can I adjust the switch while the screen is sitting on the limit - ie fully up or down?
Clockwise adjustment? – YES. But it is better to back the screen away from the limit and then adjust
Anti-clockwise adjustment? - NO you will damage the micro switch if you turn it anti-clockwise while the screen
is sitting on the limit. Never attempt this. You must back the screen away from the limit
before adjustment. After adjustment you will need to run the screen up and down to pick up the new limit
Will I void the product warranty if I damage the screen whilst making these adjustments?
Yes.
Step 12 - Once the top and bottom limits have been set, close both the doors on the unit and reconnect the
remaining motor controllers.
Step 13 – Place the original screen into the packaging supplied for the replacement and repack in the same
manner as the replacement was received. Once the screen has been packed up please let Screen Technics
know and we will arrange for it to be collected and return to us for evaluation.
Should you have any questions regarding the installation of our projection screens please call our technical
sales desk on +61 2 4869 2100 or 0448 008 881 for assistance.
