manuals.online logo
Brands
  1. Home
  2. •
  3. Brands
  4. •
  5. Draper
  6. •
  7. Projector Accessories
  8. •
  9. Draper ShadowBox Clarion User manual

Draper ShadowBox Clarion User manual

CAUTION
Read and understand all warnings
(P. 2)
before beginning installation.
Contents
Overview - Prepare for Installation.....................................................................1
PLEASE READ - Installation Information ...........................................................2
PLEASE READ - Safety Information....................................................................2
Section 1 - Installing Wall Brackets ...................................................................3
Section 2 - Assembling Screen...........................................................................3
Section 3 - Mounting Frame on Wall Brackets.................................................4
TOOLS REQUIRED
PENCIL
TAPEMEASURE POWER DRILLWHITE GLOVES
SCREWDRIVER
LEVEL
HARDWARE
(by others)
Overview - Prepare for Installation
1.
Remove all pieces from the carton.
2
Lay out the sections of the frame by matching up the
numbers located on the back of the frame sections. Snaps
should be facing up.
3.
Slide the ends of the castings from the top section into the
side frame sections. Fasten these together using the
¼
"-20
machine screws provided.
4.
Repeat this for bottom section of frame
(Fig. 1)
.
Please Note: Due to the unknown location of wall studs, or
other supporting members, the mounting holes have not
been predetermined.
TOP SECTION
SIDE SECTION
BOTTOM SECTION
SIDE SECTION
Screw locations for
assembling frame
Figure 1
Draper, Inc. | 411 S. Pearl St. Spiceland, IN 47385
draperinc.com | 765.987.7999 | 800.238.7999
© 2023 All Rights Reserved | FORM: Clarion_ShadowBox_Inst23
ShadowBox Clarion
Permanently tensioned projection screen with truly flat
viewing surface for sharper image quality
INSTRUCTIONS
INSTALLATION & OPER ATION
If you have any difficulties installing or servicing your
Clarion screen, call your dealer or Draper, Inc.
PERSONNEL REQUIRED
PLEASE READ - Safety Information
WARNING
Improper installation and use of the PRODUCT NAME can result in serious injury or death. Primarily, injuries can occur if the unit falls due to imprecise
installation, mishandling of the shade during installation or installation on an insufficient wall or ceiling structure. Please use extreme care.
1.
Please read the following installation guidelines thoroughly and follow them
carefully. Failure to do so may cause product to fall or otherwise fail, and could
result in serious injury.
2.
Installation and calibration of the unit should only be performed by an
authorized, qualified, and experienced professional.
3.
Do not affix the unit to wall or ceilings that have inadequate strength to
permanently hold the unit during use. It is the owner’s and installer’s
responsibility to confirm the wall or ceiling to which the unit attaches is
sufficient to permanently hold the weight and stress loads of the unit at all
times. Draper, Inc., is not responsible for improper installation, application,
testing or workmanship related to the product at place of installation.
4.
It is the installer’s responsibility to make sure appropriate fasteners are used
for mounting.
5.
All brackets and other hardware must be installed level. Unit must be level
and square.
6.
Never leave the area while operating the system during installation,
maintenance, or normal operation, unless it is secure and safe.
7.
Before testing or operation, carefully inspect the entire area of the system and
areas underneath the shade to be sure no persons or objects are in the area.
8.
During testing or operation, carefully watch the surrounding area for any
potential safety concerns including nearby persons or objects.
9.
After installation, the entire system should be carefully tested to ensure safe
and normal operation. Extreme care should be taken during testing to remain
clear of moving parts to avoid possible injury.
10.
Operation of system should be performed only by authorized and qualified
personnel, who have been trained in the safe and effective operation of the
system and understand its safety features.
11.
The safety features of the system should never be disabled, bypassed, or
overridden. The system should not be operated until all safety features are
properly and completely installed, calibrated, and tested.
12.
System may need to comply with local, state, or district rules and regulations,
in particular when installed in schools. All applicable rules and regulations
should be reviewed before installation and use.
13.
Failure to precisely follow installation guidelines invalidates all warranties.
14.
Custom products/installations may not be reflected in this manual. Call Draper,
Inc., if you have questions regarding your installation.
Before Beginning Installation
1.
Look for any job site conditions that could interfere with installation or
operation of the system.
2.
Read carefully and be sure to understand all installation instructions and
all related operations manuals. These instructions are intended to serve
as a guide for the installer and owner. They should be followed closely and
combined with the expertise of experienced qualified installers. Draper, Inc., is
not responsible for improper installation, application, testing, or workmanship
related to the product at place of installation. Please retain all instructions for
future use.
3.
Open cartons lengthwise.
4.
Locate and lay out all pieces.
5.
Inspect all boxes to make sure you have received the proper parts. Controls
may be shipped separately, or in same carton.
6.
If you have any difficulties with installing, servicing, or operating your system,
call your dealer or Draper, Inc., 765-987-7999.
Important Safety Information Important Safety Information
PLEASE READ - Installation Information
CAUTION: Installer must provide adequate attachment hardware and anchors as required. Installer must also ensure that structure is of adequate strength.
1.
Read instructions through completely before proceeding.
2.
Follow instructions carefully. Installation contrary to instructions invalidates warranty.
3.
Screen should be accessible for complete removal should surface become damaged or should other service be required.
4.
Screen should be installed level
(using a carpenter’s level)
.
5.
Nothing should be fastened to screen frame or viewing surface.
6.
Ensure all parts are present.
7.
Regardless of mounting method, screen should be positively and securely supported so that vibration or even abusive pulling on viewing surface will not
cause case to loosen or fall. Installer must ensure that fasteners used are of adequate strength and suitable for mounting surface chosen.
8.
Draper recommends using two people for assembly and installation. When lifting assembled screen, do not lift at only one corner; lift at both corners. Lifting
by one corner could result in damage to the screen frame, especially on large screens.
9.
The ideal temperature range for assembling permanently tensioned screens to prevent damaging the surface is 68°- 78° F
(20°- 26° C)
. Assembling below
recommended temperatures may damage surface and void warranty.
10.
Use extreme care when handling TecVision surfaces. To prevent damaging the TecVision viewing surface, Draper strongly reccommends using the provided
white gloves.
Please Note: Custom products/installations may not be reflected by this document. Call Draper, Inc. with any questions about product installation.
page 2 of 4
ShadowBox Clarion
Section 1 - Preparing and Installing Wall Brackets
Please Note: Due to the unknown location of wall studs, or other supporting members, the mounting holes have not been predetermined.
1.
Determine the desired horizontal distance between the wall brackets.
CAUTION: Brackets should not be located within 6" of the outside frame sections or more than one quarter of the overall frame width
in from the outside frame sections.
2.
Mark this horizontal distance on the top side of the top frame section and on the bottom side of the bottom frame section.
3.
Position the wall bracket so the inner edge of the bracket is approximately 1"
(25mm)
from the back edge the frame
(Fig. 2)
.
This places the mounting hole in the center of the frame.
4.
Mark the frame through the holes and repeat for all other wall brackets.
5.
Centerpunch hole locations and drill through the frame wall using a No. 26
(
9/64
")
drill bit.
Please Note: Only drill through one side of the frame sections. Holes may need to be deburred.
Please Note: All mounting holes must be drilled the same distance from the back edge of the frame, to ensure that all four sides of the
screen will be the same distance from the wall.
Wall
bracket
Front of
frame
Top and bottom
frame sections
Mark through holes in
bracket to locate holes in top
and bottom frame sections.
SIDE VIEW TOP OR BOTTOM VIEW
Approx. 1"
(25mm)
Approx. 1"
(25mm)
Back of
frame
WALL
Figure 2
page 3 of 4
ShadowBox Clarion
Section 2 - Installing Wall Brackets
CAUTION: Installer must provide adequate attachment hardware and anchors as required. Installer must also ensure that structure is of adequate strength.
1.
Attach wall brackets to the frame using the No. 10 sheet metal screws
(provided)
.
2.
Hold entire frame against the wall at desired location and mark location of wall brackets on the wall.
3.
Then remove all wall brackets from the frame and mount them on the wall.
4.
Installers should wash hands before touching the viewing surface. Use extreme care when handling TecVision surfaces. To prevent damaging the TecVision
viewing surface, Draper strongly reccommends using the provided white gloves.
5.
Remove the viewing surface from the cardboard tube. Unroll the surface from the small cardboard tube.
Please Note: Be extremely careful to protect the viewing surface by making sure it is unrolled onto a clean cloth or paper.
6.
Place the frame flat onto a clean surface with snaps facing up. Position the viewing surface gently on the frame with viewing side facing the snap side of the frame.
Make sure that the top edge of the surface matches the top edge of the frame. Snap the two snaps at each corner first and then the remaining snaps.
7.
Carefully position the screen between the wall brackets and fasten, using the No. 10 screws provided
(Fig. 3)
.
Upper
Wall
Bracket
WALL
WALL
Lower
Wall
Bracket
Bottom
Frame
Section
Top
Frame
Section
Viewing
Direction
(FRONT)
Viewing
Direction
(FRONT)
SNAP
SNAP
#10 x "
(13mm)
phil. flat head
type AB - black oxide
.147"
(4mm)
dia. hole in tube
"
(10mm)
OUT FROM WALL
2"
(67mm)
1"
(38mm)
"
(3mm)
ShadowBox Clarion
Dimensions and rear projection wall mount
Upper
Wall
Bracket
WALL
WALL
Lower
Wall
Bracket Bottom
Frame
Section
NO. 10
SCREW
NO. 10
SCREW
Top
Frame
Section
Viewing
Direction
(FRONT)
Viewing
Direction
(FRONT)
ShadowBox Clarion
Cross Section and Typical Wall Mount
Figure 6
page 4 of 4
ShadowBox Clarion

Other Draper Projector Accessories manuals

Draper Acumen E Installation instructions

Draper

Draper Acumen E Installation instructions
Draper Silhouette/V Guide

Draper

Draper Silhouette/V Guide

Draper AeroLift 35 User manual

Draper

Draper AeroLift 35 User manual

Draper AeroLift 35 Manual

Draper

Draper AeroLift 35 Manual

Draper AeroLift 35 User manual

Draper

Draper AeroLift 35 User manual

Draper 300213 User manual

Draper

Draper 300213 User manual

Draper AeroLift 150 Manual

Draper

Draper AeroLift 150 Manual

Draper SL4 Manual

Draper

Draper SL4 Manual

Draper Micro Projector Lift User manual

Draper

Draper Micro Projector Lift User manual

Draper AeroLift 35 User manual

Draper

Draper AeroLift 35 User manual

Draper AeroLift 150 User manual

Draper

Draper AeroLift 150 User manual

Draper AeroLift 50 User manual

Draper

Draper AeroLift 50 User manual

Draper Scissor Lift SL User manual

Draper

Draper Scissor Lift SL User manual

Draper 220V Silhouette V Guide

Draper

Draper 220V Silhouette V Guide

Draper Large Targa User manual

Draper

Draper Large Targa User manual

Draper AeroLift 150 User manual

Draper

Draper AeroLift 150 User manual

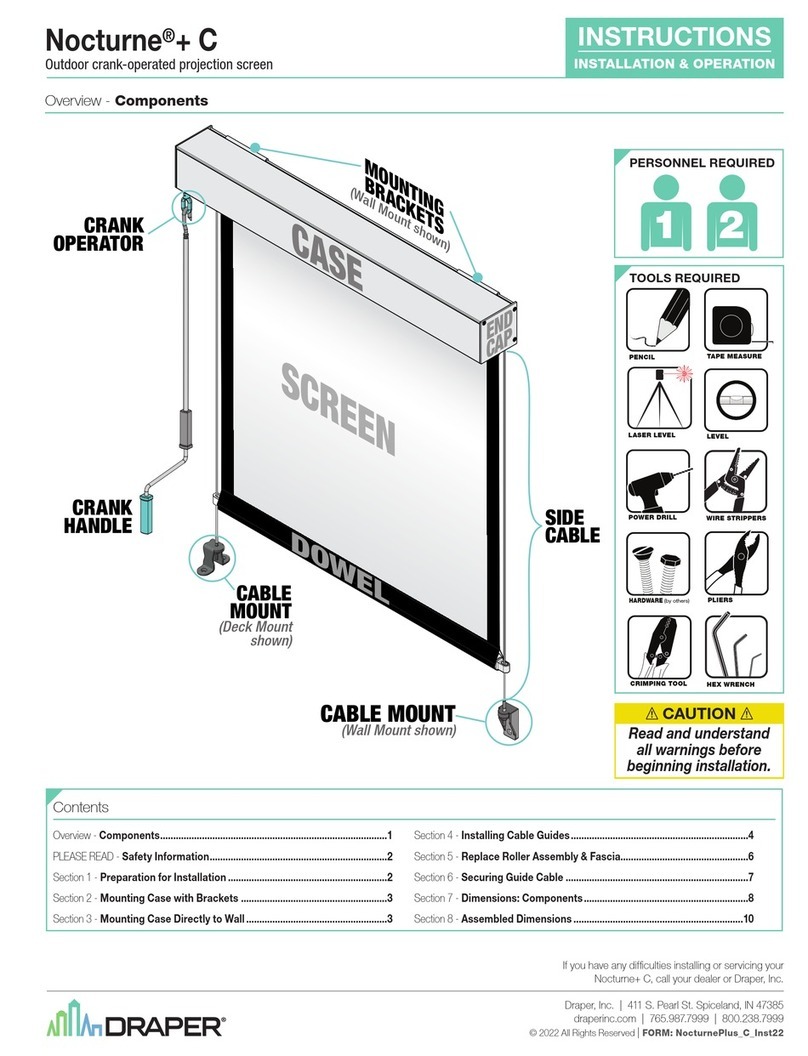
Draper nocturne+ c User manual

Draper

Draper nocturne+ c User manual

Draper AeroLift 35 Programming manual

Draper

Draper AeroLift 35 Programming manual

Draper Micro Projector Lift Programming manual

Draper

Draper Micro Projector Lift Programming manual

Popular Projector Accessories manuals by other brands

MAGINON 2500X manual

MAGINON

MAGINON 2500X manual

Yealink WPP20 quick start guide

Yealink

Yealink WPP20 quick start guide

Sanyo PJ-Net Organizer POA-PN01 owner's manual

Sanyo

Sanyo PJ-Net Organizer POA-PN01 owner's manual

Optoma EP731 Service manual

Optoma

Optoma EP731 Service manual

Barco R9829335 Installation guidelines
Barco

Barco R9829335 Installation guidelines

peerless-AV PRS Series Installation and assembly manual

peerless-AV

peerless-AV PRS Series Installation and assembly manual

Panasonic ET-ELW21 specification

Panasonic

Panasonic ET-ELW21 specification

Elite Screens Spectrum 2 Series user guide

Elite Screens

Elite Screens Spectrum 2 Series user guide

Sony EOB6635 user guide

Sony

Sony EOB6635 user guide

3M HE100 installation instructions

3M

3M HE100 installation instructions

Barco PreCa 1280i manual

Barco

Barco PreCa 1280i manual

Christie LX380 instruction sheet

Christie

Christie LX380 instruction sheet

Barco CM 100 Installation guidelines

Barco

Barco CM 100 Installation guidelines

ricoo CZ0800 Assembly manual

ricoo

ricoo CZ0800 Assembly manual

XLT Systems XCU 190 installation instructions

XLT Systems

XLT Systems XCU 190 installation instructions

Vivo PS-T-100 instruction manual

Vivo

Vivo PS-T-100 instruction manual

peerless-AV ACC 912 Installation and assembly

peerless-AV

peerless-AV ACC 912 Installation and assembly

Wize PRG11A instruction manual

Wize

Wize PRG11A instruction manual

manuals.online logo
manuals.online logoBrands
  • About & Mission
  • Contact us
  • Privacy Policy
  • Terms and Conditions

Copyright 2025 Manuals.Online. All Rights Reserved.